ShaderとかVBOに行く前に、GUIとPyOpenGLのつなぎの部分を整理する。
PyOpenGLは各種GUIとともに動かすことが可能なのだけどサンプルだとglut止まりなのでそのあたりを整理する。
ちょっと込み入ったアプリなら横にリストやツリーを表示したりしたいわけです。
環境は、Windows10(64bit) + Anacondaのpython3.5(64bit)
glut
なんだかんだでOpenGLはここからはじめることになる。
描画とGUIの分離がテーマなのでOpenGLの描画のみを行う部分を下記のようにする。
from OpenGL.GL import *
from OpenGL.GLU import *

def initialize():
    glClearColor(0.0, 0.0, 0.0, 0.0)
    glClearDepth(1.0)
    glDepthFunc(GL_LESS)
    glEnable(GL_DEPTH_TEST)

def resize(Width, Height):
    # viewport
    if Height == 0:
        Height = 1
    glViewport(0, 0, Width, Height)
    # projection
    glMatrixMode(GL_PROJECTION)
    glLoadIdentity()
    gluPerspective(45.0, float(Width)/float(Height), 0.1, 100.0)

def draw():
    # clear
    glClear(GL_COLOR_BUFFER_BIT | GL_DEPTH_BUFFER_BIT)

    # view
    glMatrixMode(GL_MODELVIEW)
    glLoadIdentity()

    # model
    glTranslatef(0.0, 0.0, -6.0)
    glBegin(GL_POLYGON)
    glVertex3f(0.0, 1.0, 0.0)
    glVertex3f(1.0, -1.0, 0.0)
    glVertex3f(-1.0, -1.0, 0.0)
    glEnd()

    glFlush()
glutからsimple_rendererを呼び出すコード。
from OpenGL.GLUT import *
import sys
import simple_renderer


def reshape_func(w, h):
    simple_renderer.resize(w, h == 0 and 1 or h)

def disp_func():
    simple_renderer.draw()
    glutSwapBuffers()

if __name__=="__main__":
    glutInit(sys.argv)
    glutInitDisplayMode(GLUT_RGBA | GLUT_DOUBLE | GLUT_DEPTH)
    glutInitWindowSize(256, 256)
    glutCreateWindow(b"triangle")
    glutDisplayFunc(disp_func)
    glutIdleFunc(disp_func)
    glutReshapeFunc(reshape_func)

    simple_renderer.initialize()

    glutMainLoop()
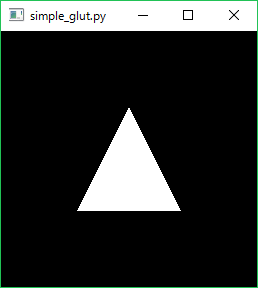
描画(simple_renderer.py)はglutのことを知らないし、GUI(simple_gtlut.py)はOpenGLのことは知らない状態になった。
で、simple_renderer.pyの部分を各GUIで共用にしたい。
glglueライブラリ
simple_renderer.pyを拡張して下記のように記述できるようなライブラリを作った。
# coding: utf-8
from OpenGL.GL import *


class Controller(object):
    def __init__(self):
        pass

    def onResize(self, w, h):
        glViewport(0, 0, w, h)

    def onLeftDown(self, x, y):
        print('onLeftDown', x, y)

    def onLeftUp(self, x, y):
        print('onLeftUp', x, y)

    def onMiddleDown(self, x, y):
        print('onMiddleDown', x, y)

    def onMiddleUp(self, x, y):
        print('onMiddleUp', x, y)

    def onRightDown(self, x, y):
        print('onRightDown', x, y)

    def onRightUp(self, x, y):
        print('onRightUp', x, y)

    def onMotion(self, x, y):
        print('onMotion', x, y)

    def onWheel(self, d):
        print('onWheel', d)

    def onKeyDown(self, keycode):
        print('onKeyDown', keycode)

    def onUpdate(self, d):
        print('onUpdate', d)

    def draw(self):
        glClearColor(0.9, 0.5, 0.0, 0.0)
        glClear(GL_COLOR_BUFFER_BIT | GL_DEPTH_BUFFER_BIT)

        glBegin(GL_TRIANGLES)
        glVertex(-1.0,-1.0)
        glVertex( 1.0,-1.0)
        glVertex( 0.0, 1.0)
        glEnd()

        glFlush()


if __name__=="__main__":
    controller=Controller()
    import glglue.glut
    glglue.glut.mainloop(controller, width=640, height=480, title=b"sample")
Win32APIを直接呼ぶ
ctypesでCreateWindowすればいいじゃないというもの。
pythonはctypesでdllを呼び出す能力があるので、それでやる。
Windowsで唯一追加インストールの要らない方法だったが、
Anacondaを使うならPyQt4でいいじゃんということになった。
メインループを自分で仕切れるのはメリット。
import controller_sample
import glglue.wgl

if __name__=="__main__":
    controller=controller_sample.Controller()
    glglue.wgl.mainloop(controller, width=640, height=480, title=b"sample")
tkinter
Pythonに地味に付属しているTcl/TKのpythonラッパー。
残念ながらOpenGLウィジェット用のdll(TOGL)を追加でインストールする必要がある
ので何もせずに即使えるわけではない。
Anacondaを使っていなくてストレージを節約したいなら使うかもしれない。
追記
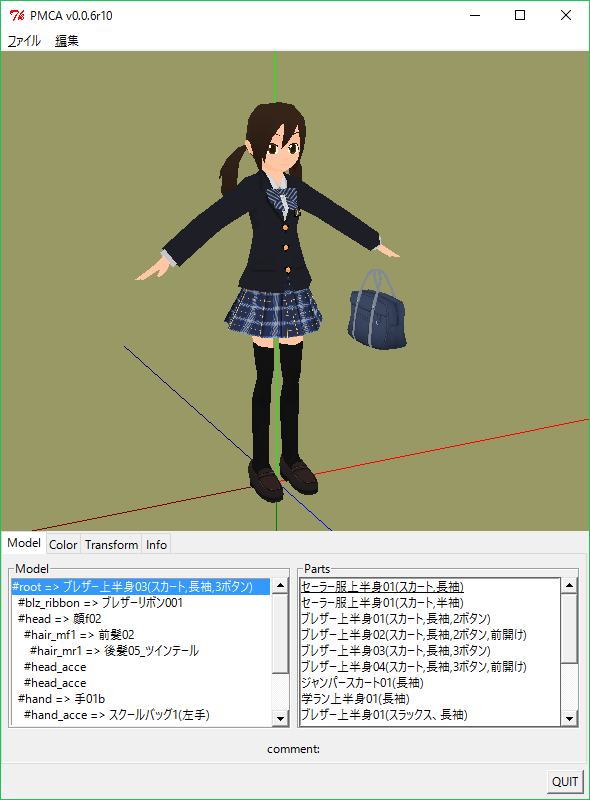
TOGLでPMCAの3Dビューを置き換える改造(↓)をしていたのだけど、思ったよりTOGLがサポートされていないことを知ってしまった。
で32bit版のTOGL2.0.dllをダウンロードできるのだけどこれと互換性のあるTCL/TKを使っているPythonは3.3まで。3.4以降は動かねー。そもそも64bit版のdllは無い。
さらにPyOpenGLの本家
に下記のような注意があった。
TOGLはコンパイルがめんどくさいらしい。
Note that Togl support is deprecated, it's there for legacy code (once you compile Togl), but you should choose a GUI library that has OpenGL support built-in for any new development. Togl support has been dropped due to the complexity of compilation and the headache of maintenance. There are projects which attempt to provide Togl support, feel free to install those into your Python's Tk installation if you need Togl under Python.
赤いアイコンがTOGLの証。
インストールの手間とクロスプラットフォームを考慮するとTOGLはあり得る選択肢だったのだが、
もうサポート切れである。
下記のPython3非互換エラーが放置されていたのもTOGLのサポート切れを示していたのか。
glglue> c:\Anaconda3\python.exe tkinter_sample.py
Traceback (most recent call last):
  File "tkinter_sample.py", line 3, in <module>
    import glglue.togl
  File "D:\dev\_python\glglue\glglue\togl.py", line 4, in <module>
    import OpenGL.Tk
  File "c:\Anaconda3\lib\site-packages\OpenGL\Tk\__init__.py", line 102, in <mod
ule>
    if sys.maxint > 2**32:
AttributeError: module 'sys' has no attribute 'maxint'
sys.maxintはsys.maxsizeに修正する。
PyQt4
Anacondaには含まれていた。どうせならPyQt5がいいのだが、
とりあえずこれが本命であります。
from PyQt4 import Qt
import controller_sample
import glglue.qgl
class Window(Qt.QWidget):
    def __init__(self, parent=None):
        Qt.QWidget.__init__(self, parent)
        # setup opengl widget
        self.controller=controller_sample.Controller()
        self.glwidget=glglue.qgl.Widget(self, self.controller)
        # packing
        mainLayout = Qt.QHBoxLayout()
        mainLayout.addWidget(self.glwidget)
        self.setLayout(mainLayout)

import sys
app = Qt.QApplication(sys.argv)
window = Window()
window.show()
sys.exit(app.exec_())
まとめ
AnacondaでPyQt4がいいよ。
今後、numpyでVBOとかShaderを予定。