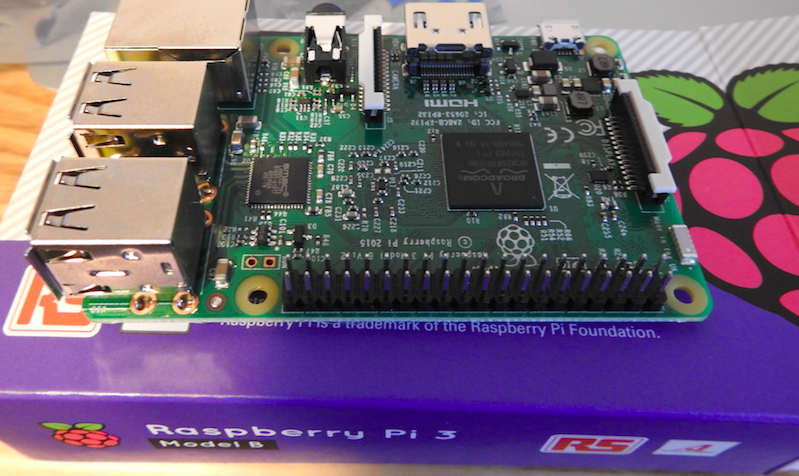
raspberry pi3
買ってみた。
以下、raspberry pi3のセットアップ手順を記載します。
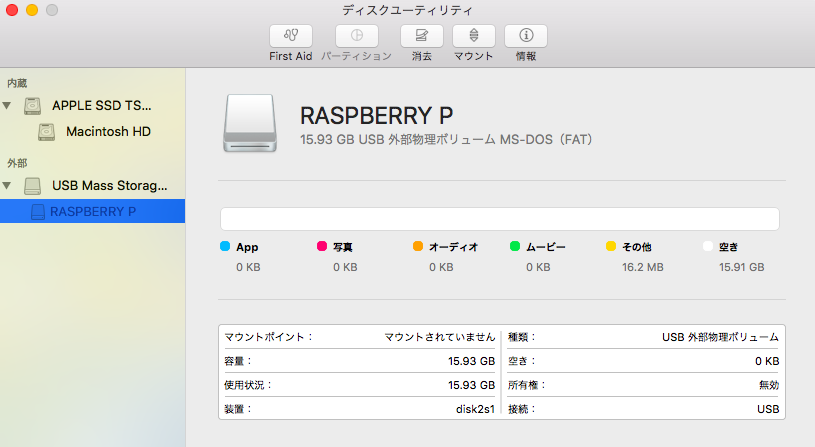
micro SDカードのフォーマット
まず、raspberry pi3で使用するmicro sdカードをフォーマットします。
-
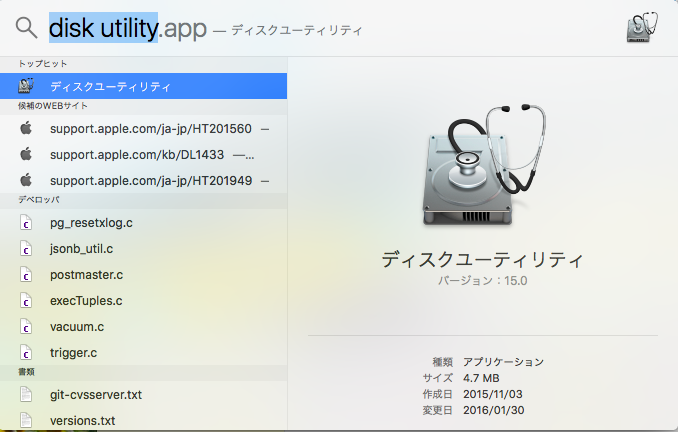
disk utility.appを使えばGUIでフォーマットできます。
-
挿入したSDカードを選んで、「消去」ボタンを選択
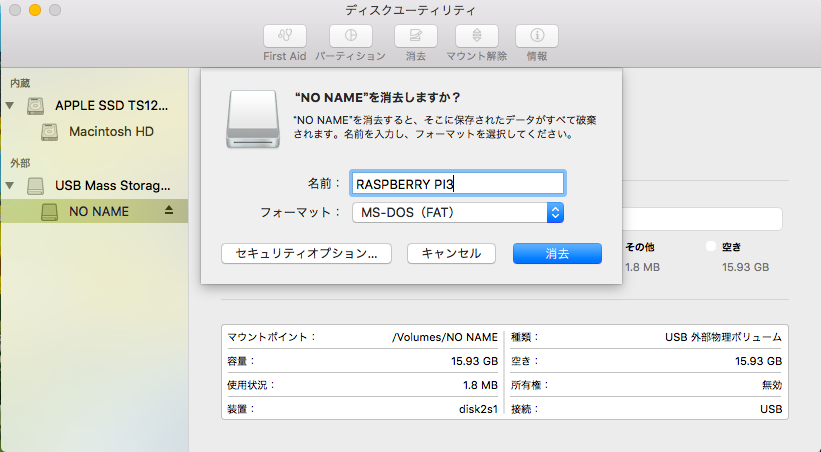
-
マウントされている状態なので、「マウント解除」ボタンでマウントを解除
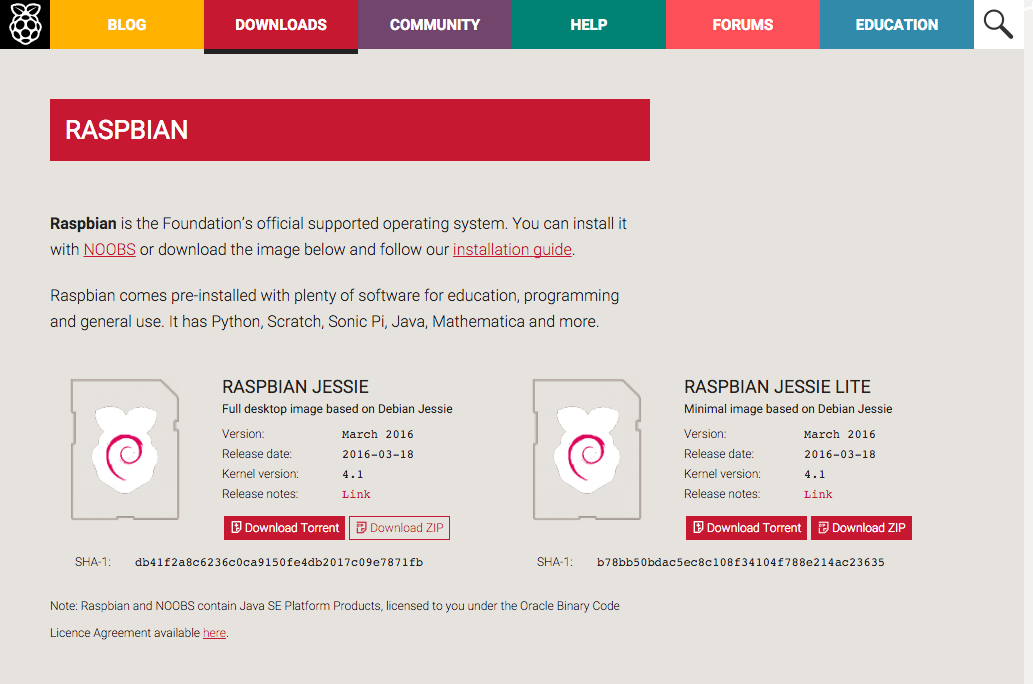
raspbian の書き込み
- raspbianのダウンロード
raspbian
ここからはターミナル上での操作となります。
- 以下コマンドでダウンロードしたraspbianイメージを解凍
$ unzip 2016-03-18-raspbian-jessie.zip
Archive:  2016-03-18-raspbian-jessie.zip
  inflating: 2016-03-18-raspbian-jessie.img
- raspbianイメージをSDカードに書き込み
デバイス名は間違えると大変なことになりそうなので注意
"/dev/rdisk2"と指定すると、"/dev/disk2"とするよりも早く書き込みができるらしいです。
$ sudo dd bs=1m if=2016-03-18-raspbian-jessie.img of=/dev/rdisk2
Password:
3847+0 records in
3847+0 records out
4033871872 bytes transferred in 290.277467 secs (13896607 bytes/sec)
raspberry pi 3 の起動と初期設定
書き込み完了のSDカードをraspberry pi3に差し込みます。
USBキーボード、USBマウス、HDMIモニタをこんな感じで繋いで、
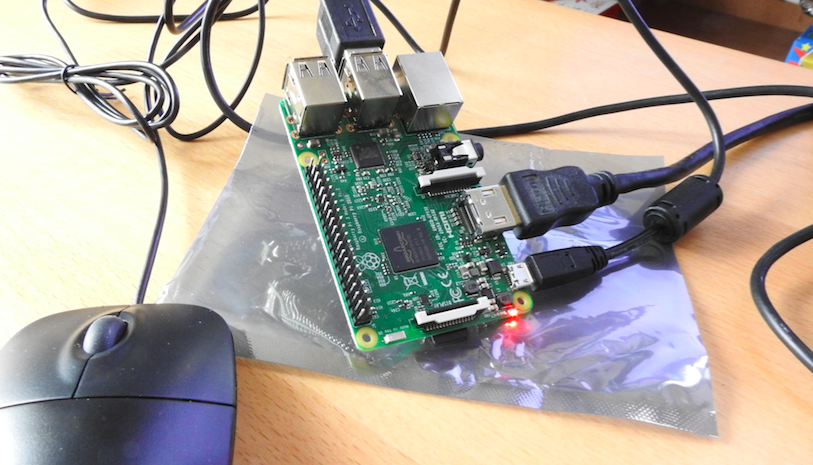
USB電源(最小2.5Aのもの)をつなぐと、raspbianが起動します。
電源を購入するのを忘れており、手元にあった1.5AのUSB電源でつなぎました。インストールは問題なく動作しましたが、2.5Aの電源を用意したほうが安全だと思います。
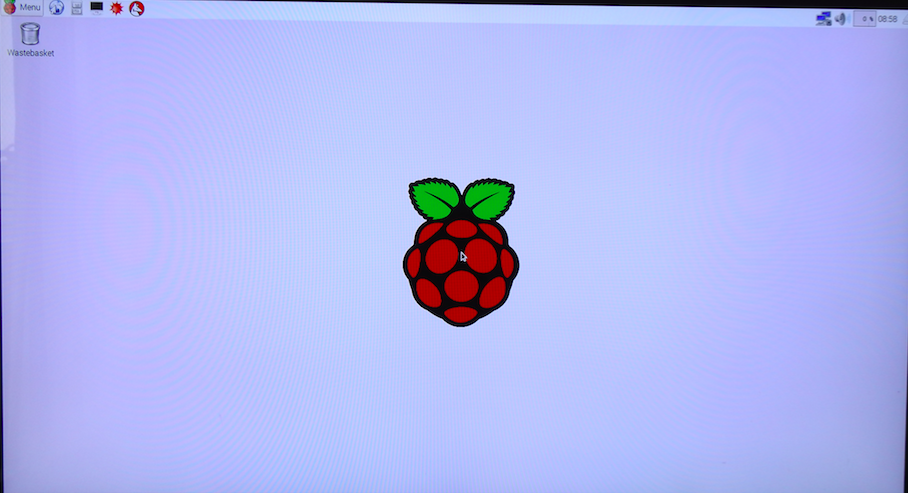
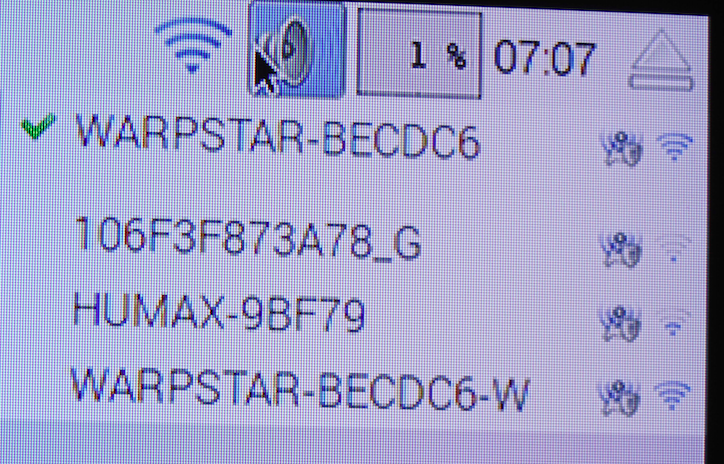
無線LANの設定
raspberry pi3はオンボードで無線LAN機能が搭載されているため、右上のアイコンから無線LAN接続設定をすることができます。
ネットワークにつながったらSSHでログイン可能になります。
初期設定では、ユーザ名は"pi",パスワードは"raspberry"で設定されています。
ssh pi@[raspberry pi3のIPアドレス]
使用可能領域の拡張
インストールされたraspbian上では用意したSDカード16GBの容量がすべて使えるようになっていなかったので、fdiskをし直します。
pi@raspberrypi:~ $ sudo fdisk /dev/mmcblk0

Welcome to fdisk (util-linux 2.25.2).
Changes will remain in memory only, until you decide to write them.
Be careful before using the write command.


Command (m for help): p
Disk /dev/mmcblk0: 14.9 GiB, 15931539456 bytes, 31116288 sectors
Units: sectors of 1 * 512 = 512 bytes
Sector size (logical/physical): 512 bytes / 512 bytes
I/O size (minimum/optimal): 512 bytes / 512 bytes
Disklabel type: dos
Disk identifier: 0x8f1eafaf

Device         Boot  Start     End Sectors  Size Id Type
/dev/mmcblk0p1        8192  131071  122880   60M  c W95 FAT32 (LBA)
/dev/mmcblk0p2      131072 7878655 7747584  3.7G 83 Linux
- /dev/mmcblk0p2パーティションを削除
Command (m for help): d
Partition number (1,2, default 2): 2

Partition 2 has been deleted.

Command (m for help): p
Disk /dev/mmcblk0: 14.9 GiB, 15931539456 bytes, 31116288 sectors
Units: sectors of 1 * 512 = 512 bytes
Sector size (logical/physical): 512 bytes / 512 bytes
I/O size (minimum/optimal): 512 bytes / 512 bytes
Disklabel type: dos
Disk identifier: 0x8f1eafaf

Device         Boot Start    End Sectors Size Id Type
/dev/mmcblk0p1       8192 131071  122880  60M  c W95 FAT32 (LBA)
- パーティションを再作成
Command (m for help): n
Partition type
   p   primary (1 primary, 0 extended, 3 free)
   e   extended (container for logical partitions)
Select (default p): p
Partition number (2-4, default 2):
First sector (2048-31116287, default 2048): 131072
Last sector, +sectors or +size{K,M,G,T,P} (131072-31116287, default 31116287):

Created a new partition 2 of type 'Linux' and of size 14.8 GiB.

Command (m for help): w
The partition table has been altered.
Calling ioctl() to re-read partition table.
Re-reading the partition table failed.: Device or resource busy

The kernel still uses the old table. The new table will be used at the next reboot or after you run partprobe(8) or kpartx(8).
- reboot
pi@raspberrypi:~ $ sudo reboot
- ファイルシステムのリサイズ
pi@raspberrypi:~ $ sudo resize2fs /dev/mmcblk0p2
resize2fs 1.42.12 (29-Aug-2014)
Filesystem at /dev/mmcblk0p2 is mounted on /; on-line resizing required
old_desc_blocks = 1, new_desc_blocks = 1
The filesystem on /dev/mmcblk0p2 is now 3873152 (4k) blocks long.

pi@raspberrypi:~ $ df -h
Filesystem      Size  Used Avail Use% Mounted on
/dev/root        15G  3.3G   11G  24% /
devtmpfs        459M     0  459M   0% /dev
tmpfs           463M     0  463M   0% /dev/shm
tmpfs           463M  6.4M  457M   2% /run
tmpfs           5.0M  4.0K  5.0M   1% /run/lock
tmpfs           463M     0  463M   0% /sys/fs/cgroup
/dev/mmcblk0p1   60M   20M   41M  34% /boot
tmpfs            93M     0   93M   0% /run/user/1000
これで拡張完了。
パスワードの変更
セキュリティ確保のため、早めにパスワードは変更しておきましょう。
pi@raspberrypi:~ $ sudo passwd pi
Enter new UNIX password:
Retype new UNIX password:
passwd: password updated successfully
シャットダウン
sudo shutdown -h now
多分緑色の点滅が消えたらシャットダウン完了