3
5

Delete article

Deleted articles cannot be recovered.

Draft of this article would be also deleted.

Are you sure you want to delete this article?

More than 5 years have passed since last update.

[Gimp] Pythonでスクリプトをはじめる

Last updated at Posted at 2015-06-27

すごく簡単なスクリプトを作成してみます。

スクリプト作成場所

スクリプトを作成する場所は
「編集」-「設定」-「フォルダー」-「プラグイン」で表示されている場所に配置します。
バージョンは2.8です
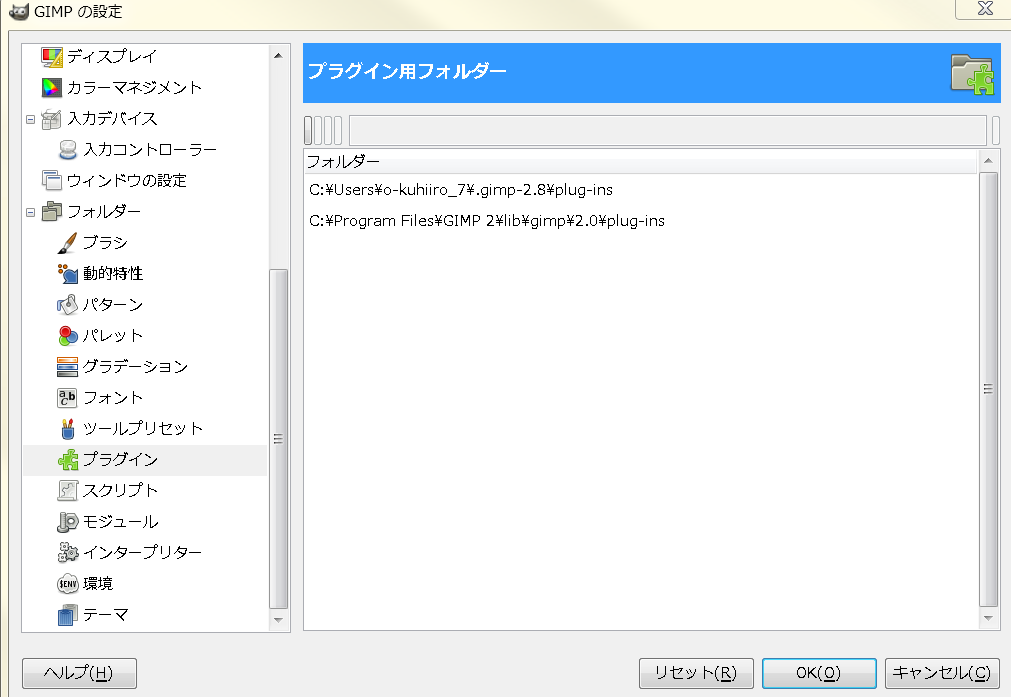
gimp_config.png

スクリプト

Gimpに登録することで実行できるようになるようです。
registerメソッドの引数に色々設定します。
詳しくはドキュメントなどを参照ください。

#coding: UTF-8
from gimpfu import *

def plugin_main(timg, tdrawable):
    pdb.gimp_message("TEST")

# Gimpに登録する
register(
        "python_fu_resize",  # コマンドラインまたはスクリプトから呼び出す場合のコマンドの名前
        "",  # プロシージャブラウザに表示されるプラグインに関する情報
        "",  # プロシージャブラウザに表示されるプラグインに関する情報
        "o-kuhiiro",  # 著者の名前
        "o-kuhiiro",  # 著作権保持者の名前
        "2015",  # 著作権の年
        "<Image>/test.py",  # メニューの中でプラグインに使用されるラベル 
        "RGB*, GRAY*",  # プラグインで処理する対象となる画像のタイプ
        [],  # 引数
        [],  # 戻り値
        plugin_main  # 関数名
)

main()

実行

適当な画像をGimpで開きます。そうするとメニューに
gimp_py_run.PNG
とでるので実行できるようになります。

あと、「フィルター」-「Python-Fu」-「コンソール」で対話モードが起動できます

3
5
0

Register as a new user and use Qiita more conveniently

  1. You get articles that match your needs
  2. You can efficiently read back useful information
  3. You can use dark theme
What you can do with signing up
3
5

Delete article

Deleted articles cannot be recovered.

Draft of this article would be also deleted.

Are you sure you want to delete this article?