はじめに
iOS8からUIAlertViewがdeprecatedとなりました。UIAlertViewは色々な箇所で使用したいのですが、UIAlertControllerに対応しようとしたときに、iOS7とiOS8で分岐を書くのが何となくイマイチだったので自前で作ってみました。
作り込んでいった結果、UIAlertControllerとほぼ同じ機能を持つものが出来上がったので紹介させてください。
Swiftファイルひとつ追加するだけで簡単に使用できます。
アラートのデザインを変えたい方、自作する方のお役に立てれば幸いです。
DOAlertController
GitHub : https://github.com/okmr-d/DOAlertController
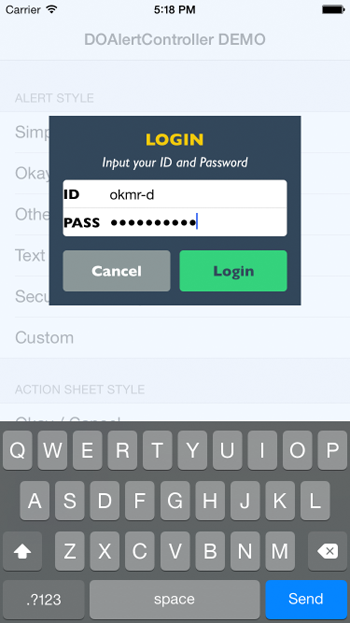
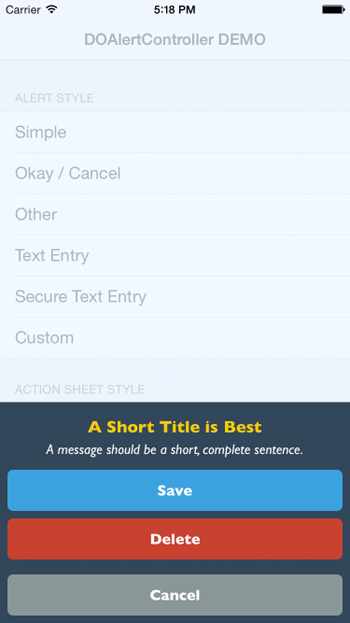
▽ スクリーンショット
使い方
UIAlertController とほぼ同じ書き方で使用できます。
シンプルなアラートを表示
// アラートコントローラ: タイトル、メッセージ、アラートスタイル(Alert/ActionSheet)を設定
let alertController = DOAlertController(title: "title", message: "message", preferredStyle: .Alert)

// アクション: ボタンの文字、ボタンスタイル(Default/Cancel/Destructive)、ボタンを押した時の処理を設定
let cancelAction = DOAlertAction(title: "キャンセル", style: .Cancel, handler: nil)

// アクションは複数設定できます
let okAction = DOAlertAction(title: "OK" style: .Default) { action in
    NSLog("OKボタンが押されました。")
}

// アラートコントローラにアクションを追加
alertController.addAction(cancelAction)
alertController.addAction(okAction)

// 表示
presentViewController(alertController, animated: true, completion: nil)
カスタマイズ
テキストフィールドの追加や、フォントや色の変更が可能です。
テキストフィールドの追加
alertController.addTextFieldWithConfigurationHandler { textField in
    // テキストフィールド(UITextField)の設定を自由に行えます
    // textField.placeholder = "Password"
    // textField.secureTextEntry = true
}
デザインカスタマイズ
// オーバーレイの色
alertController.overlayColor = UIColor(red:235/255, green:245/255, blue:255/255, alpha:0.7)

// アラートビューの背景色
alertController.alertViewBgColor = UIColor(red:44/255, green:62/255, blue:80/255, alpha:1)

// タイトルのフォント、文字色
alertController.titleFont = UIFont(name: "GillSans-Bold", size: 18.0)
alertController.titleTextColor = UIColor(red:241/255, green:196/255, blue:15/255, alpha:1)

// メッセージのフォント、文字色
alertController.messageFont = UIFont(name: "GillSans-Italic", size: 15.0)
alertController.messageTextColor = UIColor.whiteColor()

// ボタンのフォント、文字色、背景色(通常時/ハイライト時)
// [.Default]を[.Cancel][.Destructive]に変更すればそれぞれのアクションごとにボタンのカスタマイズが可能
alertController.buttonFont[.Default] = UIFont(name: "GillSans-Bold", size: 16.0)
alertController.buttonTextColor[.Default] = UIColor(red:44/255, green:62/255, blue:80/255, alpha:1)
alertController.buttonBgColor[.Default] = UIColor(red: 46/255, green:204/255, blue:113/255, alpha:1)
alertController.buttonBgColorHighlighted[.Default] = UIColor(red:64/255, green:212/255, blue:126/255, alpha:1)
注意点
- キャンセルアクションは一つしか追加できません。
- Action Sheetを選択した場合、UITextFieldの表示はできません。
(どちらもUIAlertControllerと同じ仕様です。)
さいごに
一見大したことなさそうですが、一から自分で作ってみるととてもいい勉強になりました。
これから自作される方の参考になれば幸いです。