Swift+SpriteKit
WWDC2014で iOSアプリの新たな開発言語である「Swift」が登場しました。
今回はゲームのフレームワーク「SpriteKit」を使って簡単なゲームを作ってみたいと思います。
Xcode6 Beta をダウンロードします.
iOSDevCenterからDLできます。
(iOS Developer Programへの登録(有償)が必要です)
https://developer.apple.com/devcenter/ios/index.action
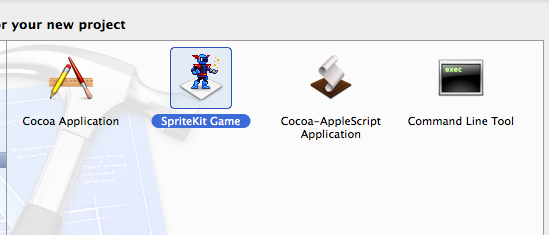
iOS>Application>Gameを選択します
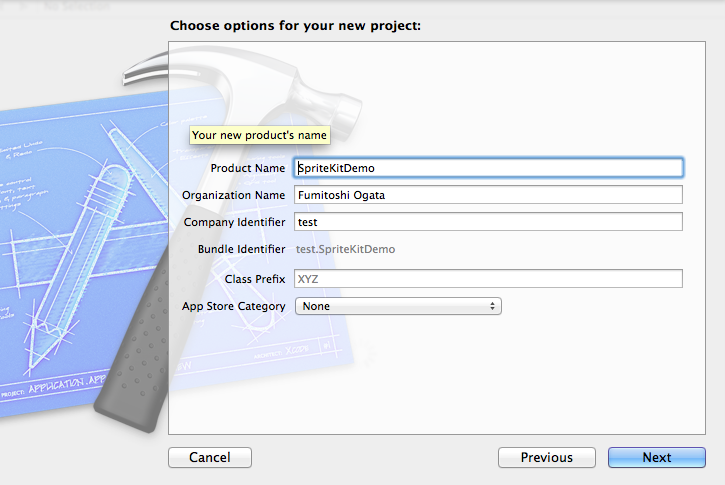
ProductNameを適当に入力、Languageに「Swift」を選択、GameTechnologyを「SpriteKit」にします
プロジェクトが開きます。
今回使用するのはGameScene.swift(ゲームロジック)です。確認してみましょう。
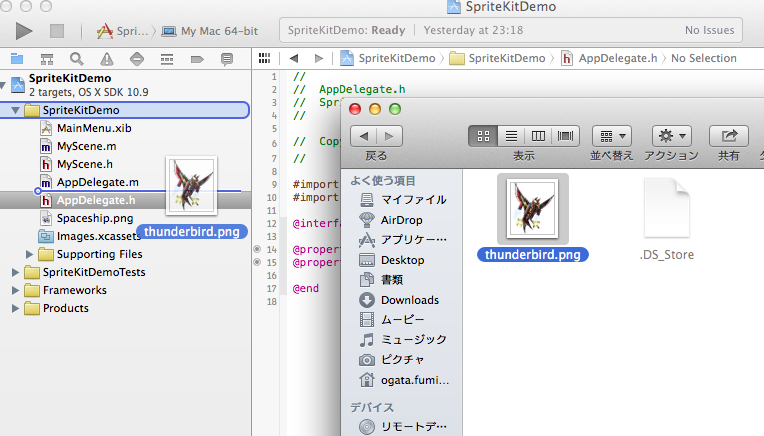
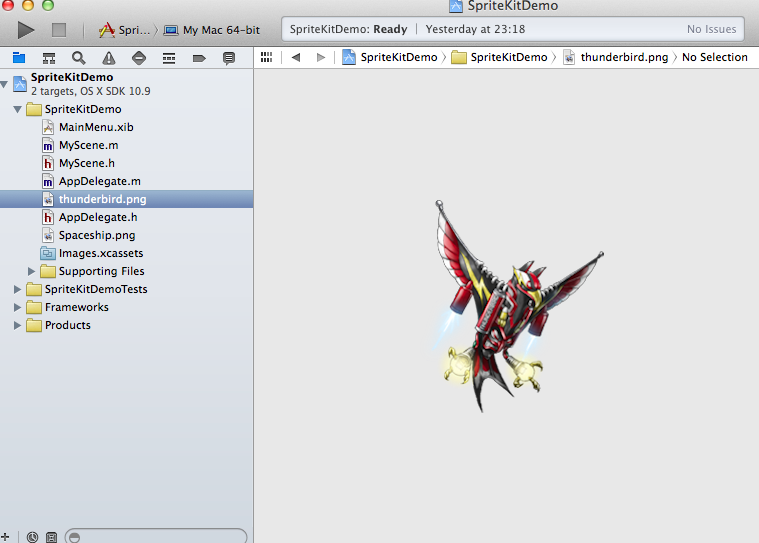
画像を用意してプロジェクトフォルダにDrag&Dropで突っ込みます。入れた画像は右下のwindowに表示されます。
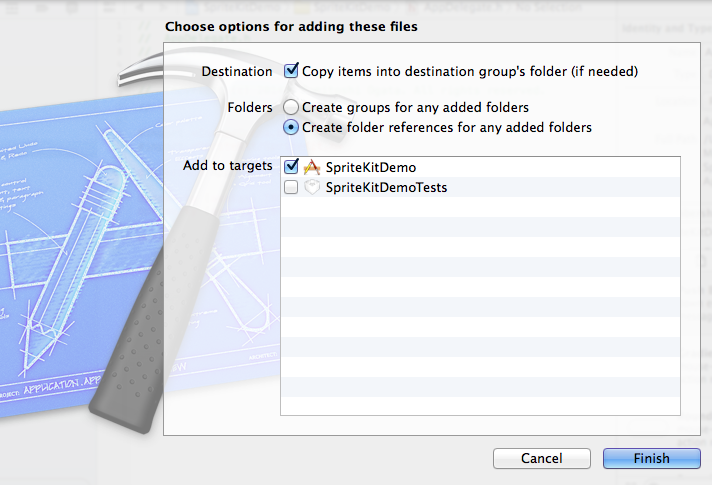
画像を移動するときはCopy Imagesにチェックを入れるようにしましょう
必要な画像はすべて読み込みます
今回は「シアンのゆりかご」
http://cyanyurikago.web.fc2.com/
からフリーの画像素材
背景 "bg-space1.png"
プレイヤー "thunderbird.png"をお借りしました。
ターゲットマーカーはお手製です。 "marker.png"
GameScene.swiftにゲームロジックを書きます。
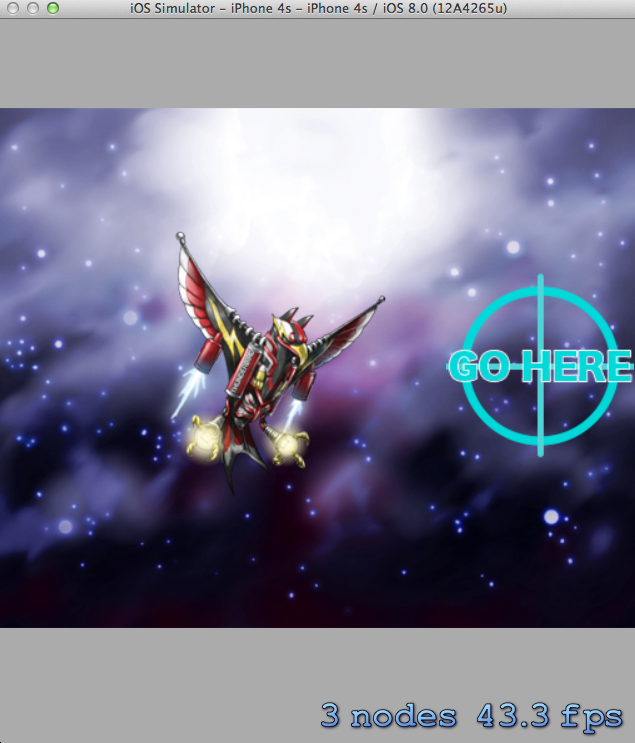
(ユーザーがタップした場所にターゲットマーカーが表示され、
それに追従してプレイヤーが移動するという簡単なゲームサンプルです)
import SpriteKit

class GameScene: SKScene {

    var player : SKSpriteNode!
    var targetMarker : SKSpriteNode!

    override func didMoveToView(view: SKView) {
        //背景画像。SKSPriteNodeで画像を読み込む。
        let backGround = SKSpriteNode(imageNamed:"bg-space1.png")
        self.addChild(backGround)
        backGround.position = CGPointMake(500,300)

        //画面をタッチした場所を示すターゲットマーカー
        self.targetMarker = SKSpriteNode(imageNamed:"marker.png")
        self.addChild(targetMarker)
        self.targetMarker.position = CGPointMake(300,300)

        //プレイヤーとなるキャラクター画像
        self.player = SKSpriteNode(imageNamed:"thunderbird.png")
        self.addChild(player)
        self.player.position = CGPointMake(300,300)
    }

    override func touchesBegan(touches: NSSet, withEvent event: UIEvent) {
        /* Called when a touch begins */
        for touch: AnyObject in touches {
            let location = touch.locationInNode(self)
            //タッチした場所にターゲットマーカーを動かす
            self.targetMarker.position = location
        }
    }

    override func update(currentTime: CFTimeInterval) {
        /* Called before each frame is rendered */
        //ターゲットマーカーの場所にプレイヤーを移動させる。
        if(self.player.position.x < self.targetMarker.position.x){
            self.player.position.x += 1;
        }else if(self.player.position.x > self.targetMarker.position.x){
            self.player.position.x -= 1;
        }
        if(self.player.position.y < self.targetMarker.position.y){
            self.player.position.y += 1;
        }else if(self.player.position.y > self.targetMarker.position.y){
            self.player.position.y -= 1;
        }
    }
}
シュミレーターで実行してみます。
おしまい
ということで、SwiftとSpriteKitを使えば、非常に簡単にiOS用のゲームを作成することができます。
Cocos2d-xを使っていた人などは違和感なく使うことができそうです。Let's enjoy Swift!!
