方法としては以下のリンクのように行います。
http://blogios.stack3.net/archives/1944
これをSwiftで行う方法が本エントリです。
手順は
- xibでレイアウトを作る
- swift側のinitでxibをaddsubviewする
といった流れになります。
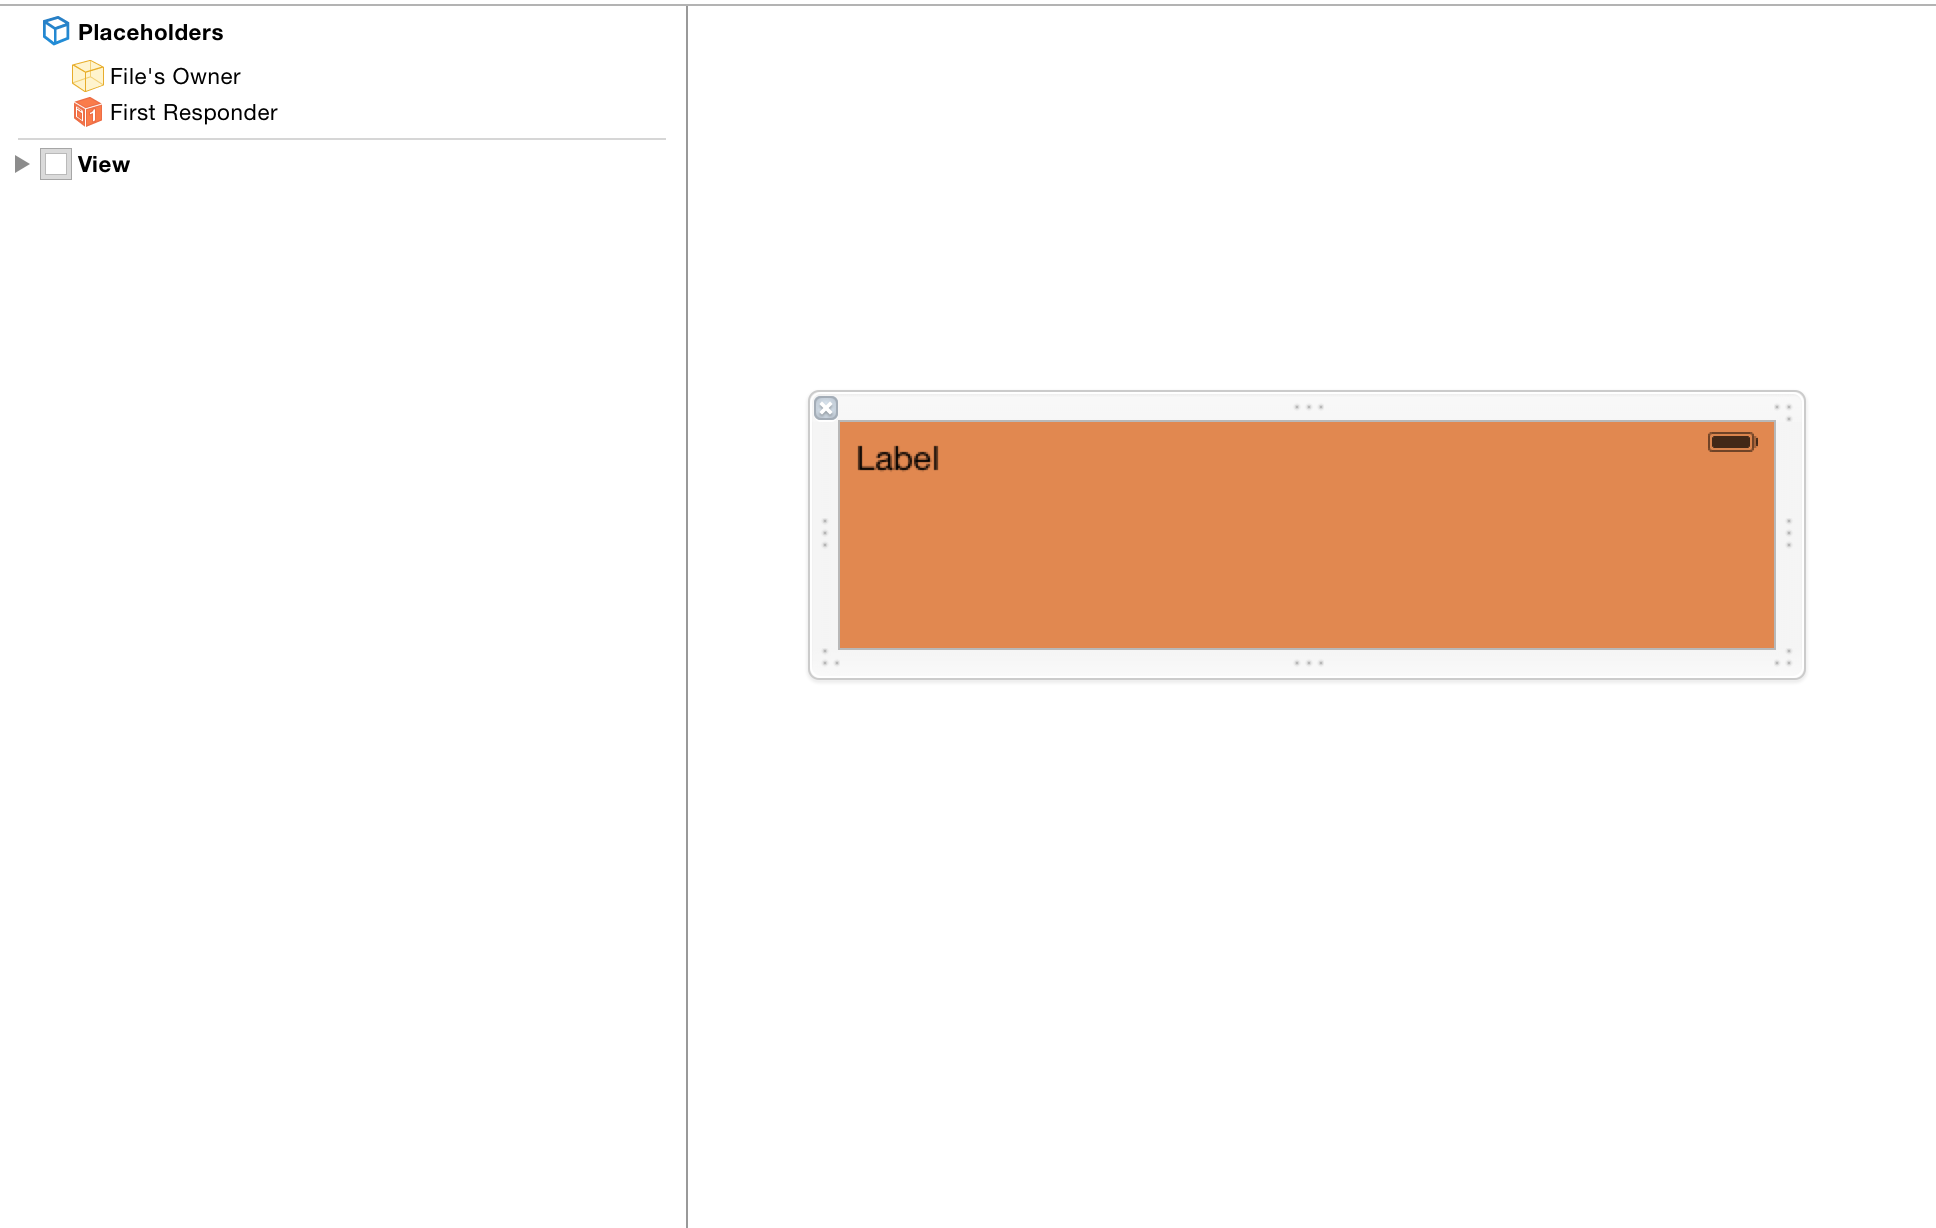
まずはNew File>iOS/User Interface>ViewからCustomView.xibを作り、適当にレイアウトします。
次にCustomView.swiftを作り、以下のように編集します。
required init(coder aDecoder: NSCoder) {
        super.init(coder: aDecoder)
        self.customViewCommonInit()
    }

    func customViewCommonInit(){
        let view = NSBundle.mainBundle().loadNibNamed("CustomView", owner: self, options: nil).first as! UIView
        view.frame = self.bounds
        view.setTranslatesAutoresizingMaskIntoConstraints(true)
        view.autoresizingMask = UIViewAutoresizing.FlexibleWidth|UIViewAutoresizing.FlexibleHeight
        self.addSubview(view)
    }
少し解説をいれると、init(coder aDecoder: NSCoder)はStoryboardからCustomViewが呼ばれる際に呼ばれるイニシャライザです。
ここでプレーンなUIviewを生成した後、customViewCommonInitメソッドでxibからロードしたviewを取得し、addsubviewします。
最後にxibに戻り、File's OwnerのCustom ClassをCustomViewに指定して終了。
StoryboardでUIViewを貼り付けて、Custom ClassをCustomViewに指定すればStoryboardからxibでレイアウト指定したカスタムビューを貼ることが出来ます。
コードから呼ぶ場合はinit()やinit(frame:frame)に同様の処理をしてください。
