elFinderはサーバ上のフォルダやファイルを簡単に操作するためのファイルマネージャ用のライブラリです(JavaScript+PHPで作られていて、ライセンスは修正BSDです)。
- WindowsのエクスプローラやMacのFinderのような操作感
- ドラッグ & ドロップでファイルの追加(アップロード)ができる
- フォルダをドロップするとフォルダごと一式アップロードできる
- サーバ上のテキストファイルの簡易編集ができる
- ファイルやフォルダをZIPで圧縮してダウンロードできたりサーバ上で解凍できる
- 他のファイルマネージャのライブラリに比べて外観がまとも
のような特長があります。(DropboxやGoogle Driveなどとの連携、TinyMCEやCKEditorとの連携もできるそうですが、今のところ必要になったことが無いので使ったことはありません… → [2016/06/10] TinyMCEとの連携の説明を追加しました。「TinyMCE: elFinderと連携して画像アップロードと選択機能を追加する」を参考にしてください)
この文書では、elFinderの基本的な設置方法とよくある問題の対応方法を説明します。
1. 配布サイトからファイルをダウンロードする
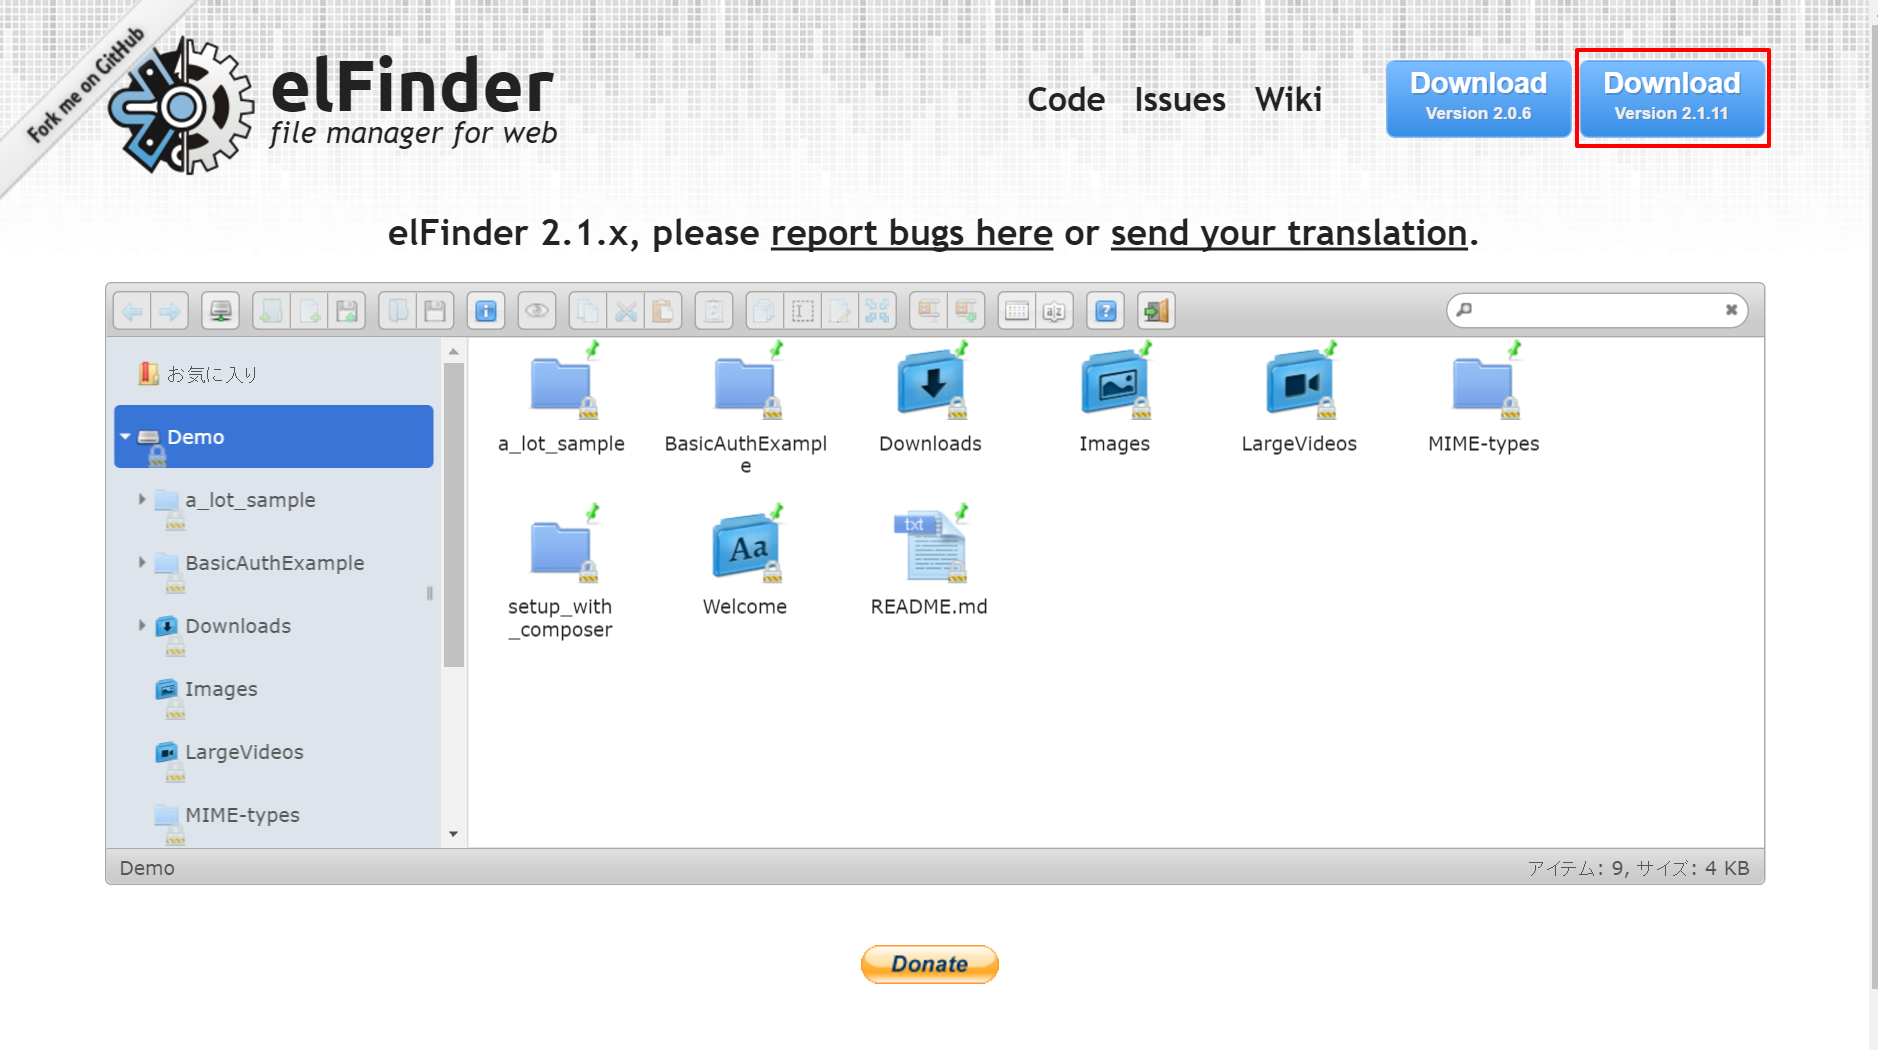
まず http://studio-42.github.io/elFinder/ からファイルをダウンロードして下さい。
2016/05/03時点の最新は2.1.11です。
2. 設置する
1でダウンロードしたelFinder-2.1.11.zipを解凍してサーバ上に配置してください。
ローカル環境のドキュメントルートフォルダの直下に配置した場合は http://localhost/elFinder-2.1.11/elfinder.html にアクセスするとページが表示されます。(フォルダ名などを変えるのは自由です)
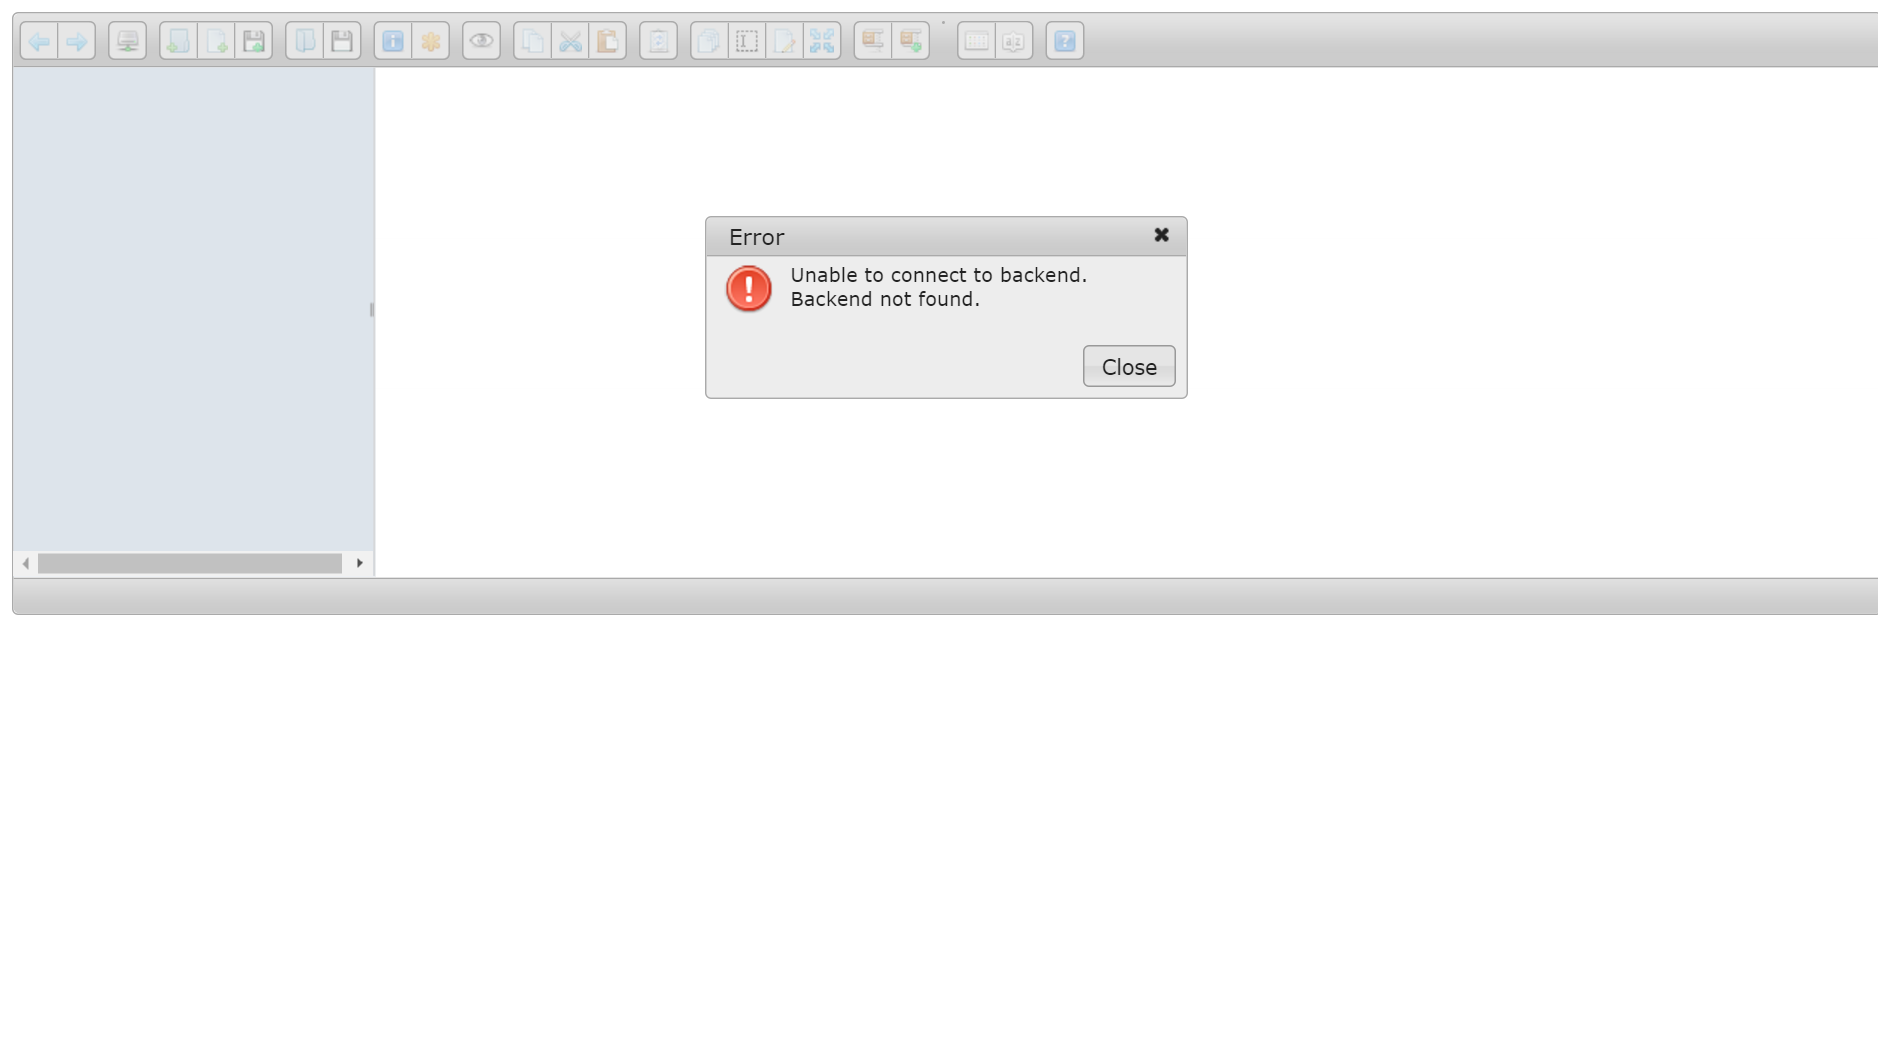
「Unable to connect to backend. Backend not found.」(バックエンドに接続できません。バックエンドが見つかりません) というエラーが出てきますが、これは設定ファイル(php/connector.minimal.php)が有効になっていないためです。
elFinderのphpフォルダの中にある「connector.minimal.php-dist」というファイルの名前を「connector.minimal.php」に変更してからページを再読み込みしてください。
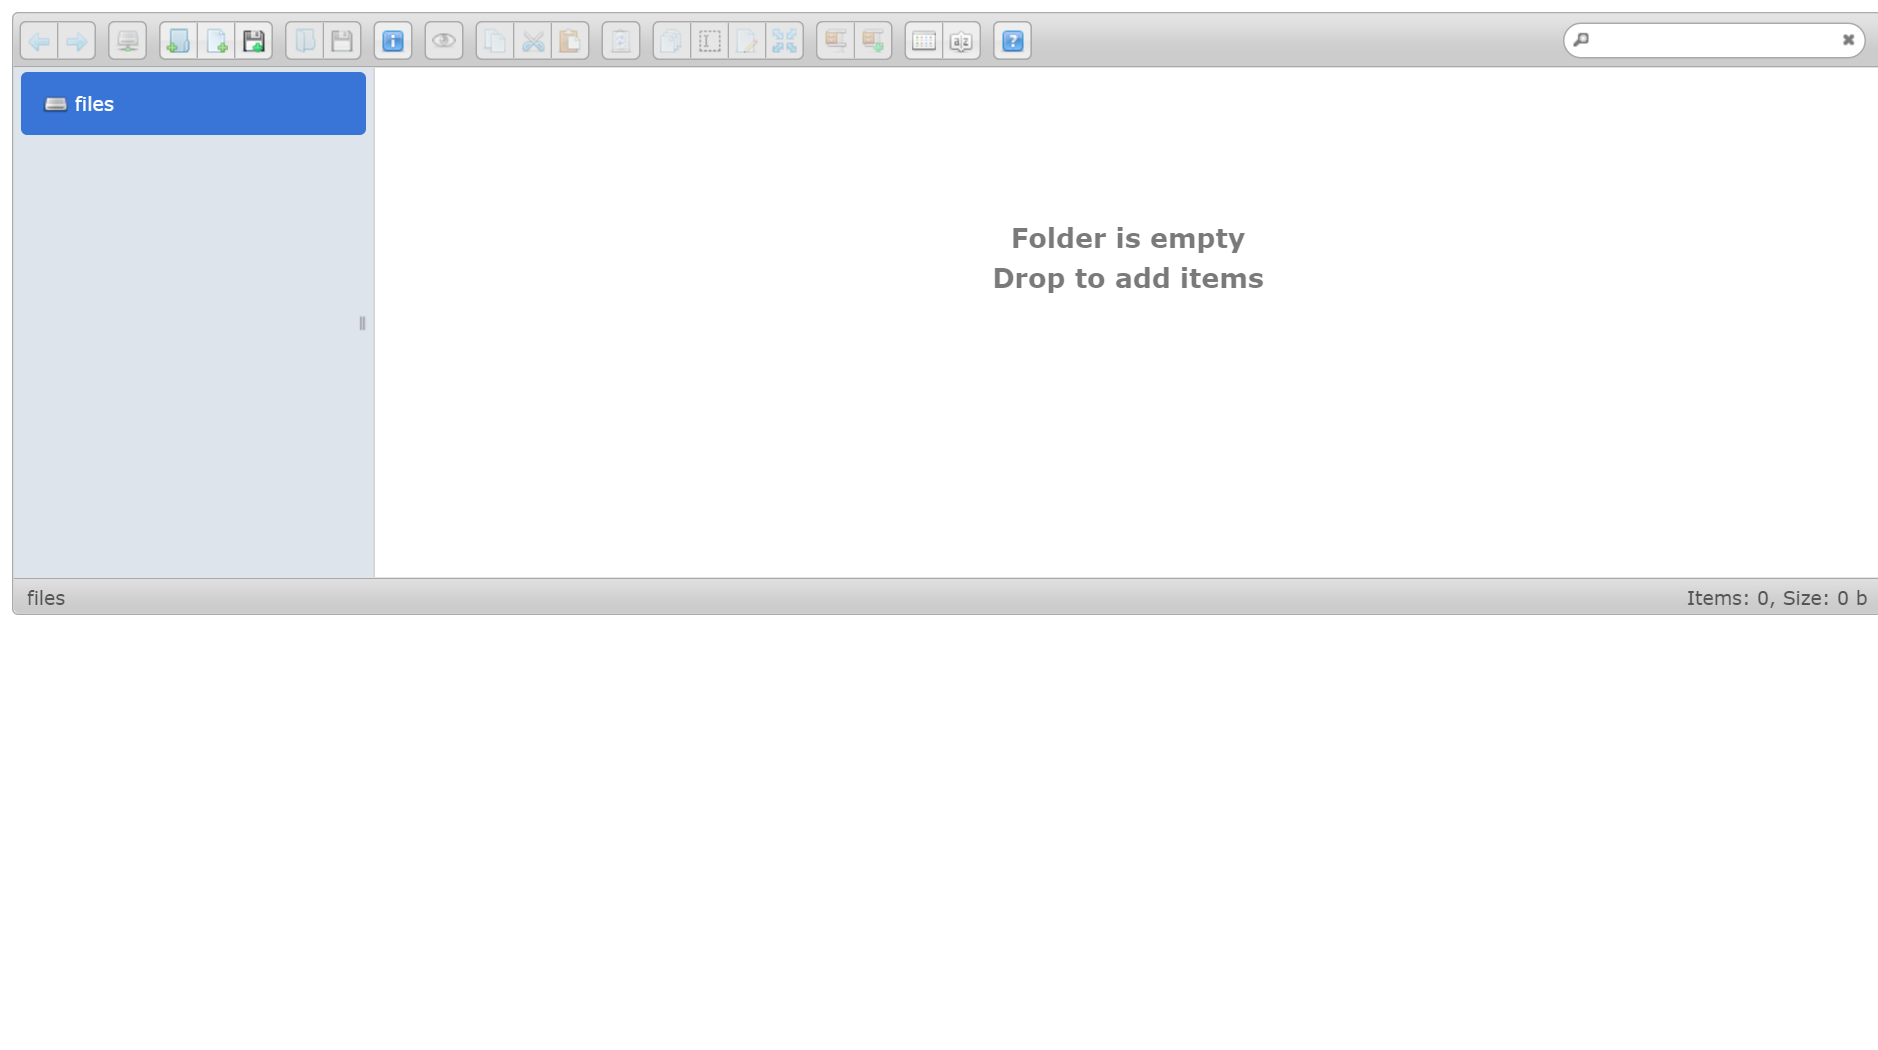
再読み込みすると上記のような「Folder is empty」「Drop to add items」(フォルダーが空です。ドロップしてファイルやフォルダを追加してください) という表示に変わります。
これでまずは最低限の設置ができました。初期状態ではelFinderのfilesというフォルダ内にファイルやフォルダを追加することができます。
(サーバがWindowsの場合は、日本語のフォルダやファイルはこの時点ではまだ文字化けしてしまいますので注意してください。文字化けの対処は後述します)
3. elFinderを日本語化する
2.だけでも最低限使用することはできますが、説明などが英語なので日本の人に使ってもらう場合は日本語化しましょう。
日本語化は、elFinderフォルダ内にあるelfinder.htmlを2箇所変えるだけです。
変更前
		<!-- elFinder translation (OPTIONAL) -->
		<!--<script src="js/i18n/elfinder.ru.js"></script>-->

		<!-- elFinder initialization (REQUIRED) -->
		<script type="text/javascript" charset="utf-8">
			// Documentation for client options:
			// https://github.com/Studio-42/elFinder/wiki/Client-configuration-options
			$(document).ready(function() {
				$('#elfinder').elfinder({
					url : 'php/connector.minimal.php'  // connector URL (REQUIRED)
					// , lang: 'ru'                    // language (OPTIONAL)
				});
			});
		</script>
変更後
		<!-- elFinder translation (OPTIONAL) -->
        <script src="js/i18n/elfinder.jp.js"></script>

		<!-- elFinder initialization (REQUIRED) -->
		<script type="text/javascript" charset="utf-8">
			// Documentation for client options:
			// https://github.com/Studio-42/elFinder/wiki/Client-configuration-options
			$(document).ready(function() {
				$('#elfinder').elfinder({
					url : 'php/connector.minimal.php'  // connector URL (REQUIRED)
					, lang: 'jp'                    // language (OPTIONAL)
				});
			});
		</script>
やっていることは
- 言語ファイルを読み込むscriptタグのコメントを外して、elfinder.jp.js という日本語用ファイルを読みこませるようにする
- elFinder起動時の言語設定のコメントを外して、「
, lang: 'jp'」という形で日本語を指定する
の2点のみです。
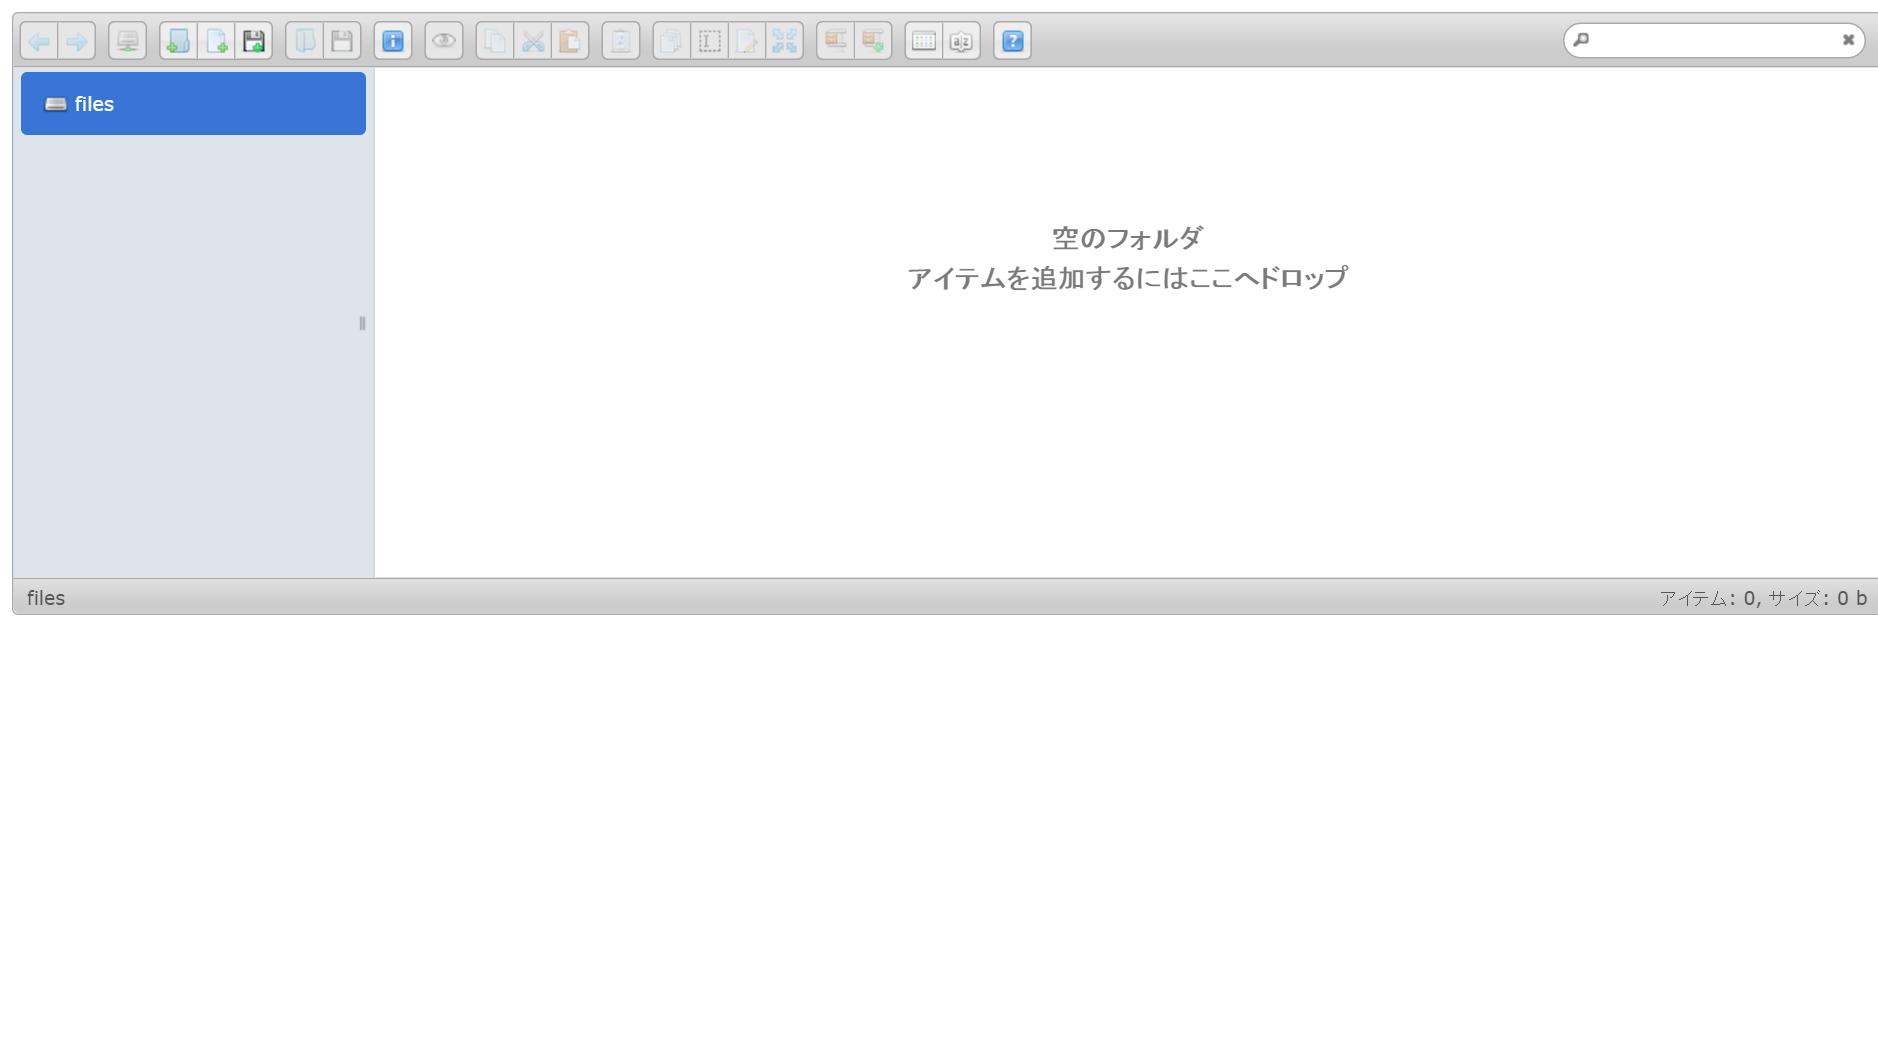
うまくいくと上記のようにメッセージが日本語化されます。
4. アップロードできるファイルの種類を変更する
elFinder 2.1.11では、初期状態だとアップロードが許可されているファイルの種類がテキストファイルと画像ファイルのみになっているようです。
変更するにはelFinderのphpフォルダにある「connector.minimal.php」を編集します。
ファイルの下部に下記のように設定が記載されていますので、この部分の「uploadAllow」となっている行を変更します。
// Documentation for connector options:
// https://github.com/Studio-42/elFinder/wiki/Connector-configuration-options
$opts = array(
	// 'debug' => true,
	'roots' => array(
		array(
			'driver'        => 'LocalFileSystem',           // driver for accessing file system (REQUIRED)
			'path'          => '../files/',                 // path to files (REQUIRED)
			'URL'           => dirname($_SERVER['PHP_SELF']) . '/../files/', // URL to files (REQUIRED)
			'uploadDeny'    => array('all'),                // All Mimetypes not allowed to upload
			'uploadAllow'   => array('image', 'text/plain'),// Mimetype `image` and `text/plain` allowed to upload
			'uploadOrder'   => array('deny', 'allow'),      // allowed Mimetype `image` and `text/plain` only
			'accessControl' => 'access'                     // disable and hide dot starting files (OPTIONAL)
		)
	)
);
変更後例 (わかりやすいように1行のみ記載していますが、uploadAllow以外の行も残しておいてください)
'uploadAllow' => array('all'),// Mimetype `image` and `text/plain` allowed to
「'all'」だとすべてのファイルの種類を許可したことになります。
特定の種類のみ許可したい場合はMIMEタイプ(メールやHTTP通信で使用されているファイルの種類名のことです)で種類を指定します。例えばExcelファイル(.xlsや.xlsx)の場合は「'application/vnd.ms-excel'」、PNGやJPEGの場合は「'image/png'」や「'image/jpeg'」、画像全部だと「'image'」です。(複数指定する場合は半角カンマ(,)で区切ります)
何を指定すればいいかはelFinderフォルダの中にある「mime.types」というファイルにMIMEタイプと拡張子の対応表が記載されているのでそれを見てもらうとよいです。
5. 初期表示するフォルダを変更する
配置したままだと、elFinderで初期表示されるフォルダはelFinderのfilesというフォルダになります。変更するにはelFinderのphpフォルダにある「connector.minimal.php」を編集します。(4と同じです)
			'path'          => '../files/',                 // path to files (REQUIRED)
			'URL'           => dirname($_SERVER['PHP_SELF']) . '/../files/', // URL to files (REQUIRED)
「elFinderのフォルダの外にあるdataフォルダにしたい」という場合は
			'path'          => '../../data/',                 // path to files (REQUIRED)
			'URL'           => dirname($_SERVER['PHP_SELF']) . '/../../data/', // URL to files (REQUIRED)
になります。
6. Windows環境で日本語ファイルを使用できるようにする
OSの文字コードがUTF-8のサーバであれば問題ありませんが、Windowsなど文字コードが異なるサーバだと日本語のファイルが表示されなくなる問題が出てきます。
これを解決するには4や5と同じくelFinderのphpフォルダにある「connector.minimal.php」を編集します。
// Documentation for connector options:
// https://github.com/Studio-42/elFinder/wiki/Connector-configuration-options
$opts = array(
	// 'debug' => true,
	'roots' => array(
		array(
			'driver'        => 'LocalFileSystem',           // driver for accessing file system (REQUIRED)
			'path'          => '../files/',                 // path to files (REQUIRED)
			'URL'           => dirname($_SERVER['PHP_SELF']) . '/../files/', // URL to files (REQUIRED)
			'uploadDeny'    => array('all'),                // All Mimetypes not allowed to upload
			'uploadAllow'   => array('image', 'text/plain'),// Mimetype `image` and `text/plain` allowed to upload
			'uploadOrder'   => array('deny', 'allow'),      // allowed Mimetype `image` and `text/plain` only
			'accessControl' => 'access'                     // disable and hide dot starting files (OPTIONAL)
            , 'encoding'    => 'CP932' // 追加
		)
	)
);
「, 'encoding' => 'CP932'」(カンマが必要です)の部分が追加する部分です。CP932はWindowsの文字コードです。(Shift_JISの拡張)
技術的な補足: elFinderはサーバ上のファイル名のエンコーディングとページ上で表示するエンコーディング(UTF-8)の相互変換にmb_convert_encoding()ではなくiconv()を使用しています。このことはelFinderVolumeDriver.class.phpのconvEnc()メソッドを見るとわかりますし、マニュアルのencodingオプションの説明にも記載があります。(https://github.com/Studio-42/elFinder/wiki/Connector-configuration-options-2.1#encoding 「This volume's local encoding. (server's file system encoding) It's necessary to be valid value to iconv.」「このボリュームのローカルエンコーディング(サーバのファイルシステムエンコーディング)。iconvの有効な値が必要」)
そのため、mb系の関数で使われている sjis-win などを指定してもエラーになります。
注意: もしelFinderをWindowsで使う場合は気をつけて使用してください。elFinderに限らずですが、PHPのファイル系の関数やクラスはもともとShift_JIS(CP932)の扱いがうまくなく、いわゆる5C問題に関係する文字(「表」「予」)などがフォルダやファイル名に含まれているとファイルがあるのに表示されないなど予期しない問題が起こることがあります。
- Shift_JIS #4. 2バイト目が5C等になりうることによる問題 - Wikipedia
-
Windows環境のPHPで日本語ファイルパスを扱う場合の注意点 - k-holyのPHPとか諸々メモ
- elFinderが内部でSplFileInfoなどを使用しているので、どうしても5C文字が含まれる場所でelFinderを使いたい場合はelFinderVolumeLocalFileSystem#_scandir()や_stat()などで使用されているファイル系の処理にいろいろ手を入れないといけないです
7. .htaccessなどのファイルを表示・編集できるようにする
elFinder 2.1では.htaccessなどのドットファイル(先頭にドットが付いている隠しファイル)は初期状態で表示されないようになっています。elFinderを開発・テスト用に使用するときに.htaccessなどを表示・編集したい場合もelFinderのphpフォルダにある「connector.minimal.php」を編集することで対応できます。
変更前
function access($attr, $path, $data, $volume) {
	return strpos(basename($path), '.') === 0       // if file/folder begins with '.' (dot)
		? !($attr == 'read' || $attr == 'write')    // set read+write to false, other (locked+hidden) set to true
		:  null;                                    // else elFinder decide it itself
}
変更後
function access($attr, $path, $data, $volume) {
	/*
	return strpos(basename($path), '.') === 0       // if file/folder begins with '.' (dot)
		? !($attr == 'read' || $attr == 'write')    // set read+write to false, other (locked+hidden) set to true
		:  null;                                    // else elFinder decide it itself
	*/
	return null;
}
技術的な補足: elFinder 2.1ではアクセス制御として「read」(読み取り)「write」(書き込み)「hidden」(非表示)「locked」(ロック)の4種類の制御タイプがあり、ドットファイル系は上記のaccess()関数でread, writeがfalse(無効)、hidden, lockedがtrue(有効)になっているので、すべてnullを返すことで通常ファイルと同じように読み書きができるようにします。(elFinderが内部用に自動で作る.tmbや.quarantineも出てくるようになるので消したい場合は条件を追加する必要がありますが、この設定は開発やテスト用にしか適用しないと思うのでそのままでもいいと思います)


