29
29

Delete article

Deleted articles cannot be recovered.

Draft of this article would be also deleted.

Are you sure you want to delete this article?

More than 5 years have passed since last update.

Unity iOS でデバッグコンソールを出力するまで

Last updated at Posted at 2014-05-03

プロビジョニングファイルと登録済み端末を用意する。
これがなければはじまらない。

unity-log.png

Unity側の作業

ログ出力コードを記述

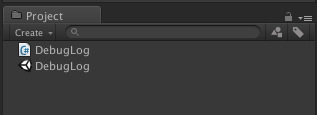
新規C#を作成

DebugLog.cs
using UnityEngine;
using System.Collections;

public class DebugLog : MonoBehaviour
{
	void Start ()
	{
		Debug.Log("hello");	
	}
}

適当なGameObject(今回はMainCamera)に追加する
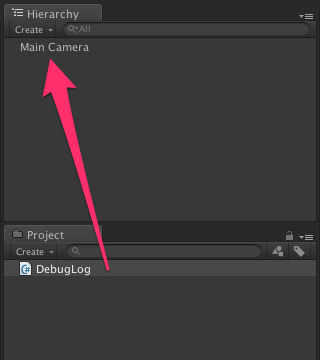
add-component.png

シーンを保存する
save-scene.png

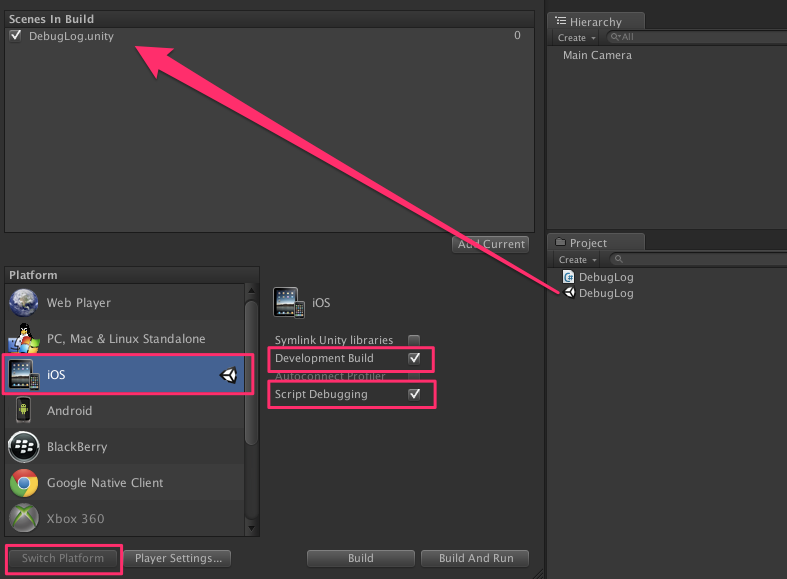
ビルド設定

File > BuildSettings

build-settings.png

  1. シーンを追加
  2. iOSを選び [Switch Platrom]
  3. Development Build と Script Debugging にチェックをつける

ビルドする

Xcode projectの保存先をきめてビルド開始。
完了したら Unity-iPhone.xcodeproj を開く。

Xcode側の作業

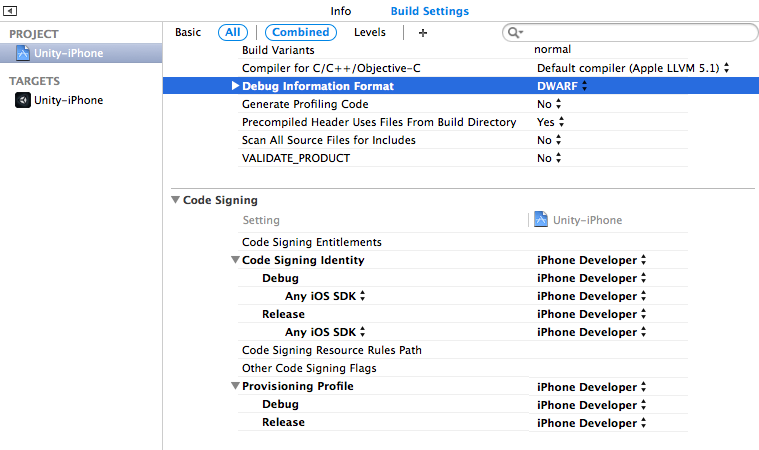
署名などを設定する。
Debug information Format を DWARF にしておくと dSYM がスキップされて処理が速くなるらしい。

xcode.png

で iphone つないだ状態で ⌘R で実機転送。
View > Debug Area > Active Console でコンソールがでてくる。
console-log.png

29
29
0

Register as a new user and use Qiita more conveniently

  1. You get articles that match your needs
  2. You can efficiently read back useful information
  3. You can use dark theme
What you can do with signing up
29
29

Delete article

Deleted articles cannot be recovered.

Draft of this article would be also deleted.

Are you sure you want to delete this article?