とりあえず最低限の機能だけ実装して、どんな感じかみてみる。
UNETの概要については下記の記事を参照
http://tsubakit1.hateblo.jp/entry/2015/06/13/233000
http://tips.hecomi.com/entry/2015/08/14/220030
こんな感じのものを作ってみる
マルチプレイで、ステージ上の標的を弾丸でうつというだけのもの。
下準備
まずは必要なオブジェクトをヒエラルキーに置いていく。
-
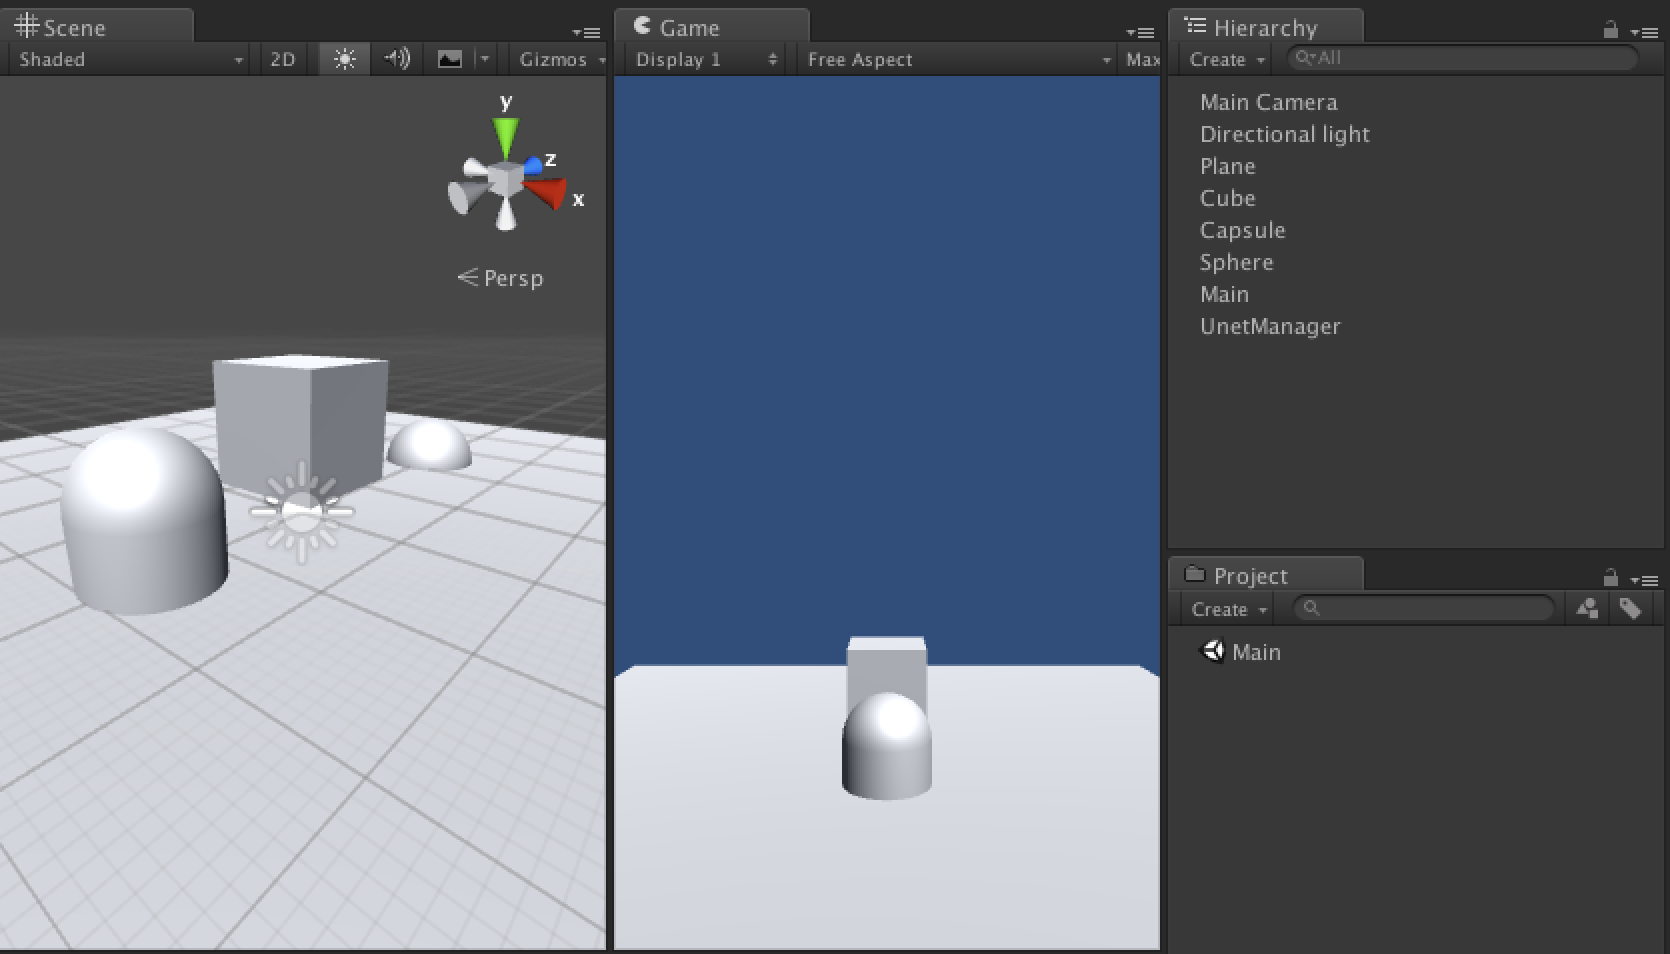
標的(Cube)と、弾丸(Sphere)、プレイヤー(Capsule)、床(Plane)を配置
制御用に空の GameObject を2つ、Main と UnetManager を置く
-
ネットワーク共有させるオブジェクト、標的(Cube)と、弾丸(Sphere)、プレイヤー(Capsule)、それぞれに
NetworkTransformをアタッチ、Sync Mode をSync transformにする。(NetworkTransformをアタッチするとNetworkIdentityも自動的にアタッチされる) -
プレイヤー(Capsule)のインスペクタの
NetworkIdentityにあるLocal Players and Authorityにチェックをつける
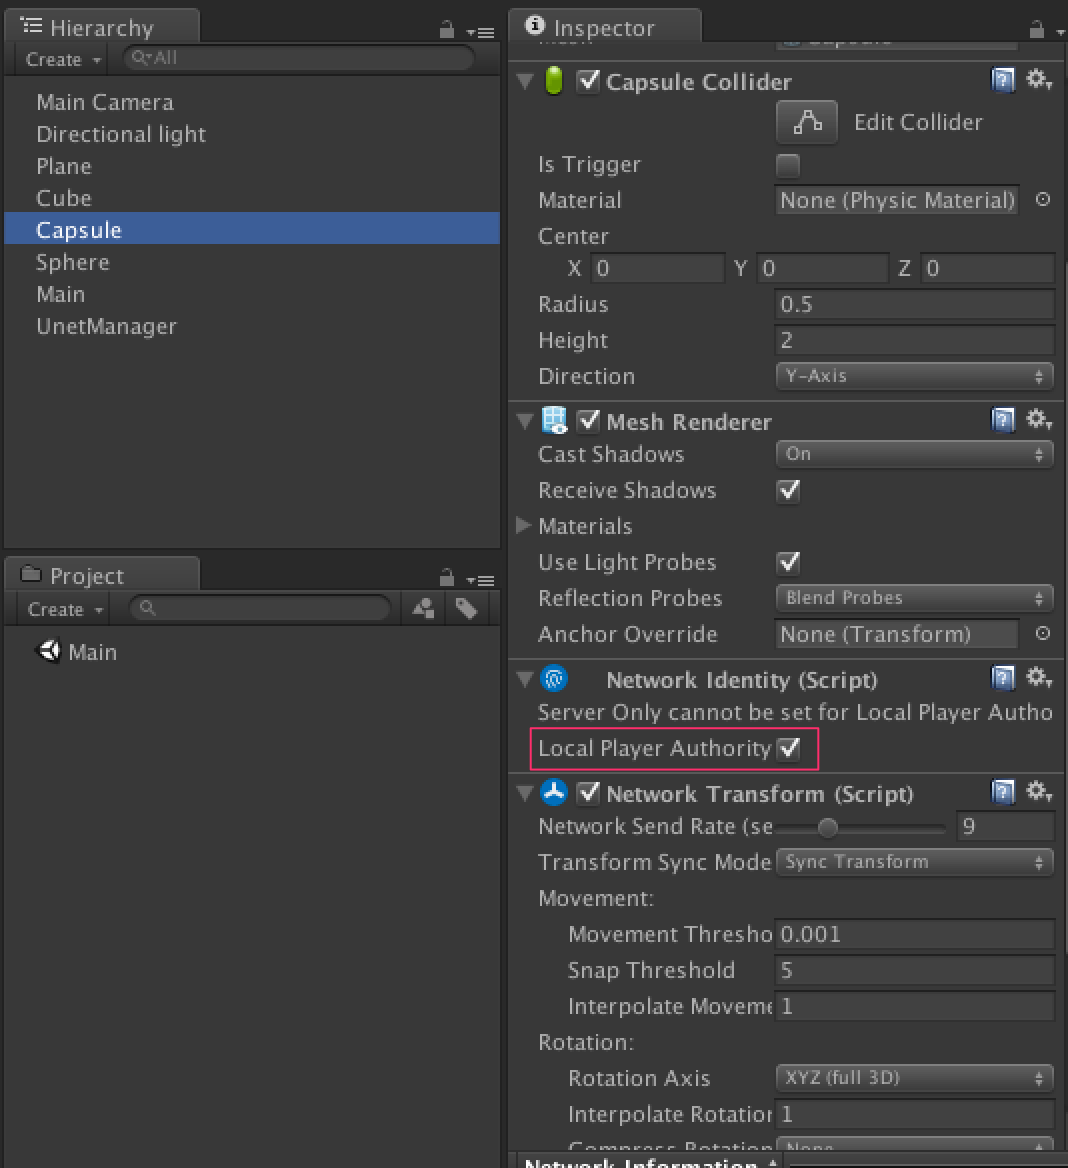
-
Cube には Rigidbody を付けておく
-
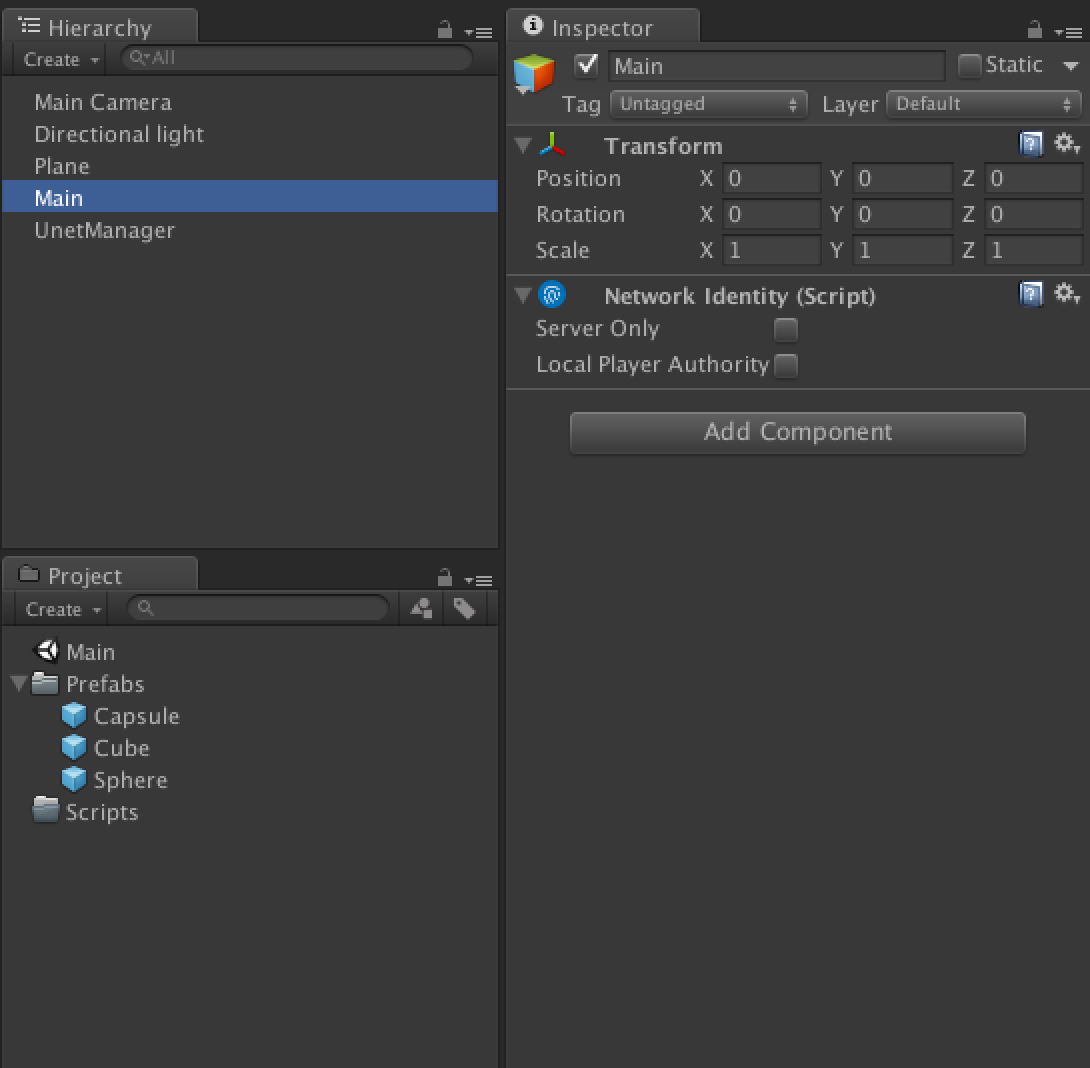
空の GameObject (Main)に
NetworkIdentityをアタッチ -
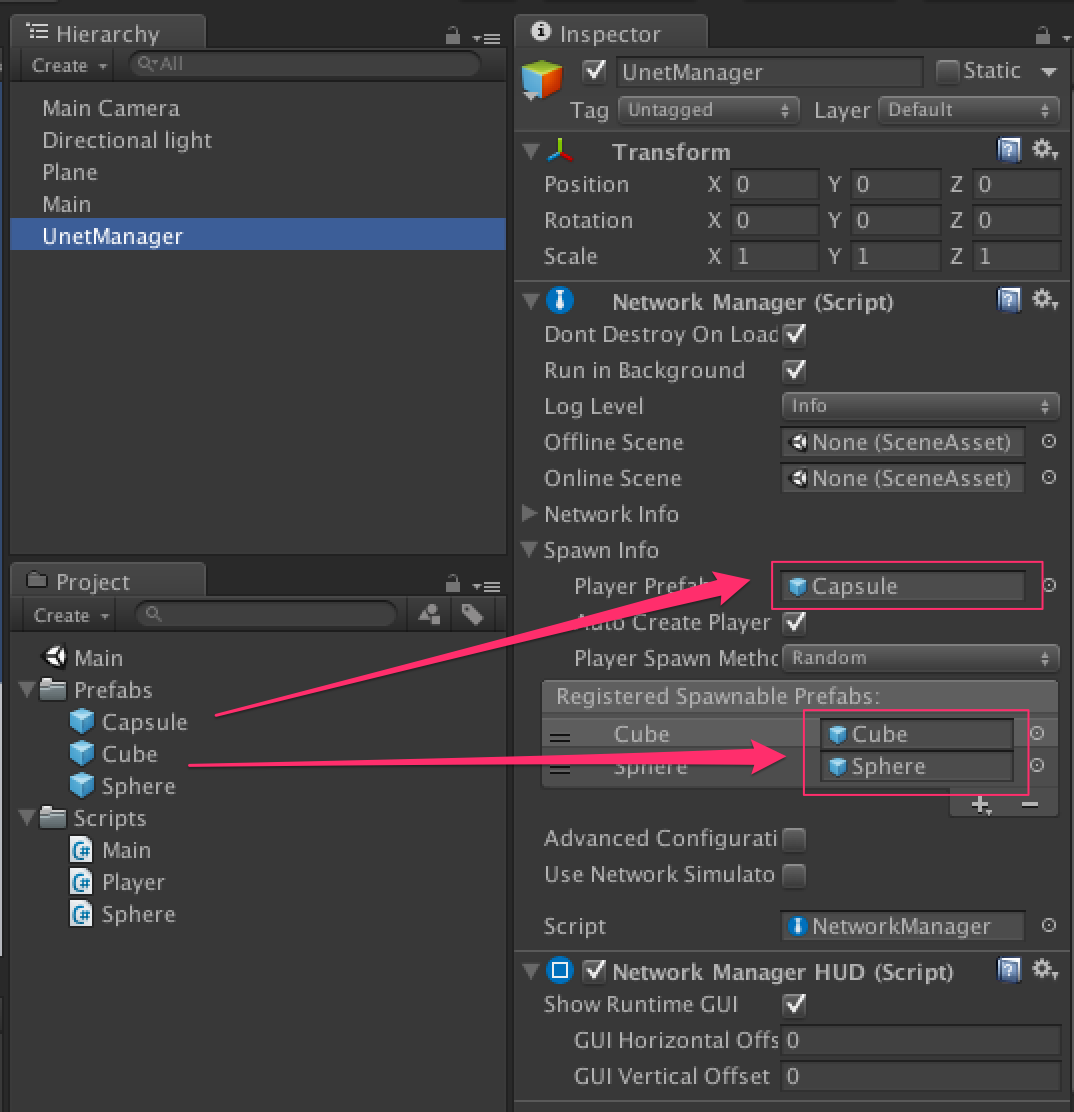
UnetManager に、
NetworkManagerおよびNetworkManagerHUDをアタッチ -
Cube と Sphere、 Player を Prefab 化し、ヒエラルキー上から削除する(
NetworkManagerが配置する)
スクリプトを実装する
Cube を適当なタイミングで生成する、Main.cs
これは空の GameObject(Main)にアタッチする。
ネットワーク系の操作を行うので、NetworkBehaviour を継承させる。
オブジェクトの生成は Instantiate で行うのは通常どおり。ネットワークで共有するには NetworkServer.Spawn にオブジェクトを渡すが、これは Command attribute で行う必要がある。
using UnityEngine;
using UnityEngine.Networking;
using System.Collections;

public class Main : NetworkBehaviour
{
    public GameObject Cube;

    void Start ()
    {
    }

    void Update ()
    {
        if (Time.frameCount % 300 == 0)
        {
            CmdCreateCube ();
        }
    }

    [Command]
    void CmdCreateCube()
    {
        GameObject obj = (GameObject) Instantiate (Cube, transform.position, transform.rotation);
        NetworkServer.Spawn (obj);
    }
}
アタッチしたら、インスペクタの Cube プロパティに、Cube Prefab を設定。
弾丸用クラス Sphere.cs
こちらはすごく単純にただ飛んで行くだけのオブジェクト。Sphere Prefab にアタッチする
using UnityEngine;
using System.Collections;

public class Sphere : MonoBehaviour
{
    void Start()
    {
        Destroy(gameObject, 5f);
    }

    void Update()
    {
        transform.position += transform.forward * 2.0f;
    }
}
プレイヤーの制御を行う、Player.cs
次にプレイヤーの実装。Player Prefab にアタッチする。
アローキーで移動して、スペースキー押下で、Sphere を射出させるのだけのスクリプト。これも、NetworkBehaviour を継承させておく。
射出した弾丸(Sphere)は、Main.cs と同様に NetworkServer.Spawn で共有させる。
操作を反映させたいのは、自分自身のオブジェクト(local)だけなので、 isLocalPlayer で判定する。
using UnityEngine;
using UnityEngine.Networking;
using System.Collections;

public class Player : NetworkBehaviour
{
    public GameObject Sphere;

    void Start ()
    {
    }

    void Update ()
    {
        if (isLocalPlayer == true)
        {
            if (Input.GetKey (KeyCode.Space))
            {
                CmdSphere ();
            }

            Move ();
        }
    }

    void Move()
    {
        if (Input.GetKey (KeyCode.UpArrow))
        {
            transform.position += transform.forward * 0.2f;
        }

        if (Input.GetKey (KeyCode.DownArrow))
        {
            transform.position += transform.forward * -0.2f;
        }

        if (Input.GetKey (KeyCode.LeftArrow))
        {
            transform.position += transform.right * -0.2f;
        }

        if (Input.GetKey (KeyCode.RightArrow))
        {
            transform.position += transform.right * 0.2f;
        }
    }

    [Command]
    void CmdSphere()
    {
        GameObject obj = (GameObject) Instantiate (Sphere, transform.position, transform.rotation);
        NetworkServer.Spawn (obj);
    }
}
アタッチしたら、インスペクタの Sphere プロパティに、Sphere Prefab を設定。
ネットワーク系を設定する
NetworkManager のインスペクタに Player と Spawn オブジェクトを登録する。
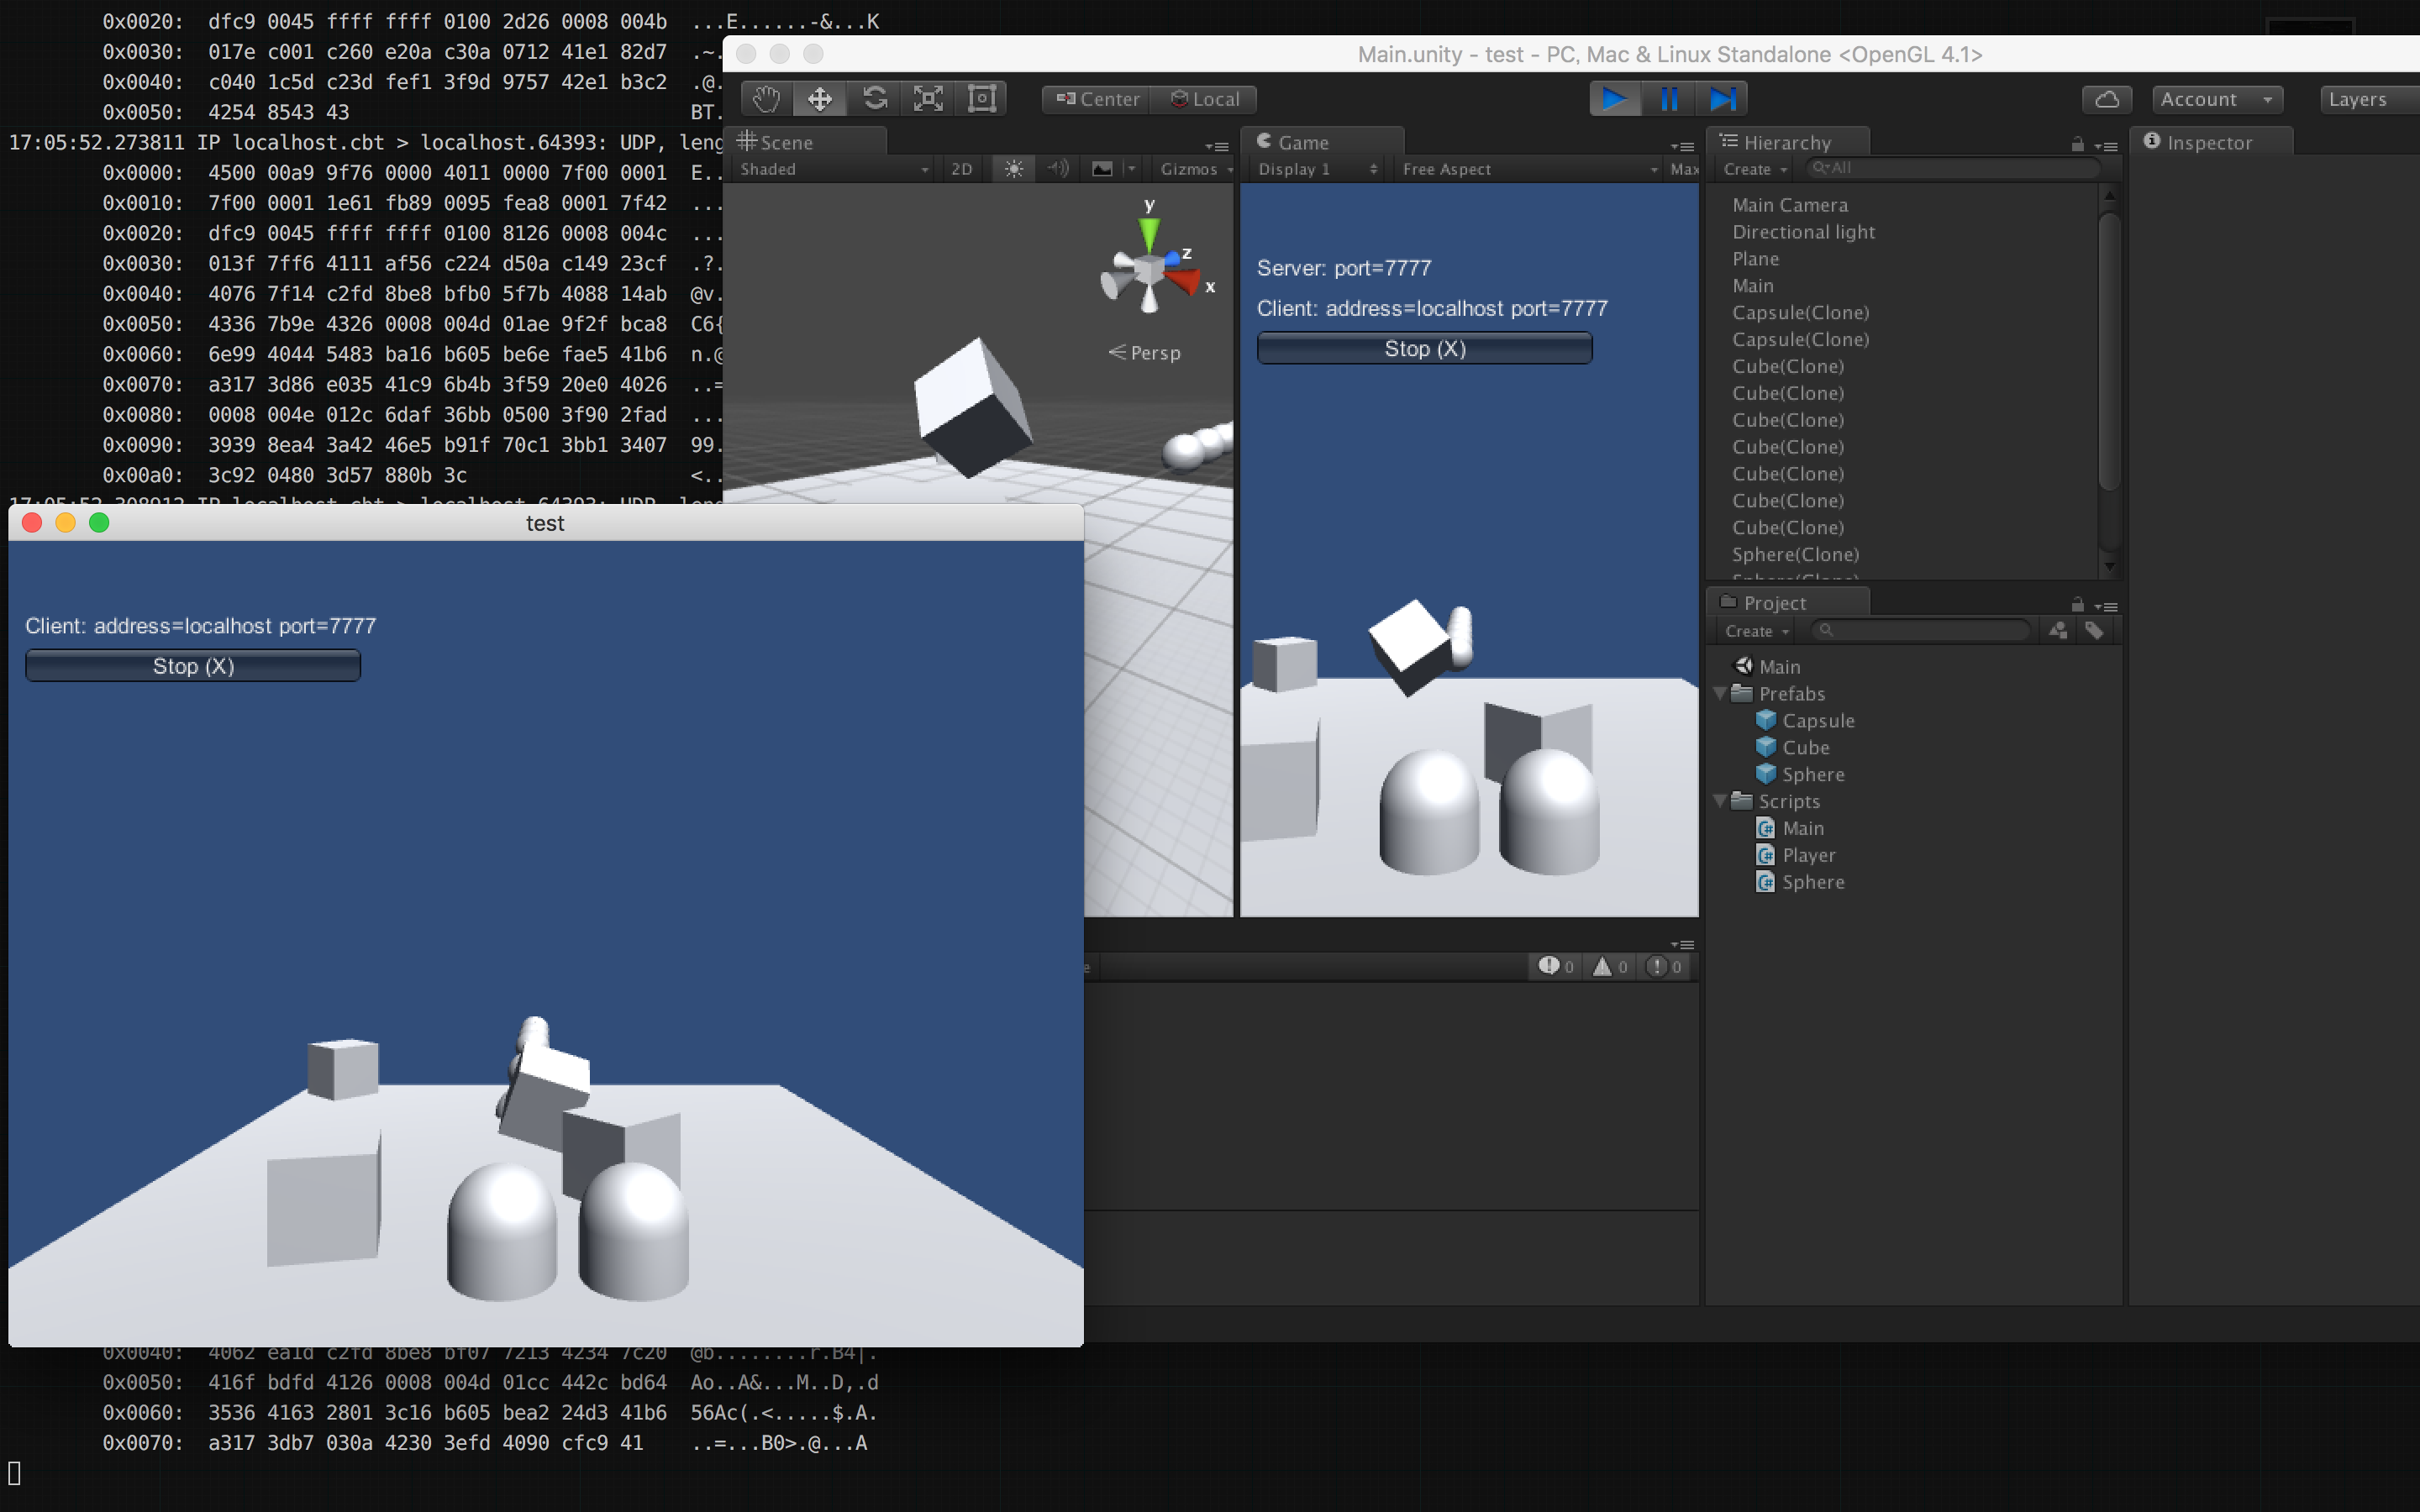
実行する
- エディター側を、LAN Host 、ビルドしたアプリ側の LAN Client を押下すると同期が開始される
※ Run in Background は、NetworkManagerがデフォルトでオンにしてくれる

ついでにパケットキャプチャみてみる(BSDname はローカルIPのインターフェイスを選ぶ)
sudo tcpdump -i [BSDname] port 7777 -X
スクショのログはこれ
ネットワーク上の別PCと通信するには、ビルドしたアプリを配布して行う。LAN Client にホスト側のIPを設定するのを忘れずに。
