IDCFクラウド Advent Calendar 17日目を担当する@nasa114です。a-blog cmsで運用しているサイトのお引越しをするために、今回選んだのはIDCFクラウドです。
今回のあらまし(目次)
- IDCFクラウドのコンパネや手元の環境ですること
- サーバーの設定(レポジトリ)
- サーバーの設定(ソフトウェア導入〜設定)
- a-blog cmsが動作しているか確認
- その他気になったことなど
準備編
以下の構成でサーバーを構築出来ている前提で記載します。昨年か一昨年は同じような感じで初歩的なことをつらつら書いたような気がしますが(※1)、今回はサクッと割愛します。
- インスタンスはlight.S1
- ゾーンは東日本リージョン(今回はjouleで構築しました)
- SSHの鍵などはおもむろに設定する
- OSはCentOS 7.1を利用。 Ubuntuは苦手なので。
- rootで構築(※2)
- VPNを予め設定しておく。コンピューティング→IPアドレス→IPアドレス名選択し、VPNの設定をする
- Windows利用者はSSHで予め設定できる環境を構築する。(MacはTerminalで十分です。)
※1 私が書いた一昨年の記事ですが、【Movable Type for AWS】Movable Type for Amazon Web Servicesを使ってみた - focusmark.jpでかなり画像を多量に使って解説しました。
※2 「最初にユーザーは追加してroot権限が必要ではない場合は exitを」というかも知れませんが、VPN上(≒ほぼLANに近い)で構築するため、rootで構築することに関してセキュリティリスクは低いと判断しました。
あらかじめ、サーバーの情報をメモしておく
今回の記事は、最後に公開するまでVPNで接続した状態で構築をします。そのため、以下の情報をメモしておく必要があります。
- ゾーンの情報(密度単位)
- 内部IPアドレス(10.xx.xx.xx)
サーバーに接続する際、必要となる情報です。コントロールパネルを確認するのも良いですが、特に内部IPアドレスはメモをとっておきましょう。
構築したサーバーに外部レポジトリを追加する
yum install epel-release
rpm -Uvh http://rpms.famillecollet.com/enterprise/remi-release-7.rpm
Epelとremiレポジトリを入れます。rpmforgeを導入する理由がよくわからなかったところもあるので、割愛します。
remiレポジトリが有効になっていないので、以下のコマンドで設定します。
vi /etc/yum.repos.d/remi.repo
[remi]
name=Les RPM de remi pour Enterprise Linux 7 - $basearch
#baseurl=http://rpms.famillecollet.com/enterprise/7/remi/$basearch/
mirrorlist=http://rpms.famillecollet.com/enterprise/7/remi/mirror
enabled=1
gpgcheck=1
gpgkey=file:///etc/pki/rpm-gpg/RPM-GPG-KEY-remi

[remi-php55]
name=Les RPM de remi de PHP 5.5 pour Enterprise Linux 7 - $basearch
#baseurl=http://rpms.famillecollet.com/enterprise/7/php55/$basearch/
mirrorlist=http://rpms.famillecollet.com/enterprise/7/php55/mirror
# WARNING: If you enable this repository, you must also enable "remi"
enabled=1
gpgcheck=1
gpgkey=file:///etc/pki/rpm-gpg/RPM-GPG-KEY-remi

[remi-php56]
name=Les RPM de remi de PHP 5.6 pour Enterprise Linux 7 - $basearch
#baseurl=http://rpms.famillecollet.com/enterprise/7/php56/$basearch/
mirrorlist=http://rpms.famillecollet.com/enterprise/7/php56/mirror
# WARNING: If you enable this repository, you must also enable "remi"
enabled=0
gpgcheck=1
gpgkey=file:///etc/pki/rpm-gpg/RPM-GPG-KEY-remi
今回は、PHP 5.5を導入するので、remi-php55を導入します。
Webサーバーに必要なソフトウェアを導入する
Apache 2.4やMariaDBなどを導入します。MariaDBはMySQLと同じ役割をもっていて、CentOS 7からはMySQLから置き換わりました。
yum install httpd mariadb mariadb-server php php-common php-cli php-gd php-mbstring php-mysqlnd php-pdo php-pear php-pecl-crypto php-pecl-imagick php-pecl-jsonc php-pecl-zip php-process php-xml
運用しているサーバーから引っ張ってきましたが、多分php-pdoなどは必要ではない気がします。(多分)
SSLに対応する必要があれば、 yum install mod_ssl を導入し、別途設定します。
サーバーの設定をする
Apacheの設定ファイルとphpの設定ファイルを変更します。サーバーのバージョンとか色々と言いたいことは多いでしょうが、クラウドサーバーなので、バージョンアップ等はできるでしょ?という前提で。
Apache 2.4
Apacheは2.4を利用します。基本的に変更するところは多くないですが、以下は変更しておくポイントを抑えて記述します。
ServerTokens Minor
あくまでも心理戦でしかないような気がしますが、上記の行を追加します。
MySQLの設定
MySQLサーバーの設定をします。
(2015年12月19日追記:: MySQLサーバーを起動していないとコマンドが実行できなかったため、追記)
systemctl start mariadb
mysql_secure_installation
基本的にはYesないしはyで進みます。
/usr/bin/mysql_secure_installation: 行 379: find_mysql_client: コマンドが見つかりません

NOTE: RUNNING ALL PARTS OF THIS SCRIPT IS RECOMMENDED FOR ALL MariaDB
      SERVERS IN PRODUCTION USE!  PLEASE READ EACH STEP CAREFULLY!

In order to log into MariaDB to secure it, we'll need the current
password for the root user.  If you've just installed MariaDB, and
you haven't set the root password yet, the password will be blank,
so you should just press enter here.

Enter current password for root (enter for none):
OK, successfully used password, moving on...

Setting the root password ensures that nobody can log into the MariaDB
root user without the proper authorisation.

Set root password? [Y/n] y
New password:[任意に設定したパスワード]
Re-enter new password:[上記で入力したパスワード]
Password updated successfully!
Reloading privilege tables..
 ... Success!


By default, a MariaDB installation has an anonymous user, allowing anyone
to log into MariaDB without having to have a user account created for
them.  This is intended only for testing, and to make the installation
go a bit smoother.  You should remove them before moving into a
production environment.

Remove anonymous users? [Y/n] y
 ... Success!

Normally, root should only be allowed to connect from 'localhost'.  This
ensures that someone cannot guess at the root password from the network.

Disallow root login remotely? [Y/n] y
 ... Success!

By default, MariaDB comes with a database named 'test' that anyone can
access.  This is also intended only for testing, and should be removed
before moving into a production environment.

Remove test database and access to it? [Y/n] y
 - Dropping test database...
 ... Success!
 - Removing privileges on test database...
 ... Success!

Reloading the privilege tables will ensure that all changes made so far
will take effect immediately.

Reload privilege tables now? [Y/n] y
 ... Success!

Cleaning up...

All done!  If you've completed all of the above steps, your MariaDB
installation should now be secure.

Thanks for using MariaDB!
MySQLのセットアップができたら、以下のコマンドで起動して、自動起動の設定までします。
systemctl start httpd
systemctl enable mariadb
systemctl enable httpd
a-blog cmsを動かすための設定を行う
ここまでならどの記事でも書いて有りそうなよくあるある〜な内容ですが、a-blog cmsはionCube Loaderを導入しないと動作しません。
ということで、以下のURLより、ionCube Loaderをダウンロードします。
phpサーバーのプラットフォームは“Linux”なので、Linux(64-bit)のところにあるzipファイルを取得します。
cd /var/www/html
wget http://downloads3.ioncube.com/loader_downloads/ioncube_loaders_lin_x86-64.zip
unzip ioncube_loaders_lin_x86-64.zip
※ 2015年12月17日現在
そして、ブラウザからサーバーにアクセスして、確認するとこのようになっていると思います。URLは http://[IPアドレス]/ioncube/loader-wizard.php です。

※ 上記の画像では稼働中のサーバーから引っ張ってきたので、5.4と記載がありますが、5.5が正しい表記です。
黄色の背景のところなどに方法は書いてありますが、ざっくり書くと以下の3点。
-
/var/www/html/ioncube/ioncube_loader_lin_5.5.soを/usr/lib64/php/modulesにコピーする -
00-ioncube.iniをダウンロードして、内容をvi /etc/php.d/00-ioncube.iniで記述する。面倒な人は、zend_extension = /usr/lib64/php/modules/ioncube_loader_lin_5.5.soをコピペ。 - Apacheを読み込み直し(
systemctl reload httpd)、http://[IPアドレス]/ioncube/loader-wizard.phpにアクセスする
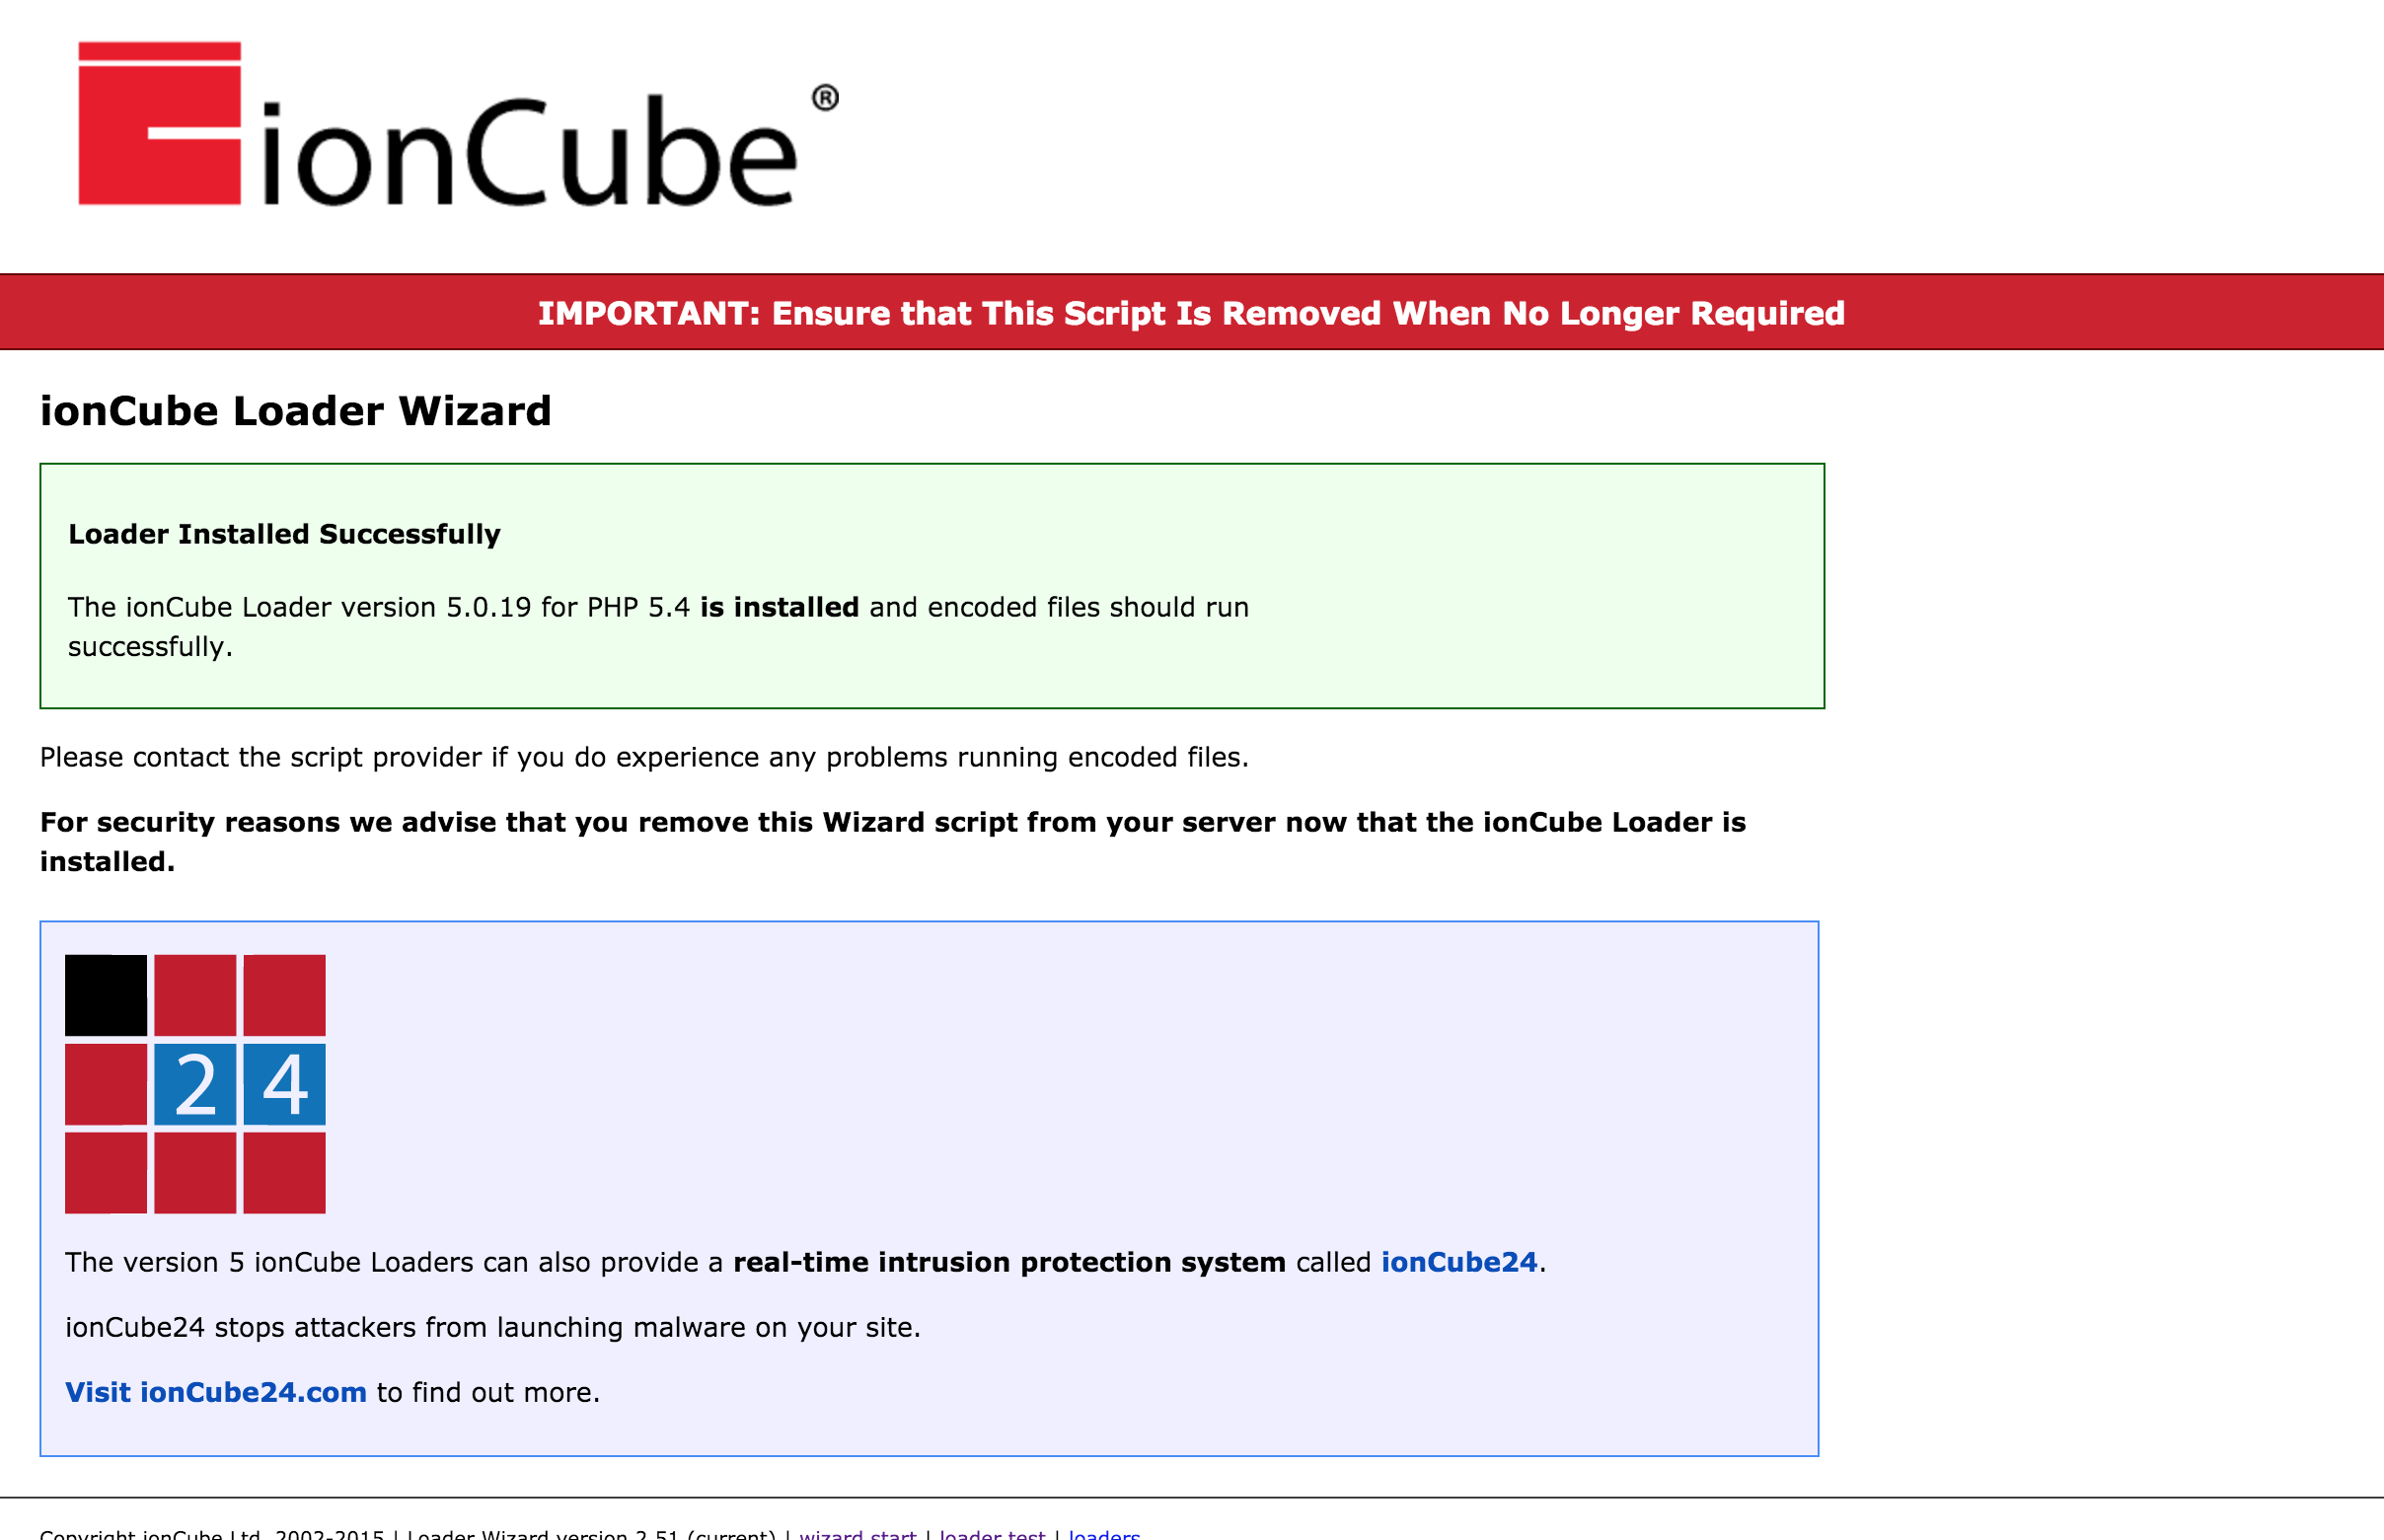
この画面が表示されていればインストール成功です。
a-blog cmsの設定をする
パッケージはlite版(1ユーザー無料, ブログ程度なら問題ない)とstandard(有償)がありますが、インストール作業自体は変わりません。
/var/www/html以下にファイルをダウンロードし、解凍します。回答されたフォルダ内には幾つかフォルダが有りますが、ablogcms以外不要なので、以下のコマンドを実行します。
cd /var/www/html/[解凍後のディレクトリ名]/ablogcms
mv * ../../
rm -rf [解凍後のディレクトリ名]
そして、ブラウザから IPアドレス(10.xx.xx.xx) を入力すると、a-blog cmsのウィザードが起動しているので、ウィザード通りに進めれば問題ないと思います。
この段階では外部に公開されていない
この段階では外部に公開されていません。外部に公開される場合は、a-blog cmsのライセンスを取得しましょう。
次回予告
デスマーチを自分で作ってしまって泣きたいのですが、次回 HTTPS化するってよを予定しています。予告は釣りなので、期待しないでね。
※ 嫌でも19日には執筆し、公開します。