はじめに
この記事はJAWS-UG関西女子会「はじめて女子応援企画!事例から学ぶもくもく&もぐもぐ会」で
もぐもぐ 1 もくもくする際のテキストとなります。
本記事での目標
- EC2でWEBサーバーを構築すること
- RDSでデータベースサーバを構築すること
- EC2インスタンスへEC-CUBEインストール及び疎通確認
- ELBでWEBサーバーの負荷分散をすること
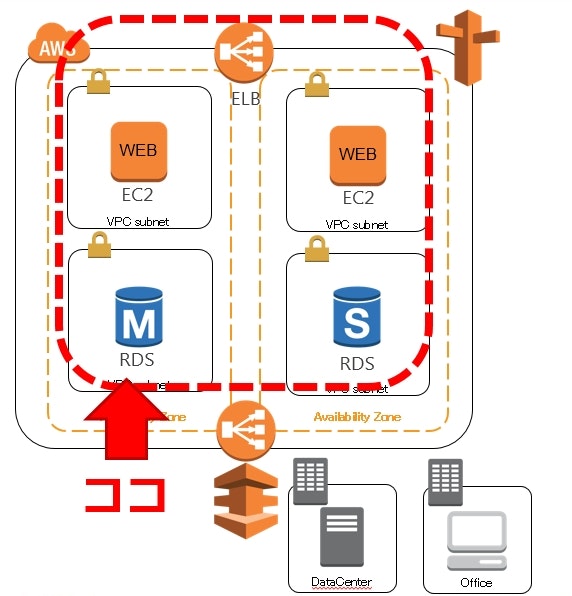
以下のような構成となります。
EC2でWEBサーバーを構築すること
RDSでデータベースサーバを構築すること
RDSでデータベースサーバを構築するまでのながれ
- RDS用セキュリティグループの設定
- サブネットグループの設定
- パラメタグループの設定
- RDSインスタンスの起動
- RDSインスタンスへの疎通確認
RDSの用語について
- RDS:
- Relational Database Serviceの略
- 利用できるDBエンジンはMySQL、PostgreSQL、SQL Server、Oracle、AWS独自のAurora
- ミドルウェア・ハードウェア部分はAWSで管理・運用するため利用者はハードウェアやバックアップ等の運用管理面を気にせずにデータベースを利用することができる
- 利用できるDBエンジンはMySQL、PostgreSQL、SQL Server、Oracle、AWS独自のAurora
- Multi-AZ:
- データベースサーバーを別々のAvailability Zoneに配置し、フェールオーバーするようにすること
- 片側のAvailability Zone全体に障害が起きた場合でももう一つのAvailability ZoneがActiveとなるためサービスの継続が可能となる
構築手順
1.サブネットグループの設定
今回はMulti-AZ構成でRDSインスタンスを作成します。
Multi-AZ構成にする際にRDSインスタンスを配置するサブネットをあらかじめ決める必要があります。
その設定をするのがサブネットグループとなります。
1.1.RDSメニューへ移動します。 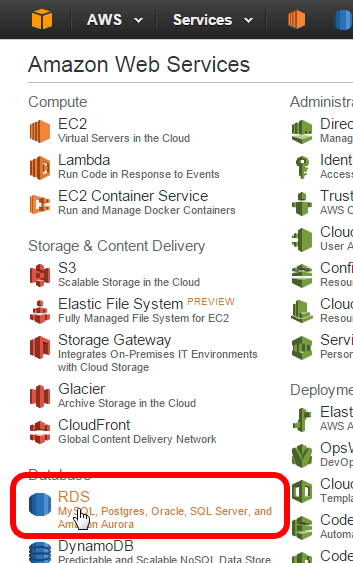
1.2.左メニューで「Subnet Groups」をクリックします。 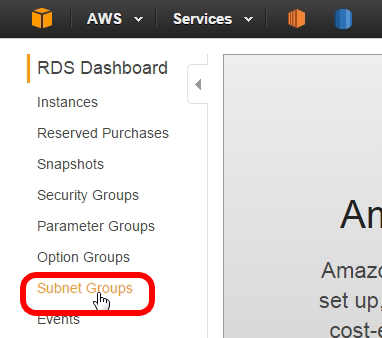
1.3.「Create DB Subnet Group」ボタンをクリックします。 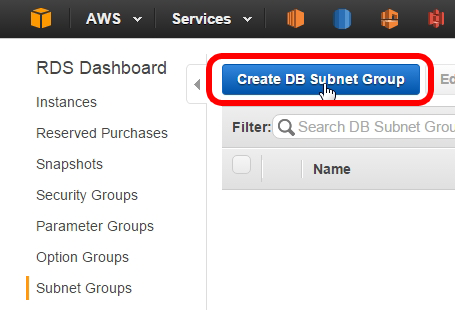
1.4.NameとDiscriptionを入力します。 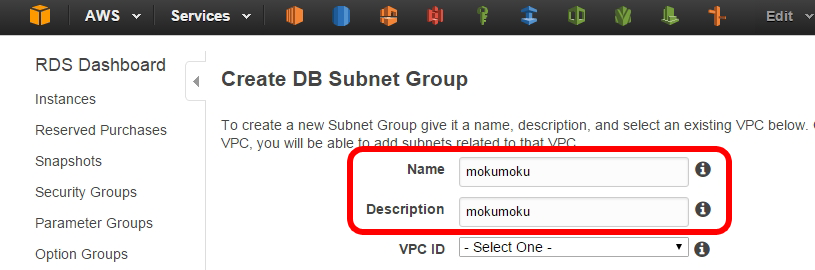
1.5.配置するサブネットがあるVPCを選択します。 デフォルトVPCのIDをドロップダウンリストから選択します。 
1.6.配置するサブネットがあるAvailability Zoneをドロップダウンリストから選択します。 [ap-northeast-1a」を選びます。 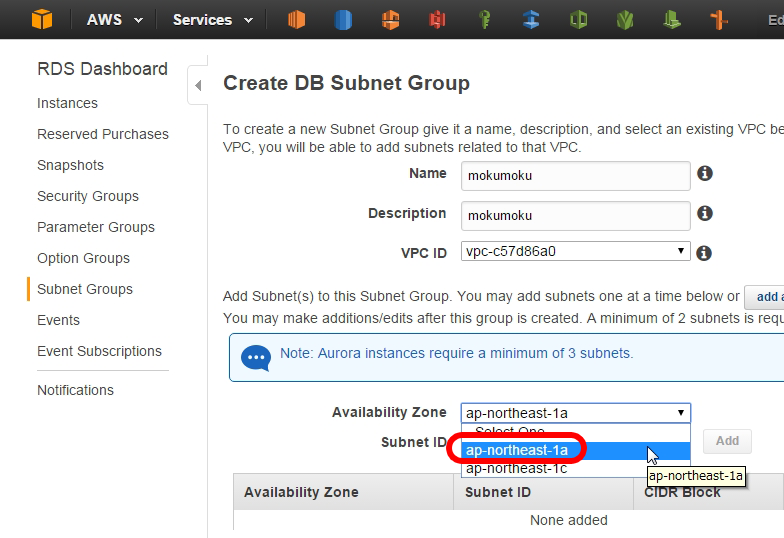
1.7.配置するサブネットを選びます。 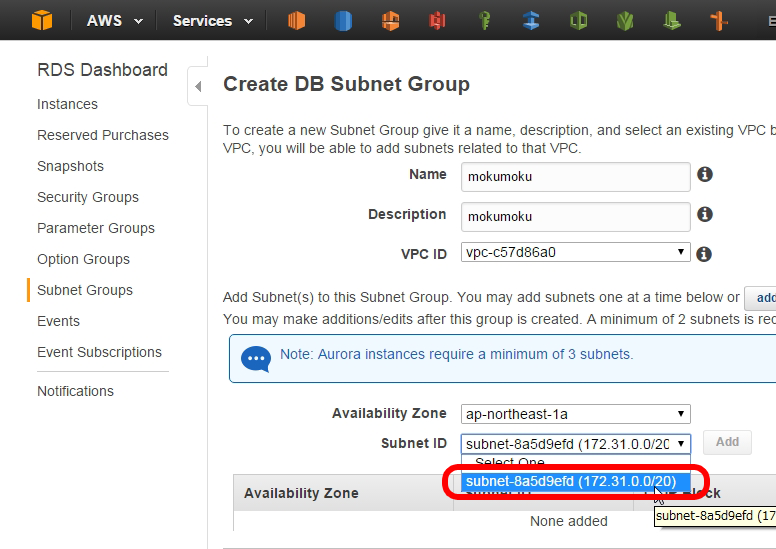
1.8.サブネットを選んだあとに「Add」ボタンをクリックします。 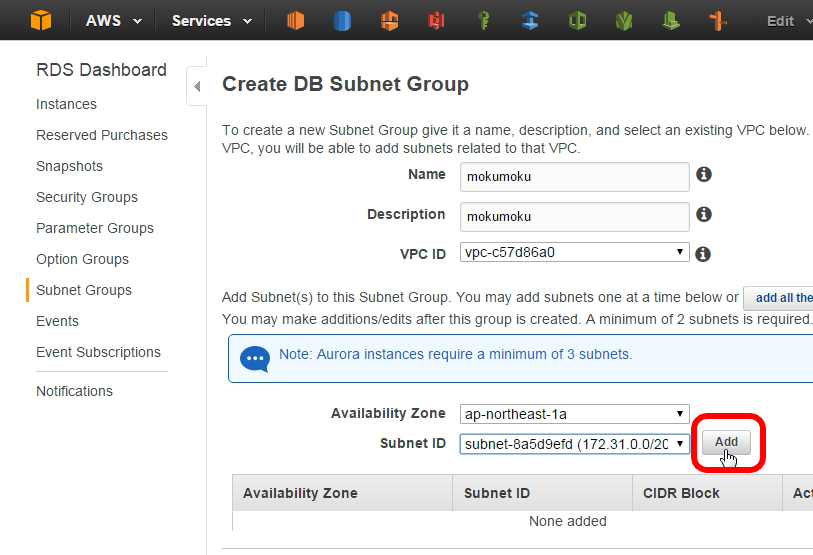
1.9.選択したサブネットが表示されます。 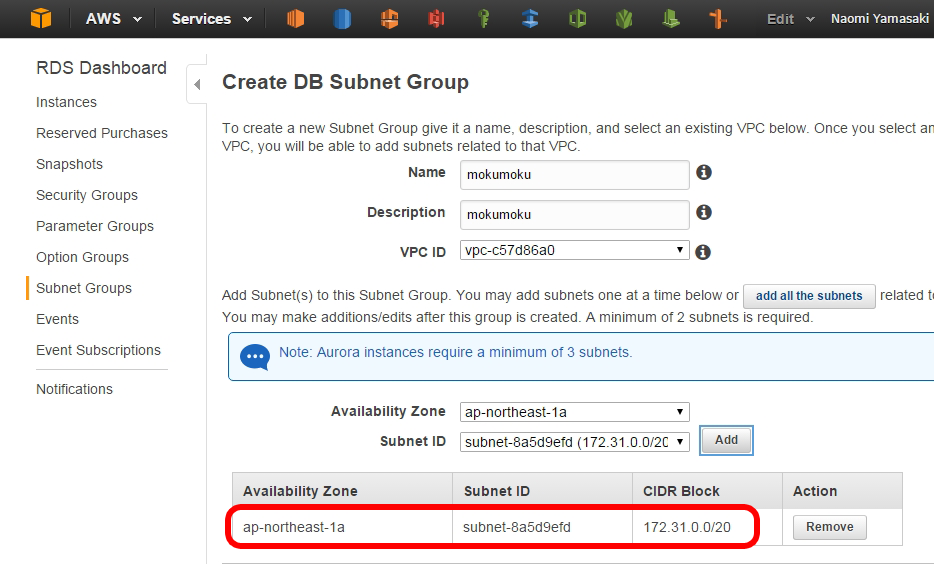
1.10.今度はもうひとつのAvailability Zoneを選択します。 「ap-northeast-1c」を選択します。 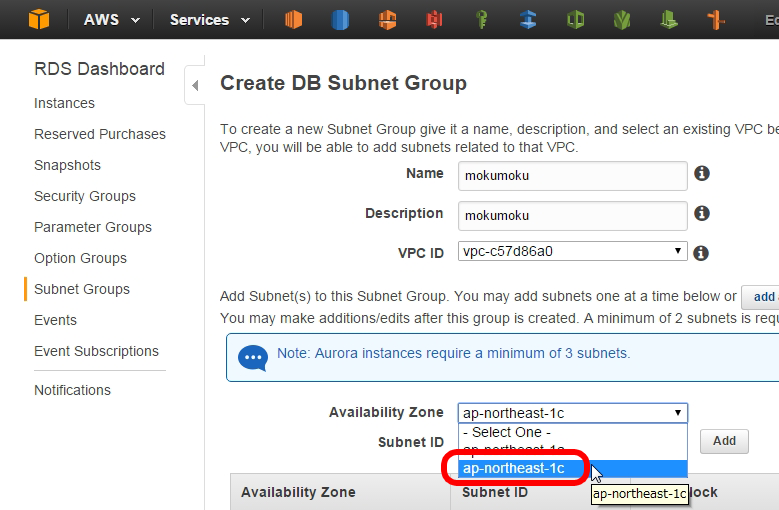
1.11.配置するサブネットを選びます。 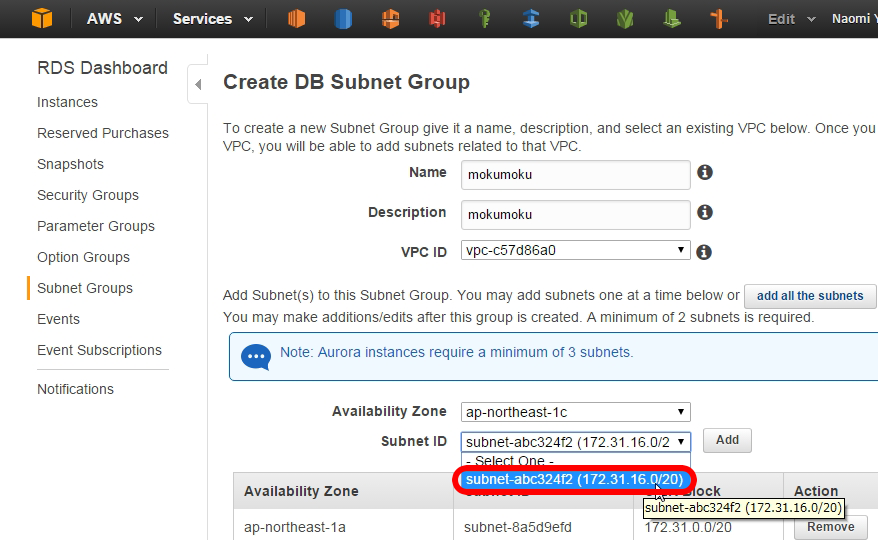
1.12.サブネットを選んだあとに「Add」ボタンをクリックします。 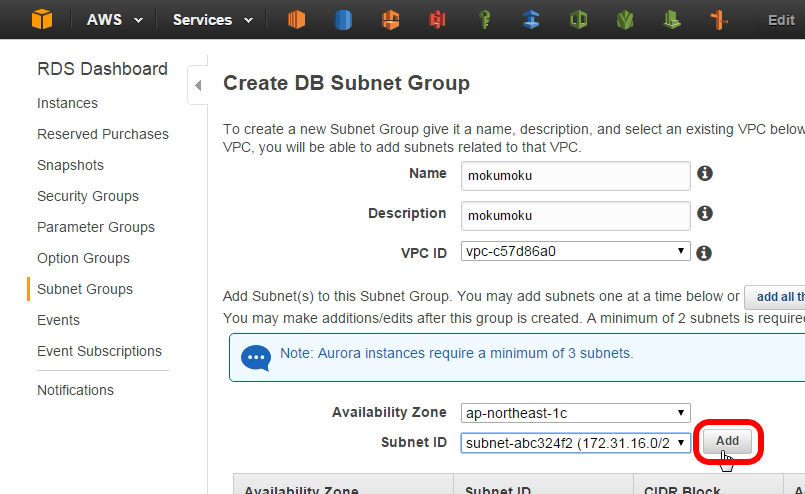
1.13.選択したサブネットが2つ表示されていることを確認し「Create」ボタンをクリックします。 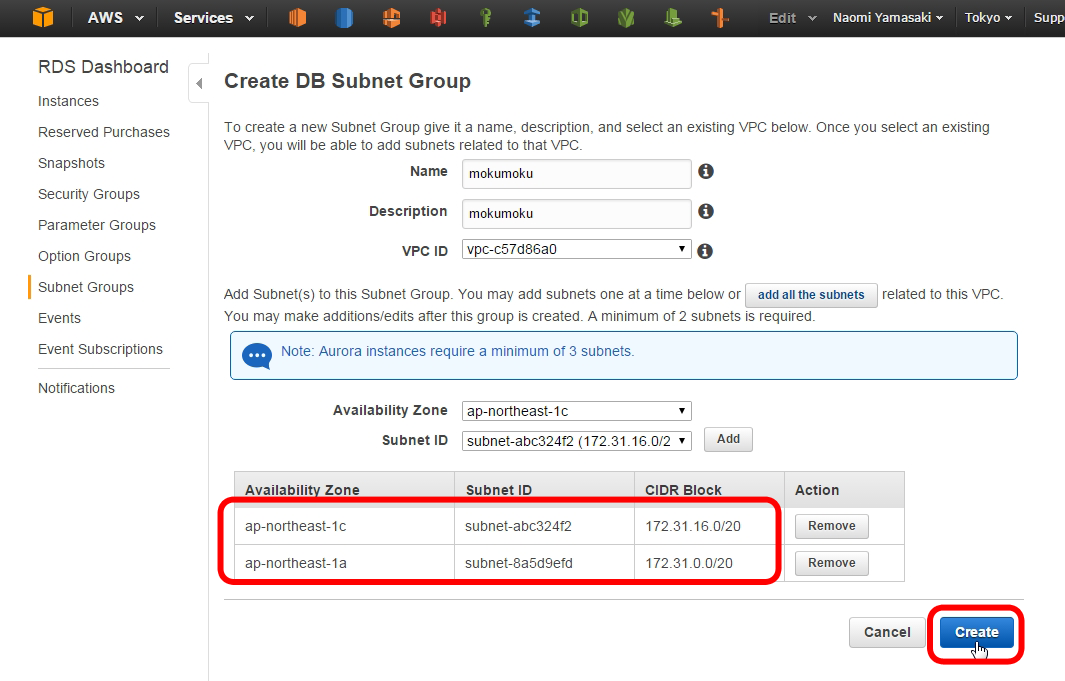
1.14.サブネットグループが作成されました。 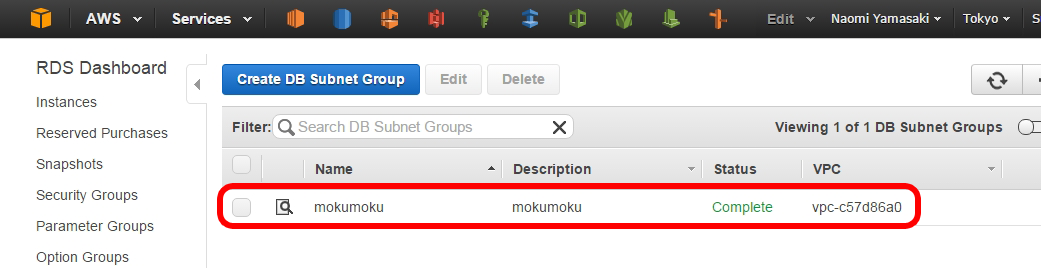
2.パラメタグループの設定
DBのパラメータを設定するパラメタグループを作成します。
パラメタグループで設定されたパラメタは割り当てたRDS全てに適用されるため、別システム用のRDSなどでパラメタ設定が異なる場合は別のパラメタグループを作成して割り当てるほうが良いです。
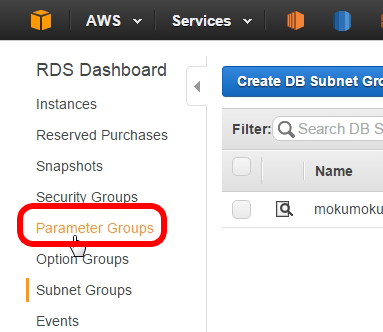
2.1.左メニューで「Parameter Groups」をクリックします。
2.2.「Create Parameter Group」をクリックします。 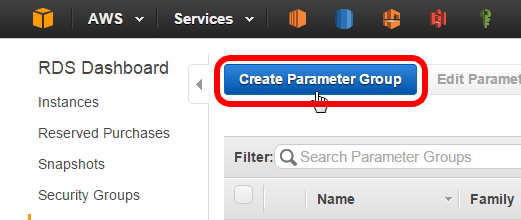
2.3.DBの種類、バージョンを選択します。 今回はPostgresqlの9.3を使用するため「postgres9.3」を選択します。 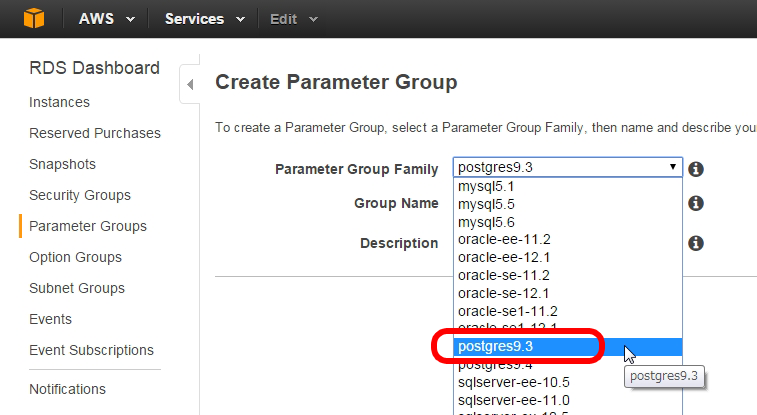
2.4.「Group Name」と「Description」を入力し「Create」ボタンをクリックします。 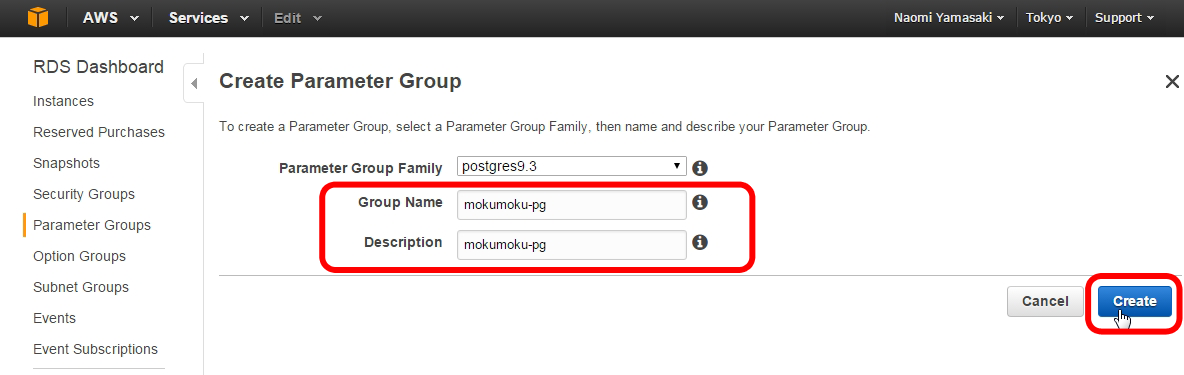
2.5.パラメタグループが作成されました。 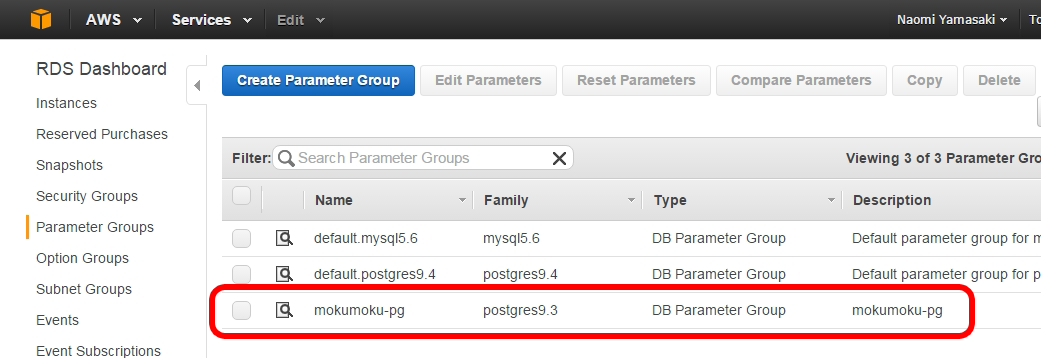
3.RDSインスタンスの起動
ここからRDSインスタンスの起動をします。
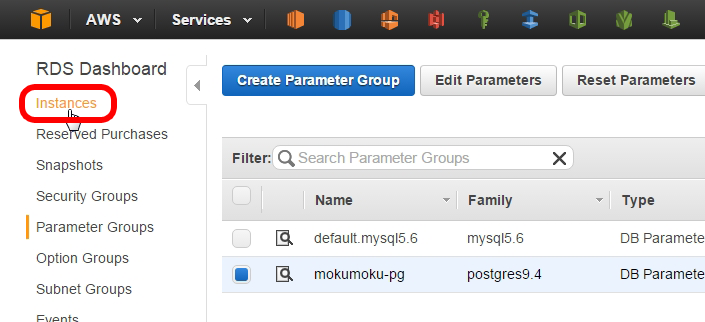
3.1.左メニューで「Instances」をクリックします。
3.2.「Launch DB Instance」ボタンをクリックします。 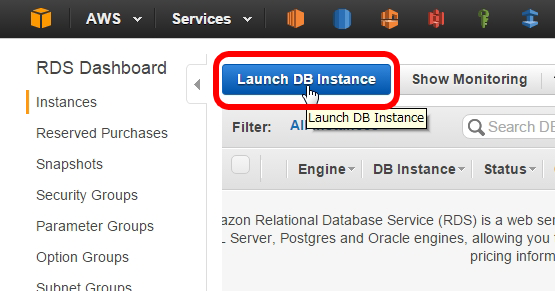
3.3.今回はPostgresqlを作成するので「PostgreSQL」をクリックします。 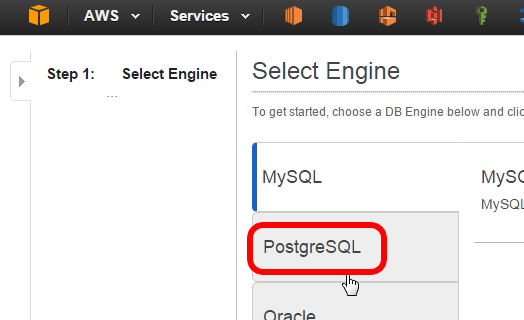
3.4.右側に「Select」ボタンが表示されるので、ボタンをクリックします。 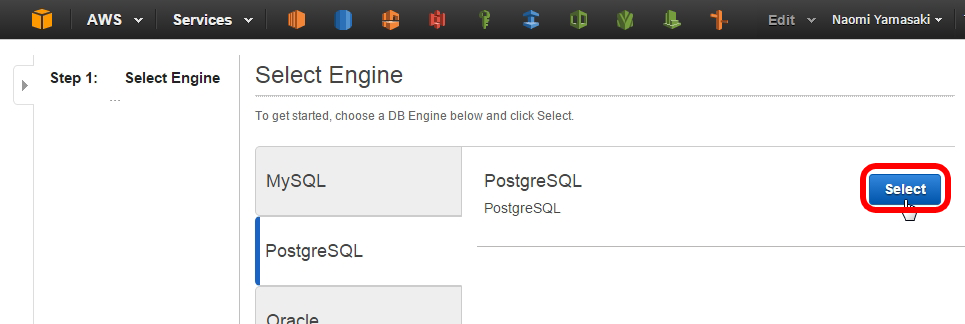
3.5.「Yes」をにチェックを入れ「Next Step」ボタンをクリックします。 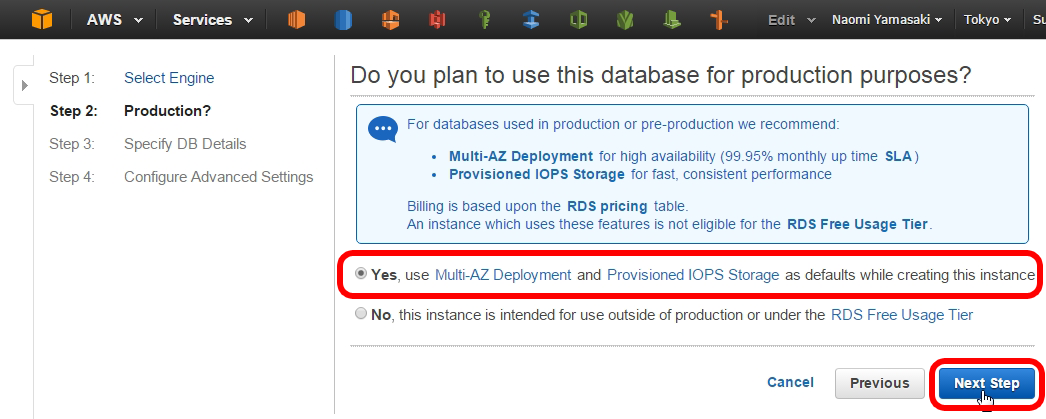
3.6.DB Engine Versionは9.3.5を選択します。 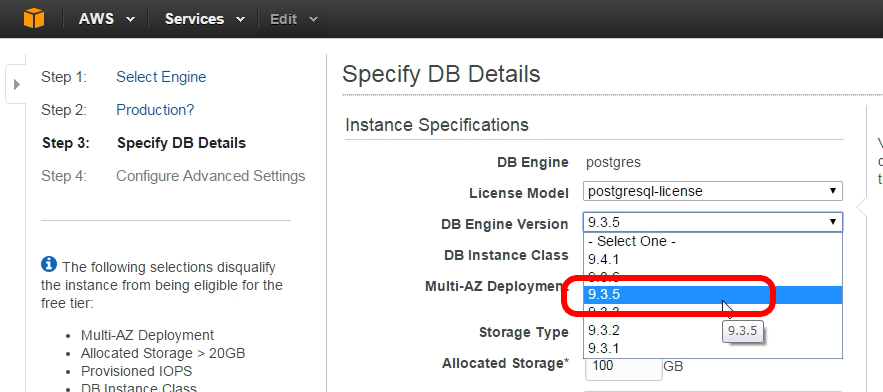
3.7.DB Instance Classは「db.t2.small」を選択します。 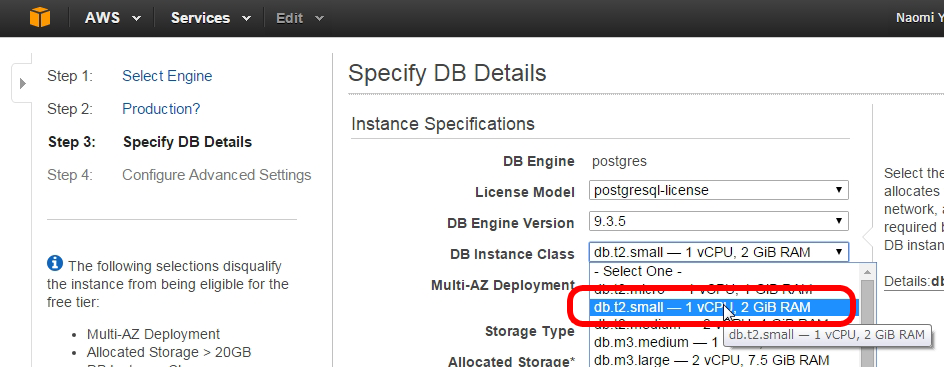
3.8.Multi-AZ Deploymentでは「Yes」を選択します。 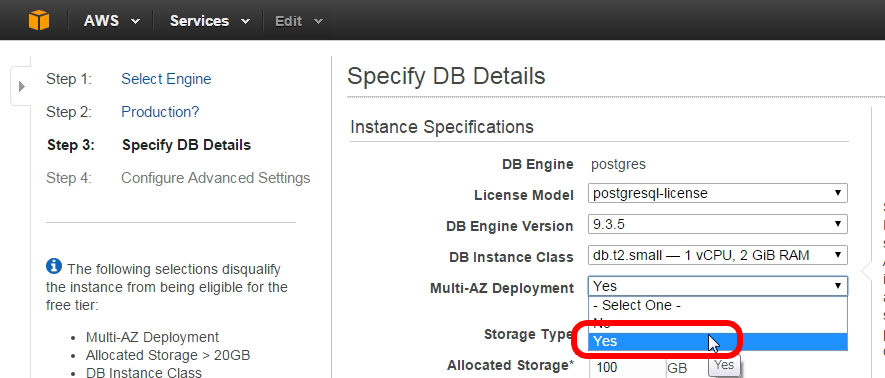
3.9.Storage Type、Allocated Storageを画像のように設定します。 ※General purpose(SSD)では1GBあたりIOPSが3割り当てられ、IOクレジットの数により 3000IOPSまでバーストすることができますが、容量が小さい場合はバーストできる時間が短くなります。 バーストしきったあとはIOPSが著しく下がるため、パフォーマンスに影響が出ることがあります。 このため、ある程度の容量を設定することで十分なIOPSを確保します。 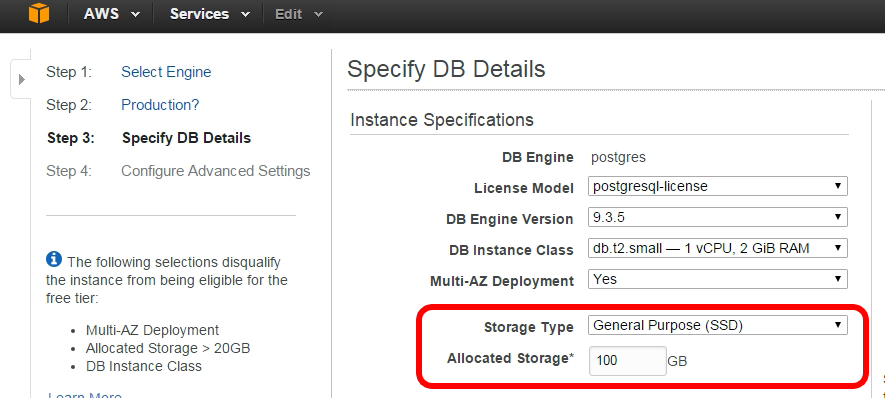
3.10.Settingsの内容を画像のように設定し「Next Step」ボタンをクリックします。 ※DB Instance IdentifierはRDSインスタンス名となり、DB名とは異なります。 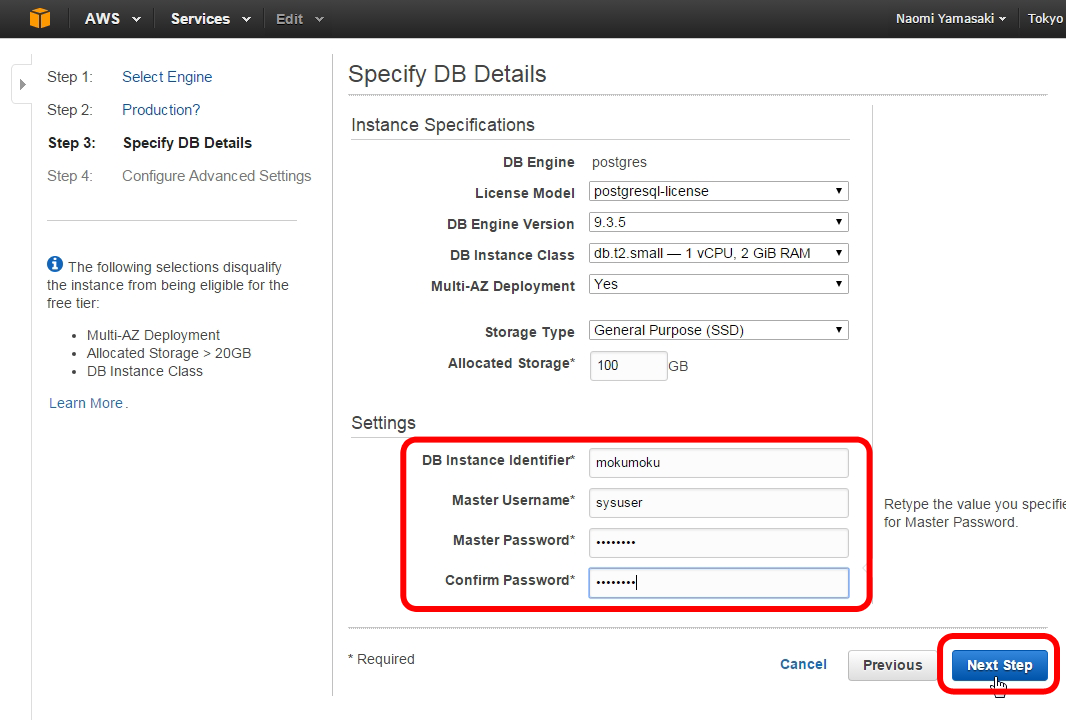
3.11.Subnet Groupでは先ほど作成したサブネットグループを選択します。 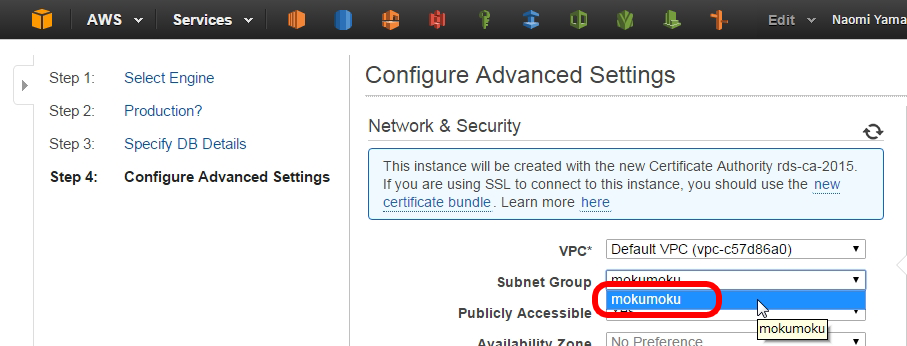
3.12.Publicly Accessibleを「No」にします。 「Yes」にしているとインターネットからRDSへの直接アクセスが可能となるためNOにします。 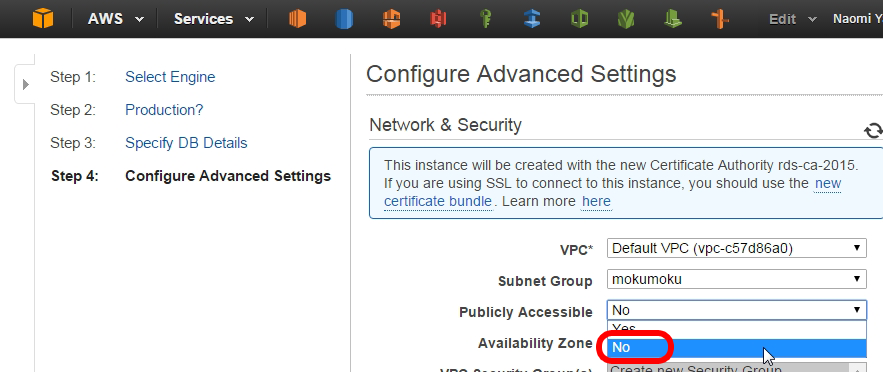
3.13.VPC Security Groupでははじめに作成したRDS用のセキュリティグループを選択します。 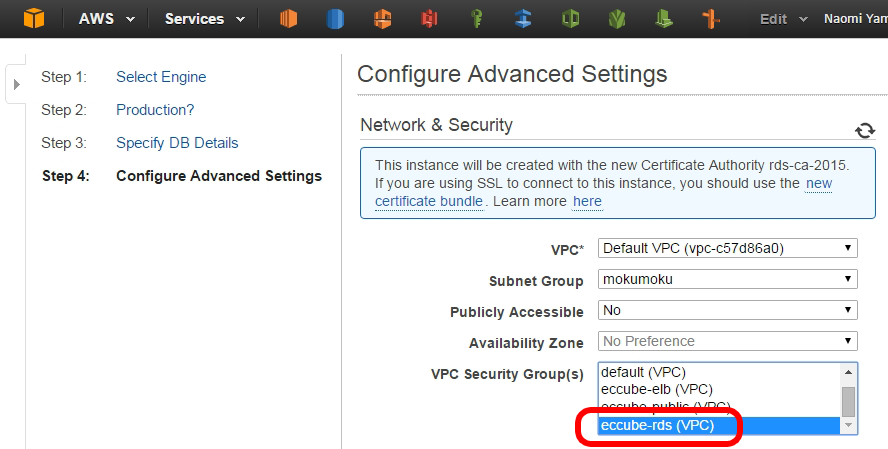
3.14.Database Nameを入力します。 RDSインスタンス名とごっちゃになることが多いため、同じにしておくと混乱せずにすみます。 なお、Database nameにはハイフンが使えません。(アンダーバーなら使えます) そしてDB Parameter Groupでは先ほど作成したパラメタグループを選択します。 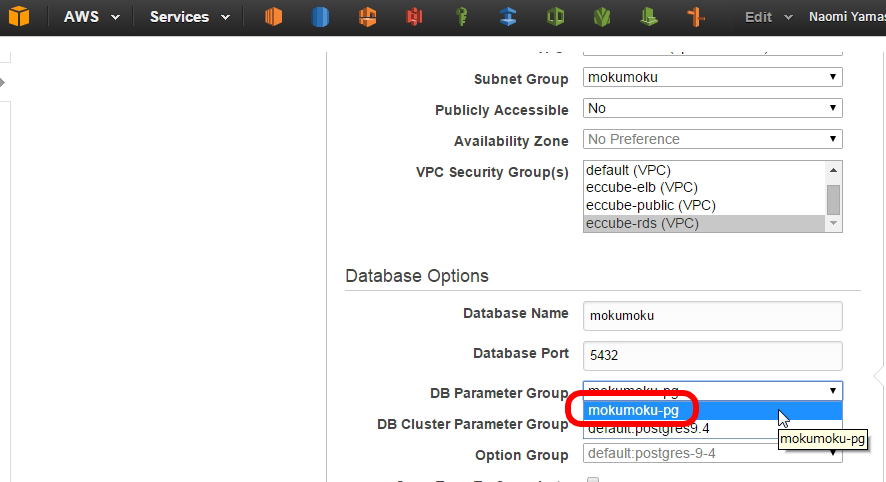
3.15.バックアップ設定ではDBデータのバックアップ設定を行います。 バックアップの際に再起動がかかり、フェールオーバーするといっても1分程度の瞬間的な接続断は発生するので バックアップの時間を指定します。 Backup Windowで「Selected Window」を選択します。 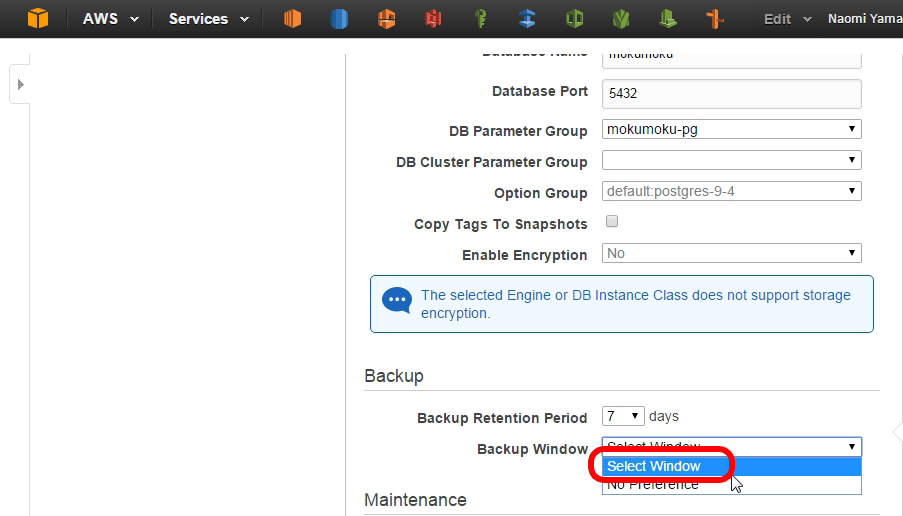
3.16.Start Timeを18時(日本時間AM3:00)にします。 時刻はUTC(協定世界時。イギリスあたりの時間)となり日本時間はUTC+9時間となります。 なるべくアクセスが少ないと見込める時間帯を選びましょう。 この設定ではDurasionを0.5hoursとしているためバックアップの開始は18:00~18:30(UTC)の間に開始されます。 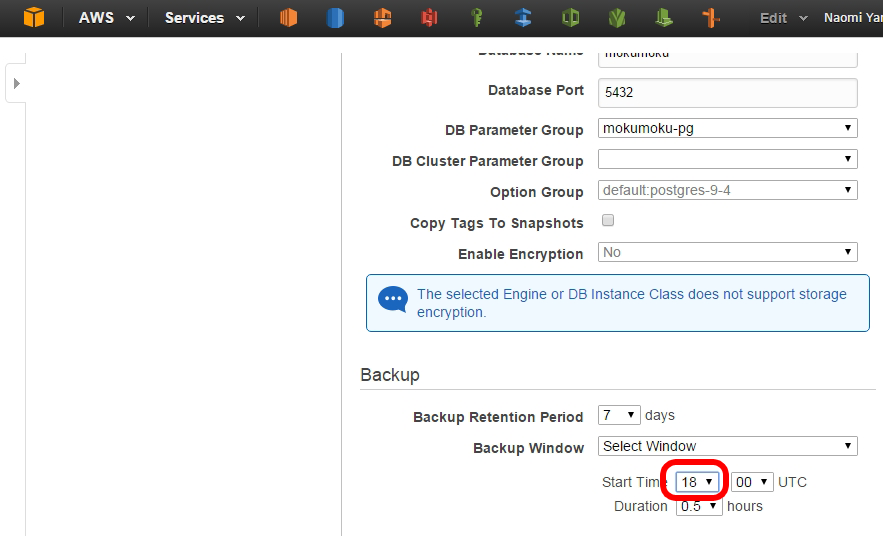
3.17.メンテナンスの設定をします。 RDS作成後、インスタンスタイプの変更などを行う際に設定を即時反映させなかった場合に ここでの設定をした時間帯に設定変更が実施されます。 Auto Minor Version Updateは「No」を選択します。 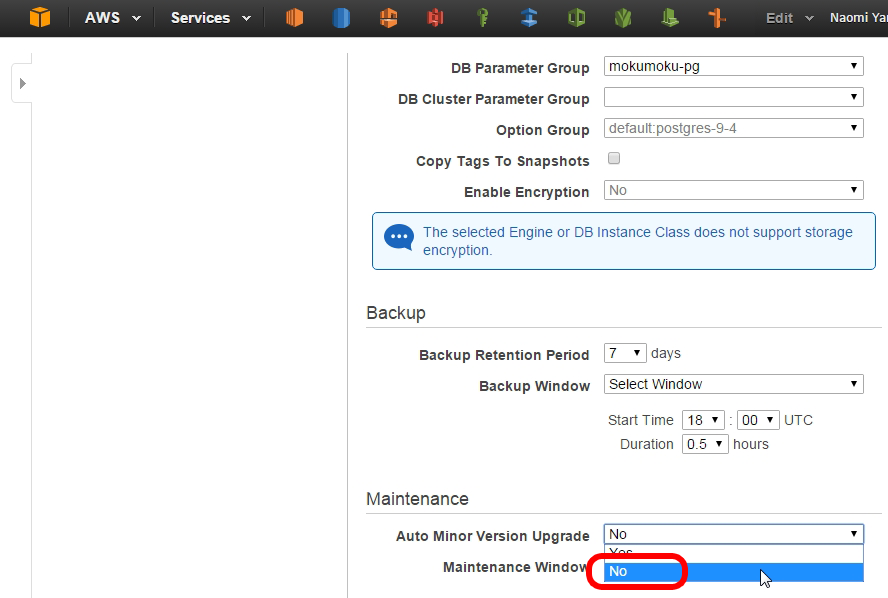
3.18.Maintenance Windowではこちらも「Selected Window」を選択します。 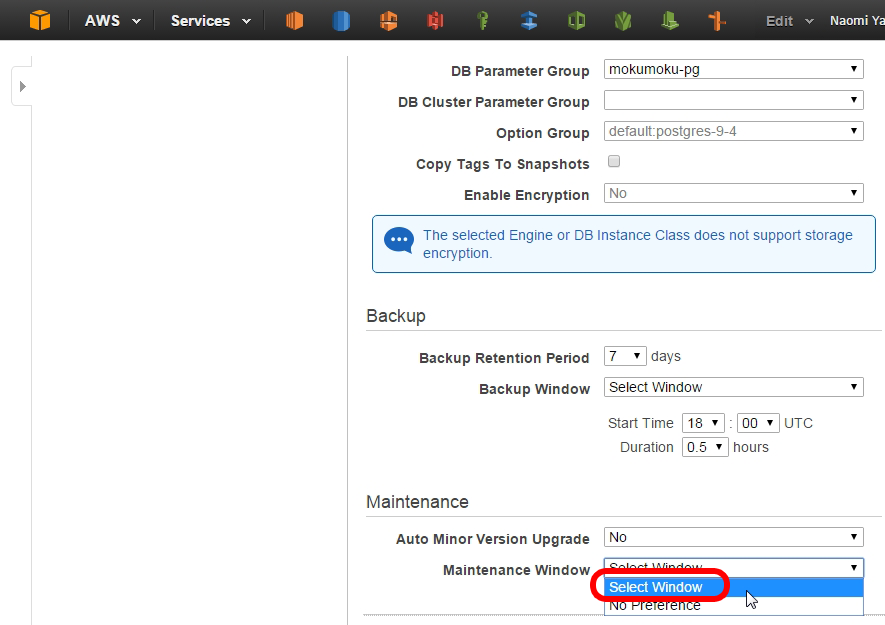
3.19.Start Timeは19時にします。 バックアップの時刻と連続とならないように設定し「Launch DB Instance」ボタンをクリックします。 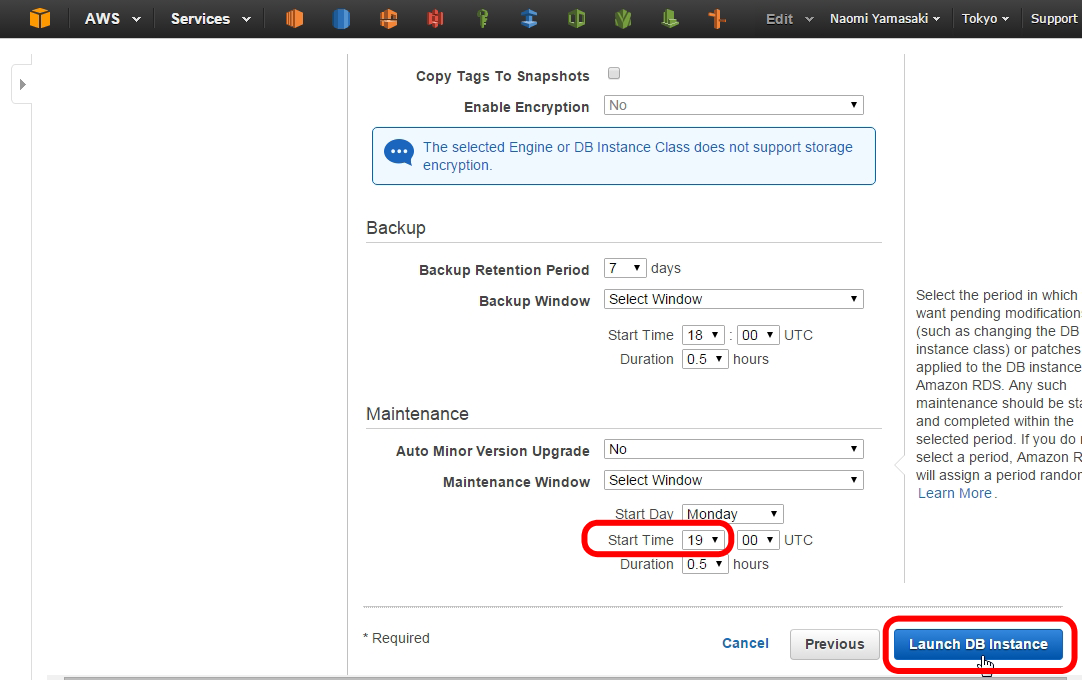
3.20.RDSの作成が開始されます。 「View Your DB Instances」ボタンをクリックします。 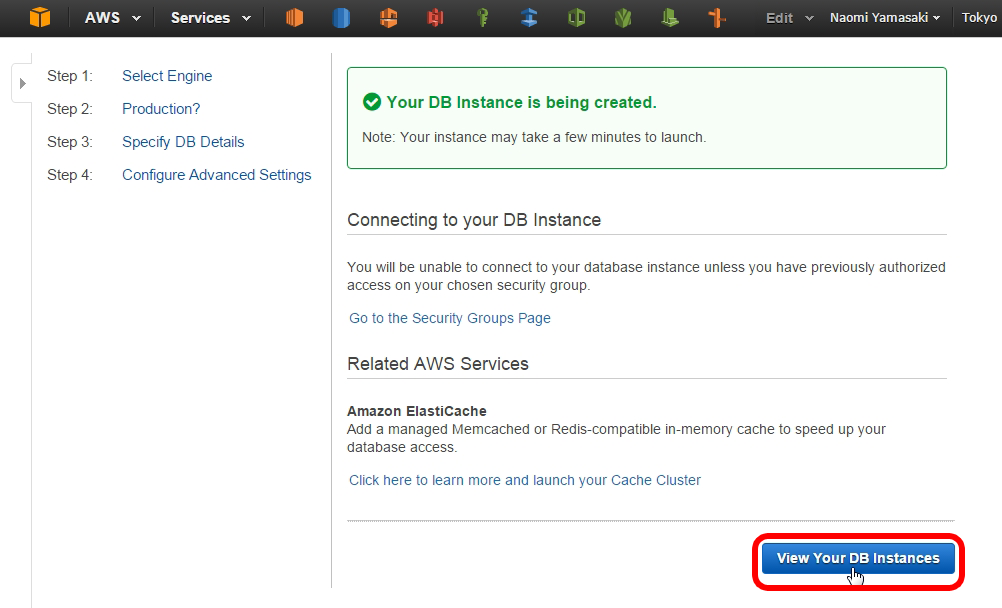
3.21.Stasusが「Creating」等の表記になっているかと思います。 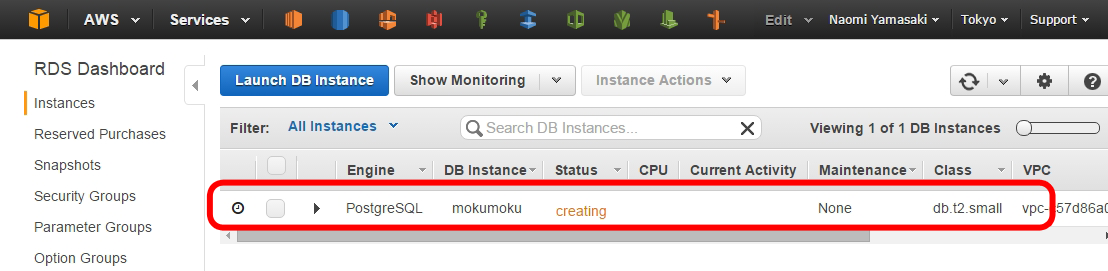
3.22.Engine名の左の三角印をクリックすると直近で発生したイベントのログを見ることができます。 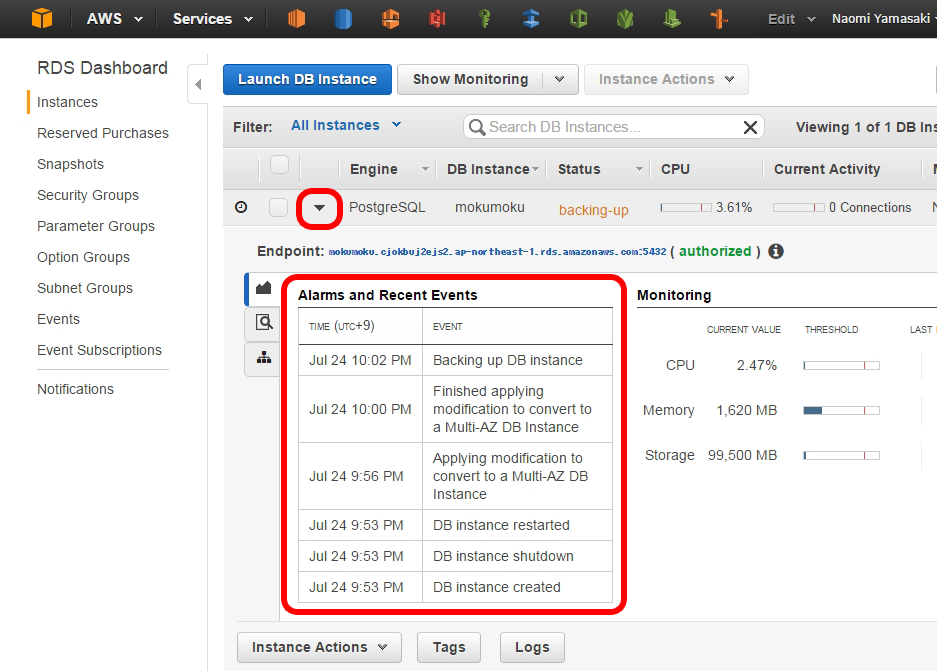
3.23.Stasus「Available」となったら作成完了です。 
3.24.虫眼鏡マークをクリックするとインスタンスの詳細を見れます。 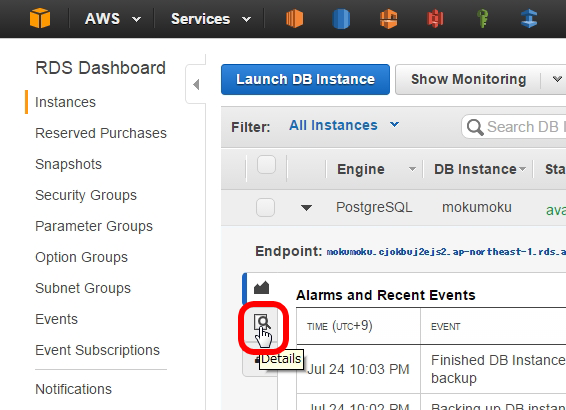
3.25.「Endpoint」に表示されているアドレスが接続先となります。 「Availability Zone」で表示されているAZが、ノードが現在アクティブとなっているAZとなります。 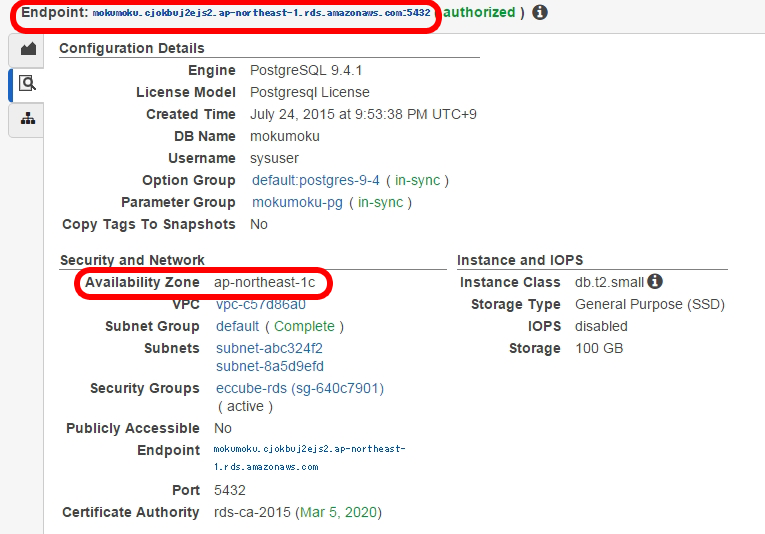
3.26.Secondary Zoneで表示されているAZがスレーブとなっているノードが配置されているAZとなります。 
4.RDS用セキュリティグループの設定
RDSに対する通信許可設定をします。
WEBサーバーからのDB接続を許可します。
EC2作成編ではEC2メニューで設定する方法をご紹介しましたが、VPCメニューからも設定が可能です。
今回はVPCメニューからの設定方法をご紹介します。
4.1.VPCメニューへ移動します。
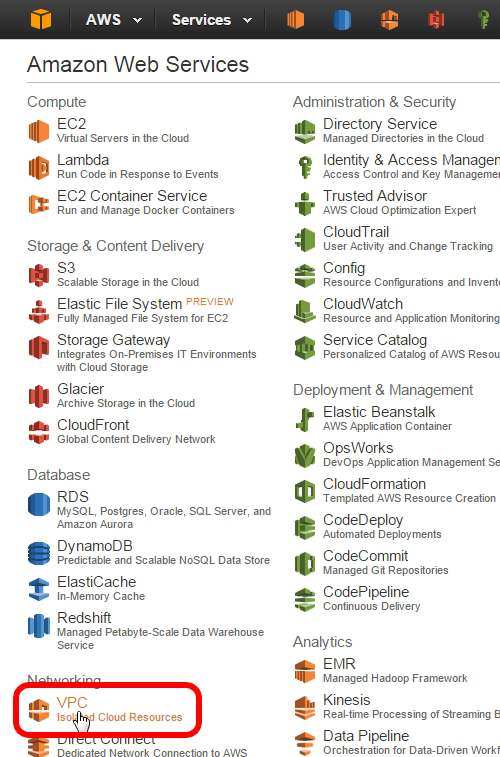
4.2.左メニューで「Security Groups」をクリックします。 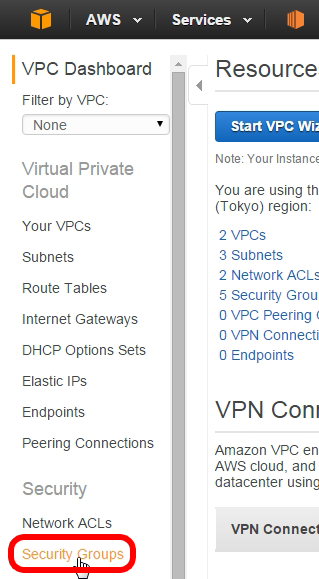
4.3.RDS用のセキュリティグループ選択し「Inbound Rules」タブをクリックします。 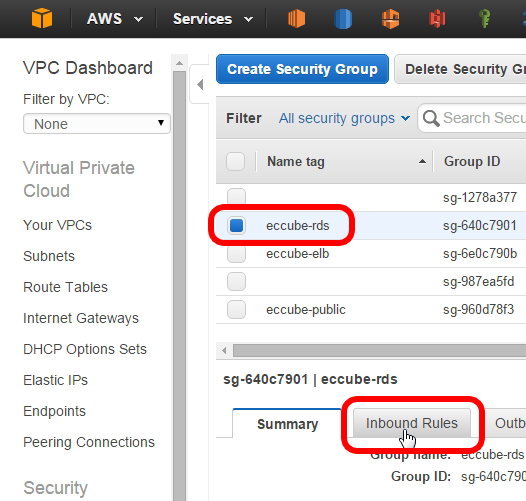
4.4.「Edit」ボタンをクリックします。 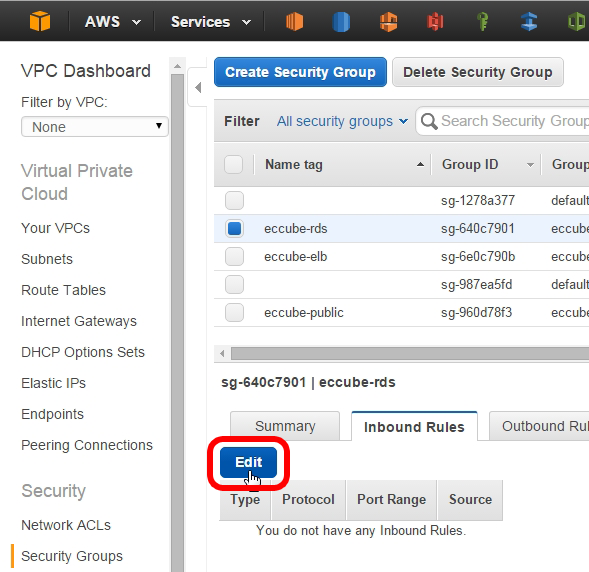
4.5.Typeで「PostgreSQL(5432)」を選択します。 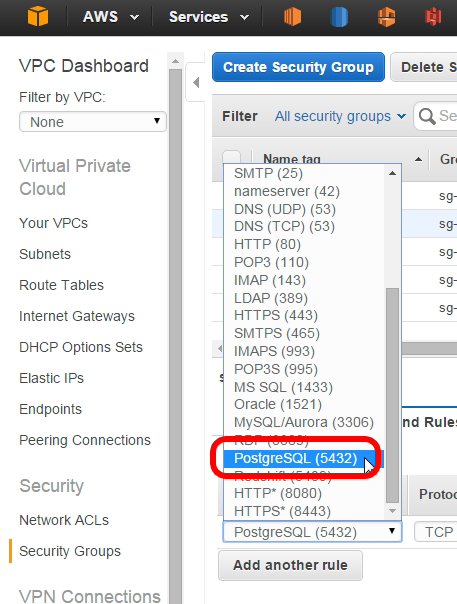
4.6.Sourceでセキュリティグループ名をある程度入れると下に候補が出てきます。 WEBサーバーからの接続許可となるため、WEBサーバー用のセキュリティグループ名を選択します。 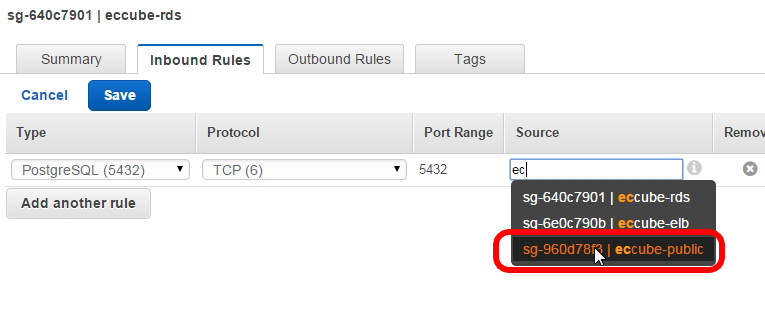
4.7.「Save」ボタンをクリックします。 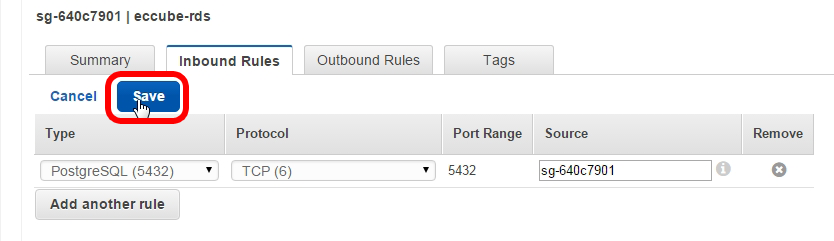
4.8.通信許可設定が完了しました。 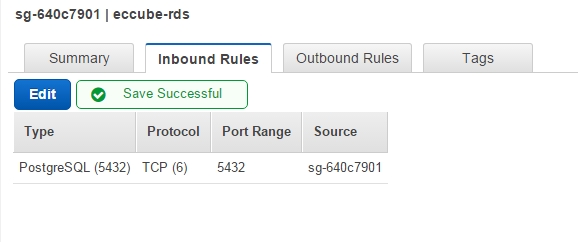
5.パラメタグループの設定
パラメタグループでDBのパラメタ設定を行います。
今回はDBのタイムゾーンを変更します。
5.1.RDSメニューでParameter Groupsをクリックし、今回作成したパラメタグループを選択して「Edit Parameters ボタンをクリックします。 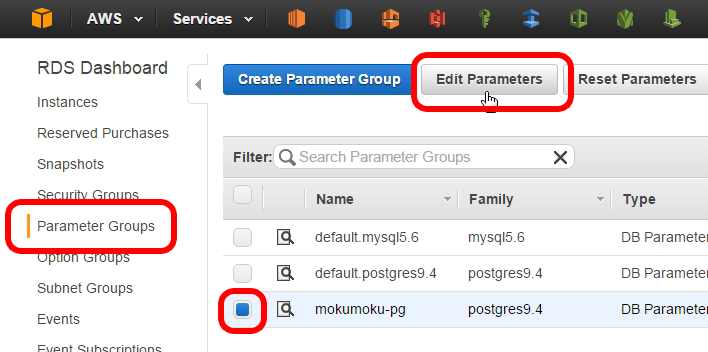
5.2.画面でCtl+Fで検索窓を出し「timezone」を検索します。 デフォルトでは「UTC」と設定されています。 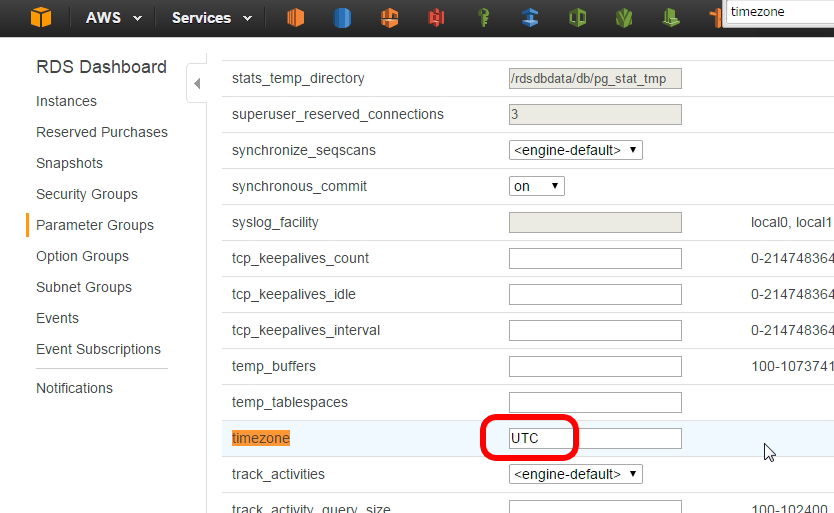
5.3.UTCを「Asia/Tokyo」に変更します。 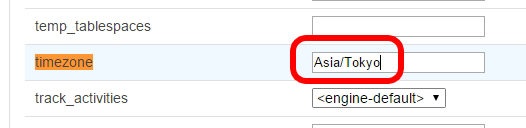
5.4.「Save Change」ボタンをクリックします。 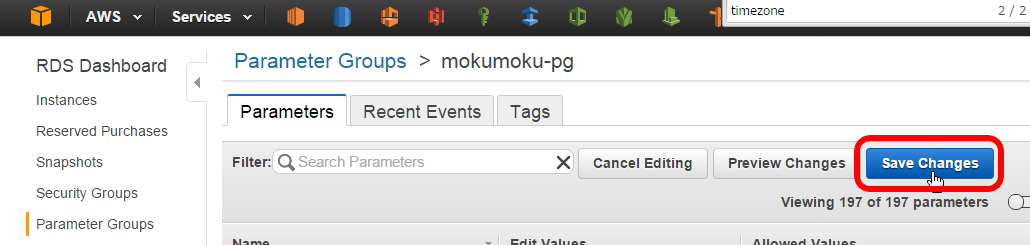
5.RDSインスタンスへの疎通確認
EC2インスタンスにログインして以下のコマンドを実行します。
# sudo su - root
# yum -y install postgresql93 ←postgresqlのクライアントをインストールします
…
Complete!

# psql -h <エンドポイントアドレス(:5432は抜いて下さい)> -U <ユーザ名> -d <DB名>

Password for user <ユーザ名>: パスワードを入れましょう
psql (9.3.9, server 9.4.1)
WARNING: psql major version 9.3, server major version 9.4.
         Some psql features might not work.
SSL connection (cipher: DHE-RSA-AES256-GCM-SHA384, bits: 256)
Type "help" for help.

<DB名>=> ←このようなプロンプトが表示されればOK
<DB名>=> \q ←切断します
-
節子!それは懇親会や!! ↩