Swift3.0 + Xcode8.1での実装です。
概要
こういうの。

テキストフィールドをタップすると、下にピッカーが表示される。
コンボボックス的なイメージです。
Xcode(8.1)の標準コンポーネントにはこういうのはないので(ないよね?)、しこしこ実装します。
StoryBoard
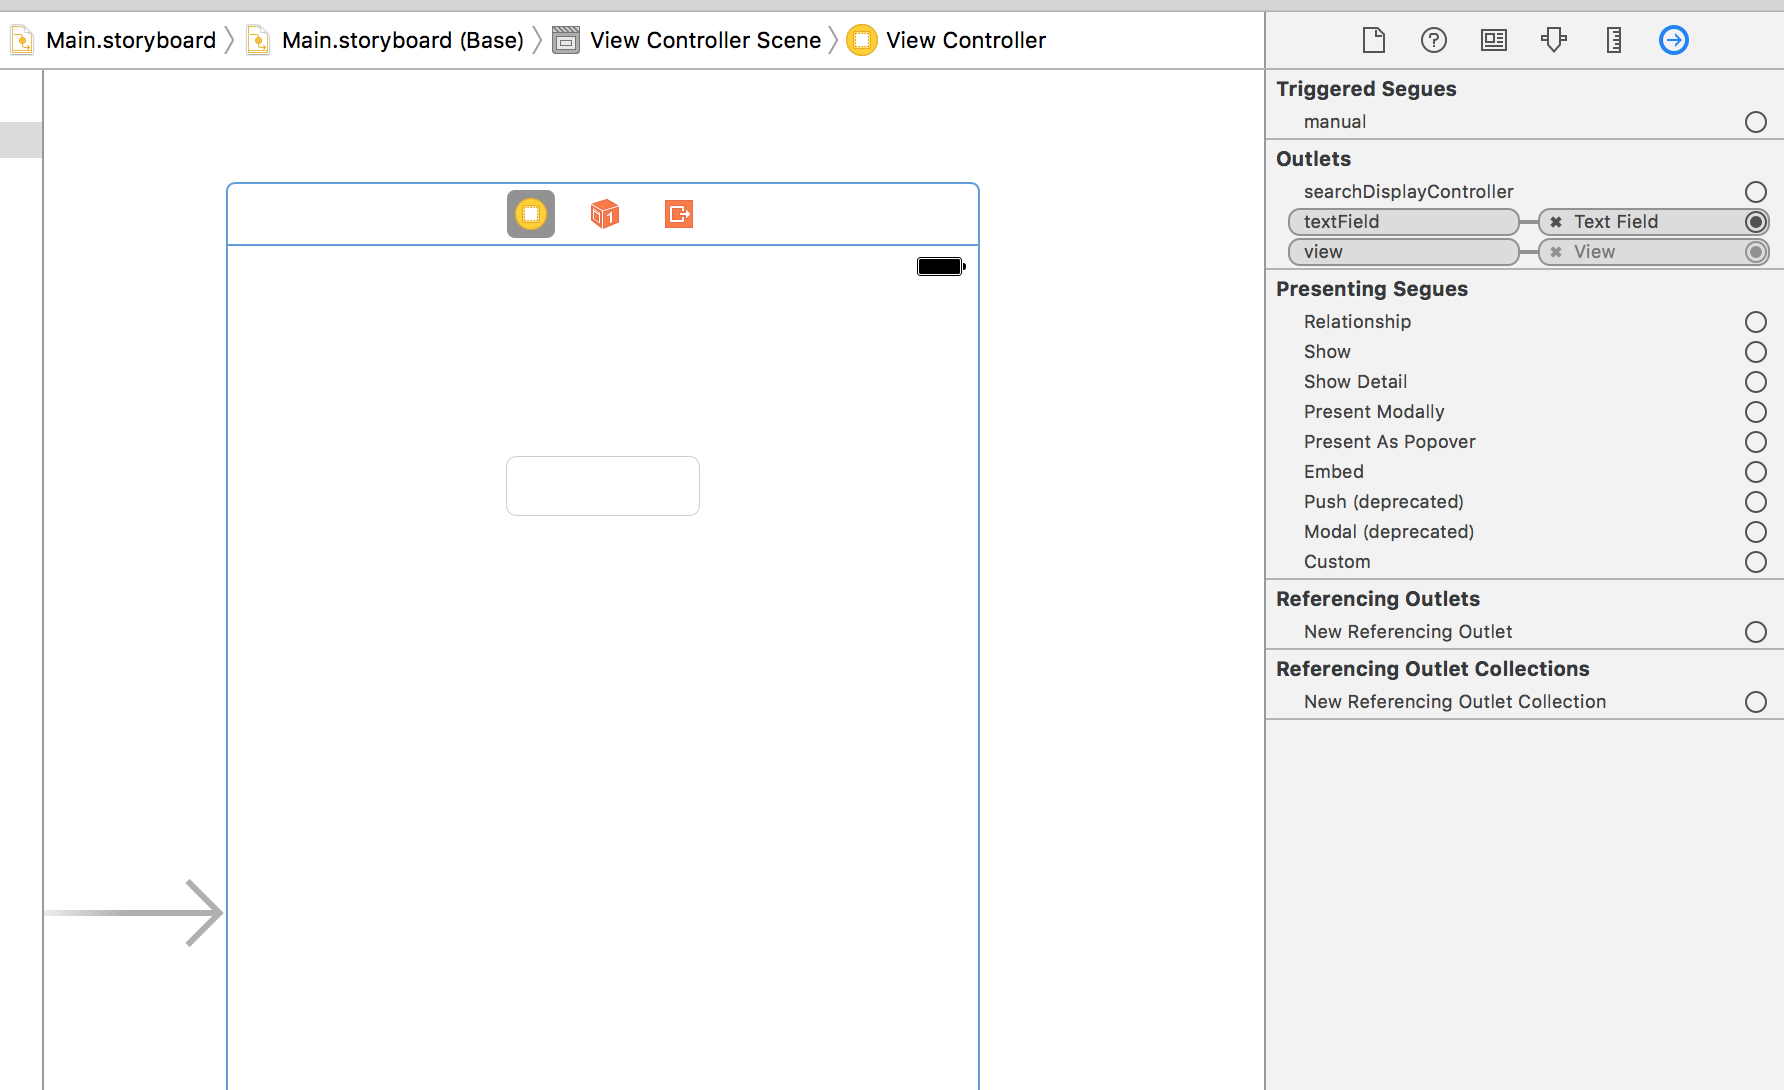
まずはStoryBoardにText Filedを配置して、ViewControllerにOutlet接続しておきます。
こんな状態。
ViewController
以下、ソース全体。
ViewController.swift
import UIKit

class ViewController: UIViewController, UIPickerViewDelegate, UIPickerViewDataSource {

    @IBOutlet weak var textField: UITextField!

    var pickerView: UIPickerView = UIPickerView()
    let list = ["", "1", "2", "3", "4", "5", "6", "7", "8", "9", "10"]

    override func viewDidLoad() {
        super.viewDidLoad()

        pickerView.delegate = self
        pickerView.dataSource = self
        pickerView.showsSelectionIndicator = true

        let toolbar = UIToolbar(frame: CGRectMake(0, 0, 0, 35))
        let doneItem = UIBarButtonItem(barButtonSystemItem: .done, target: self, action: #selector(ViewController.done))
        let cancelItem = UIBarButtonItem(barButtonSystemItem: .cancel, target: self, action: #selector(ViewController.cancel))
        toolbar.setItems([cancelItem, doneItem], animated: true)

        self.textField.inputView = pickerView
        self.textField.inputAccessoryView = toolbar
    }

    func numberOfComponents(in pickerView: UIPickerView) -> Int {
        return 1
    }

    func pickerView(_ pickerView: UIPickerView, numberOfRowsInComponent component: Int) -> Int {
        return list.count
    }

    func pickerView(_ pickerView: UIPickerView, titleForRow row: Int, forComponent component: Int) -> String? {
        return list[row]
    }

    func pickerView(_ pickerView: UIPickerView, didSelectRow row: Int, inComponent component: Int) {
        self.textField.text = list[row]
    }

    func cancel() {
        self.textField.text = ""
        self.textField.endEditing(true)
    }

    func done() {
        self.textField.endEditing(true)
    }

    func CGRectMake(_ x: CGFloat, _ y: CGFloat, _ width: CGFloat, _ height: CGFloat) -> CGRect {
        return CGRect(x: x, y: y, width: width, height: height)
    }

    override func didReceiveMemoryWarning() {
        super.didReceiveMemoryWarning()
        // Dispose of any resources that can be recreated.
    }
}
ちょっと説明。
クラスは、UIPickerViewDelegate と UIPickerViewDataSource を継承する必要があります。
class ViewController: UIViewController, UIPickerViewDelegate, UIPickerViewDataSource {
継承すると、以下の3つの関数を実装する必要があります。
実装するまでエラーが出ます。
func numberOfComponents(in pickerView: UIPickerView) -> Int
func pickerView(_ pickerView: UIPickerView, numberOfRowsInComponent component: Int) -> Int
func pickerView(_ pickerView: UIPickerView, titleForRow row: Int, forComponent component: Int) -> String?
またSwift3.0からは、CGRectMakeという、座標を指定する関数が使えなくなっているので、自分でWrapする関数を作っておきます。
func CGRectMake(_ x: CGFloat, _ y: CGFloat, _ width: CGFloat, _ height: CGFloat) -> CGRect {
    return CGRect(x: x, y: y, width: width, height: height)
}
必須選択にしたい場合
選択リストから空白を除く。
//let list = ["", "1", "2", "3", "4", "5", "6", "7", "8", "9", "10"]
let list = ["1", "2", "3", "4", "5", "6", "7", "8", "9", "10"]
Cancelをタップするとクリアするようにしているので、Cancel自体なくす。
let toolbar = UIToolbar(frame: CGRectMake(0, 0, 0, 35))
let doneItem = UIBarButtonItem(barButtonSystemItem: .done, target: self, action: #selector(ViewController.done))
//let cancelItem = UIBarButtonItem(barButtonSystemItem: .cancel, target: self, action: #selector(ViewController.cancel))
//toolbar.setItems([cancelItem, doneItem], animated: true)
toolbar.setItems([doneItem], animated: true)
viewDidLoad()で初期値を設定する。
self.textField.text = list[0]
ってすれば必須になると思います。
