CloudFront に S3 bucket のサブディレクトリパスのコンテンツを参照させる
既知かもしれませんが, 調べても分からずしばらくハマってしまった問題なので共有しておきます.
解決したい問題
CloudFront(xxx.cloudfront.net) に S3 bucket の URL(yyy.s3.amazonaws.com) をオリジンに設定すると xxx.cloudfront.net/foo/ を参照した時に xxx.cloudfront.net/foo/index.html でなく status=403 を返す.
原因
S3 bucket の URL は bucket が保持するオブジェクト(コンテンツとしてのファイル名)を取得して返すので /foo/ のようなパスに対してどのファイルも返せない.
すなわち " xxx.cloudfront.net/foo/ を呼ぶ => yyy.s3.amazonaws.com/foo/ を呼ぶ => bucket は /foo/ ディレクトリパスに対して何のオブジェクトを返せない" ようです.
(※ ただしルートディレクトリパス(xxx.cloudfront.net/) においては, CloudFront の 設定画面で Default Root Object を index.html を指定しておくことでルートディレクトリパスが index.html を参照するようになる.)
解決策
CloudFront のオリジンを設定する際に S3 bucket の URL ではなく Static Website Hosting の URL を指定することでサブディレクトリパスの index.html を参照させる.
設定方法
(1) CloudFront の設定画面を開く.
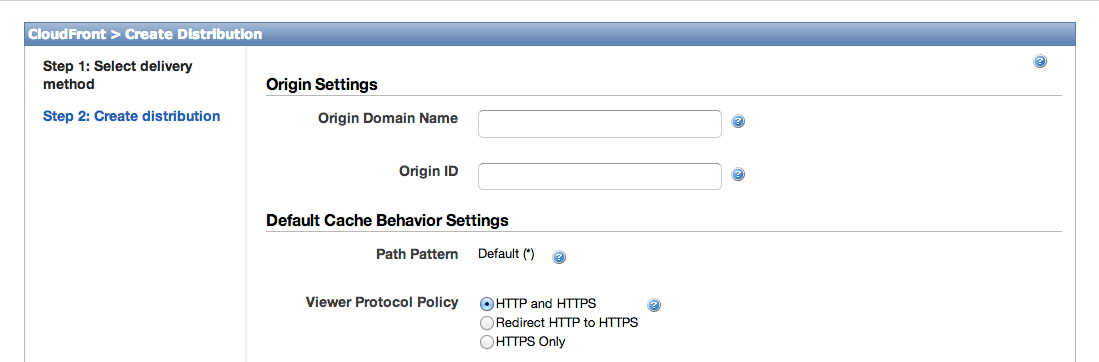
(i) 新規に CloudFront を設定する場合
CloudFront の画面から Create Distribution を選択し次の画面へ.
(ii) 既存の CloudFront を設定する場合
ドメイン名を選択し Distribution Settings を開く.
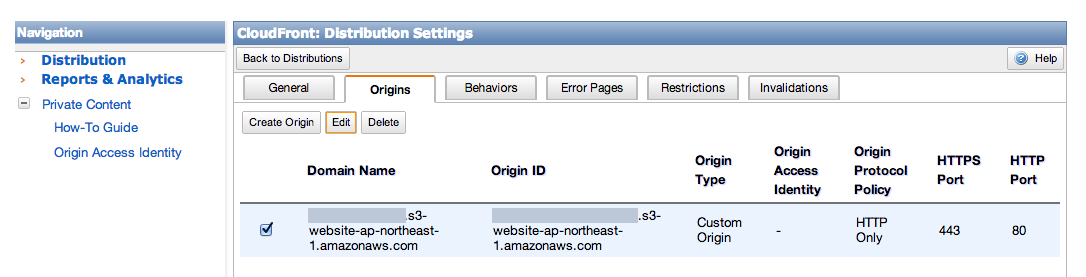
Origins のタブの Domain Name の Edit を選択.
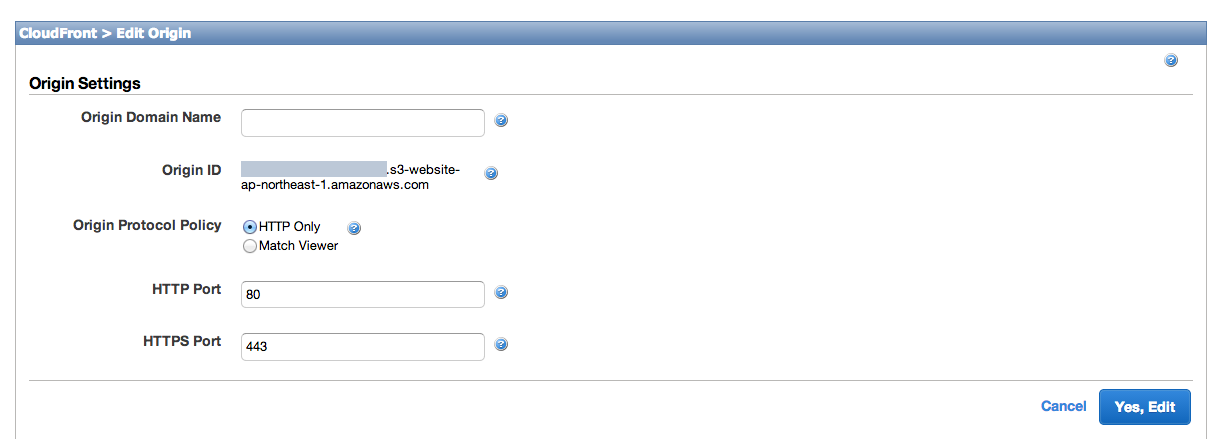
(2) Origin Settings の Origin Domain Name の入力欄に, 指定したい bucket の Static Website Hosting の設定画面に明記されている yyy.s3-website-ap-northeast-1.amazonaws.com を入力し保存する.
(3) 設定は以上. xxx.cloudfront.net/foo/ が xxx.cloudfront.net/foo/index.html を返すことを確認する.