RaspberryPi の GPIO 操作ライブラリ WiringPi。
Python3でインストールする方法
# pip3 install wiringpi
使い方
バージョンが違うと微妙に初期化方法などが違ってくるので注意。
下は1秒間GPIO0に接続したLEDを点灯して消す。
# !/usr/bin/env python3
import time
import wiringpi as w
w.wiringPiSetup()
w.pinMode(0,1)
w.digitalWrite(0,1)
time.sleep(1)
w.digitalWrite(0,0)
実行は実行権をつけてからスーパーユーザで実行する。
シェルでWirintPiを使う場合はpiユーザでOKだが、python3の場合はスーパーユーザでなければならない。
下は1秒ごとにGPIO0に接続したLEDを点滅の無限ループ
# !/usr/bin/env python3
import time
import wiringpi as w
w.wiringPiSetup()
w.pinMode(0,1)
while 1:
  w.digitalWrite(0,1)
  time.sleep(1)
  w.digitalWrite(0,0)
  time.sleep(1)
WiringPi とは
最近の Raspbian には当初からインストールされているが、シェルからの実行となる。
$ gpio mode 0 out
$ gpio write 0 1
$ gpio write 0 0
でそれぞれ
- GPIO 0 をアウトプットモード、
- GPIO 0 をHigh
- GPIO 0 をLow
と操作。
これだけならシェルからしか使えないが、各言語バインディングがある。
C/Java/PHP/Pythonなどがあるがそれぞれインストールしないといけない。
pullup / pulldown
w.pullUpDnControl(0, 2) # ポート0をプルアップ

w.pullUpDnControl(0, 1) # ポート0をプルダウン

w.pullUpDnControl(0, 0) # プルアップ/プルダウンの解除
Raspberry Pi + フラットケーブルを使って電子工作
Raspberry Piで電子工作するときにはブレッドボードを使うことが多いですが、もっとお手軽な感じでやってみましょう。
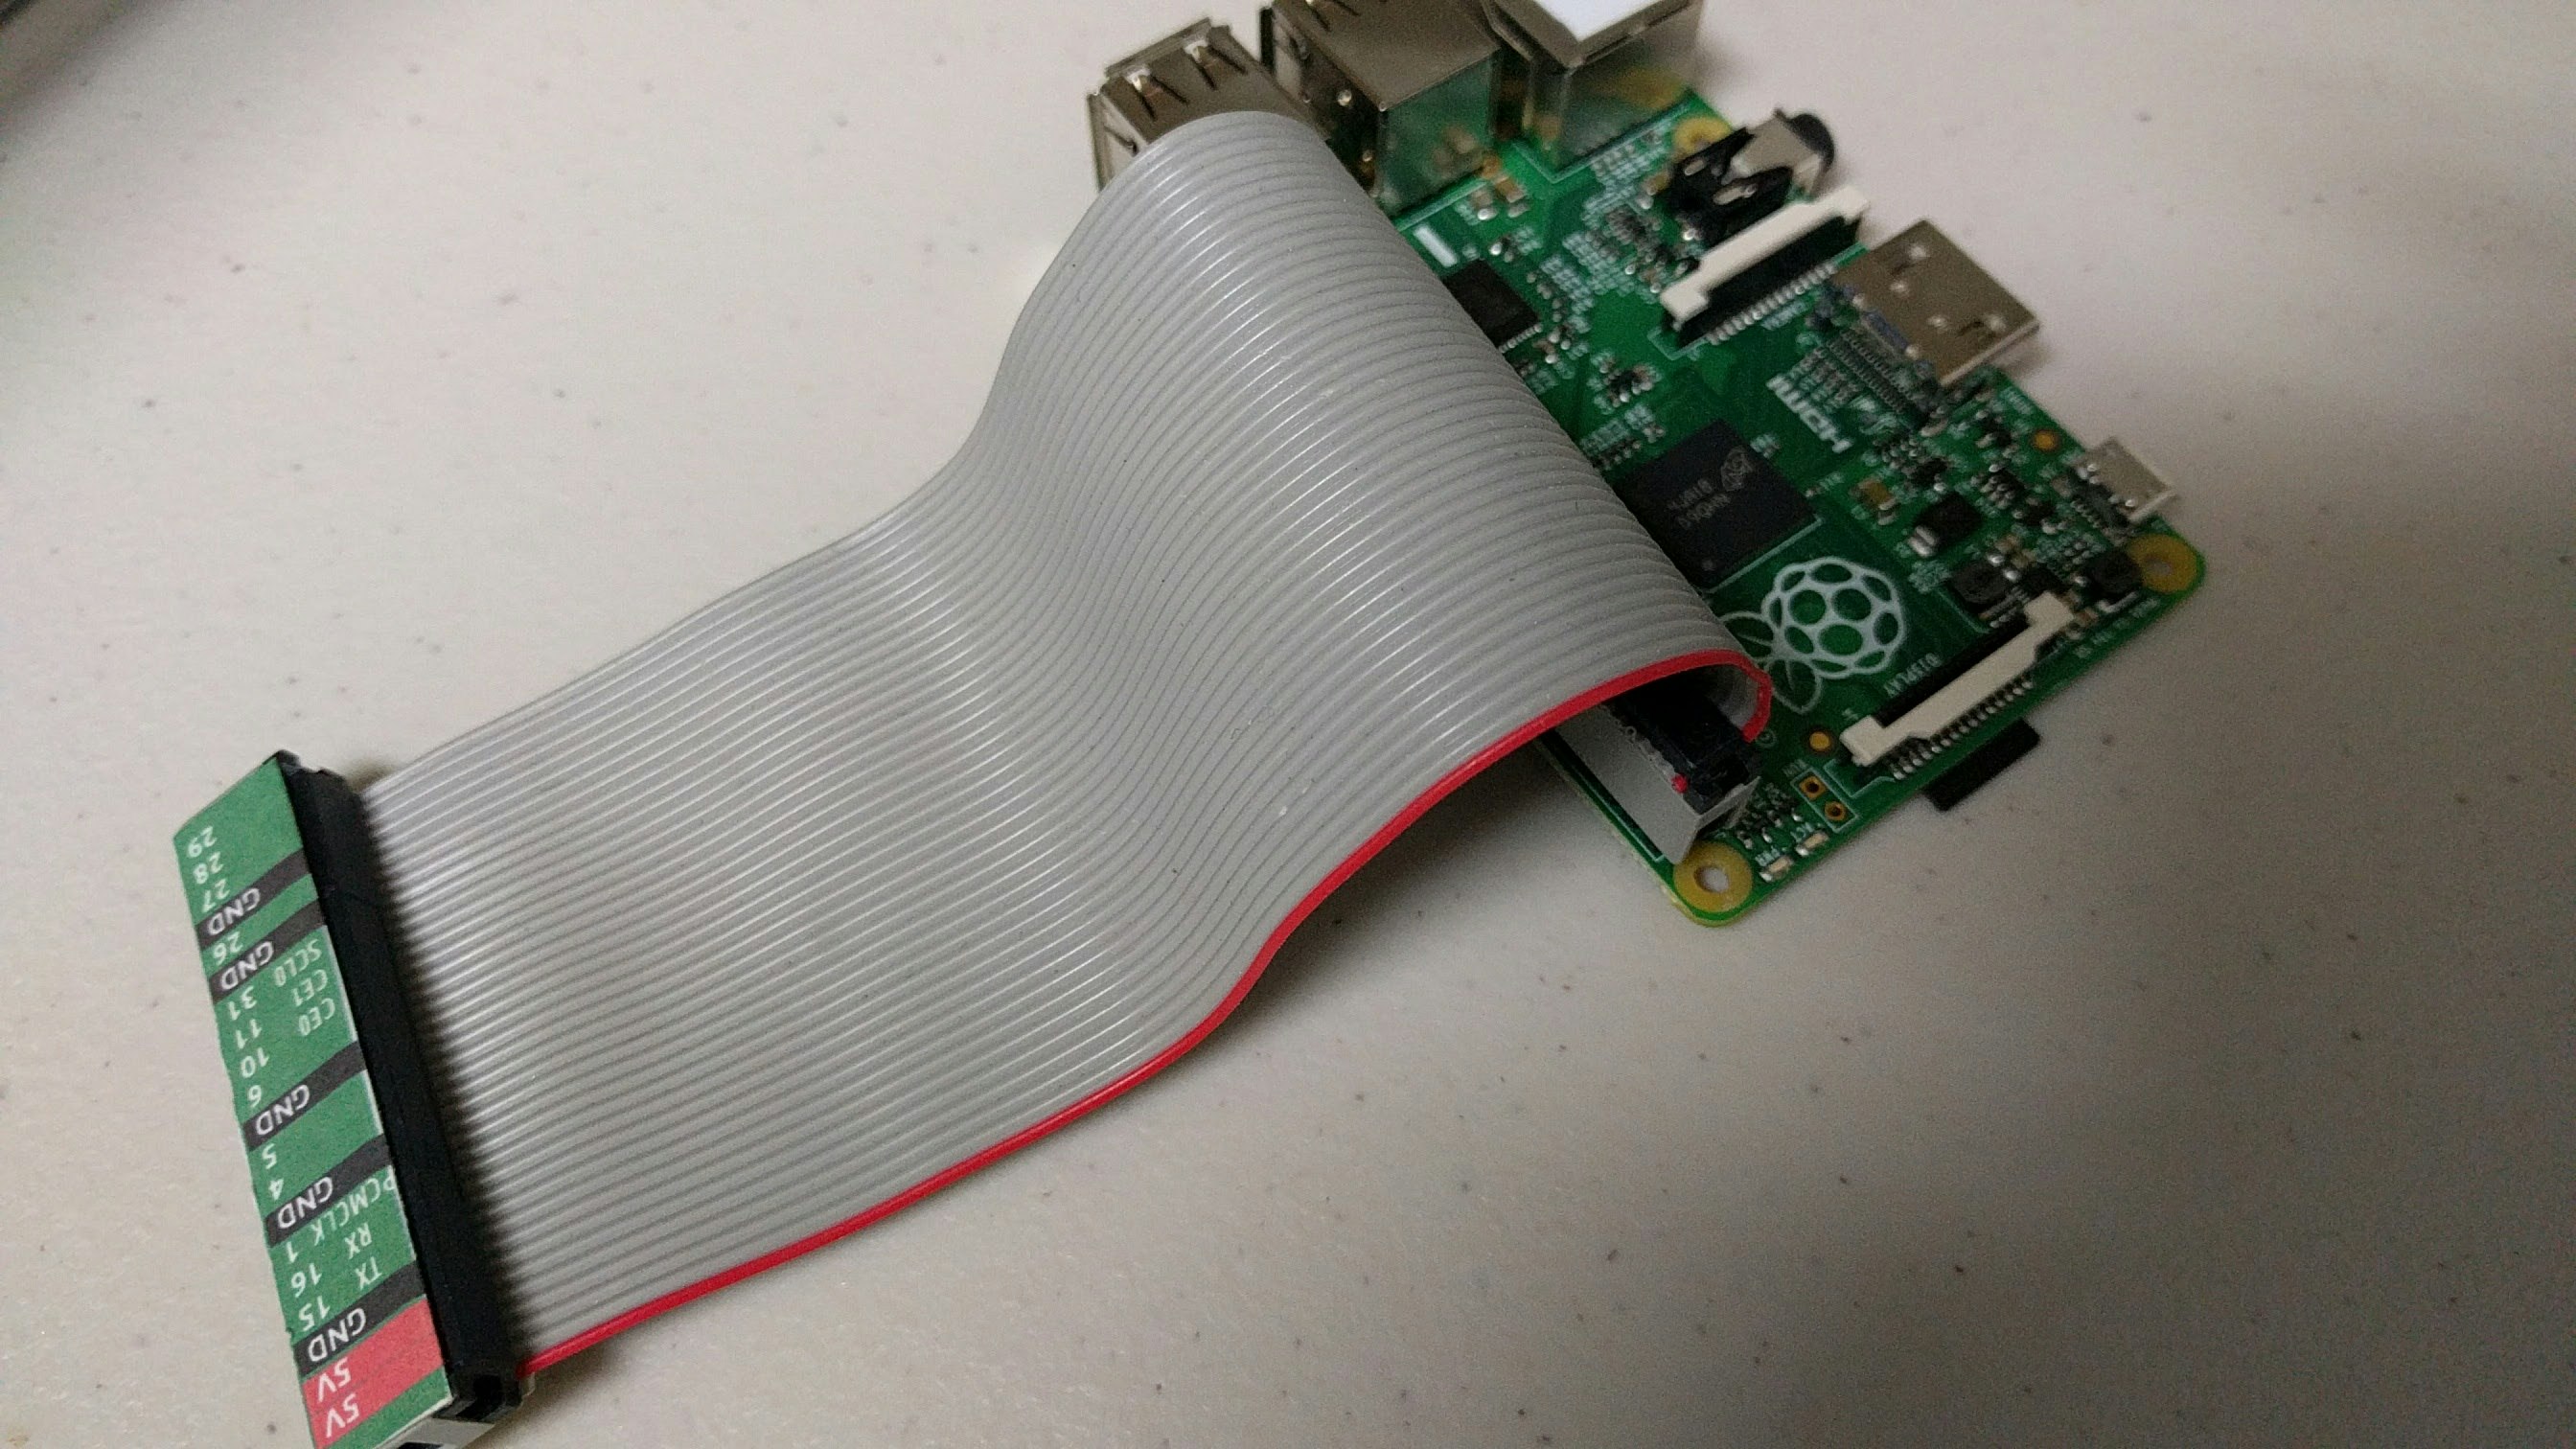
こんな感じにフラットケーブルを接続してみます。
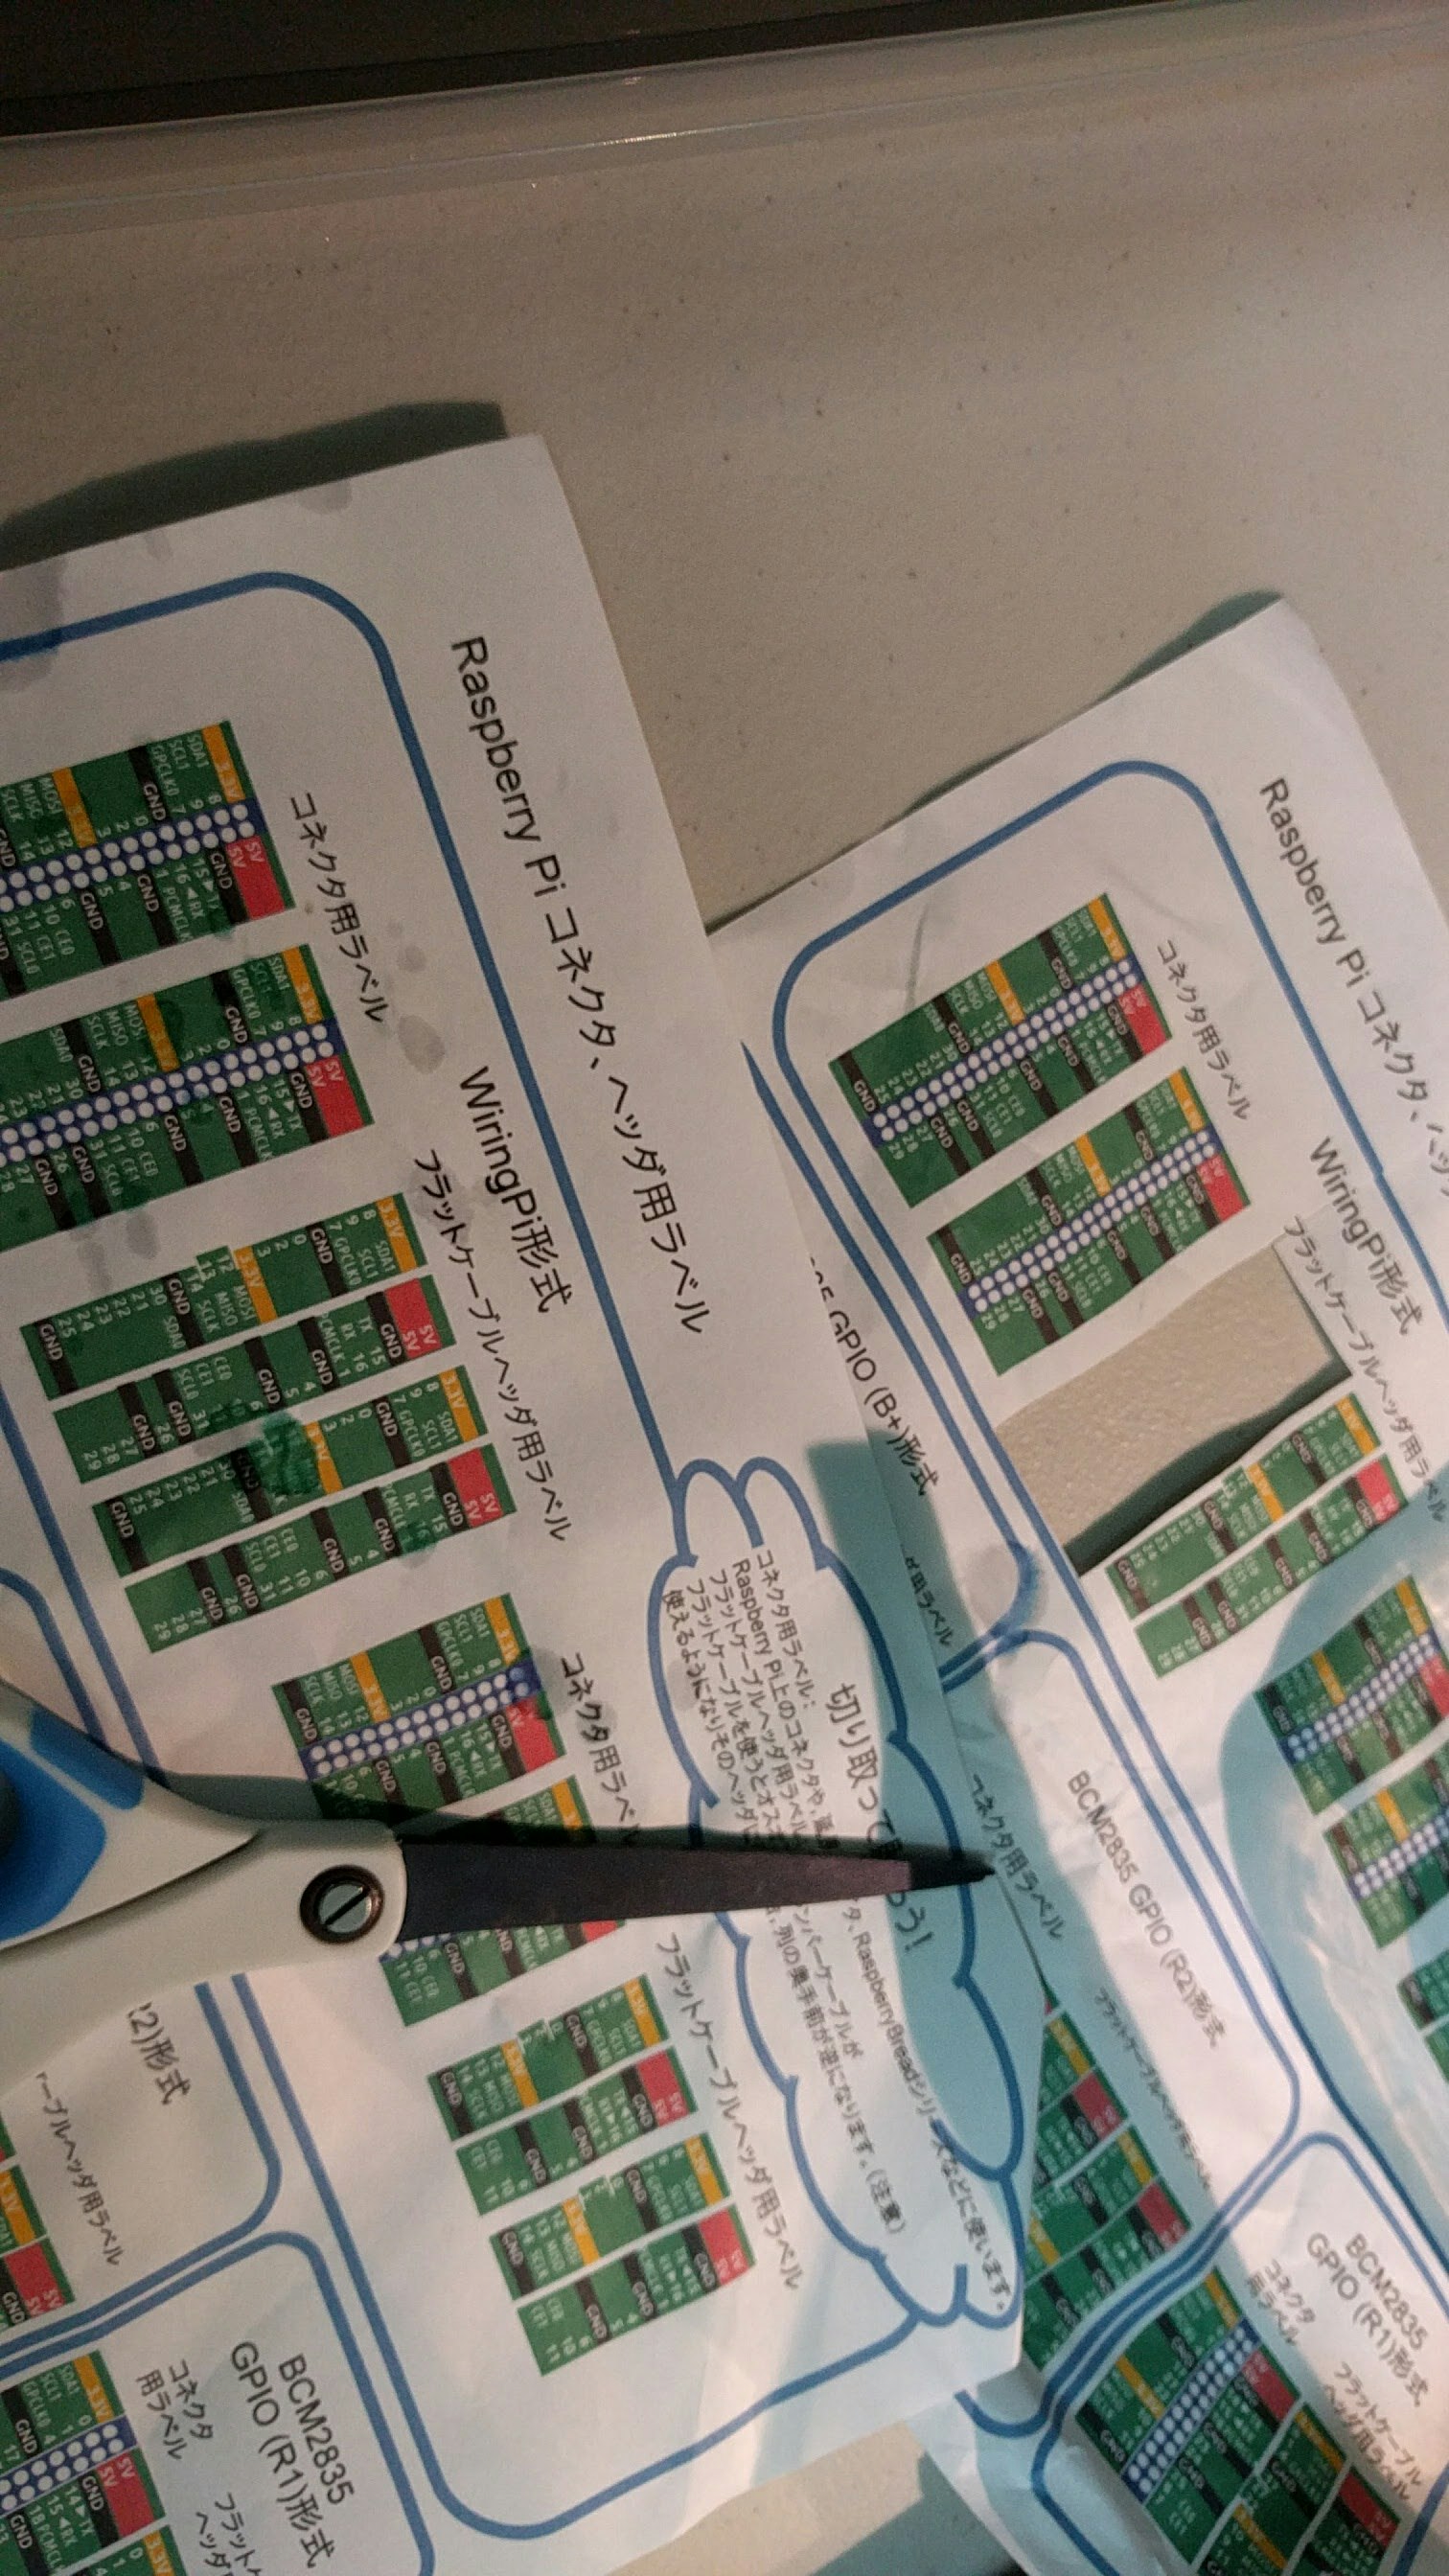
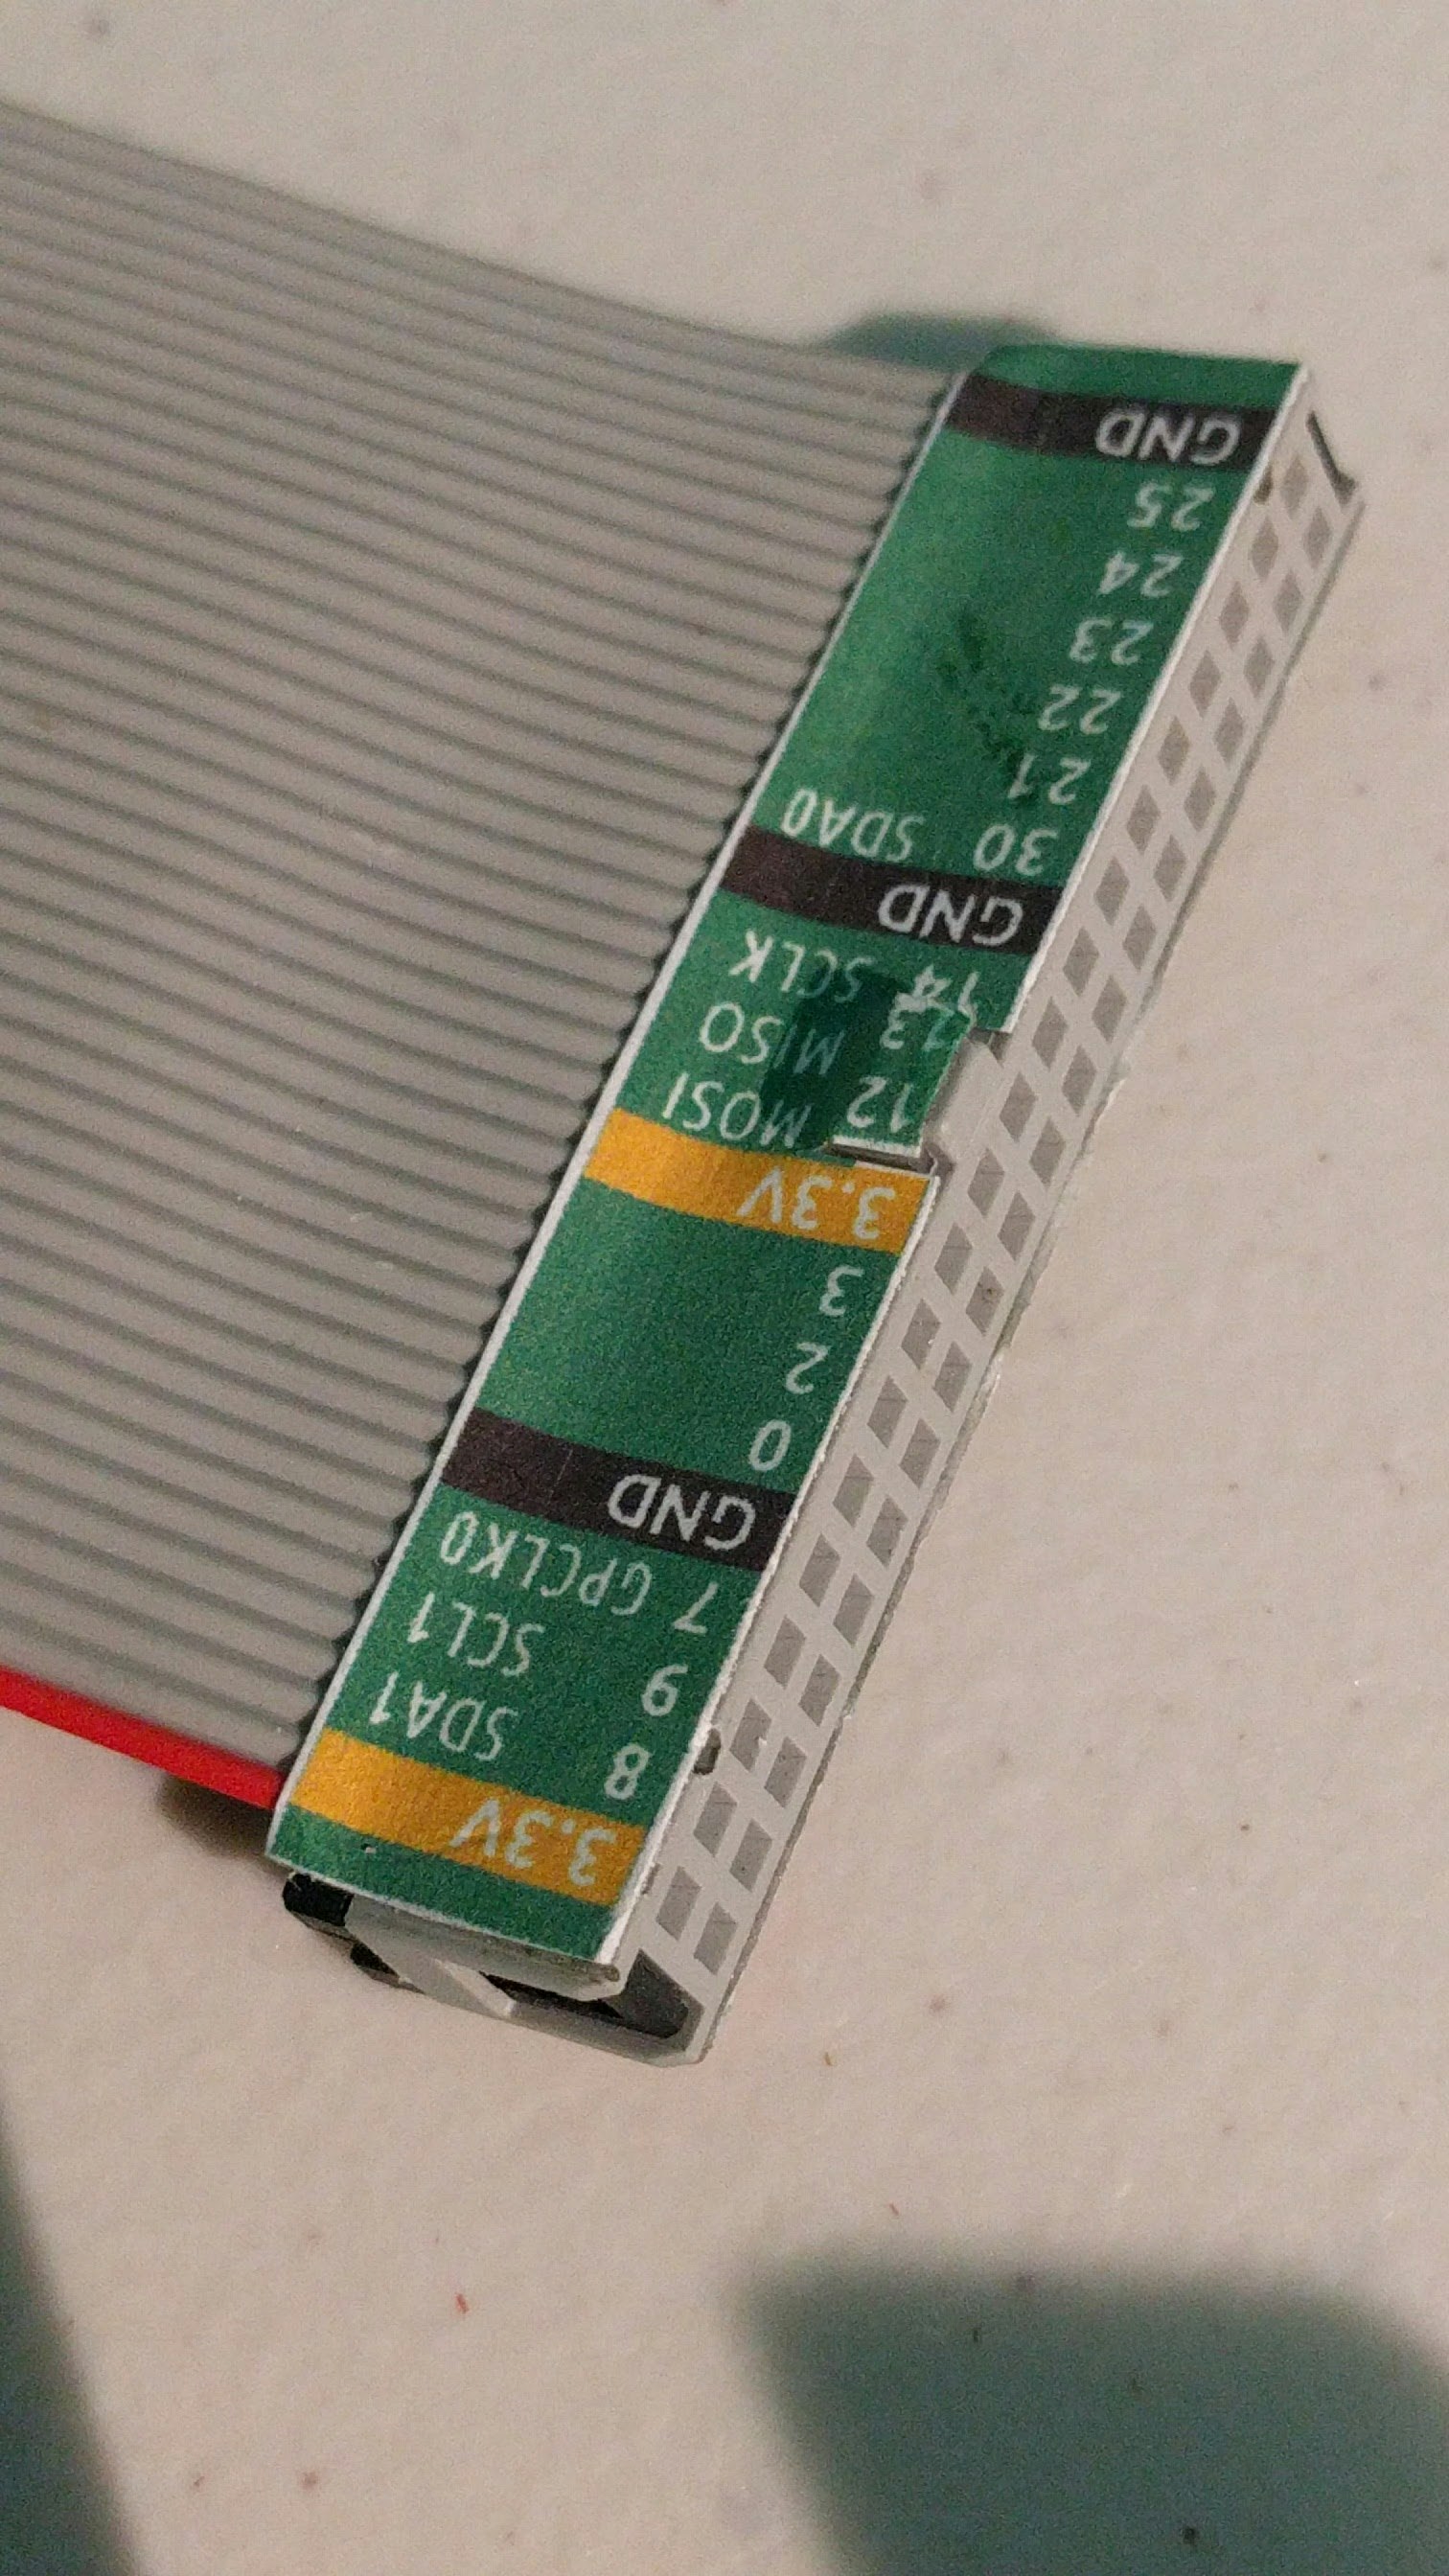
ラベルを切って貼ります。
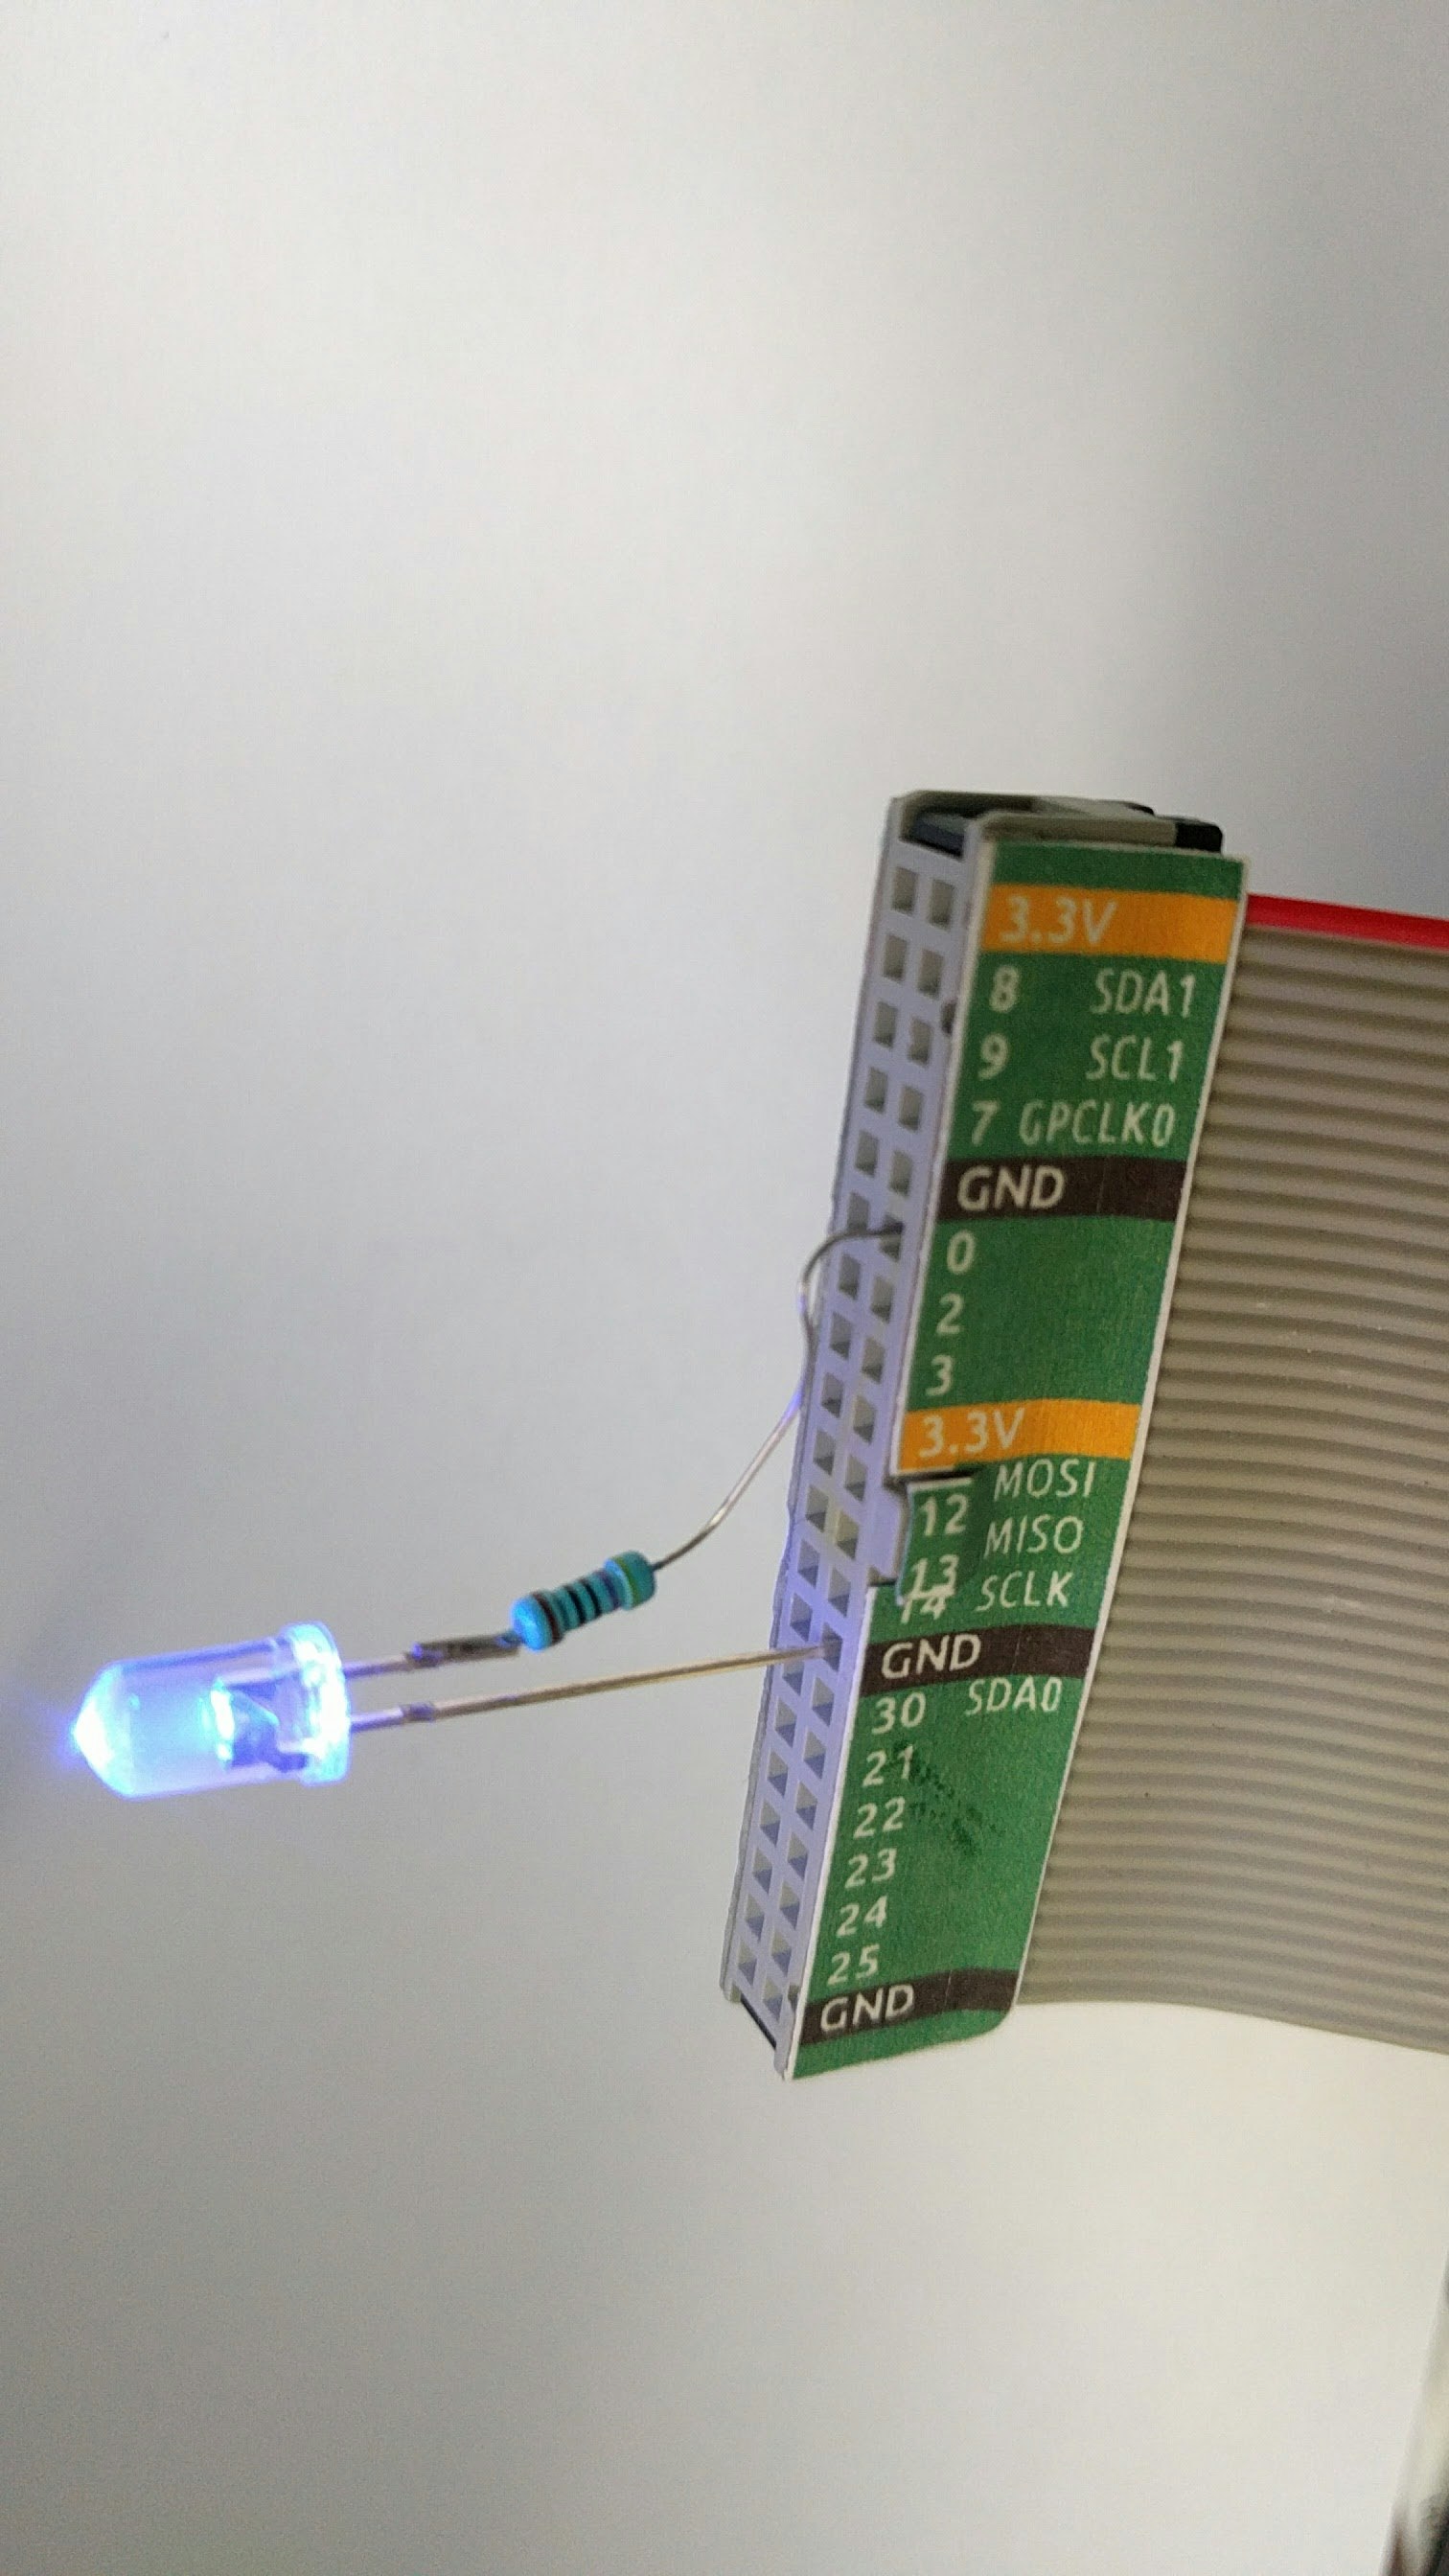
LEDをつなげてみます。
GPIOコマンドで動かしてみましょう。
うまく動いたら、Pythonで動かしてみます。
# !/usr/bin/python3
import subprocess
import wiringpi as w
import time
w.wiringPiSetup()
w.pinMode(0,1)
w.digitalWrite(0,1)
time.sleep(1)
w.digitalWrite(0,0)
w.pinMode(1,0)
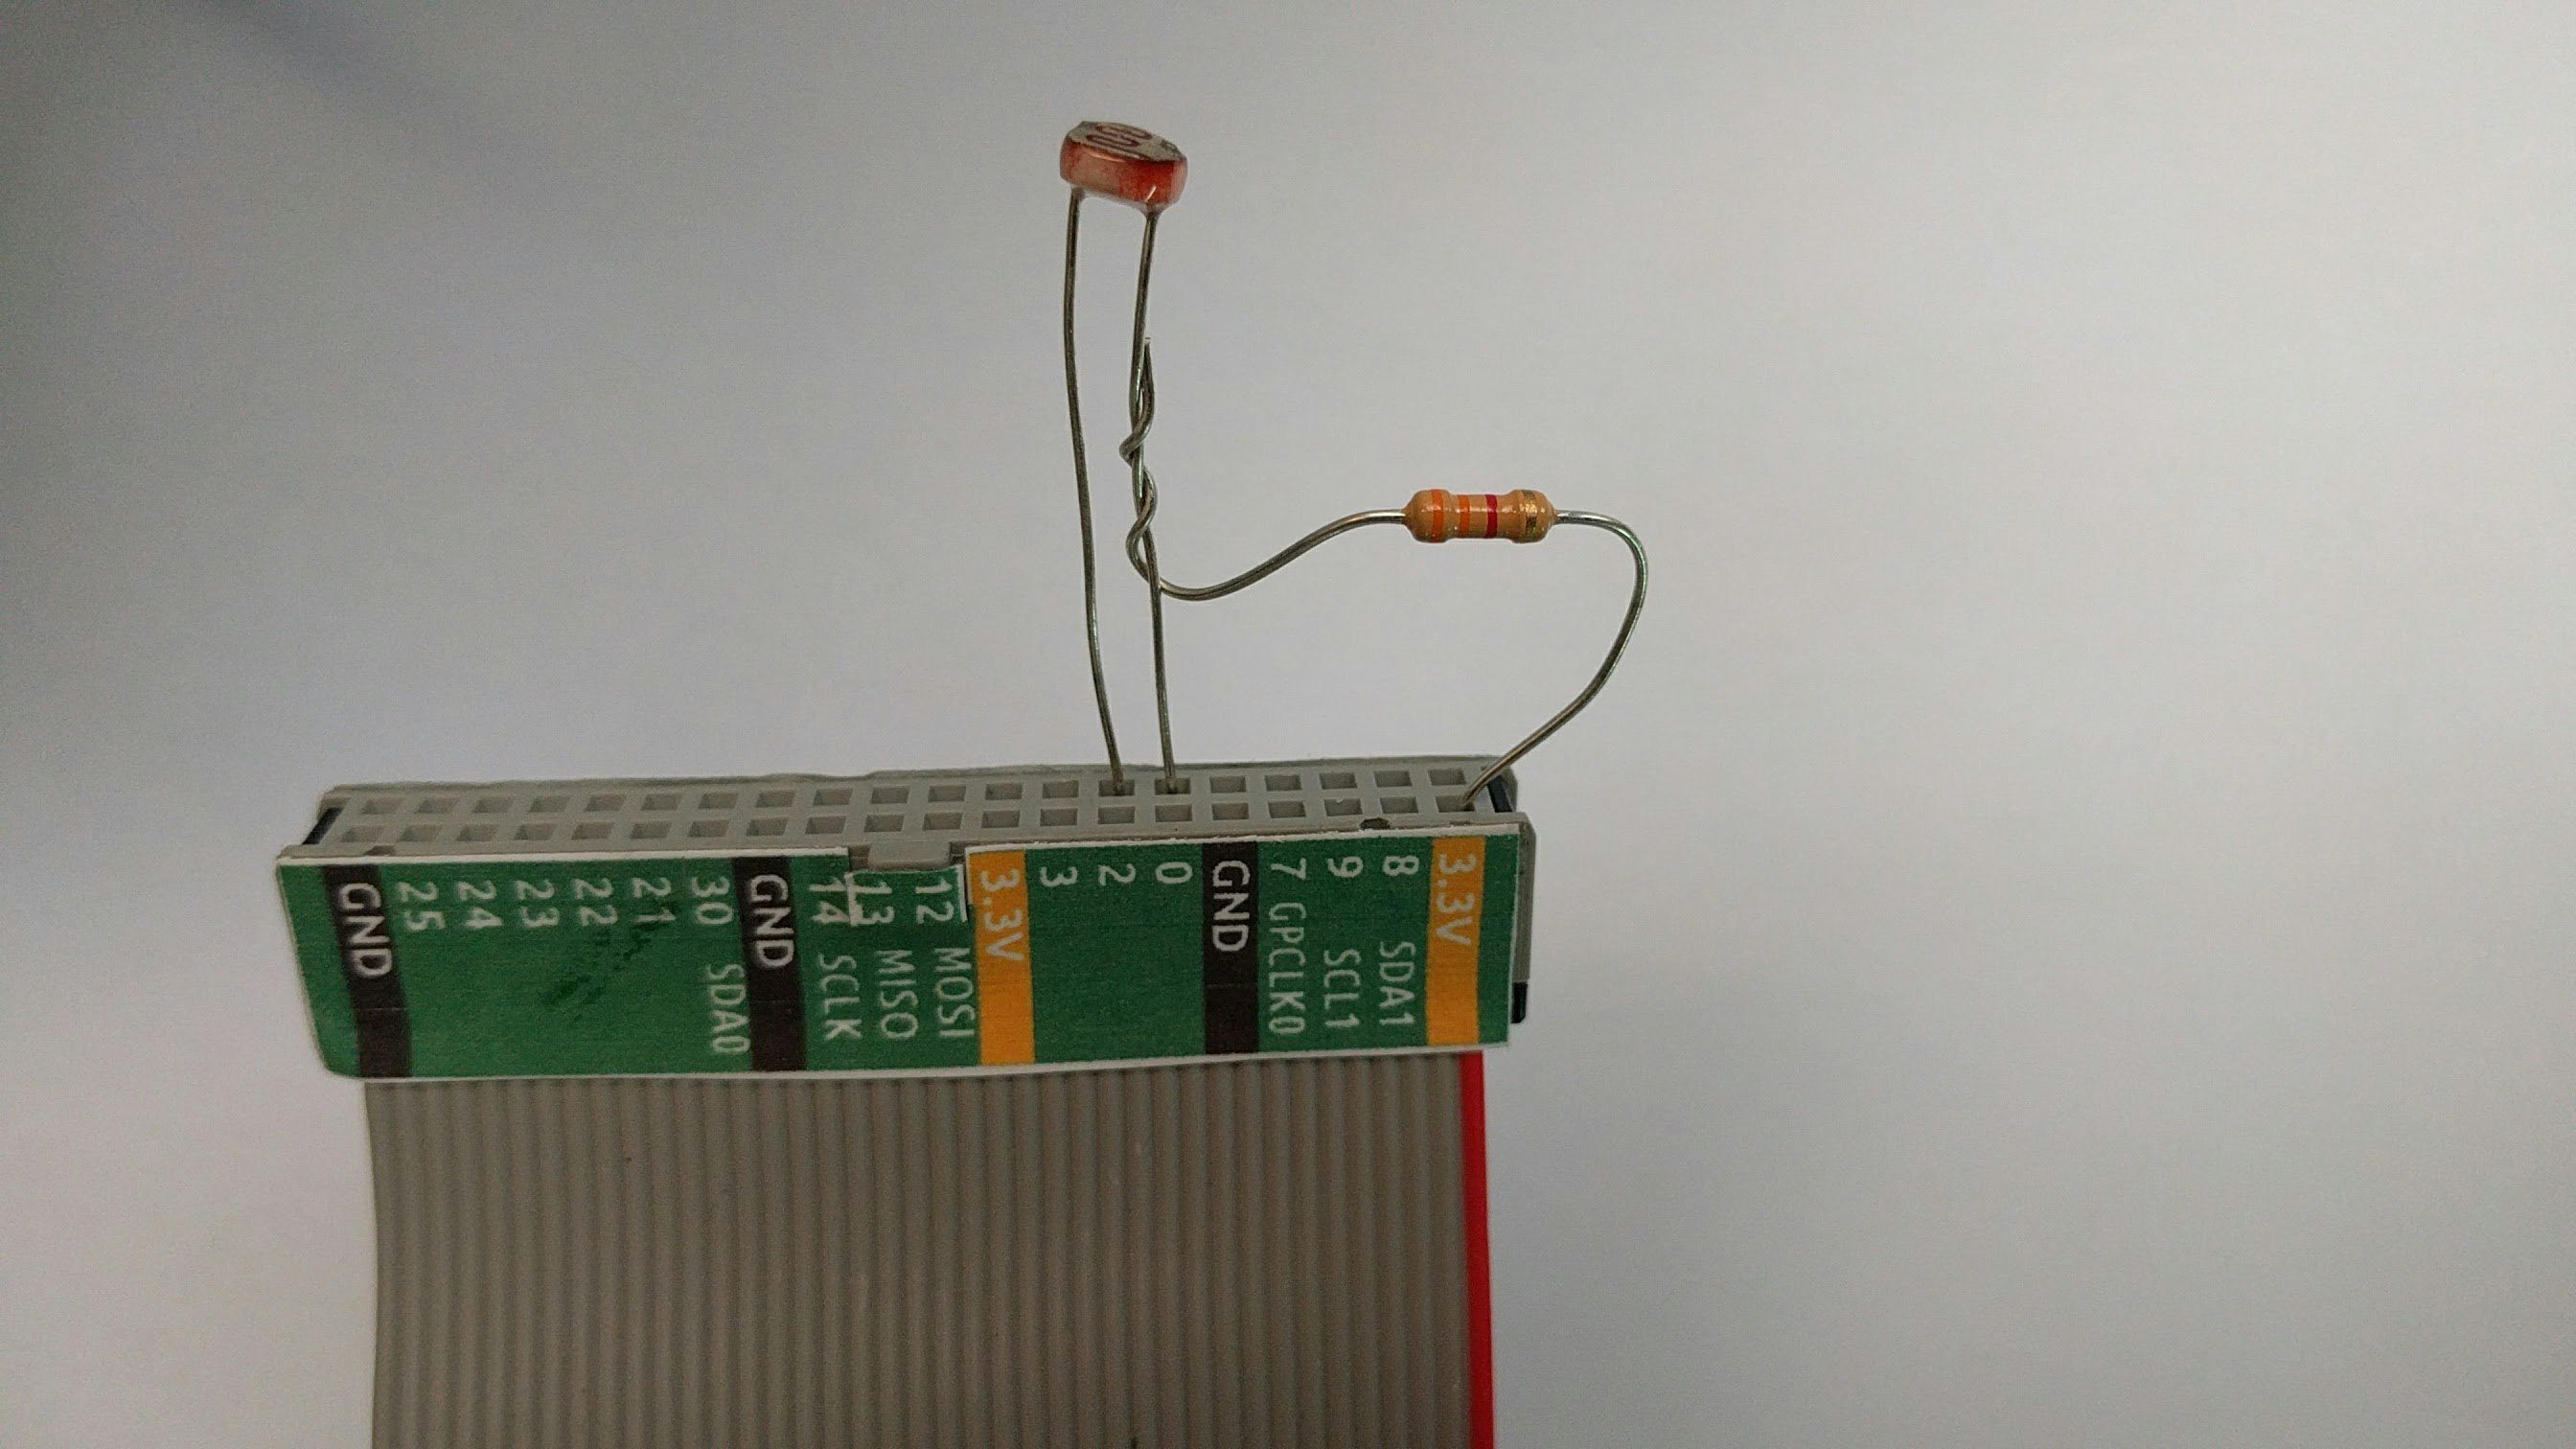
アナログセンサをつないでみます。
# !/usr/bin/python3
import subprocess
import wiringpi as w
import time
w.wiringPiSetup()
w.pinMode(1,0)
while 1:
  a = w.digitalRead(1)
  print(a)
  if ( a == 1 ):
    subprocess.call(["aplay","dai5.wav"])
  time.sleep(1)
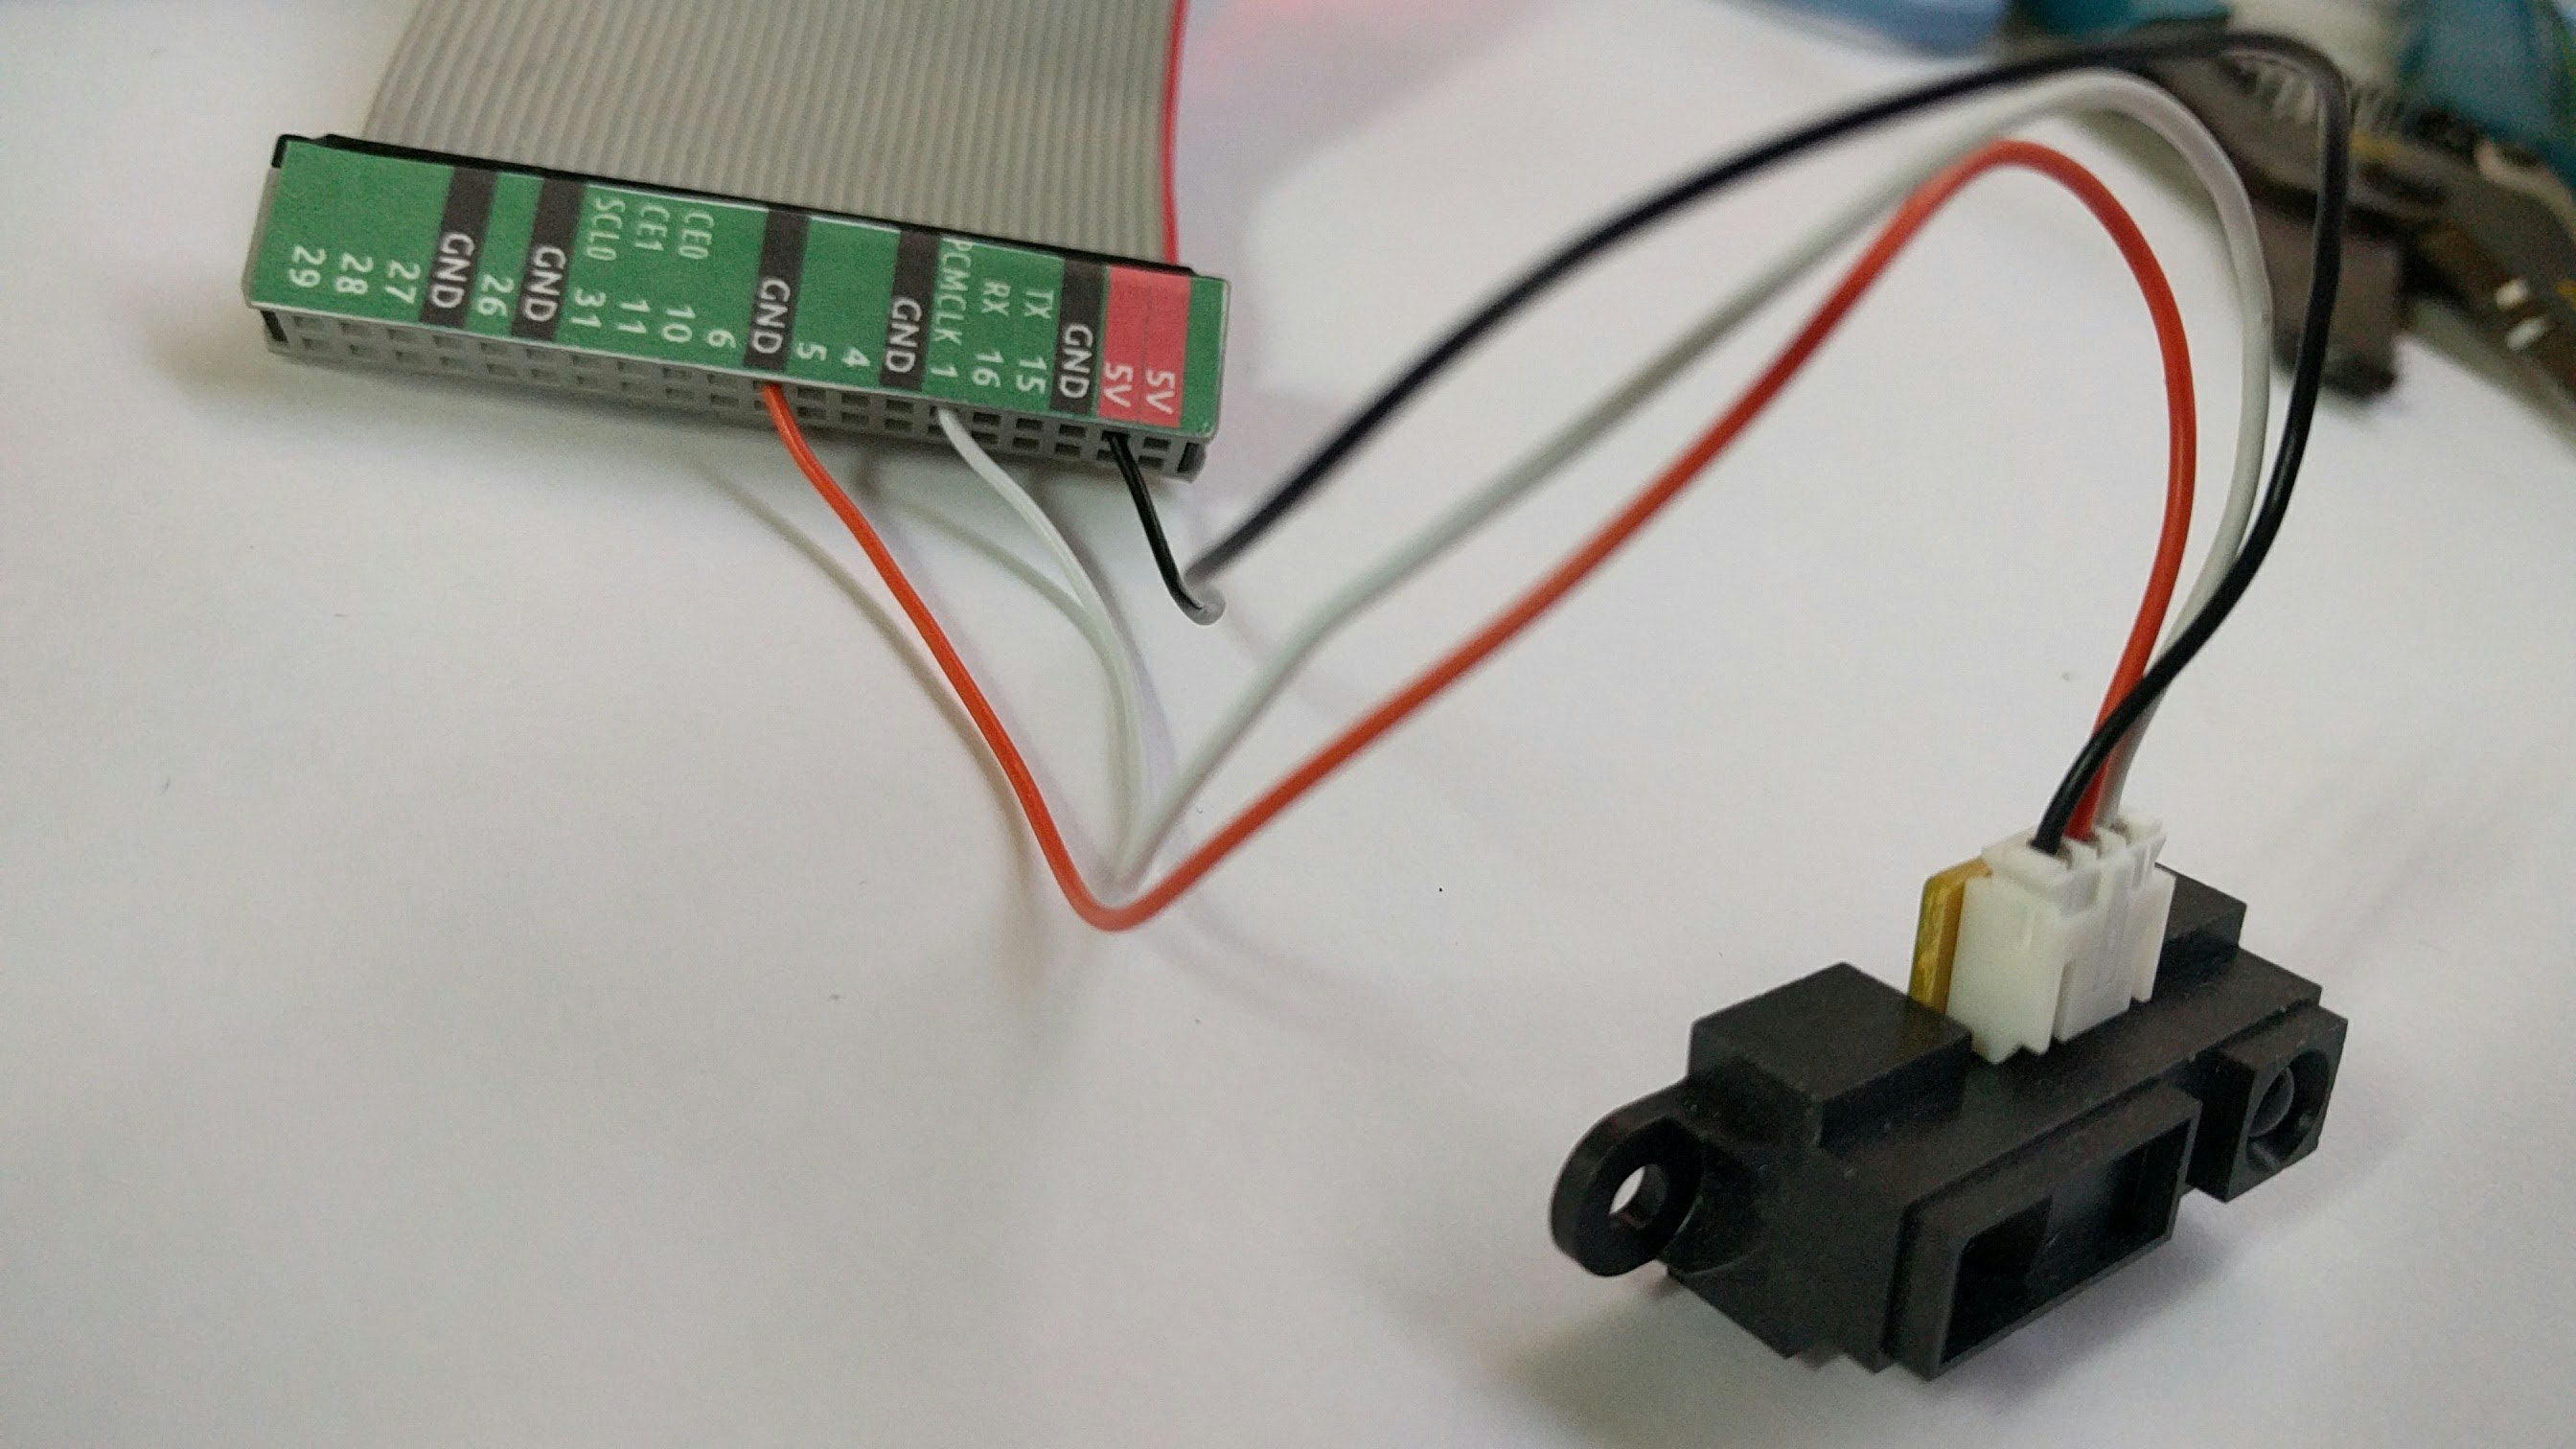
秋月電子の赤外線距離センサーをつないでみました。
黒が5V、橙がGNDに繋げないといけないという危険なデバイスです。
センサーはアナログですが、適当なしきい値で 0/1判別します。
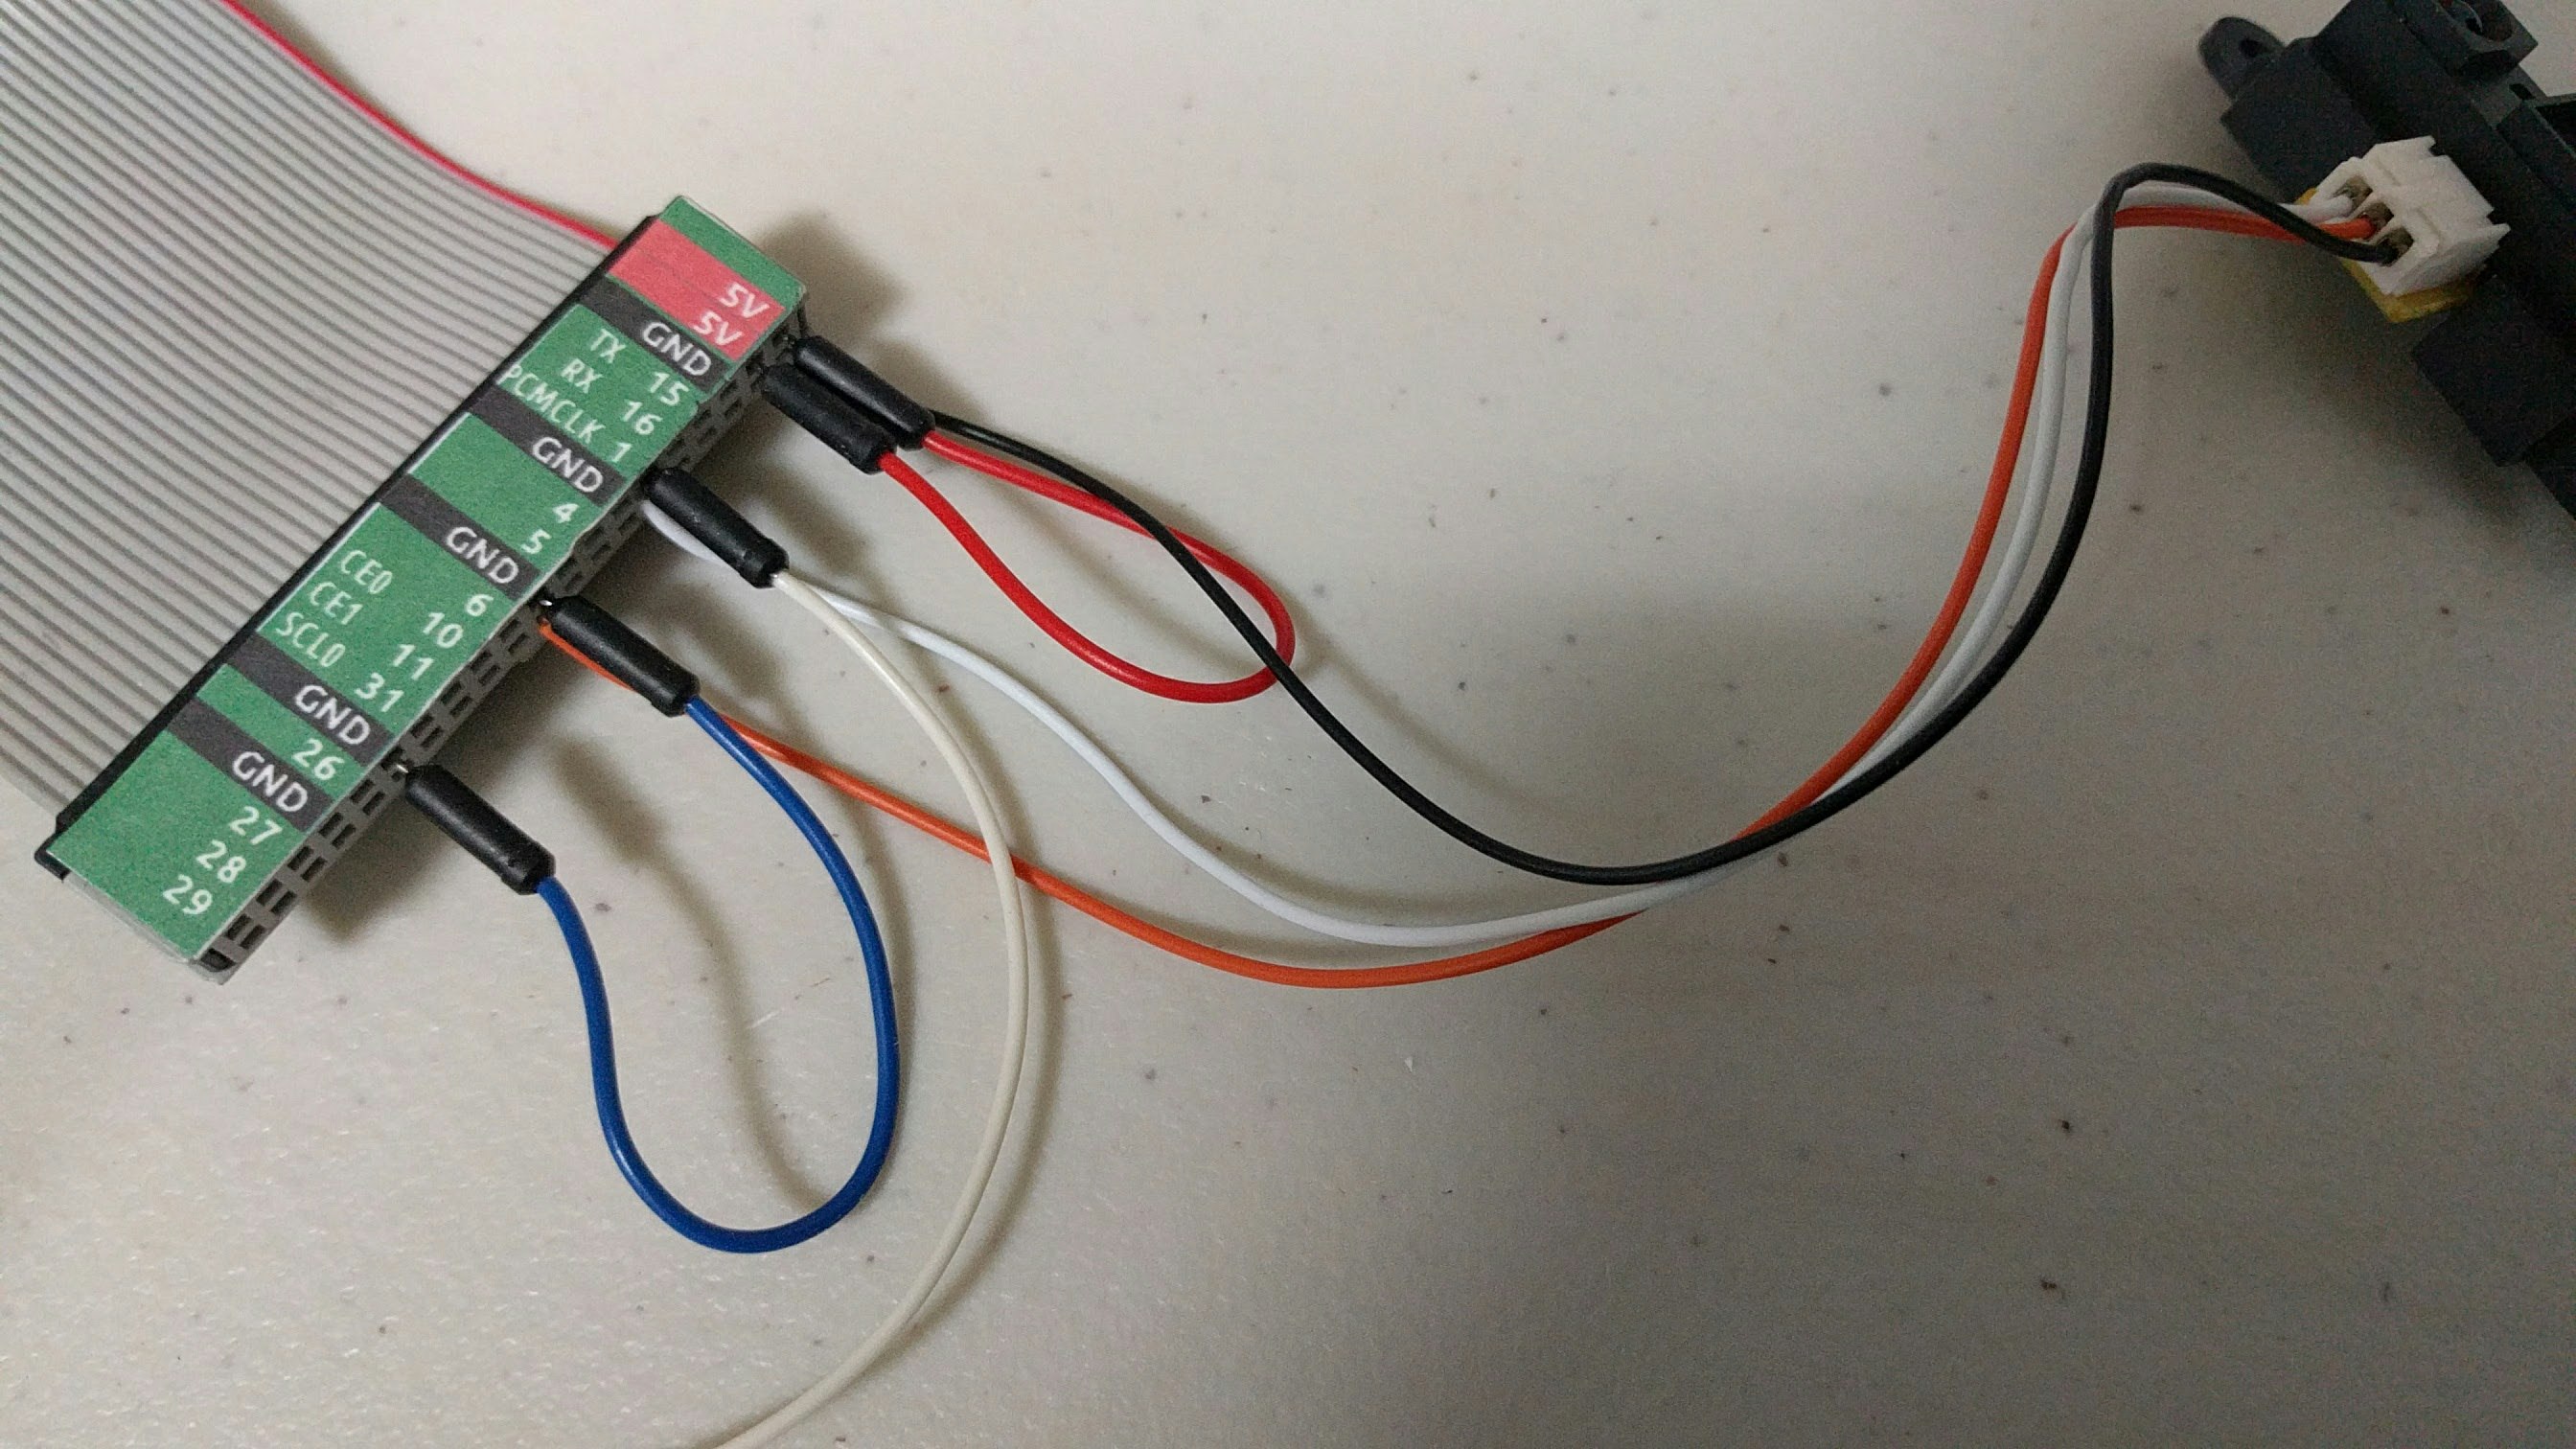
すぐに外れるのでジャンパーケーブルを使ってこういうようにしてみました。
