Windows 10 上で PHP の開発環境を構築します。cakephp3で環境を作り、ブレイクポイントを張って値を確認するところをやってみます。
この記事では、XAMPP の Apache へのデプロイはせず、PHP の built-in Web Server での確認をします。
XAMPP と InttelliJ IDEA (PhpStorm) のインストール
XAMPP
https://www.apachefriends.org/jp/index.html
からインストールパッケージをダウンロードしてインストールをします。
この記事では、xampp-win32-7.0.8-0-VC14-installer.exe (7.0.8 32bit) を利用しています。
インストール先は、C;\xampp とします。
IntelliJ IDEA
IntelliJ IDEA または PhpStorm をインストールします。
この記事では、ideaIU-2016.2.1.exe を update し 2016.2.2 で利用しています。
インストール先は、C:\Program Files (x86)\JetBrains\IntelliJ IDEA 2016.2.1 とします。
Xdebug のインストール
XAMPPP 7.x では、Xdebug モジュールが同梱されていないようなので、
本家 (https://xdebug.org/) からダウンロードします。
Xdebug 2.4.1 [PHP 7.0 VC14 TS (32 bit)] を利用しました。
php_xdebug-2.4.1-7.0-vc14.dll を C:\xampp\php\ext にコピーし
php_xdebug.dll にリネームします。
php.ini の設定 (xdebugの有効化とextensionの有効化)
XAMPP のコントロールパネルで Apache > Config をクリックするとプルダウンになるので、PHP (php.ini) をクリックします。
以下を最下行に追加し保存します。
[XDebug]
zend_extension = "C:\xampp\php\ext\php_xdebug.dll"
xdebug.profiler_append = 0
xdebug.profiler_enable = 1
xdebug.profiler_enable_trigger = 0
xdebug.profiler_output_dir = "C:\xampp\tmp"
xdebug.profiler_output_name = "cachegrind.out.%t-%s"
xdebug.remote_enable = 1
xdebug.remote_autostart = 1
xdebug.remote_handler = "dbgp"
xdebug.remote_host = "127.0.0.1"
xdebug.remote_port = 9000
xdebug.auto_trace = 1
xdebug.trace_output_dir = "C:\xampp\trace"
xdebug.idekey = "phpstorm"
872行目で
;extension=php_intl.dll
とあるので、コメントを外します。(セミコロンの削除)
php.iniを保存します。
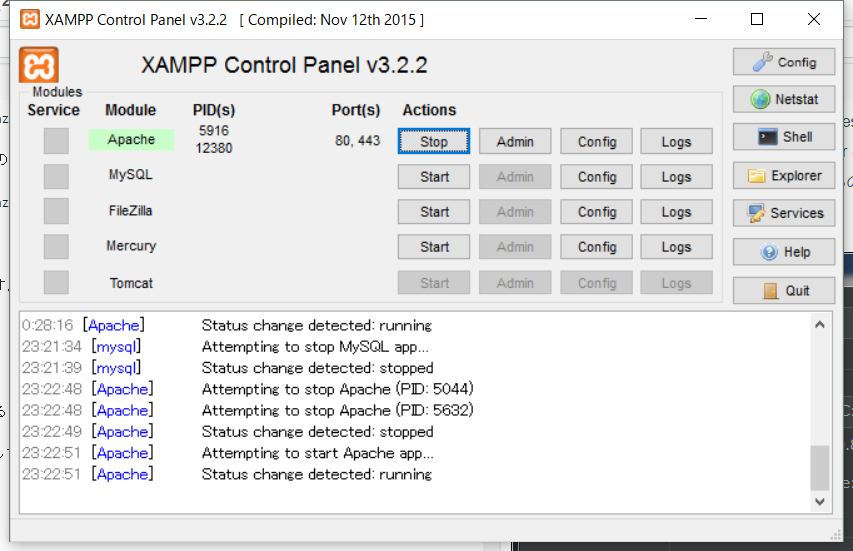
Apache をXAMPP Control Panel より再起動(Stop->Start)します。
XAMPP の動作確認
XAMPP のコントールパネルで Apache を Start しておきます。
ブラウザから localhost にアクセスすると以下のような画面が表示されます。

XDebug の有効化を確認
C:\xampp\htdocs に phpinfo.php を作成します。
<?php phpinfo(); ?>
http://localhost/phpinfo.php にアクセスすると、いつものアレが表示されます。
xdebug と intl のセクションが表示されているかを確認しておきます。
IntelliJ IDEA の設定
PHP プラグインのインストール
Configure > Plugins をクリックします。
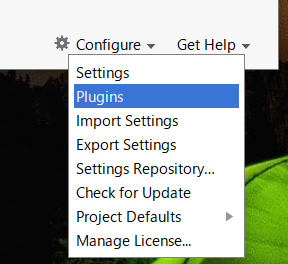
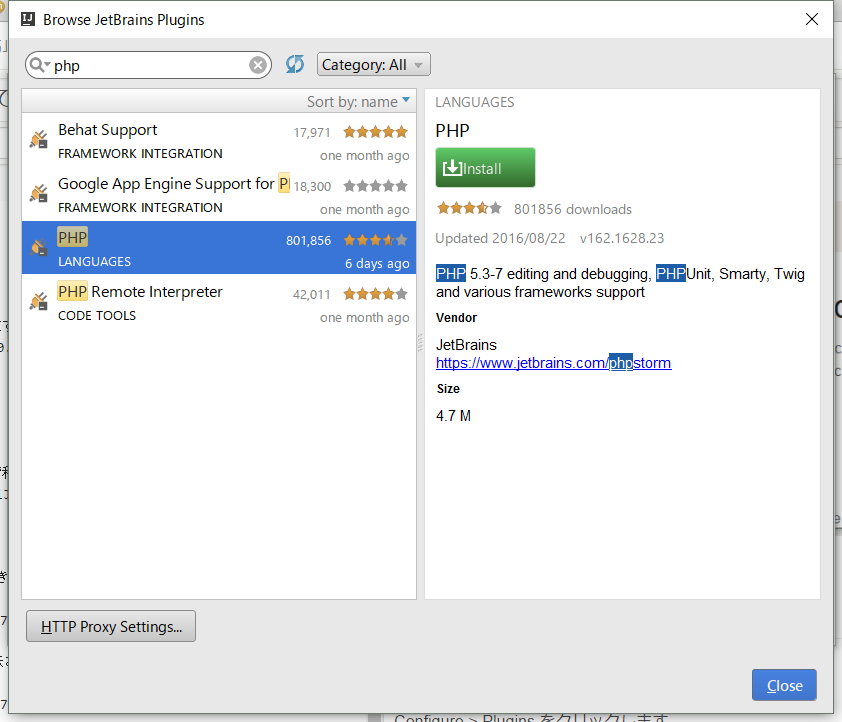
[Install JetBrains Plugin] をクリックしたのち、検索語に php と入力すると、いくつか候補が表示されるので
PHP をインストールします。
PHP の指定
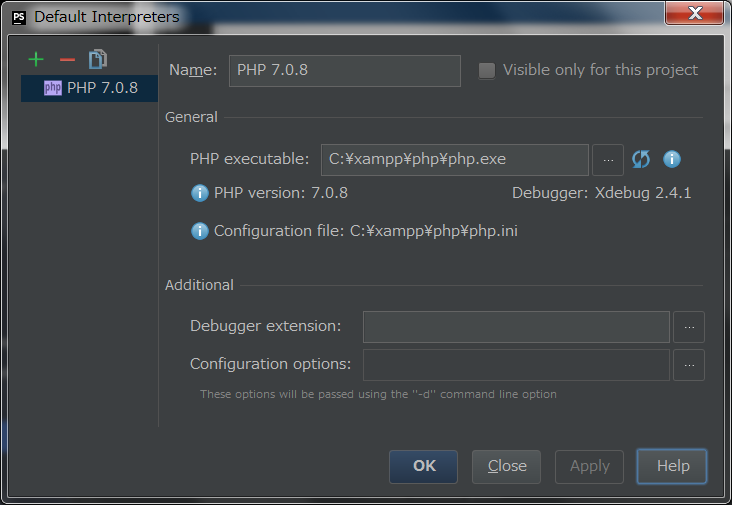
Configure > Settings とクリックし、 Languages & Frameworks > PHP をクリックします。
PHP Langage Level に 7 を選択し、Interpreter の [...] をクリックします。
Default Interpreters のダイアログが表示されるので、[+] をクリックし、以下の画面のように php の位置を指定します、
Chrome の設定
JetBrains IDE Support extension を拡張機能からインストールしておきます。
Composer と Cakephp3 のインストール
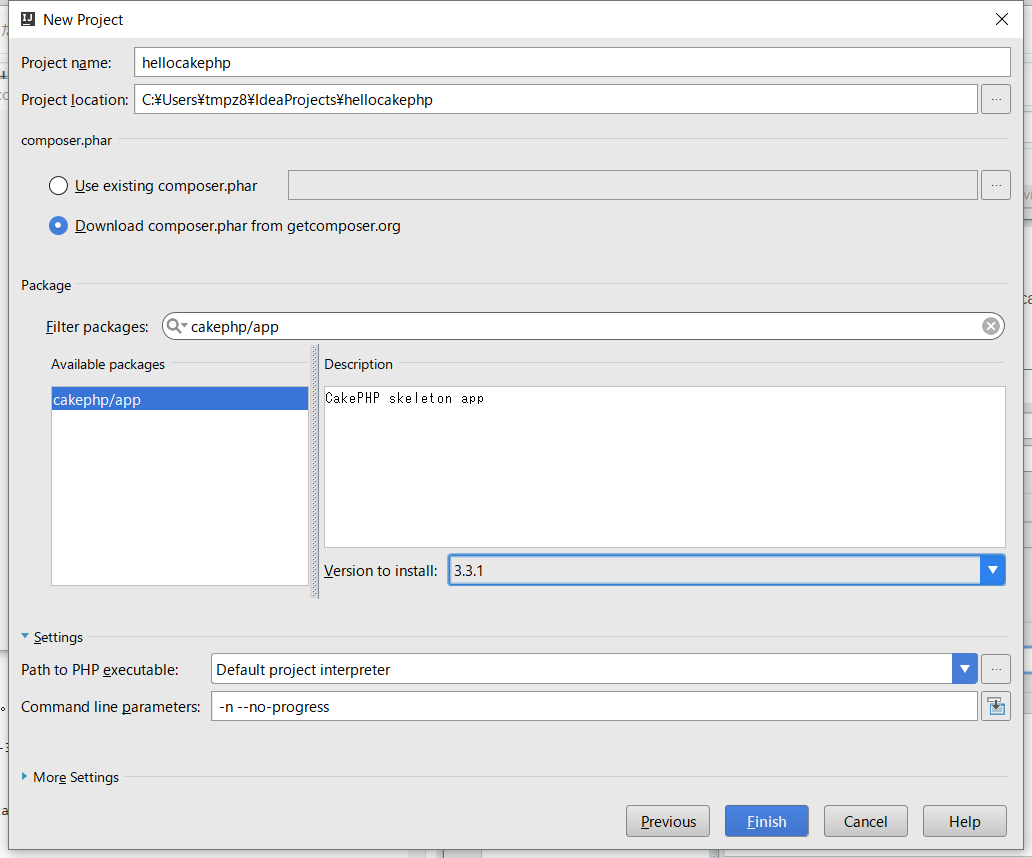
skelton の作成
Create New Project で Compose Project を選択し、[Next]をクリックします。

Project name に hellocakephp と入れます。
Package の Filter packages: に cakephp/app と入れると、Available packages に cakephp/app と表示されます。
それをクリックし、Version to install で 3.3.1 を選択し、[Finish]をクリックします。
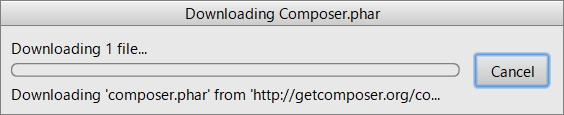
Composer.phar のダウンロードが行われます。
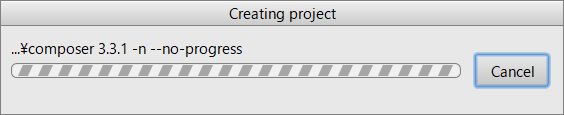
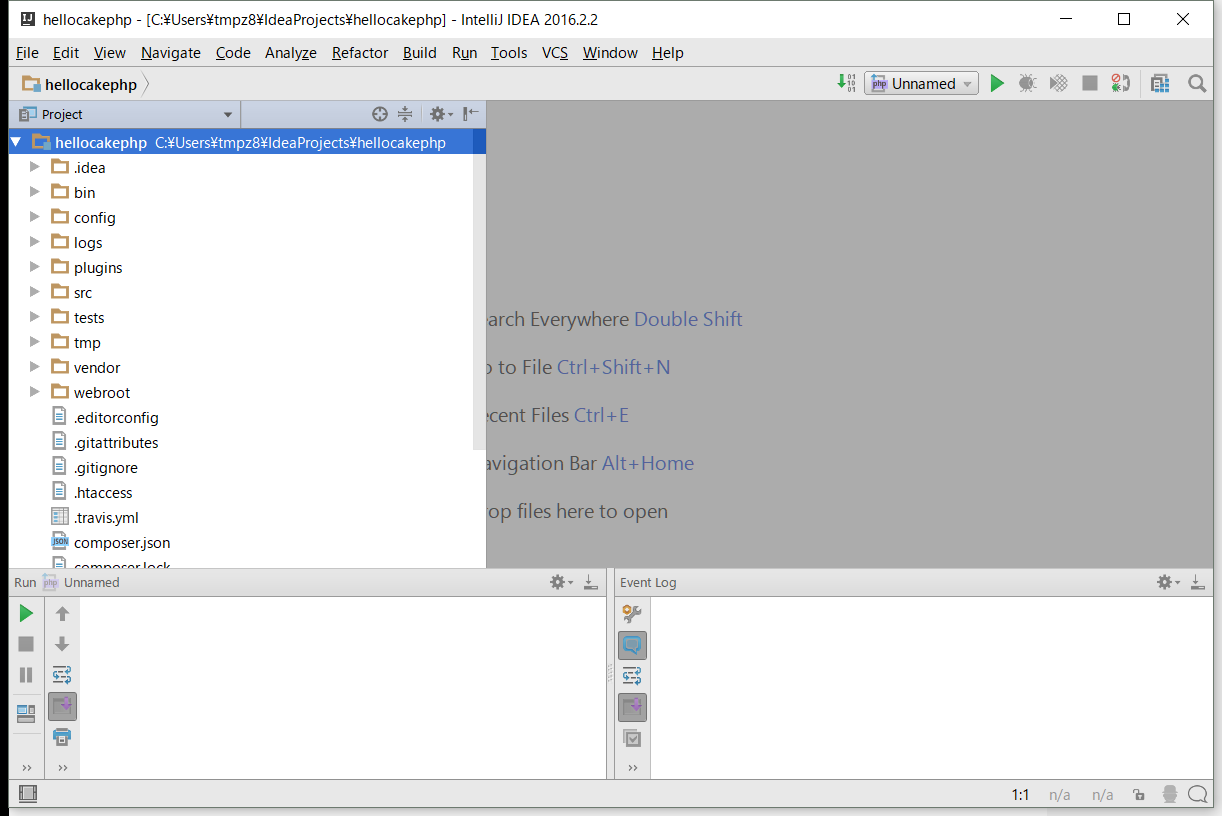
成功すると以下のようになるはずです。
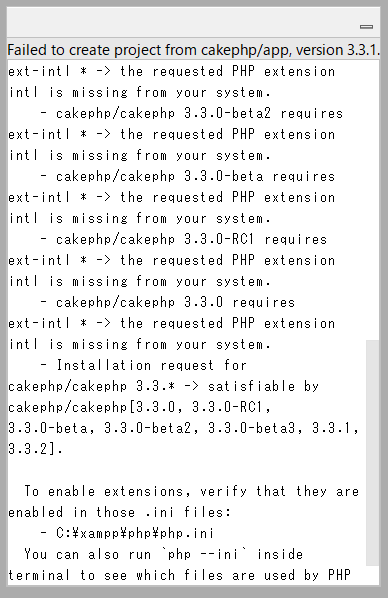
Failed to create project と表示され以下のようなエラーメッセージが表示される場合は、php_intl.dll を有効化してください。
built-in Web Server での確認
この時点で動作確認をしてみます。
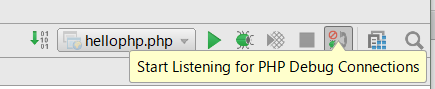
listenの開始
メニューの電話アイコンをクリックし、Debug 情報の読み込みを開始します。

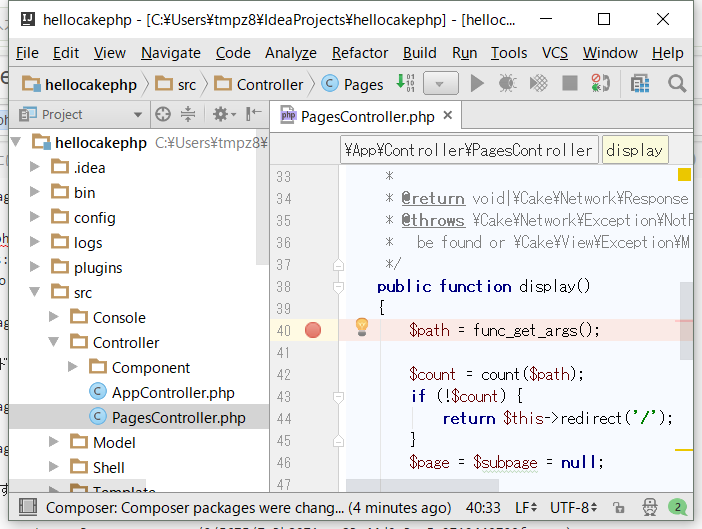
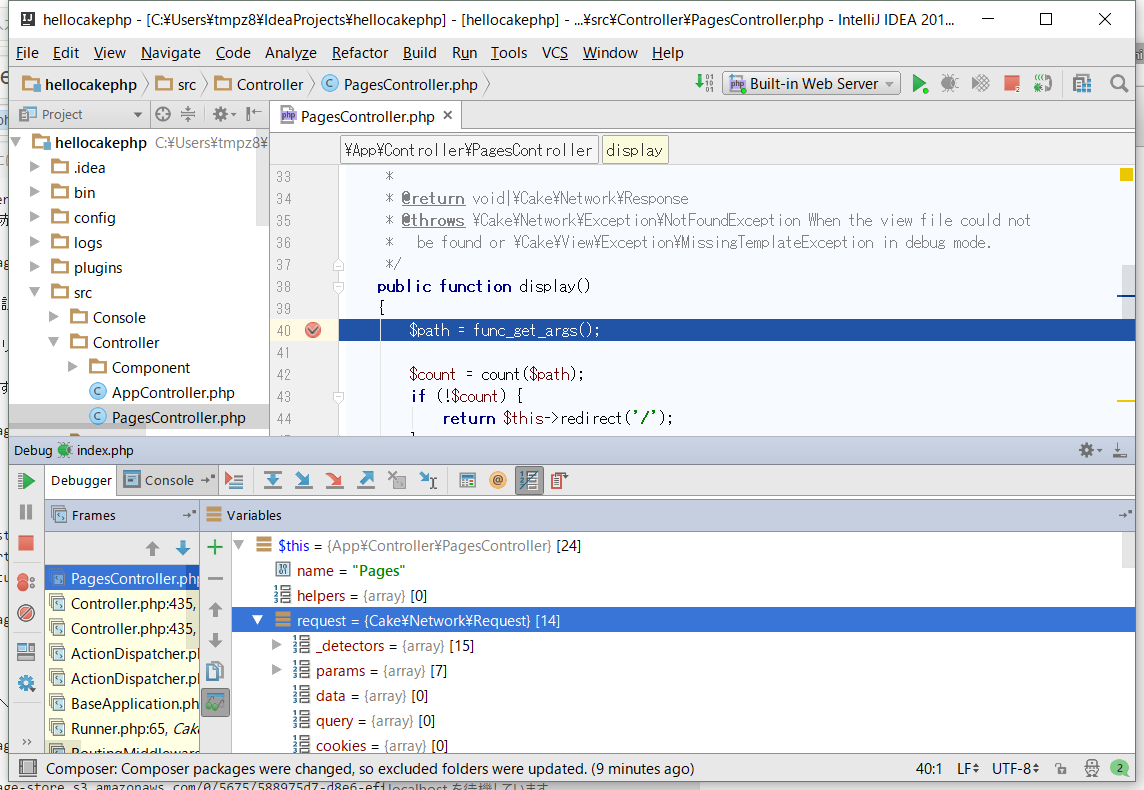
ブレイクポイントの設定
左ペインから PagesController.php を選択し、40行目あたりの display() あたりで
行番号の右側をクリックします。そこが赤くなり、ブレイクポイントが設定されます。
built-in Web Server の設定
メニューから Run > Run をクリックし、選択ウィンドウで 0 をクリックします。
以下のような画面が表示されます。
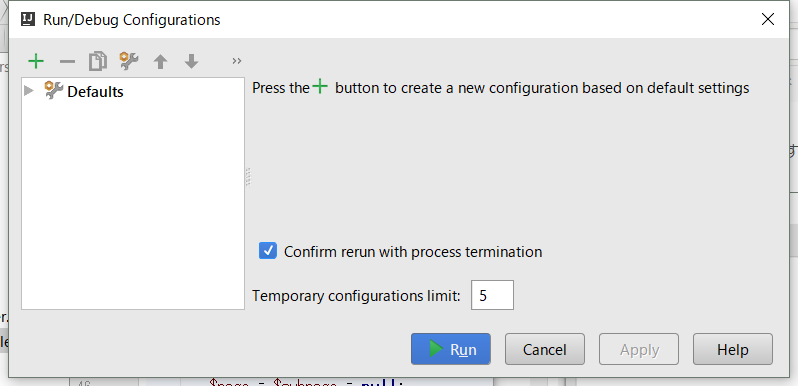
左側にある [+] をクリックし、[PHP Build-in Web Server] を選択し、それぞれ以下のように設定します。
Name: Built-in Web Serber
Server Configuration - Host : localhost
Server Configuration - Port : 8000
Server Configuration - Document root : <作成したアプリケーションのwebroot>
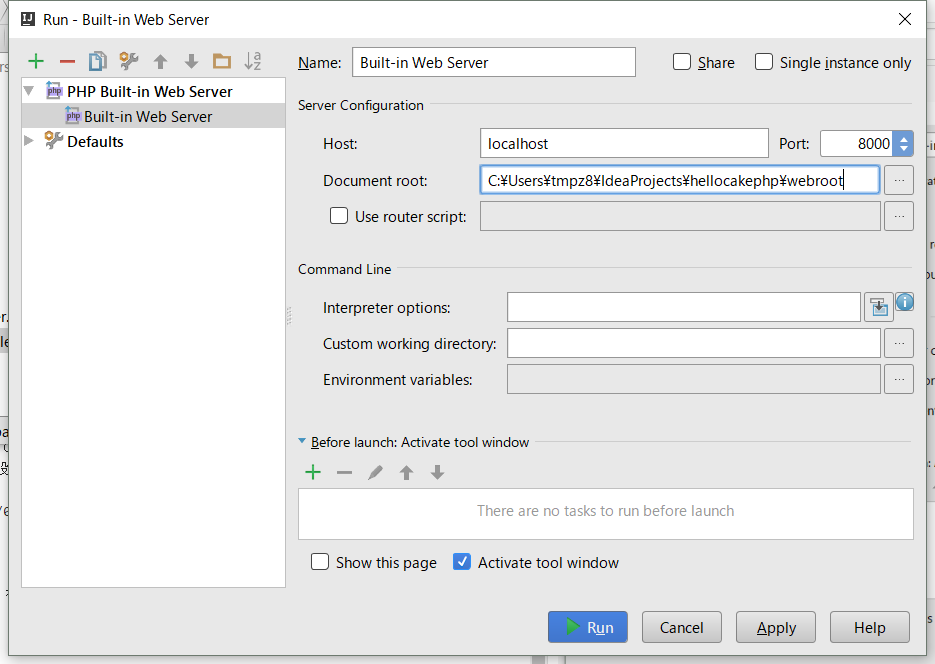
[Run] をクリックします。
ブラウザからlocalhost:8000へアクセスすると、ブレイクポイントで止まり、変数が確認できます。
参考
https://confluence.jetbrains.com/display/PhpStorm/Installing+and+Configuring+XAMPP+with+PhpStorm+IDE
https://www.jetbrains.com/help/phpstorm/2016.2/php-built-in-web-server.html