こちらmilkcocoaアドベントカレンダーの記事です。
用意するもの
- Amazon Dash Button
- MacBook (Sierra,node)
- Wifi環境
- スマートフォン(dashボタン設定用)
まずはDashButtonのセットアップをします。
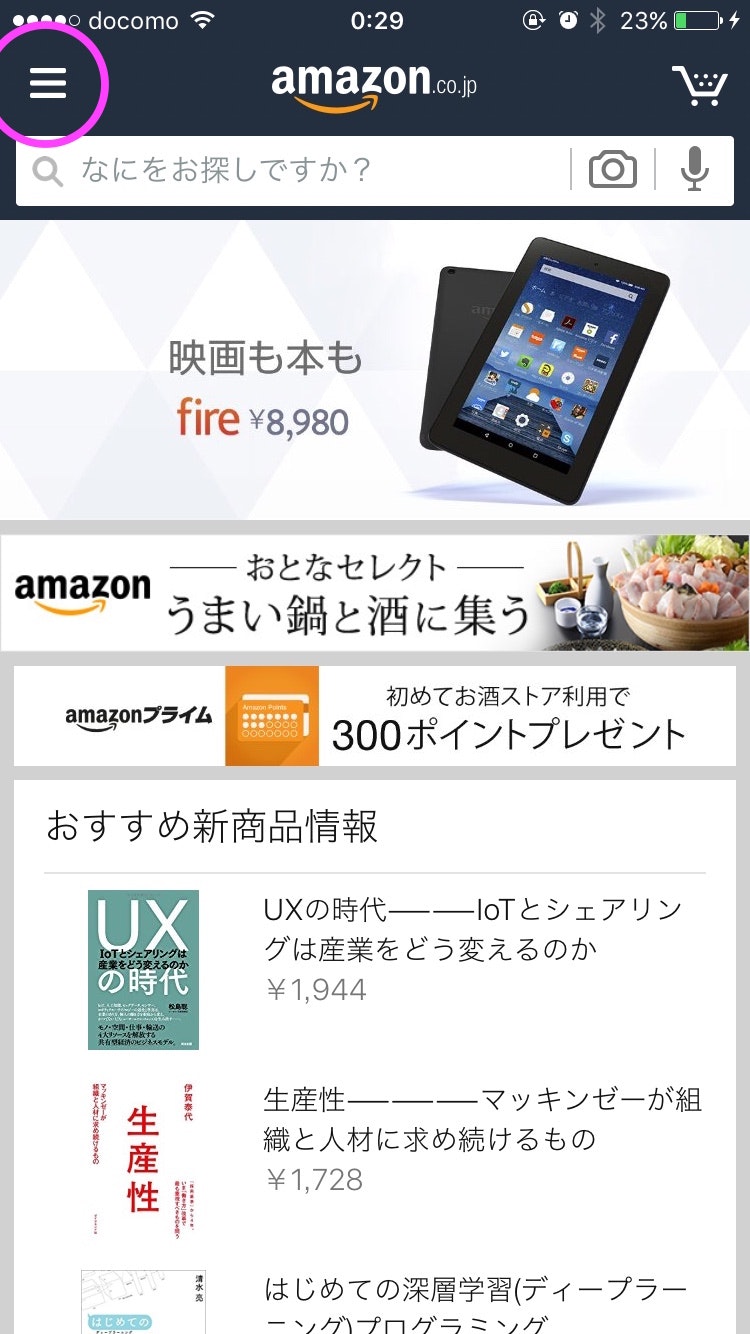
Amazonアプリを起動
ここの
ここから
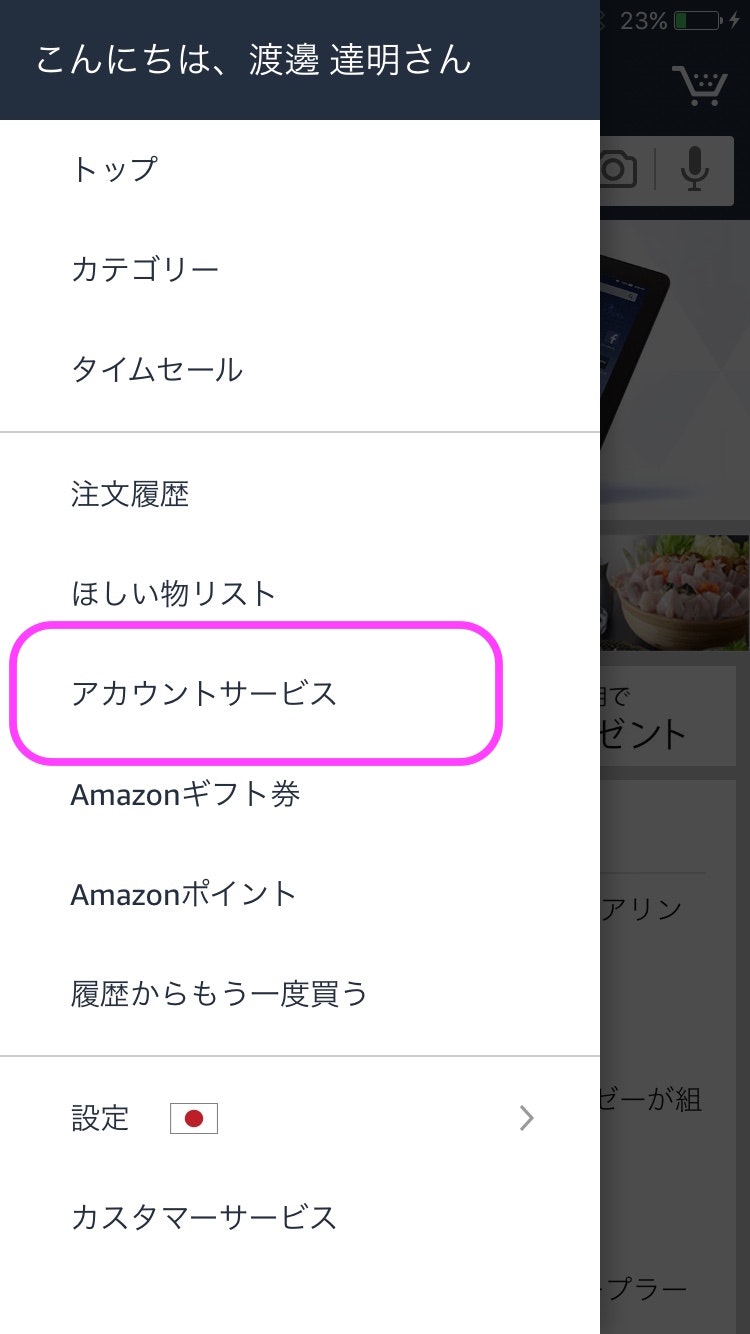
Dashボタンを追加を選択し、Wifiの設定を行います。
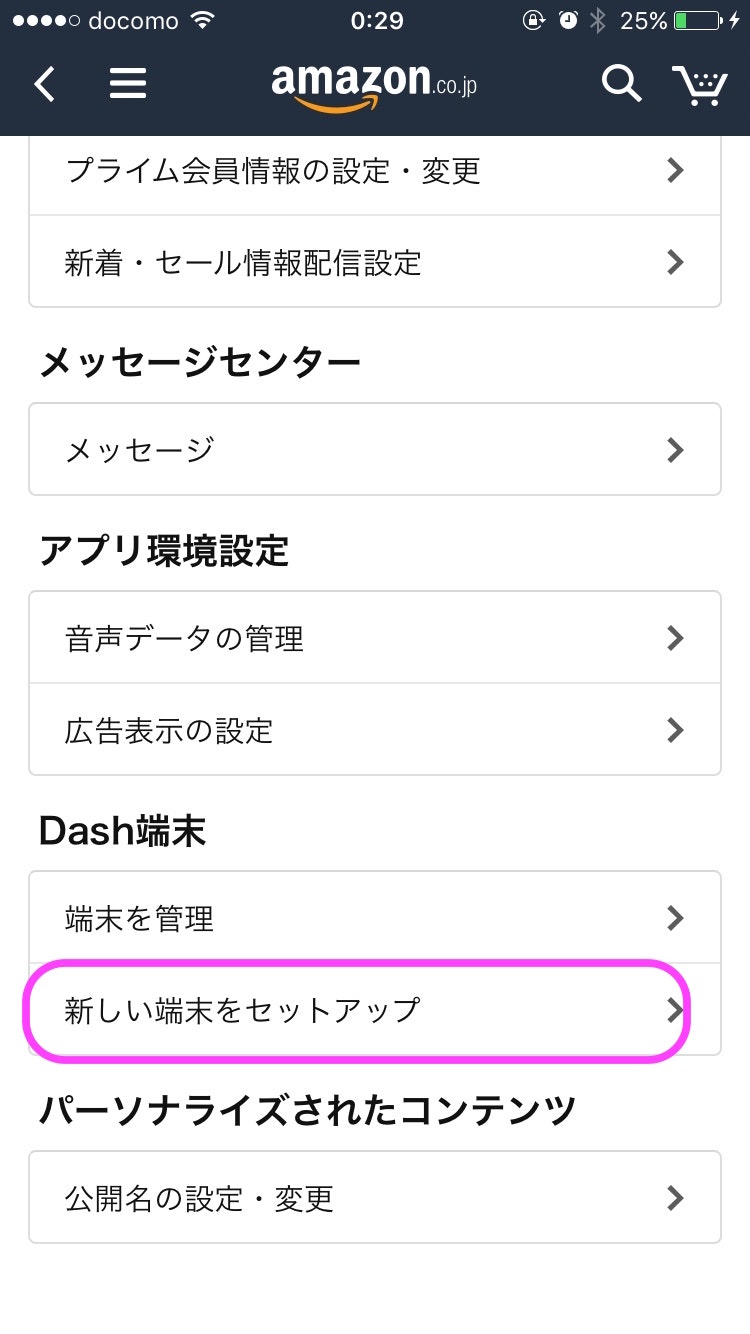
※Wifiの設定が終わったら、ここでバツを押します
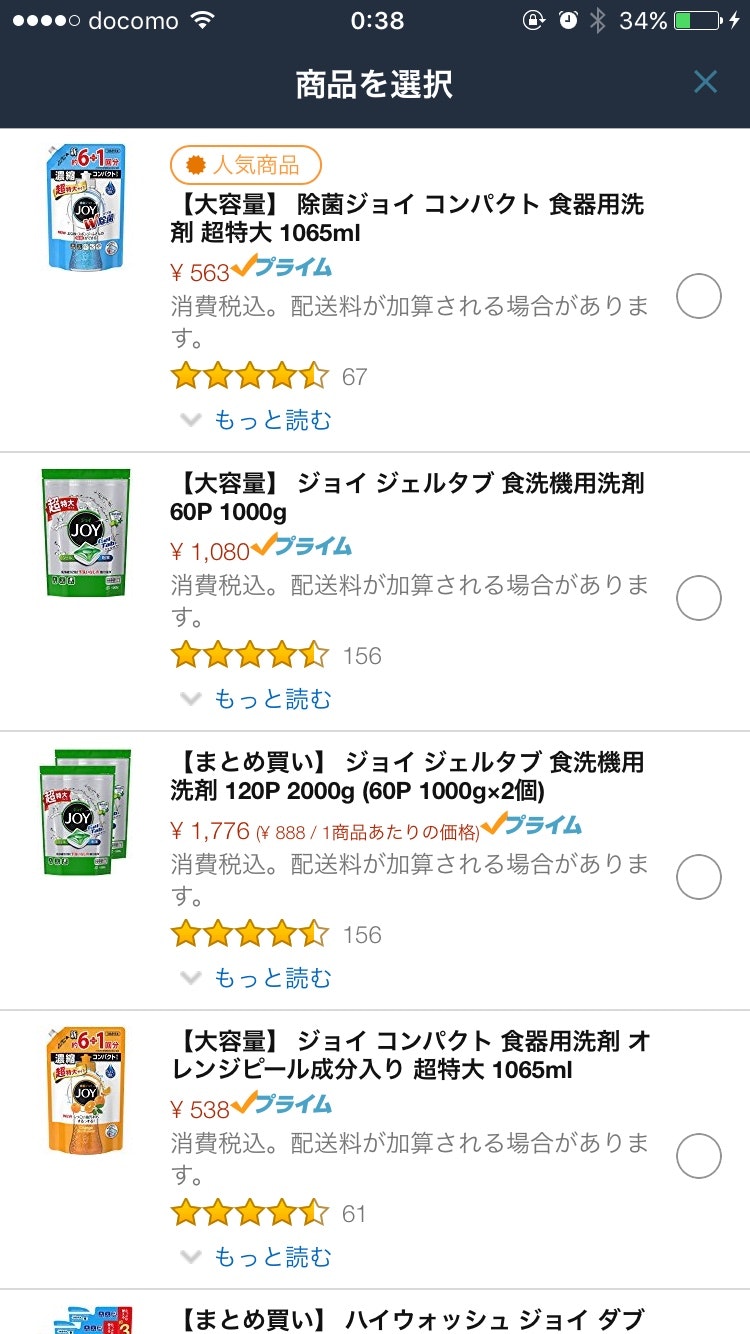
ここで進んでしまうと、毎回商品を注文してしまいます。
端末を管理からボタンを選べて、
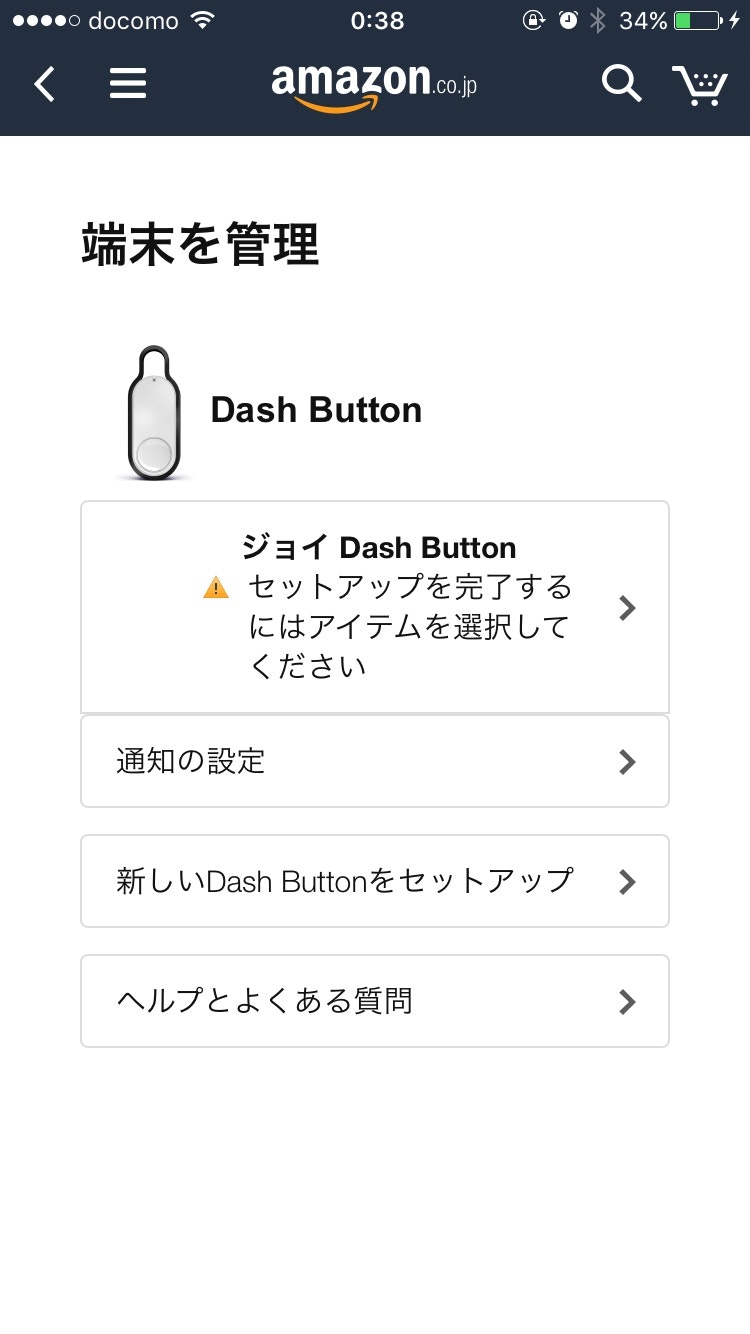
こんな風になってたらオッケーです。
PC側の設定
Dash button for Nodeというnodeモジュールを利用します。
まず適当なディレクトリを作って、yarn initします
$ yarn init
yarn init v0.16.1
question name (dash): dash
question version (1.0.0):
question description:
question entry point (index.js):
question git repository:https://github.com/nabettu/dashcocoa.git
question author: nabettu
question license (MIT):
適当に入力しつつ,,,
必要なパッケージを追加します。
$ yarn add dash-button
$ yarn add milkcocoa
出来上がったpackage.jsonにscriptの欄を追加します。
package.json
{
  "name": "dash",
  "version": "1.0.0",
  "main": "index.js",
  "author": "nabettu",
  "license": "MIT",
  "dependencies": {
    "dash-button": "^2.0.1",
    "milkcocoa": "^0.6.0"
  },
  "scripts": {
    "scan": "dash-button scan",
    "start": "node index.js"
  }
}
dashボタンのフィジカルアドレスを取得する
次に、先程Dashボタンを設定したのと同じWifi環境下のPCでDashボタンのフィジカルアドレスを取得します
$ sudo npm run scan

> dash@1.0.0 scan /hogehoge/dash
> dash-button scan

Scanning for DHCP requests and ARP probes on en0...
Detected a DHCP request or ARP probe from xx:xx:xx:xx:xx:x
↑のxx:xx:xx:xx:xx:xxがフィジカルアドレスです。これをメモしおいて下さい。
アドレスがなかなか出てこないときにはボタンを押してみて下さい。
終わったら Ctrl + c
PCでDashボタンの信号を取得しMilkcocoaに送信する
先ほどのディレクトリにindex.jsを作成し
index.js
const DashButton = require("dash-button");
const MilkCocoa = require('milkcocoa');

const milkcocoa = new MilkCocoa('appid.mlkcca.com'); //ここのappidは自分のmilkcocoaのid

const ds = milkcocoa.dataStore('messages');

const PHY_ADDR = "xx:xx:xx:xx:xx:xx"; //dashボタンのアドレス

let button = new DashButton(PHY_ADDR);

button.addListener(() => {
  ds.push({content : 'dash!'});
  console.log("dash!");
});
を記載。
MilkcocoaのアプリIDはMilkcocoaのdashboardからアプリを作って取ってきて下さい。
dashボタンのアドレスは先程取得した内容を記載してください。
index.jsを記載したらnodeを実行します。
$ sudo npm start

> dash@1.0.0 start /hogehoge/dash
> node index.js
その後ボタンを押して
dash!
と出たら、Milkcocoaのダッシュボードからデータが保存されているか確認して下さい。
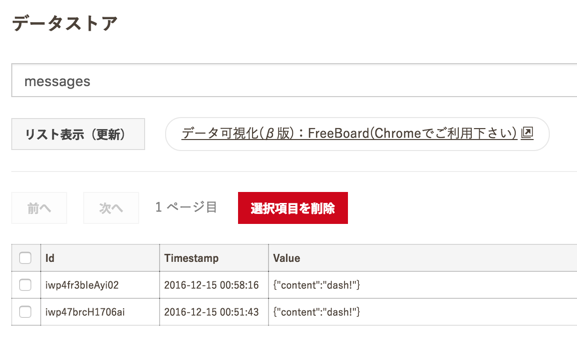
やったー!
実際に家に常駐させるとしたらラズパイ等にnodeを入れて置いておくといいかと思います。
これでIoTがはかどりますね!
現場からは以上です。