はじめに
AWSのEC2インスタンス(Amazon Linux)上にRuby on Rails環境を構築する手順です。
Amazon Linuxにrbenv 0.4.0-146 + ruby-build + Ruby 2.2.1 + Rails 4.2.1をインストールします。
EC2インスタンス作成時に使用したAMI
・Amazon Linux AMI 2014.09.2 (HVM) - ami-18869819
Ruby on Railsをインストールする環境
・Amazon Linux (3.14.35-28.38.amzn1.x86_64)
参考ページ
Ruby on Railsインストール手順については、以下のページを参考にさせて頂きました。ありがとうございました。
http://qiita.com/shinyashikis@github/items/3501c5f7f71a8e345c3d
http://qiita.com/chobi9999/items/7b66677b3bf3da8acc14
libffiについては、以下を参考にさせて頂きました。ありがとうございました。
https://tyoko.wordpress.com/2011/01/05/ffcall%E3%81%A8libffi/
http://shiro-16.hatenablog.com/entry/2014/12/26/003810
Amazon LinuxのEC2インスタンス作成
・AWS Management Consoleを使用して、Amazon LinuxのEC2インスタンスを作成する。
Amazon Linuxインスタンス作成時、User Dataに以下を貼り付けて、EC2インスタンスを作成する。
# !/bin/sh

echo "User Data start"

yum -y update

unalias cp
cp -f -p /usr/share/zoneinfo/Japan /etc/localtime

cat << _EOT_ > /etc/sysconfig/clock
ZONE="Asia/Tokyo"
UTC=false
_EOT_

chmod 644 /etc/sysconfig/clock

/etc/init.d/crond restart

echo "User Data end"
Amazon Linuxへパッケージインストール
・Amazon LinuxのEC2インスタンスが作成されたら、ec2-userでログインする。
・gitインストール。
$ sudo su -
# yum -y install git
・Rubyインストールに必要なパッケージインストール。
# yum -y install gcc-c++ glibc-headers openssl-devel readline libyaml-devel readline-devel zlib zlib-devel libffi-devel libxml2 libxslt libxml2-devel libxslt-devel sqlite-devel
※libffi-develをインストールしないで、後述の「rbenv install -v 2.2.1」を実行すると「./libffi-3.2.1/.libs/libffi.a: could not read symbols: Bad value」というエラーが表示されます。なので「libffi-devel」パッケージ(C/C++言語の関数を動的に呼ぶためのライブラリ)もインストールするようにしています。
rbenvインストール
# git clone https://github.com/sstephenson/rbenv.git /usr/local/rbenv
# cp -p /etc/profile /etc/profile.ORG
# diff /etc/profile /etc/profile.ORG
#

# echo 'export RBENV_ROOT="/usr/local/rbenv"' >> /etc/profile
# echo 'export PATH="${RBENV_ROOT}/bin:${PATH}"' >> /etc/profile
# echo 'eval "$(rbenv init -)"' >> /etc/profile

# source /etc/profile
RBENV_ROOT環境変数の有効化やrbenv init実行
# su - root

# env | grep RBENV
RBENV_ROOT=/usr/local/rbenv
RBENV_SHELL=bash
#
インストールしたrbenvバージョン確認
# rbenv --version
rbenv 0.4.0-146-g7ad01b2
#
ruby-buildインストール
# git clone https://github.com/sstephenson/ruby-build.git /usr/local/rbenv/plugins/ruby-build
Ruby 2.2.1インストール
# pwd
/root
# rbenv install -l
  (中略)
  2.1.5
  2.2.0-dev
  2.2.0-preview1
  2.2.0-preview2
  2.2.0-rc1
  2.2.0
  2.2.1 → このバージョンをインストールします。
  2.3.0-dev
  jruby-1.5.6
  (中略)
# rbenv install -v 2.2.1
# rbenv rehash
# rbenv global 2.2.1
インストールしたRubyのバージョン確認
# ruby -v
ruby 2.2.1p85 (2015-02-26 revision 49769) [x86_64-linux]
Railsインストール
# pwd
/root
# gem update --system
# gem install nokogiri -- --use-system-libraries
# gem install --no-ri --no-rdoc rails
# gem install bundler
# rbenv rehash
#
インストールしたRailsのバージョンとgem確認
# pwd
/root
# rails -v
Rails 4.2.1
#
# gem list

*** LOCAL GEMS ***

actionmailer (4.2.1)
actionpack (4.2.1)
actionview (4.2.1)
activejob (4.2.1)
activemodel (4.2.1)
activerecord (4.2.1)
activesupport (4.2.1)
arel (6.0.0)
bigdecimal (1.2.6)
builder (3.2.2)
bundler (1.9.0)
erubis (2.7.0)
globalid (0.3.3)
hike (1.2.3)
i18n (0.7.0)
io-console (0.4.3)
json (1.8.1)
loofah (2.0.1)
mail (2.6.3)
mime-types (2.4.3)
mini_portile (0.6.2)
minitest (5.4.3)
multi_json (1.11.0)
nokogiri (1.6.6.2)
power_assert (0.2.2)
psych (2.0.8)
rack (1.6.0)
rack-test (0.6.3)
rails (4.2.1)
rails-deprecated_sanitizer (1.0.3)
rails-dom-testing (1.0.6)
rails-html-sanitizer (1.0.2)
railties (4.2.1)
rake (10.4.2)
rdoc (4.2.0)
rubygems-update (2.4.6)
sprockets (2.12.3)
sprockets-rails (2.2.4)
test-unit (3.0.8)
thor (0.19.1)
thread_safe (0.3.5)
tilt (1.4.1)
tzinfo (1.2.2)
#
Railsサンプルアプリケーション作成
・アプリケーション用ユーザ作成
# cp -p /etc/passwd /etc/passwd.ORG
# cp -p /etc/shadow /etc/shadow.ORG
# cp -p /etc/group  /etc/group.ORG
# groupadd rails
# useradd rails -g rails -d /home/rails -s /bin/bash
# id rails
uid=501(rails) gid=501(rails) groups=501(rails)
・Railsインストール確認用のサンプルアプリケーション作成
# su - rails
$ cd ~
$ pwd
/home/rails
$ rails new sample --skip-bundle
・サンプルアプリケーションのGemfile設定(therubyracerの行を追加)
$ cp -p /home/rails/sample/Gemfile /home/rails/sample/Gemfile.ORG
$ diff /home/rails/sample/Gemfile /home/rails/sample/Gemfile.ORG
$ cd /home/rails/sample
$ pwd
/home/rails/sample
$ echo "gem 'therubyracer'" >> /home/rails/sample/Gemfile
$ echo "gem 'sqlite3'" >> /home/rails/sample/Gemfile
$ bundle config build.nokogiri --use-system-libraries
$ bundle install --path=/home/rails/sample/vendor/bundle
・サンプルアプリケーション用にインストールしたgemの確認
$ pwd
/home/rails/sample
$ gem list

*** LOCAL GEMS ***

actionmailer (4.2.1)
actionpack (4.2.1)
actionview (4.2.1)
activejob (4.2.1)
activemodel (4.2.1)
activerecord (4.2.1)
activesupport (4.2.1)
arel (6.0.0)
bigdecimal (1.2.6)
builder (3.2.2)
bundler (1.9.0)
erubis (2.7.0)
globalid (0.3.3)
hike (1.2.3)
i18n (0.7.0)
io-console (0.4.3)
json (1.8.1)
loofah (2.0.1)
mail (2.6.3)
mime-types (2.4.3)
mini_portile (0.6.2)
minitest (5.4.3)
multi_json (1.11.0)
nokogiri (1.6.6.2)
power_assert (0.2.2)
psych (2.0.8)
rack (1.6.0)
rack-test (0.6.3)
rails (4.2.1)
rails-deprecated_sanitizer (1.0.3)
rails-dom-testing (1.0.6)
rails-html-sanitizer (1.0.2)
railties (4.2.1)
rake (10.4.2)
rdoc (4.2.0)
rubygems-update (2.4.6)
sprockets (2.12.3)
sprockets-rails (2.2.4)
test-unit (3.0.8)
thor (0.19.1)
thread_safe (0.3.5)
tilt (1.4.1)
tzinfo (1.2.2)
$
WEBrickを起動する
・WEBrickを起動する。
$ pwd
/home/rails/sample

$ rails server -d -b 0.0.0.0
=> Booting WEBrick
=> Rails 4.2.1 application starting in development on http://0.0.0.0:3000
=> Run `rails server -h` for more startup options
$
※「rails server -d -b 0.0.0.0」でWEBrickを起動する事で、Amazon Linux以外のマシンから3000番ポートの接続を受け付けられるようになります。
・WEBrickへの接続確認。
$ curl -s http://localhost:3000/ | grep "Ruby on Rails: Welcome aboard"
    <title>Ruby on Rails: Welcome aboard</title>
$
・Amazon LinuxのEC2インスタンス用のセキュリティグループについて、InboundルールにTCP3000番ポートのアクセス許可を追加する。
| Type | Protocol | Port Range | Source |
|---|---|---|---|
| Custom TCP Rule | TCP | 3000 | Amazon Linuxへ接続するPC等のIPアドレス |
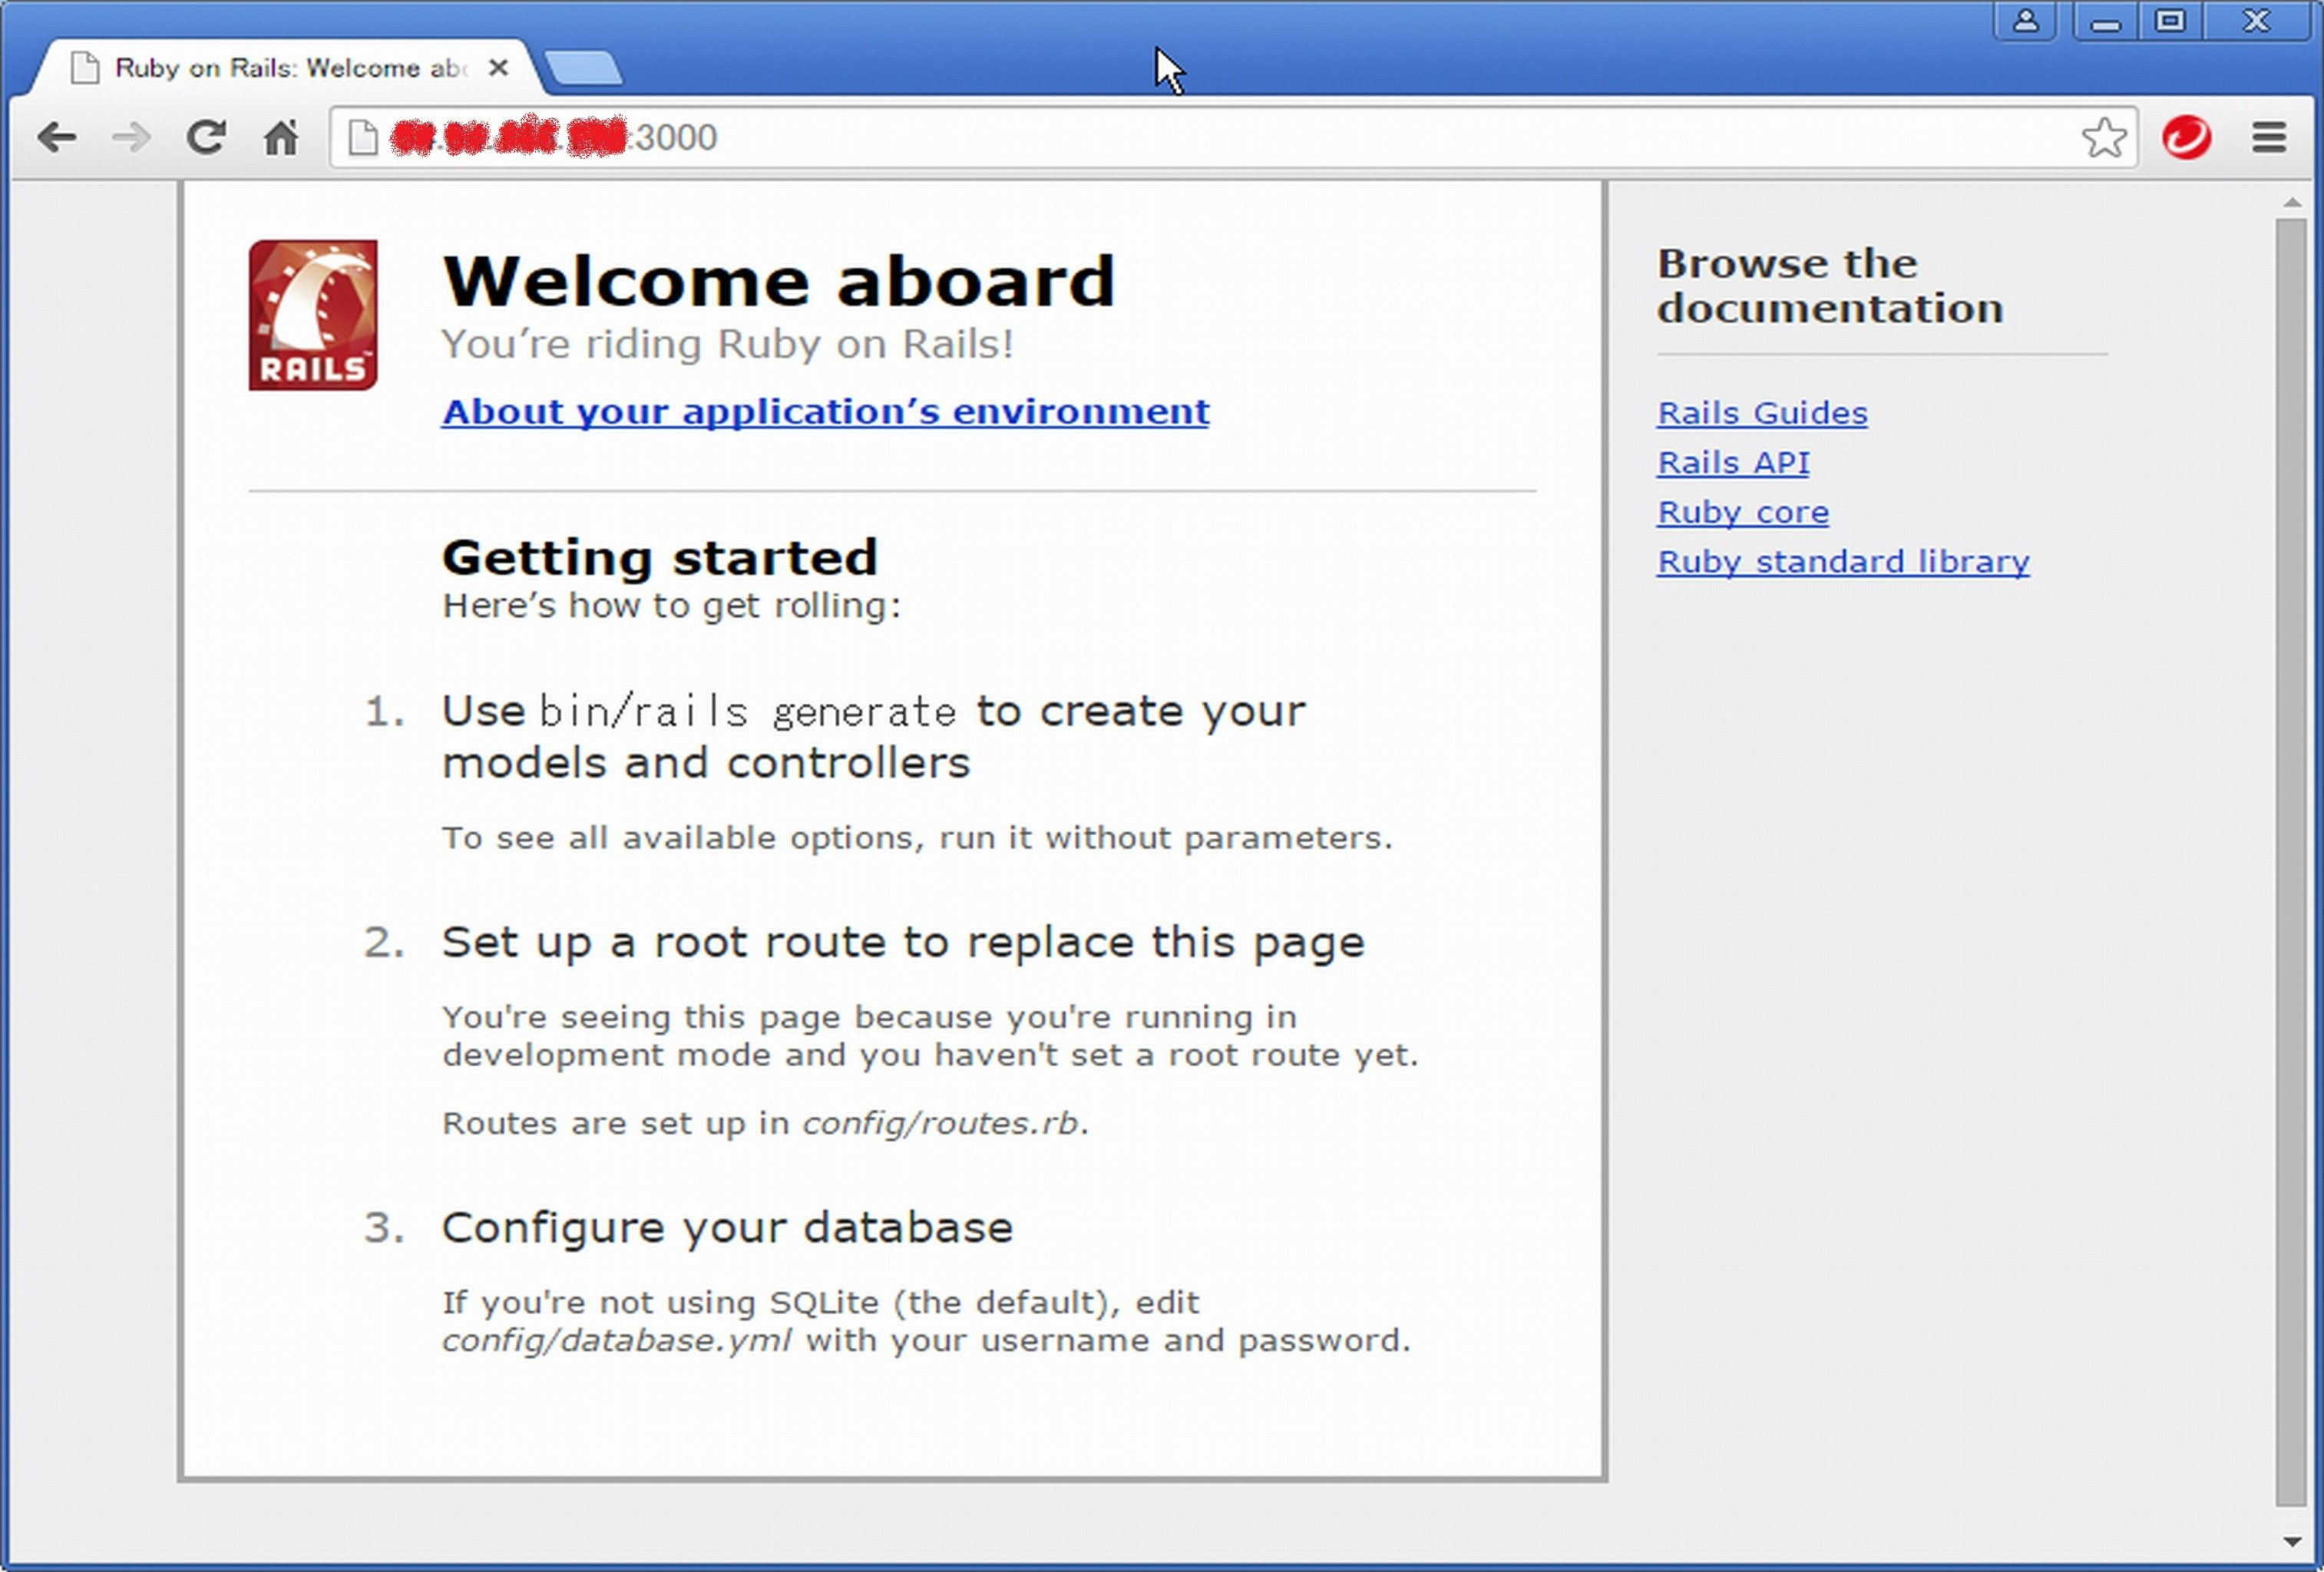
・http://[Amazon Linux EC2インスタンスのIPアドレス]:3000/にアクセスする。
・Welcome aboardページが表示されることを確認する。
WEBrickを停止する
・起動したWEBrickを停止する。
$ id
uid=501(rails) gid=501(rails) groups=501(rails)
$

$ ps awux | grep -v grep | grep 'rails server'
rails     2776  0.0  7.8 539068 80132 ?        Sl   00:11   0:00 /usr/local/rbenv/versions/2.2.1/bin/ruby bin/rails server -d -b 0.0.0.0

$ ps awux | grep -v grep | grep 'rails server' | awk '{print $2}'
2776
$

$ ps awux | grep -v grep | grep 'rails server'
rails     2776  0.0  7.8 539068 80132 ?        Sl   00:11   0:00 /usr/local/rbenv/versions/2.2.1/bin/ruby bin/rails server -d -b 0.0.0.0

$ kill `ps awux | grep -v grep | grep 'rails server' | awk '{print $2}'`
$
・WEBrickの停止確認。
$ netstat -an | grep 3000
$

$ ps awux | grep -v grep | grep 'rails server'
$
・http://[Amazon Linux EC2インスタンスのIPアドレス]:3000/にアクセスし、Welcome aboardページが表示されなくなった事を確認する。
Welcome aboardページが表示される事まで確認したら、ひとまず完了です。