RealSense3Dカメラ(F200)の機能であるHand Trackingをしてみます。
まずリファレンスを読んで、どんなことができるか把握して、検証ポイントを探ります。
#Hand Trakingの概要を把握
Hand Tracking Algorithm [F200]
↑ここによるとRealSenseにおけるHand Trackingには3種類あるようです。
(------以下リファレンスの抜粋------)
below summarizes the three tracking options:
| Tracking Mode | Hand only? | Outputs | Computational resources | Limitations |
|---|---|---|---|---|
| Full Hand | Yes | Segmentation image, extremity points, hand side, alerts, joints info, fingers info, openness, gestures | Highest,multiple threads | 2 hands, 60 cm range, slower hand speed |
| Extremities | Yes | Segmentation image, extremity points, hand side, alerts | Medium, single thread | 2 hands, 60 cm range, medium hand speed |
| Blob | No | Segmentation image, extremity points, contour line | Low,single thread | 4 objects, 100 cm range,fast speed |
Optimal Conditions for Using the Hand Module
Hand tracking and gesture identification works best with the following conditions:
•A minimum palm width of 5.5cm (this is usually suited to a 5-year-old child or older.)
•Hand motion speed:
•For a VGA (640x480) depth image resolution, up to 0.75m/s.
•For an HVGA (640x240) depth image resolution, up to 2m/s.
The optimal frame rate for the depth stream is 60 fps. Hand tracking accuracy may deteriorate for a frame rate below 50 fps.
(------リファレンスの抜粋以上------)
「Full Hand」
22の関節、指情報、ジェスチャー、手骨格の3D座標が取得できるようです。
処理は重く、遅い手の動きしか取得できなそうです。(使用に耐えるレベルかは検証が必要ですね)
また、手は2つしか取れないようです。
以下のような取得イメージとなります。
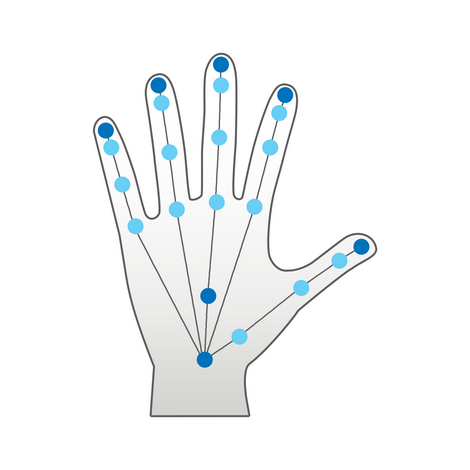
(リファレンスから取得)
「Extremities」
手の最上位置(Top)、最下位置(Bottom)、最左位置(Left)、最右位置(Right)、中央位置(Center)、
センサーに最も近い点(Closest to the sensor)が取得できるようです。
(Closest to the sensorというのは、折り曲げた指の場所をとるという感じでしょうか?いまいちピンとこないので実際に試してみます・・・)
「Full Hand」に比べれば処理は重くないようなので、早い手の動きもとれそうです。(これも使用に耐えるレベル化検証が必要ですね)
こちらも手は2つしか取れないようです。
以下のような取得イメージとなります。
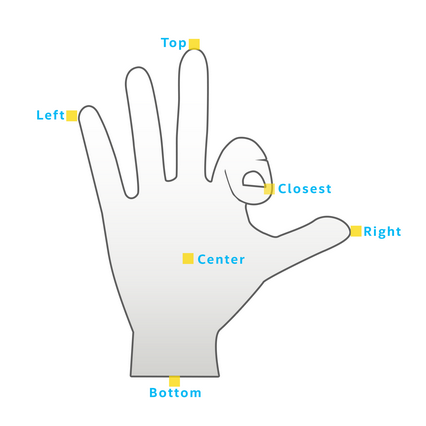
(リファレンスから取得)
「Blob」
これは、手を検知するというより「Blob Tracking Algorithm」というもので塊(?)を取得するもののようです。
処理的には「Blob」がもっとも重くないようなので、速い手の動きもトラッキングできそうです。
塊は4つまで検出可能なようです。
以下のような取得イメージとなるようです。
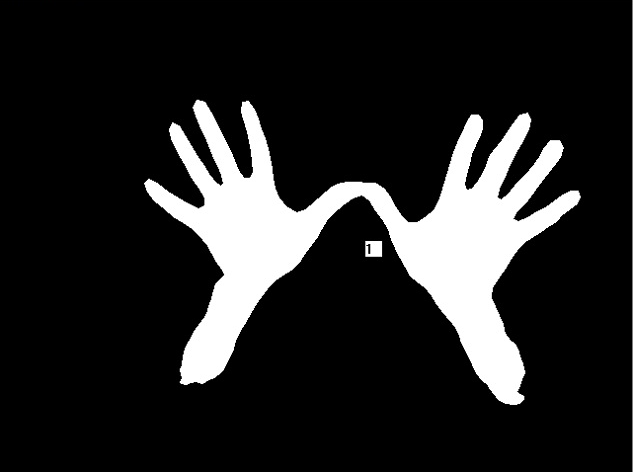
(リファレンスから取得)
手だけではなく塊がとれて、それを囲む輪郭の点が複数パスのように取れるようなので、色々用途があるような気がします。
(例えば一定の距離にある物体の断面のようなものが取れればその部分だけエフェクトをかけて、滝の水面に顔をうずめるような
表現もできそうです)
#プログラムを構成するIntafaceの把握
プログラムで使用するInterfaceは以下の3つのようです。
(------以下リファレンスの抜粋------)
There are three main interfaces in the hand module:
•HandModule – this is the main interface. You can use it to access the hand module's configuration and output data.
•HandConfiguration – this interface configures the tracking, alerts, gestures and output options.
•HandData - this interface contains the output of the hand tracking process.
(------リファレンスの抜粋以上------)
「HandModule」
これがメインのクラスで、取得した手の情報にアクセスするために使用するものになるようです。
「HandConfiguration」
これは、手の取得における設定をするために使用するもののようです。
「HandData」
これは、実際に追跡した手の情報を取得するもののようです。
これらは、主たるインターフェースなので細かくはもっとたくさんあると思うので
リファレンスではざっと把握をして、詳細はプログラムを書きながら把握していこうと思います。
#ジェスチャー
ジェスチャーが取得できるようで、これらを駆使すれば指の動きで操作するUIなどは簡単に実装できるかもしれません。
(------以下リファレンスの抜粋------)
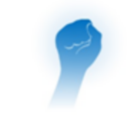
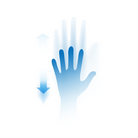
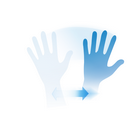
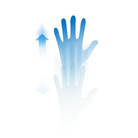
The Gesture Table
これらジェスチャーが正確に取れれば、色々とやれることが増えそうな感じです。
ジャスチャーでUIを操作するばあい、ジェスチャー取得して、Blobで影響を及ぼす範囲の手の部分にエフェクトをかけるなどができそうです。
#実装して検証するポイント
・手を検知する精度 特に「Full Hand」でどこまで取れるか
・手を検知する処理速度 「Full Hand」「Extremities」がどこまで実用に耐えうるか
・「Extremities」の時に取得内容の確認(特にClosest to the sensor)
・ジェスチャーの精度
これらをポイントに実装して検証していきたいと思います。
