作成: Lab3期 2017/7/21
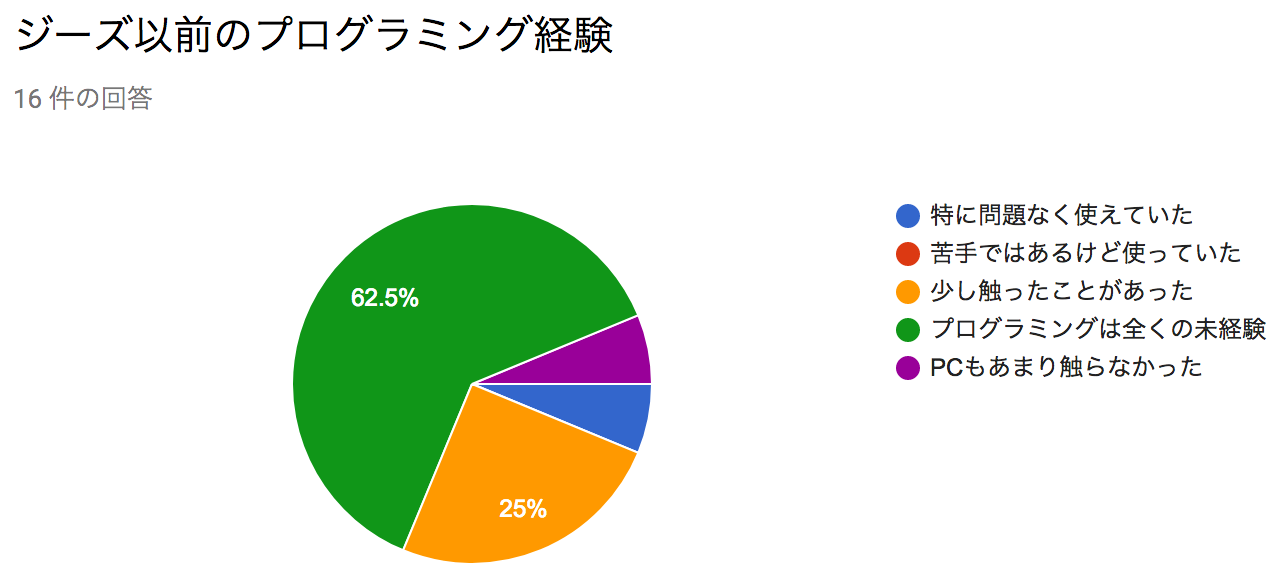
アンケート結果から


もっとコードを書きたい。ガリガリ書きながら、ラインボットを作りたいです
何が作れるかの完成品を見て、これはこうやってつくってるんだよっていうのしりたい
作ることに興味があります。
phpでは実現できない(もしくは実現するには労力がかなりかかってしまう)ようなものが、node.jsを駆使すれば簡単にできてしまう!みたいなところを中心とした学習
・リファレンスの読み方を知りたいです。分かりづらいし、デモコードがないので。。。
・webアプリの作り方とmongoDB
Node.js がまだ良くわかっていない。他との違い、そしてnodeだから出来る事を知りたいです。
もう少しゆっくりコマンド打って欲しい
node.jsらしい成果物を作り上げるような感じを希望
実際にサービス公開をするまでの開発に必要なもの全て
デプロイまでの流れ(別途やるとおっしゃってましたが) node.jsの本は既存のものは結構だめだとおっしゃってましたが、基礎からみっちり学ぶためにはどうすればよいか(オライリー本くらい)?
仕組みについて基本的なところから学びたいです。
webの仕組み
とにかくたくさん手を動かしてプロダクトを作ってみたいです。
サーバーで動くjavasqriptってことで、phpと比較して何ができて何ができないのか知りたいです。
原理とか仕組み的なものをしっかり理解していくような内容だと嬉しいです。
PHPとの違い、Node.jsが適している内容など
- PHPができても他言語の学習には役に立たない理由を考えてみた。
- Node.js入門 - その実績と事例紹介
- Comparing Node.js vs PHP Performance
- 「サーバーサイドJavaScript」って何が長所なのでしょうか。

PHPはWebに特化していて作りやすいが、パフォーマンスは良いとは言えないし汎用的な言語ではない。
Node.jsはJSを採用しているため言語としては汎用的。パフォーマンスはPHPより良い。
書籍
Node.jsの体系化された書籍は現在だとあまり無いです。
今の所はこれ https://www.oreilly.co.jp/books/9784873117836/
宿題答え合わせ
- 1日目
- body parserをつかうと便利 https://www.npmjs.com/package/body-parser
<!DOCTYPE html>
<html>
<head>
    <meta charset="utf-8">
    <title>ログイン</title>
</head>
<body>
    <form method="post" action="/login">
        <p>ユーザID:<input type="text" name="userid"></p>
        <p>パスワード:<input type="password" name="password"></p>
        <p><input type="submit"></p>
    </form>
</body>
</html>
'use strict';

const express = require('express');
const bodyParser = require('body-parser');
const fs = require('fs');
const text = fs.readFileSync('index.html', 'utf-8');
const app = express();
app.use(bodyParser());

app.get('/',(req, res) => res.send(text));

// POST /login gets urlencoded bodies
app.post('/login', (req, res) => {
    if (!req.body){
        return
        res.sendStatus(400)
    }
    res.send(`welcome: ${req.body.userid} \n Pass: ${req.body.password}`);
})

app.listen(3000);
APIを扱う前に
HTTPリクエスト
GETとPOSTについて
HTTPリクエスト
GET/POST/PUT/DELETE
CRUD
APIを使ってみる(復習)
axiosになれよう。
天気API
## Facebook メッセンジャー Botを作ろう
理論系は一旦無しで、作ってみる系にします。
Node.jsでLINE Bot作りたい人はこちらの連載おすすめです。
FB BOT(Messagenr Platform)の公式はこちらです。
いいねしてね! DEMO
1. 準備手順前半
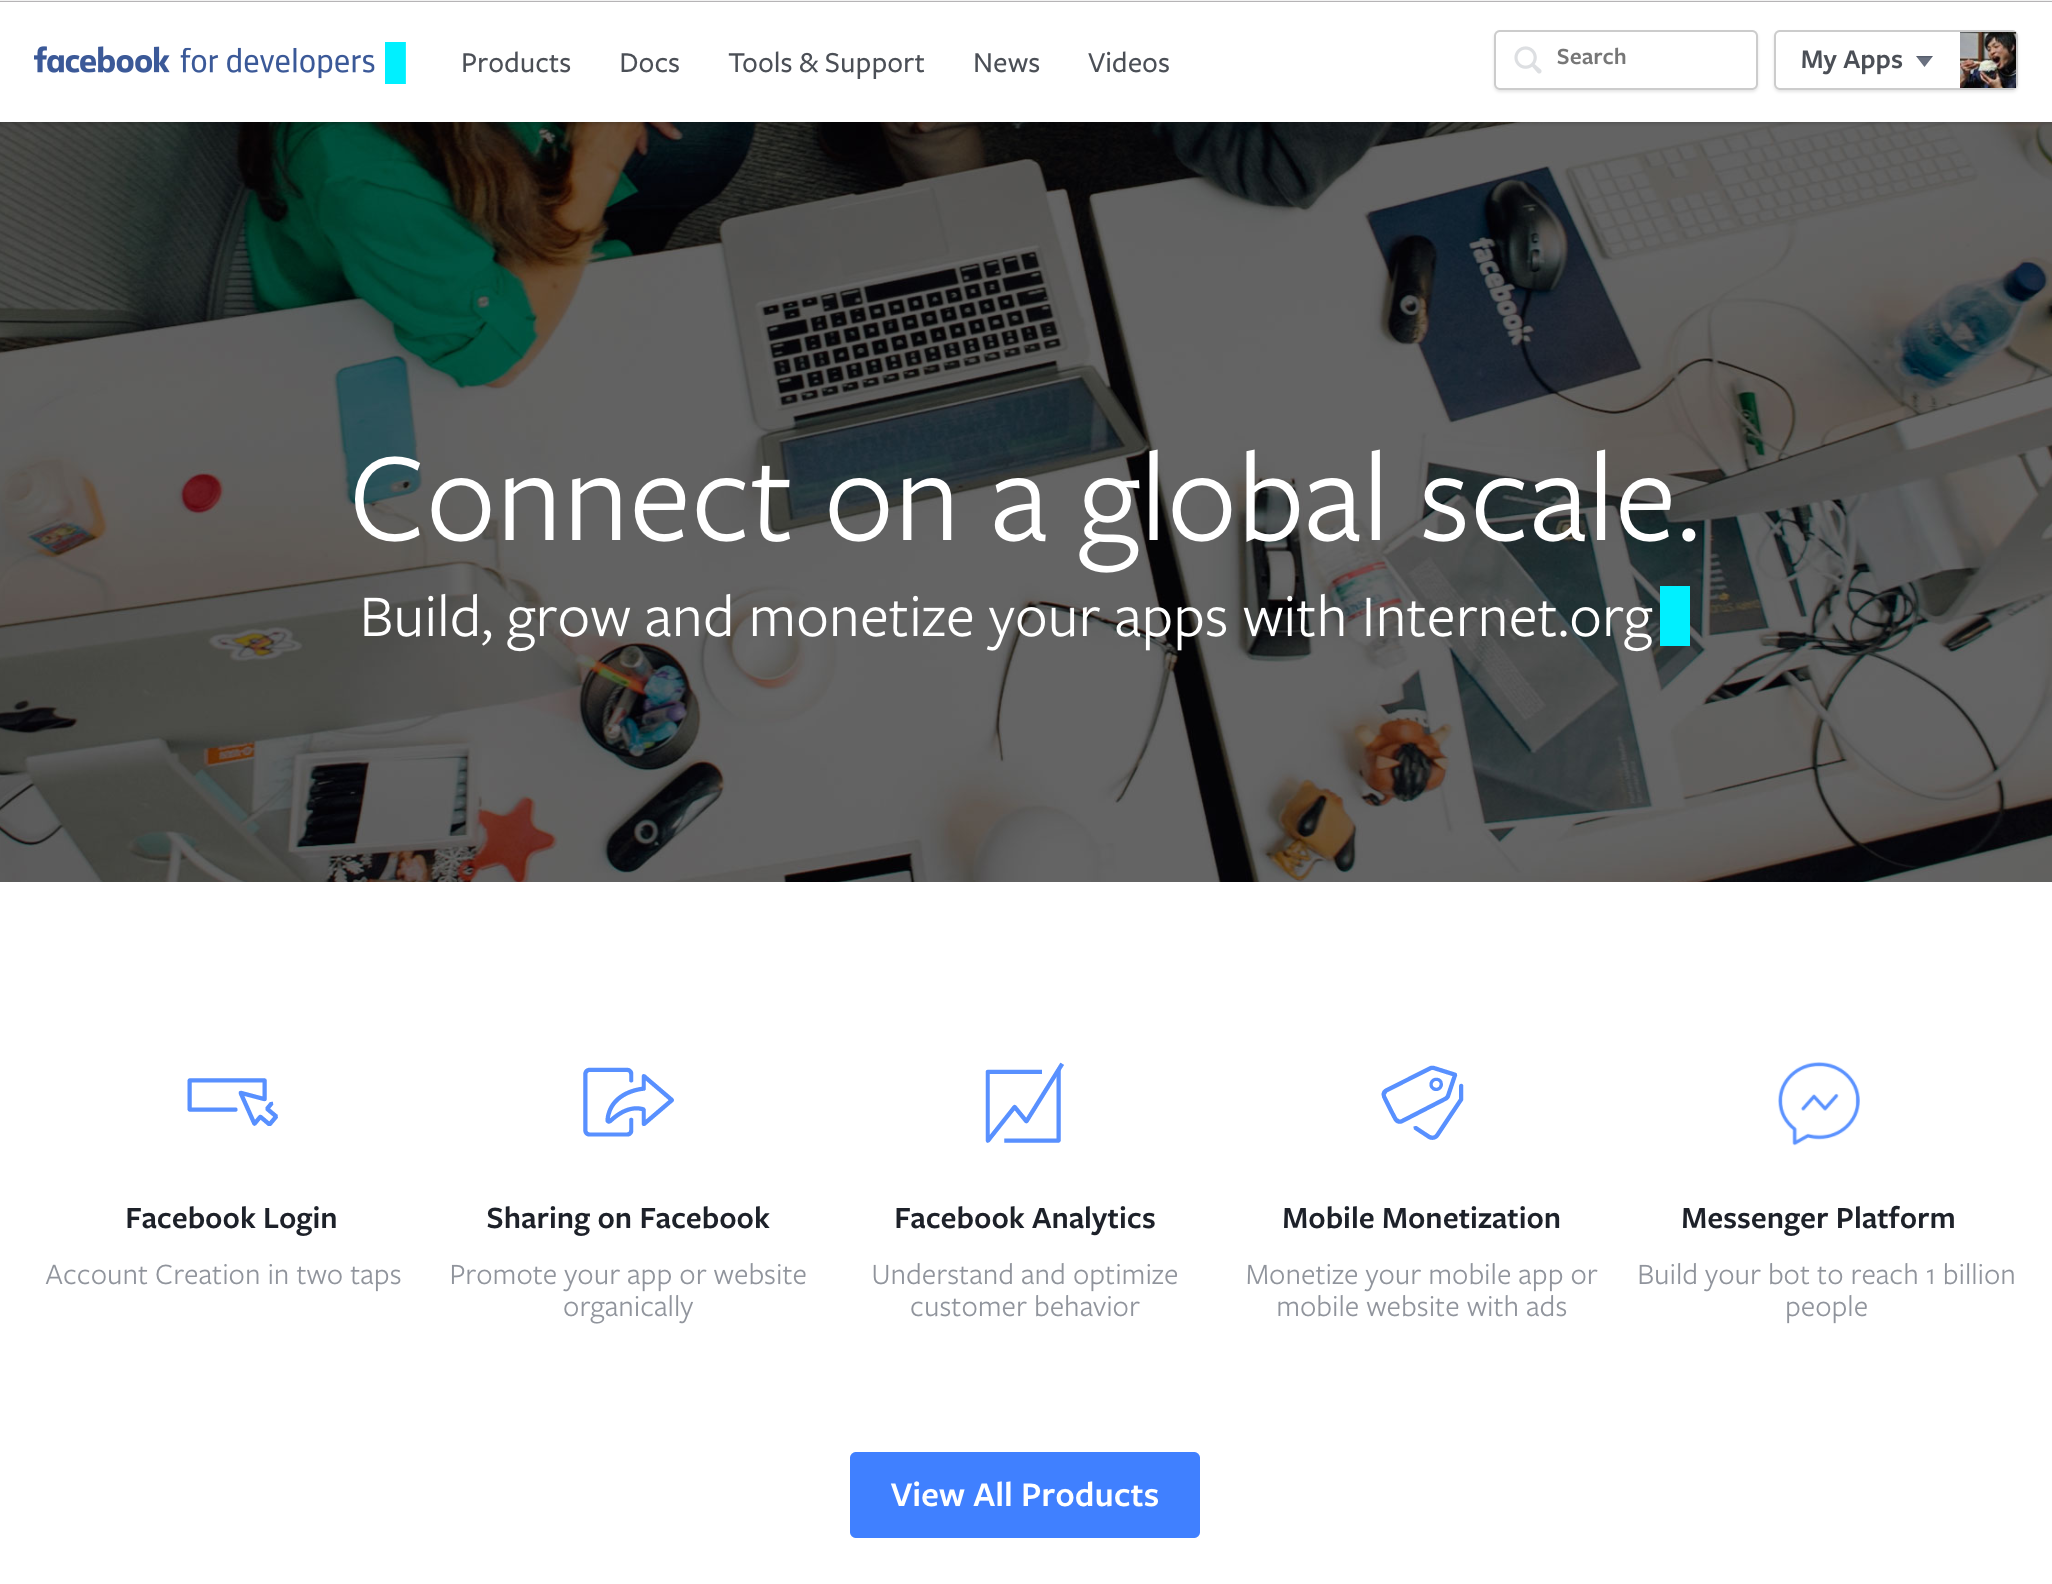
まずはFacebook側の設定をします。
https://developers.facebook.com/ アクセス。
- My Apps > Add a New App

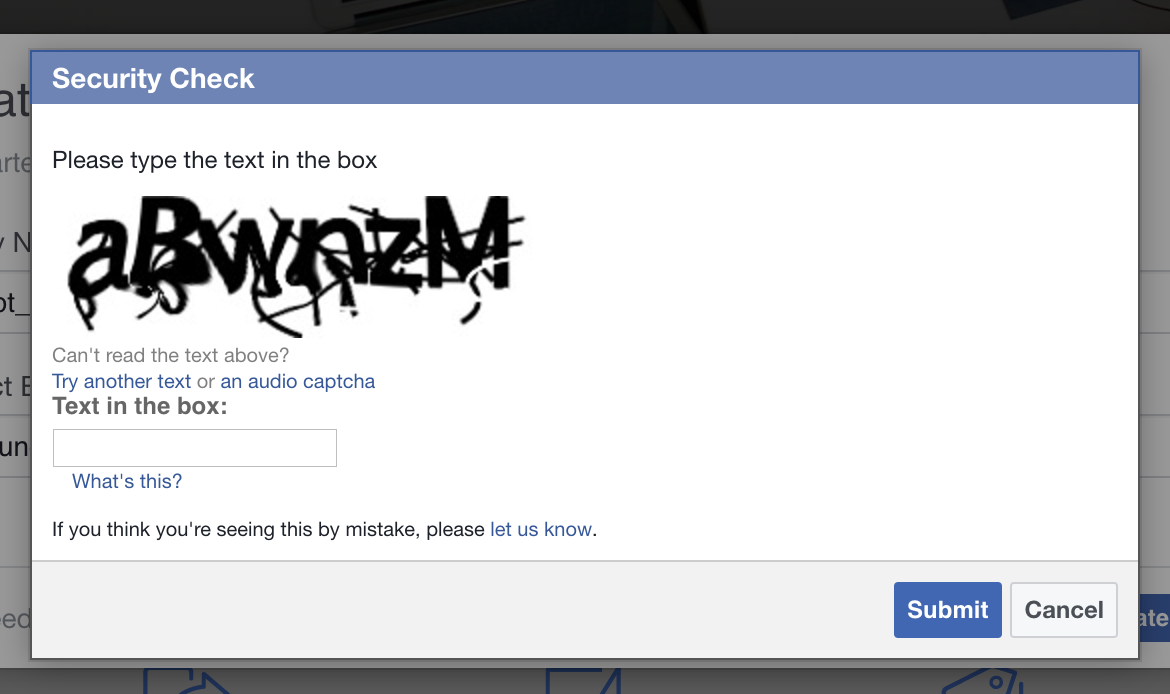
Display Nameにアプリ名を入力します。

- セキュリティチェックの表示が出るので、表示される文字と同じ文字の入力をしましょう。
- 問題なければこのようなダッシュボード画面に遷移します。
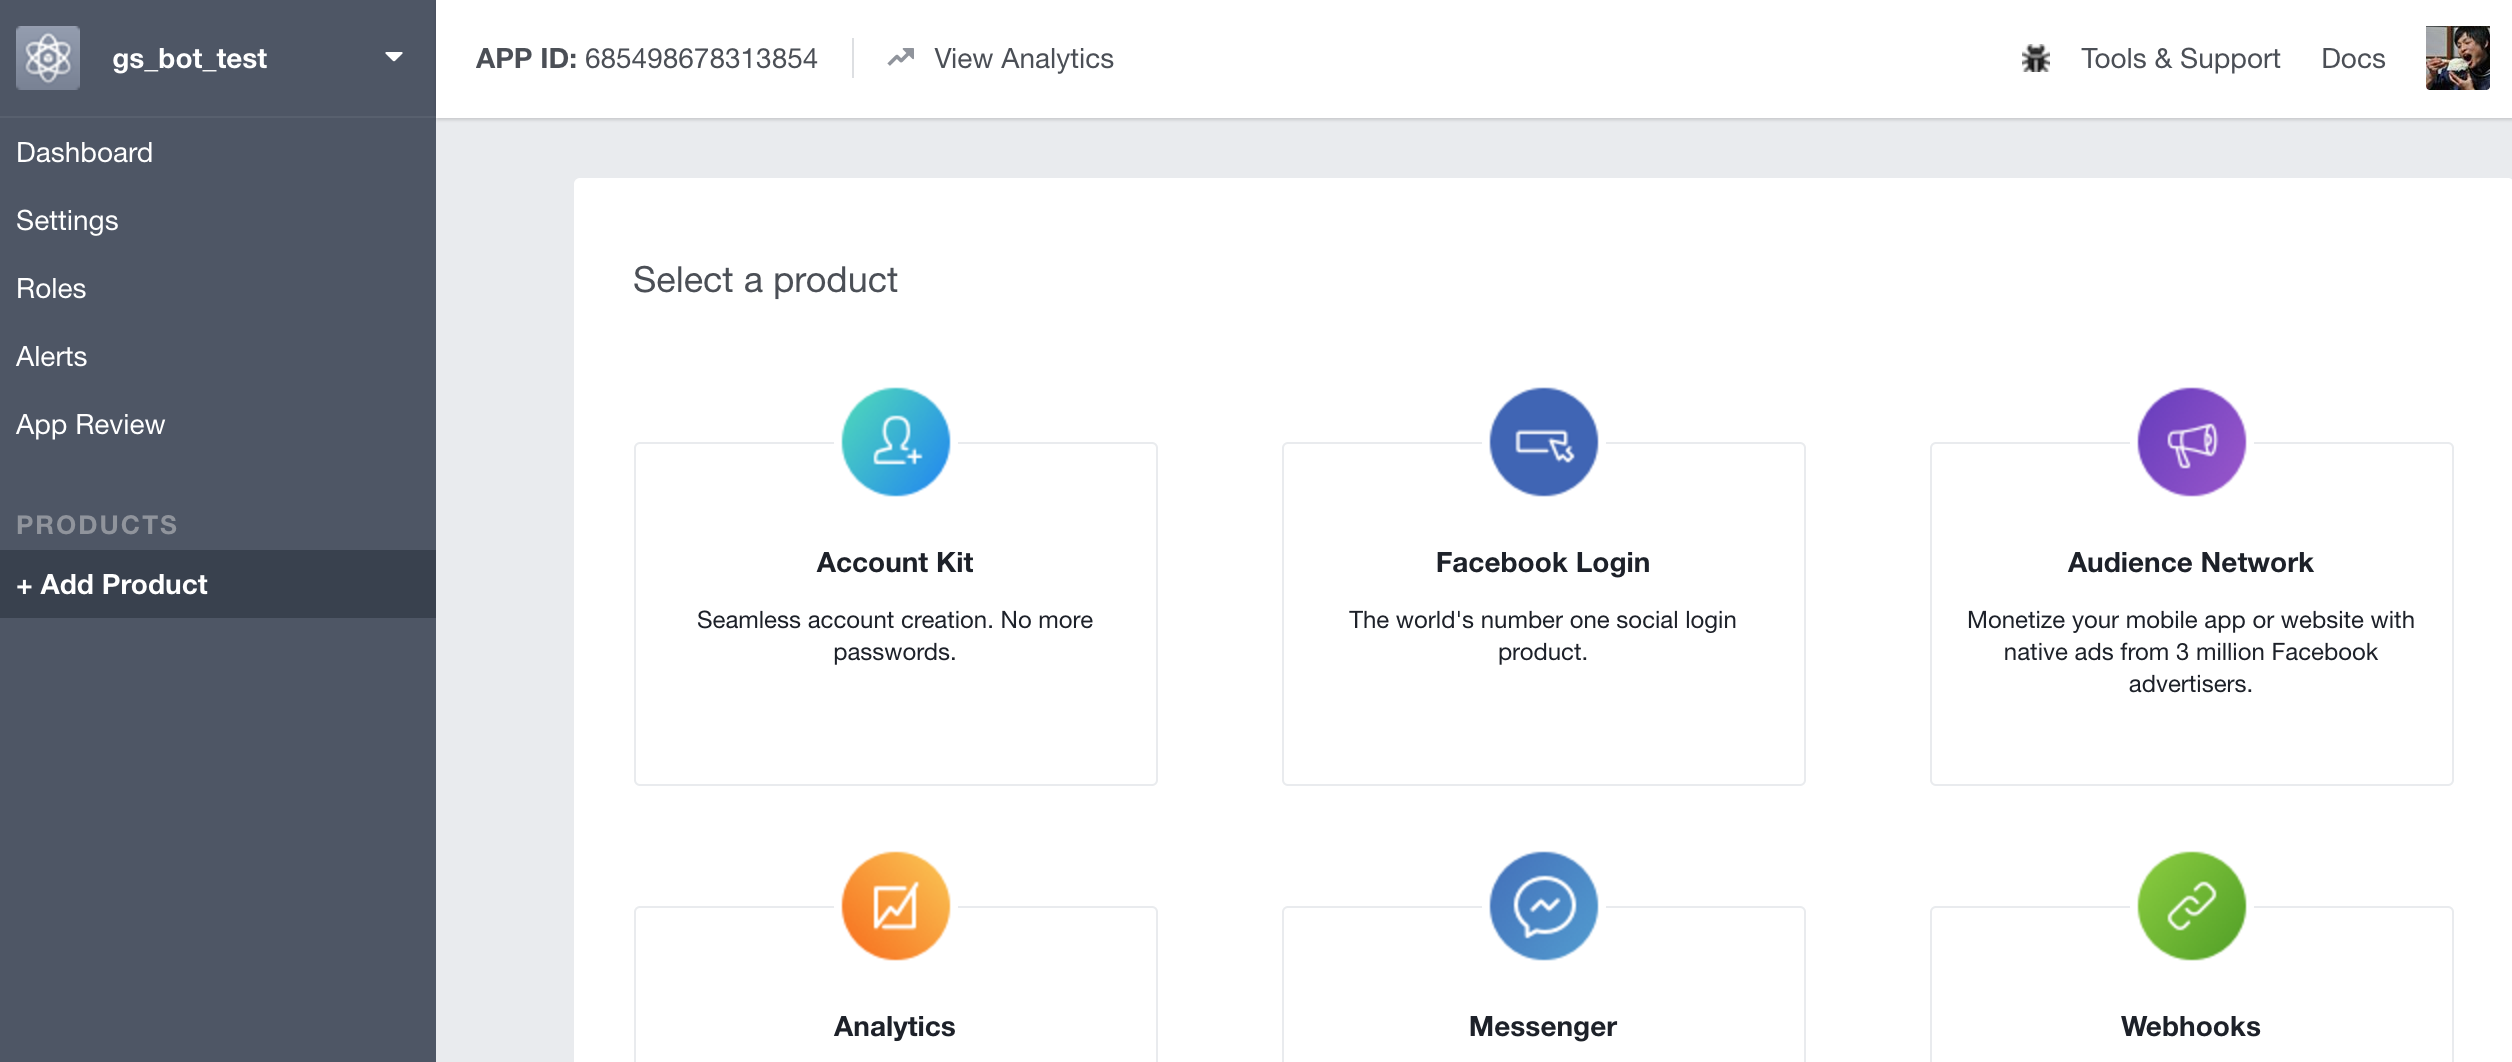
- 画面中央のMessangerの項目の
Set Upを選択

- こんな画面になります
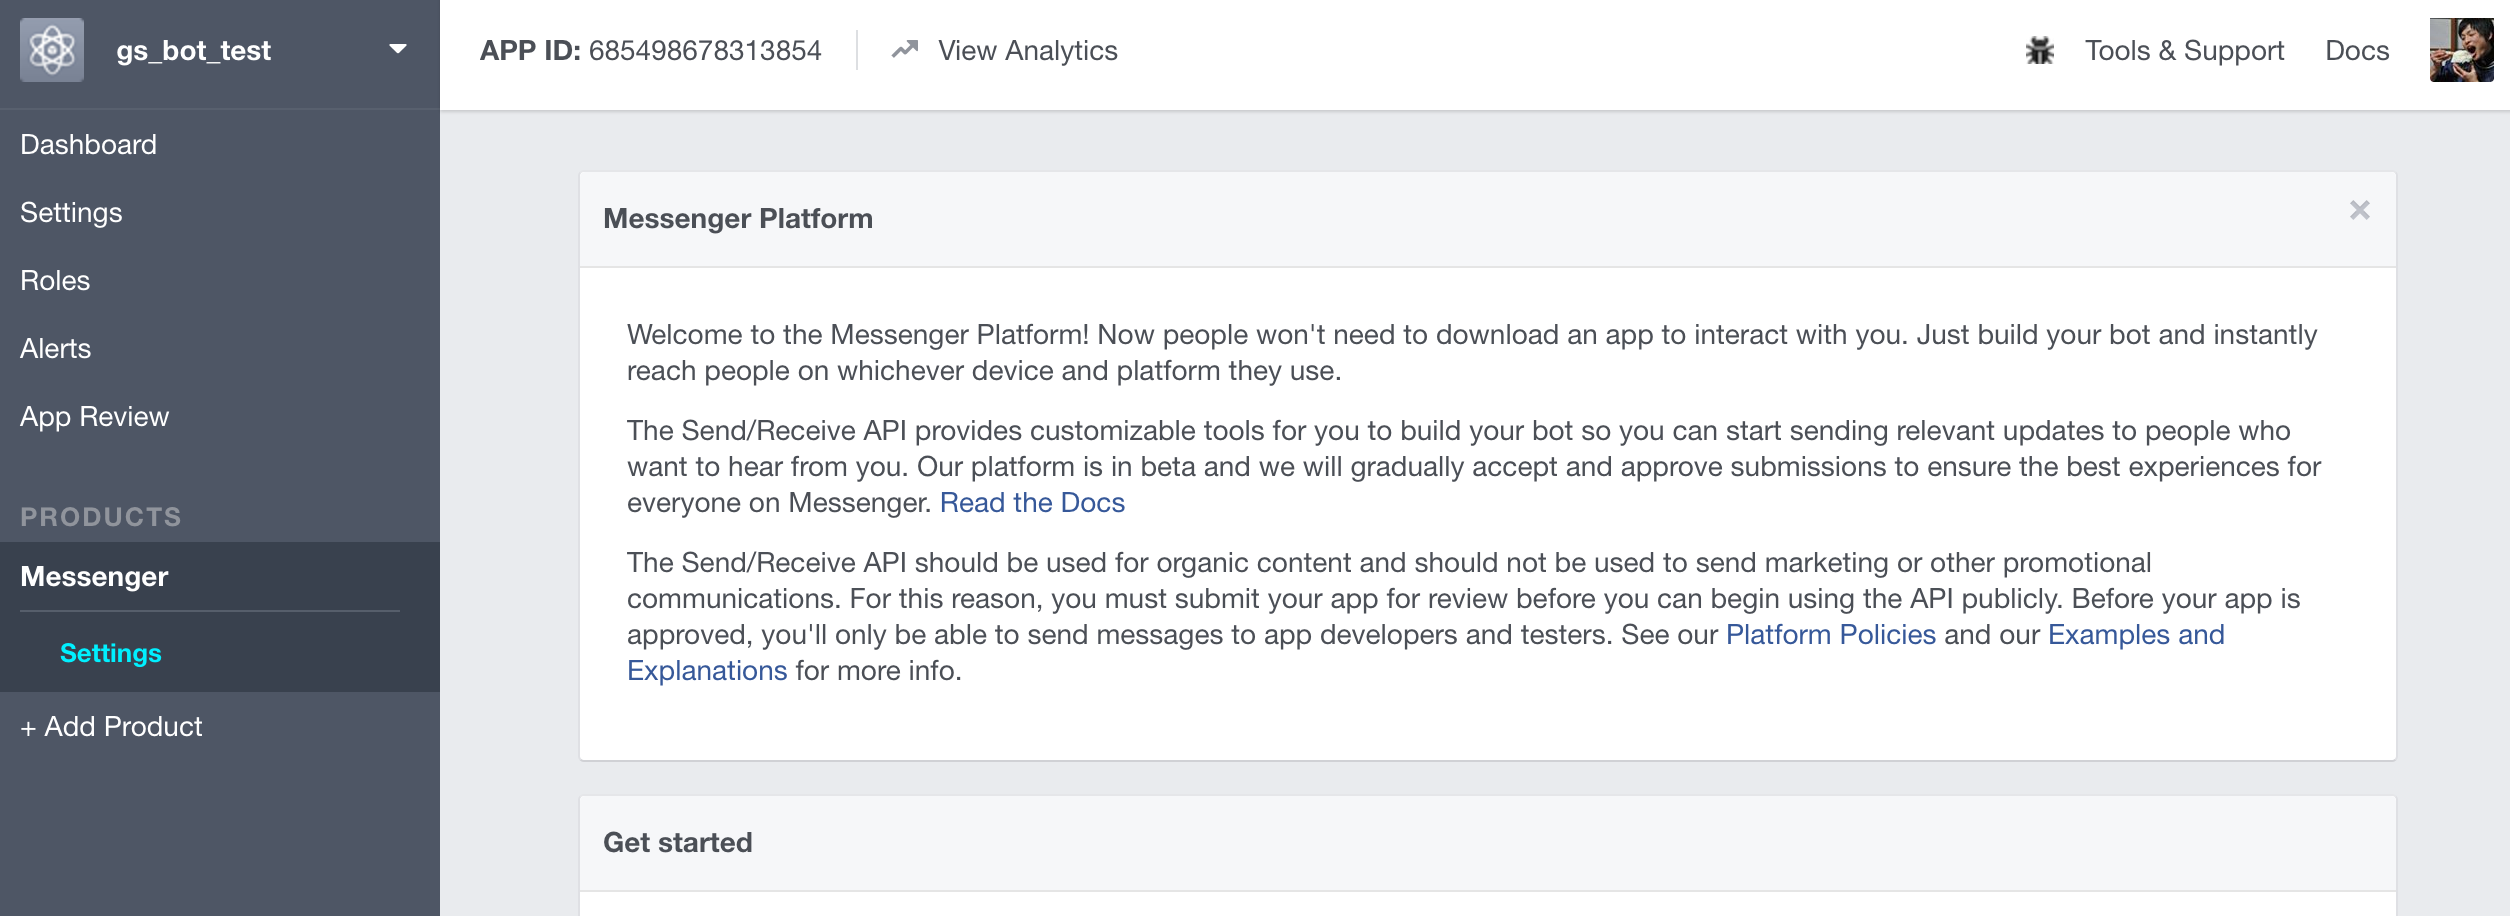
一旦ここでFacebook側の操作は完了です。
2. 認証サーバーの準備
ここでやることのイメージ
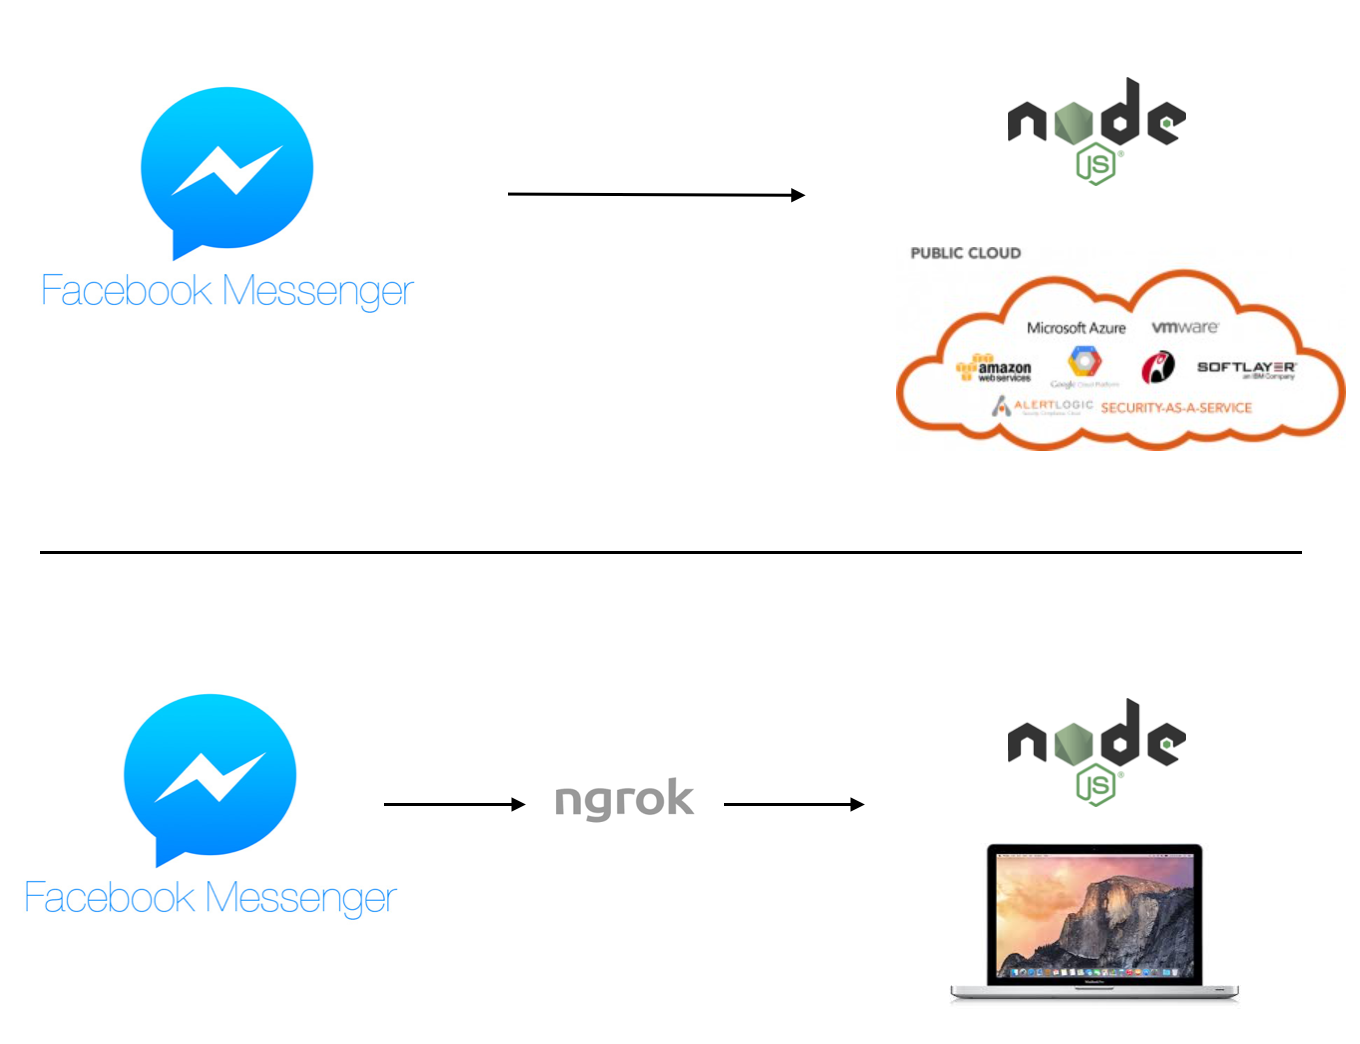
ngrokをインストールしよう

参考: https://codeiq.jp/magazine/2017/06/52514/
プログラムの記述
cd: 移動
mkdir: ディレクトリ作成
ls: 今いるディレクトリを表示
プロジェクトの始め方(おさらい)
mkdir fbbot
cd fbbot
npm init -y
verify.jsを作成
'use strict'

const http = require('http');
const qs = require('querystring');
const url = require('url');
const PORT = process.env.PORT || 3000;
const TOKEN = 'n0bisuke'; //TOKENに適当な文字列をいれましょう。

http.createServer((req, res) => {
    const query = qs.parse(url.parse(req.url).query);
    if(query['hub.mode'] === 'subscribe' && query['hub.verify_token'] === TOKEN){
        console.log("Validating webhook");
        res.writeHead(200, {'Content-Type': 'text/plain'});
        res.end(query['hub.challenge']);
    }else{
        console.error("Failed validation. Make sure the validation tokens match.");
        res.writeHead(403, {'Content-Type': 'text/plain'});
        res.end('error');
    }
}).listen(PORT);
console.log(`Server running at ${PORT}`);
Node.jsでサーバー起動
$ node verify.js
Server running at 3000
ngrokのトンネリングサーバーを起動(別画面)
$ cd ~/Downloads
$ ./ngrok http 3000

ngrok by @inconshreveable                                                                   (Ctrl+C to quit)

Session Status                online
Account                       n0bisuke (Plan: Free)
Version                       2.1.18
Region                        United States (us)
Web Interface                 http://127.0.0.1:4040
Forwarding                    http://c0d1152e.ngrok.io -> localhost:3000
Forwarding                    https://c0d1152e.ngrok.io -> localhost:3000
この場合https://c0d1152e.ngrok.ioを使います。
3. 認証サーバーを使って認証する
またfacebook側に戻ってきます。
WebhooksのSetup Webhooksを選択


- callback url: ここで先ほどのngrokのURLをいれます。
- verify token: 先ほど指定した文字列を
- subscription fields: とりあえずmessagesにチェック
verify and Saveを押します。verify and Saveを押すと
Facebookのサーバー -> Getリクエスト -> ngrockトンネリング -> ローカルマシンのサーバー(verify.js)
という感じでFacebookから先ほど立てたサーバープログラムにtoken情報などが入ったGETリクエストが飛んで来ます。
先ほど書いたプログラムではリクエストが来たら認証をして問題なければそのまま値を返すという処理になっています。
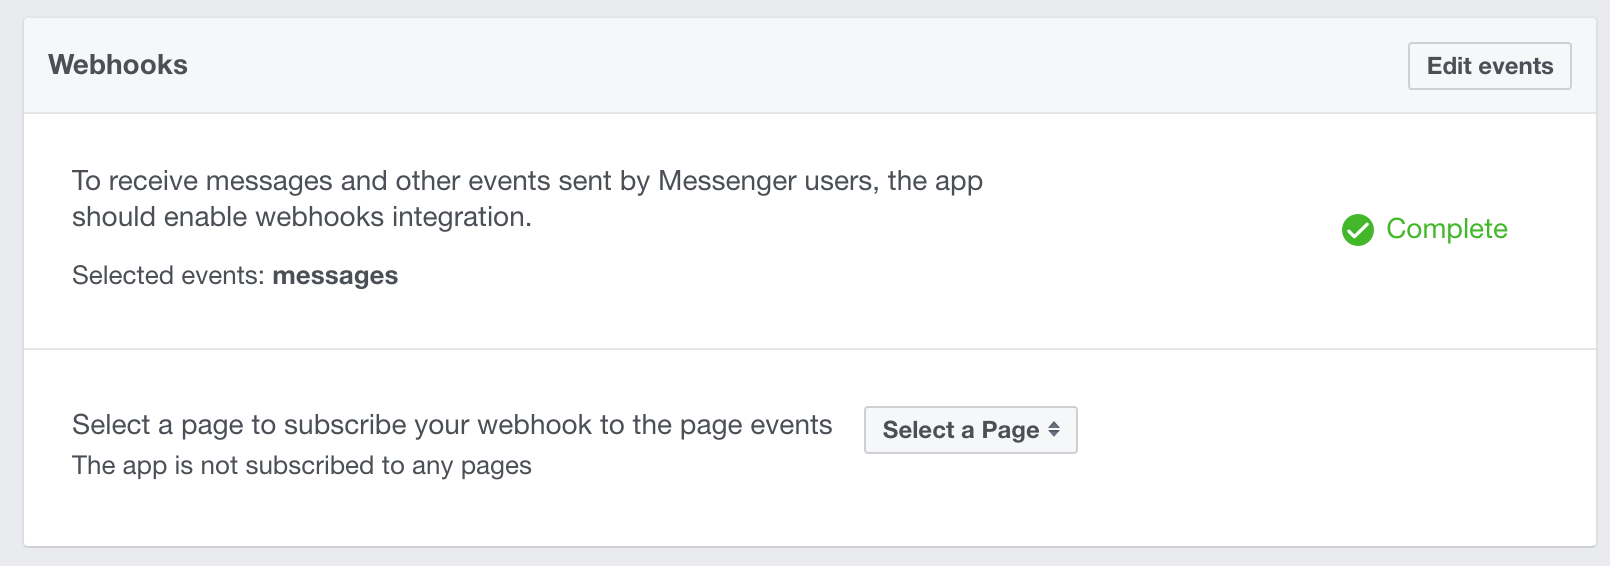
確認
起動していたサーバーのログにValidating webhookと表示される
Server running at 3000
Validating webhook
facebook側ではCompleteと表示される
4. facebook pageと連携させる
FBページのトークンを生成
Token GenerationのPage > Select a Pageを選択

自分が作ったfacebook Pageのリストが出てくるので選択します。

選択するとこんなポップアップ

OK
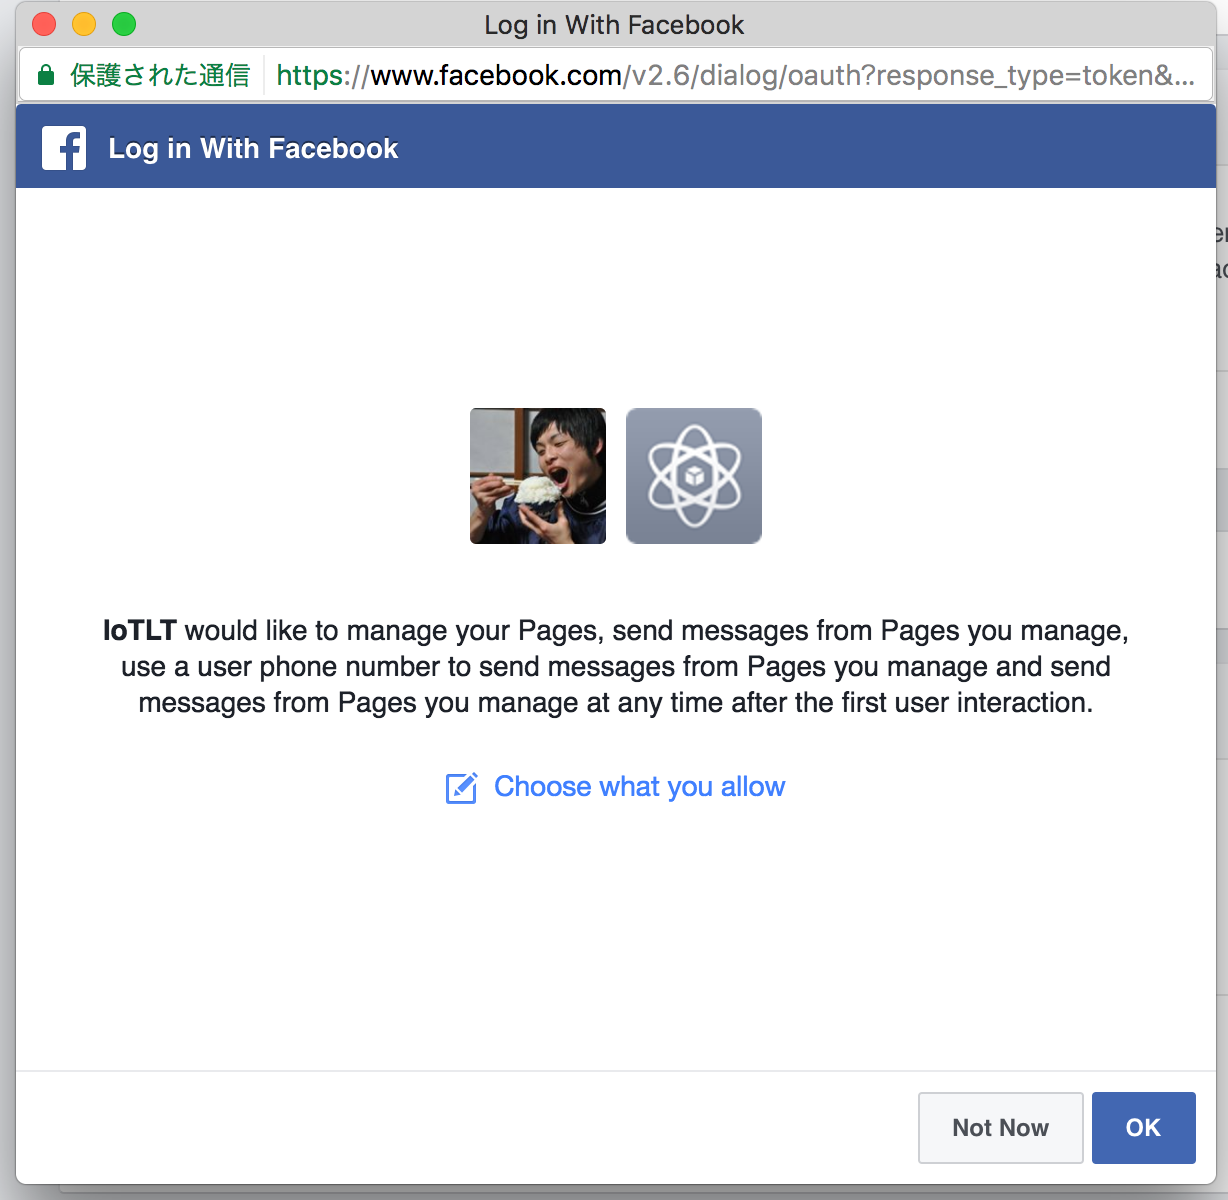
これでトークンが生成されました

この値(PAGE_ACCESS_TOKEN)を後ほど使います。
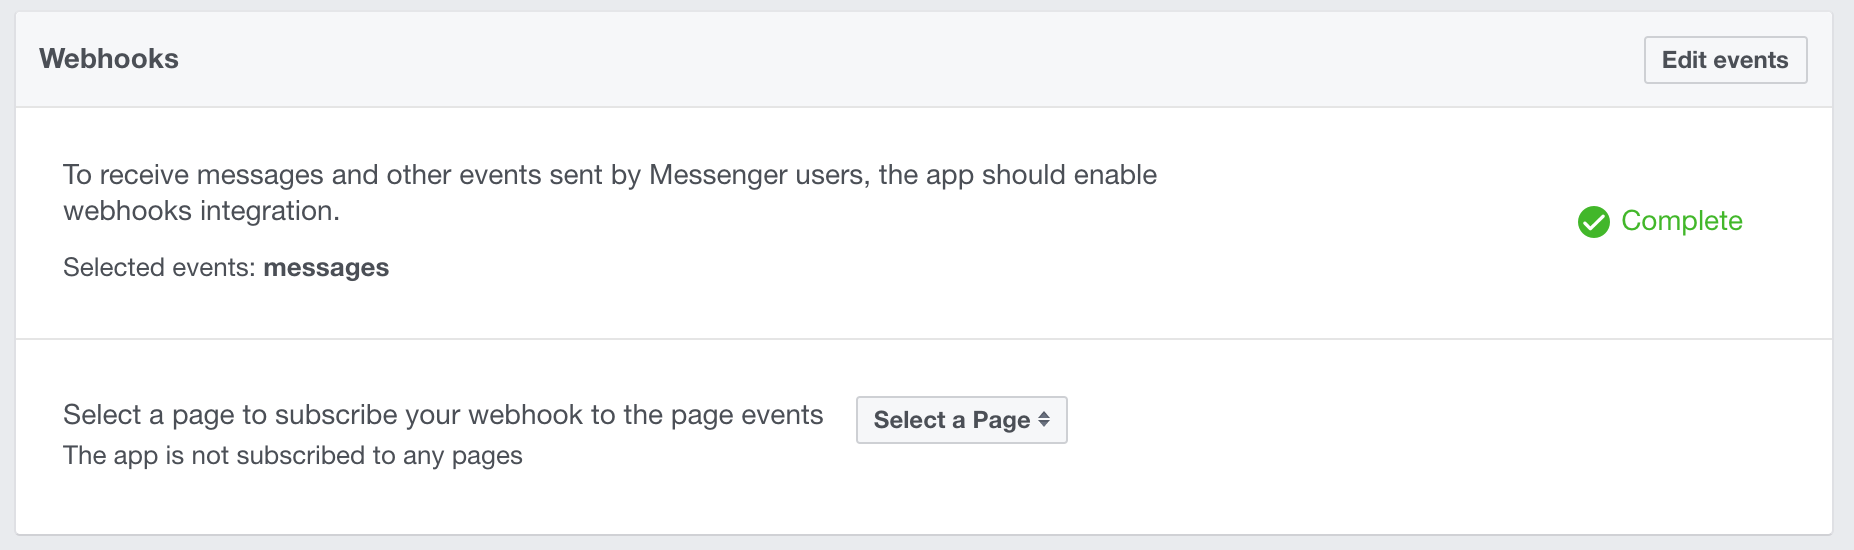
FBページに来たチャットをWebhookで受け取れるようにする
WebhooksのSelect a page to subscribe your webhook to the page events箇所のSelect a Pageを選択
Subscribeを選択しましょう

↓
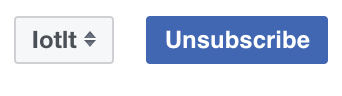
これで連携が完了です。
5. おうむ返しBOTを作ってみよう
botの本体となるserver.jsを作成します。
'use strict'

const http = require('http');
const https = require('https');
const qs = require('querystring');
const url = require('url');
const TOKEN = 'n0bisuke';
const PORT = process.env.PORT || 3000;
const PAGE_ACCESS_TOKEN = '先ほどのPAGE_ACCESS_TOKENをコピペ';
const HOST = 'graph.facebook.com';
const PATH = '/v2.6/me/messages?access_token='+PAGE_ACCESS_TOKEN;

const sendTextMessage = (recipientId, messageText) => {
    const postDataStr = JSON.stringify({
        recipient: { id: recipientId },
        message: { text: messageText }
    });

    const options = {
        host: HOST,
        port: 443,
        path: PATH,
        method: 'POST',
        headers: {
            'Content-Type': 'application/json',
            'Content-Length': Buffer.byteLength(postDataStr),
            'Accept': 'application/json'
        }
    };

    return new Promise((resolve, reject) => {
        const req = https.request(options, (res) => {
            let body = '';
            res.setEncoding('utf8');
            res.on('data', (chunk) => {
                body += chunk;
            });
            res.on('end', () => resolve(body));
        });

        req.on('error', (e) => reject(e));
        req.write(postDataStr);
        req.end();
    });
};

http.createServer((req, res) => {
    //Webhook登録時の認証用
    if(req.method === 'GET'){
        const query = qs.parse(url.parse(req.url).query);
        if(query['hub.mode'] === 'subscribe' && query['hub.verify_token'] === TOKEN){
            console.log("Validating webhook");
            res.writeHead(200, {'Content-Type': 'text/plain'});
            res.end(query['hub.challenge']);
        }else{
            console.error("Failed validation. Make sure the validation tokens match.");
            res.writeHead(403, {'Content-Type': 'text/plain'});
            res.end('error');
        }
    }

    //シンプルなオウム返し
    if(req.method === 'POST'){
        let body = '';
        req.on('data', (chunk) => {
            body += chunk;
        });
        req.on('end', () => {
            console.log('--- Webhook received ---');
            if(body === '') return; //bodyが空は無視

            const data = JSON.parse(body);
            const event = data.entry[0].messaging[0];
            if (data.object === 'page' && event.message) {
                //メッセージ受信時の処理
                const senderID = event.sender.id;
                const messageText = event.message.text;
                if(messageText === ''){
                    console.log('メッセージが取得できない');
                    return;
                }
                console.log("Message data: ", event.message);
                sendTextMessage(senderID, messageText)
                .then((body)=>{
                    console.log('返信完了');
                    console.log(body);
                });
            }else{
                console.log("Webhook received unknown event: ", event);
            }

            res.writeHead(200, {'Content-Type': 'text/plain'});
            res.end('success');
        });
    }

}).listen(PORT);
console.log(`Server running at ${PORT}`);
サーバー起動
node server.js
6. 動作を確認してみよう
ページアカウントにメッセージを送ってみよう
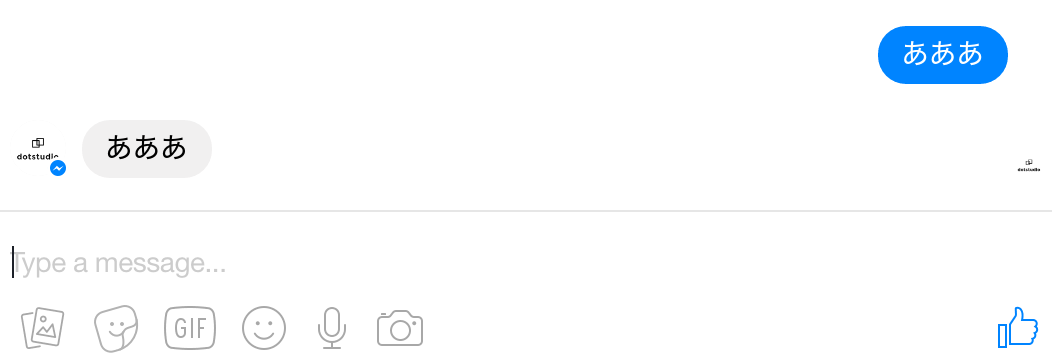
コンソールでログの確認もしてみよう
Server running at 3000
--- Webhook received ---
Message data:  { mid: 'mid.$cAAPDjAMv-lZjk9BooldYosgA4xMV',
  seq: 644302,
  text: 'あああ' }
返信完了
{"recipient_id":"1241933225880027","message_id":"mid.$cAAPDjAMv-lZjk9BuSVdYoslylGZU"}
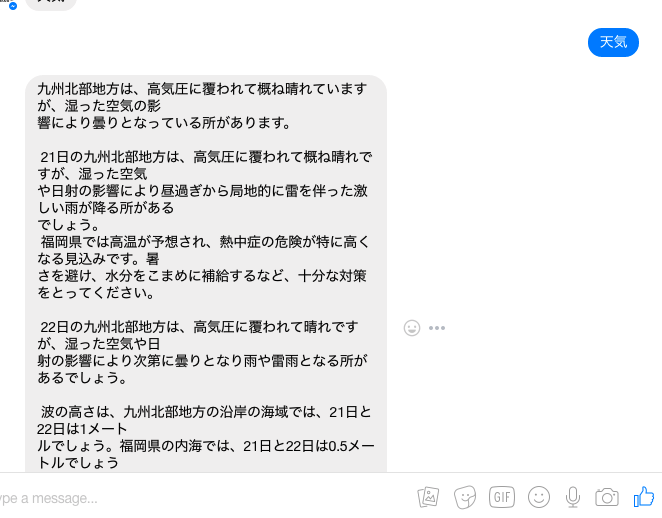
7. 先に進んでる人向け課題
天気を教えてくれるBOTを作ろう
- 天気API http://weather.livedoor.com/weather_hacks/webservice
- axios https://github.com/mzabriskie/axios
ヒント http://qiita.com/n0bisuke/private/7bcb876754fb1fb487c0
npm i --save axios
- tenki.js
'use strict';

const axios = require('axios');

axios.get('http://weather.livedoor.com/forecast/webservice/json/v1?city=400040')
.then((response) => {
    console.log(response.data);
})
.catch((error) => {
    console.log(error);
});
- 答え
省略

        req.on('end', () => {
            console.log('--- Webhook received ---');
            if(body === '') return; //bodyが空は無視

            const data = JSON.parse(body);
            const event = data.entry[0].messaging[0];
            if (data.object === 'page' && event.message) {
                //メッセージ受信時の処理
                const senderID = event.sender.id;
                const messageText = event.message.text;
                if(messageText === ''){
                    console.log('メッセージが取得できない');
                    return;
                }

                if(messageText === '天気'){
                    const URL = 'http://weather.livedoor.com/forecast/webservice/json/v1?city=400040';
                    axios.get(URL)
                    .then((response) => {
                        console.log(response.data.description.text);

                        console.log("Message data: ", event.message);
                        sendTextMessage(senderID, response.data.description.text)
                        .then((body)=>{
                            console.log('返信完了!');
                            console.log(body);
                        });
                    })
                    .catch((error) => {
                        console.log(error);
                    });
                }


            }else{
                console.log("Webhook received unknown event: ", event);
            }

            res.writeHead(200, {'Content-Type': 'text/plain'});
            res.end('success');
        });

 省略
8. 宿題 リッチテキストを作ってみよう
こんな感じのリッチテキストを作ってみましょう。
どんな内容でも大丈夫です。

宿題 応用課題
↑のソースコードをexpressとaxiosを使ってすっきりした形に書き換えてみましょう。
9 アンケート
参考にしますのでお願いします!