無線でssh接続できる環境を作っておくと、省スペースで開発できて快適(モニター・マウス・キーボード不要)
(追記) 0. 無線を有効にする
SSIDとPASSPHRASEを変えて、以下のコマンドを叩く。
$ sudo sh -c 'wpa_passphrase SSID PASSPHRASE >> /etc/wpa_supplicant/wpa_supplicant.conf'
1. sshを有効にする
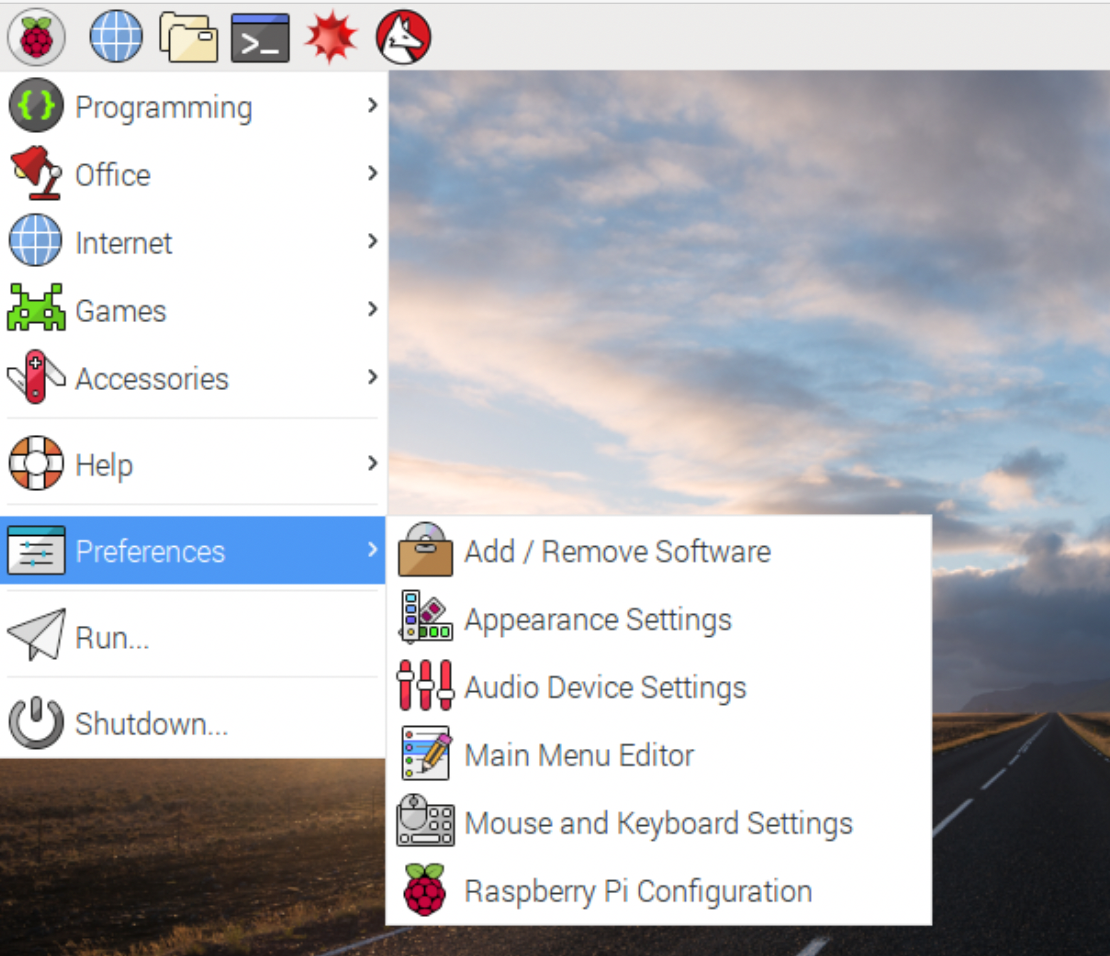
ラズパイを起動して
・「スタートメニュー」->「Preferences」->「Raspberry Pi Configuration」
からsshを有効にする。

2. 無線接続用に固定IPアドレスを設定する
$ sudo nano /etc/dhcpcd.conf
ipアドレスは適宜、修正してdhcpcd.confの末尾に追加。
dhcpcd.conf
interface wlan0
static ip_address=192.168.11.101/24
static routers=192.168.11.1
static domain_name_servers=192.168.11.1
必要に応じて有線のインタフェースも固定IPにする(デフォルトはDHCPで取得する)
dhcpcd.conf
interface eth0
static ip_address=10.0.0.2/24
static routers=10.0.0.1
static domain_name_servers=10.0.0.1
3. 電源を切る
# $ sudo reboot
$ sudo shutdown now
以降、モニター・マウス・キーボード全て不要で開発作業できる