React Native
- JavaScriptでネイティブアプリを作れる。
- (ほぼ)共通のコードでiOSとAndroid両方のアプリを作れる、クロスプラットフォームなもの。
- Webエンジニアの学習コストが低いらしい。
環境構築
- Xcode8より高いバージョンが必要であり、シュミレーターやちょっとした細かい設定などで使うことがある。
- SwiftやObjective-Cで書いたコードを呼び出すこともできる。
- Genymotionなど入れておく。
- 下記のものなどをインストールする。(使わないものもあり)
インストール諸々
npm install -g create-react-native-app
brew tap caskroom/cask
brew cask install android-sdk
brew install node
brew install watchman
npm install -g react-native-cli
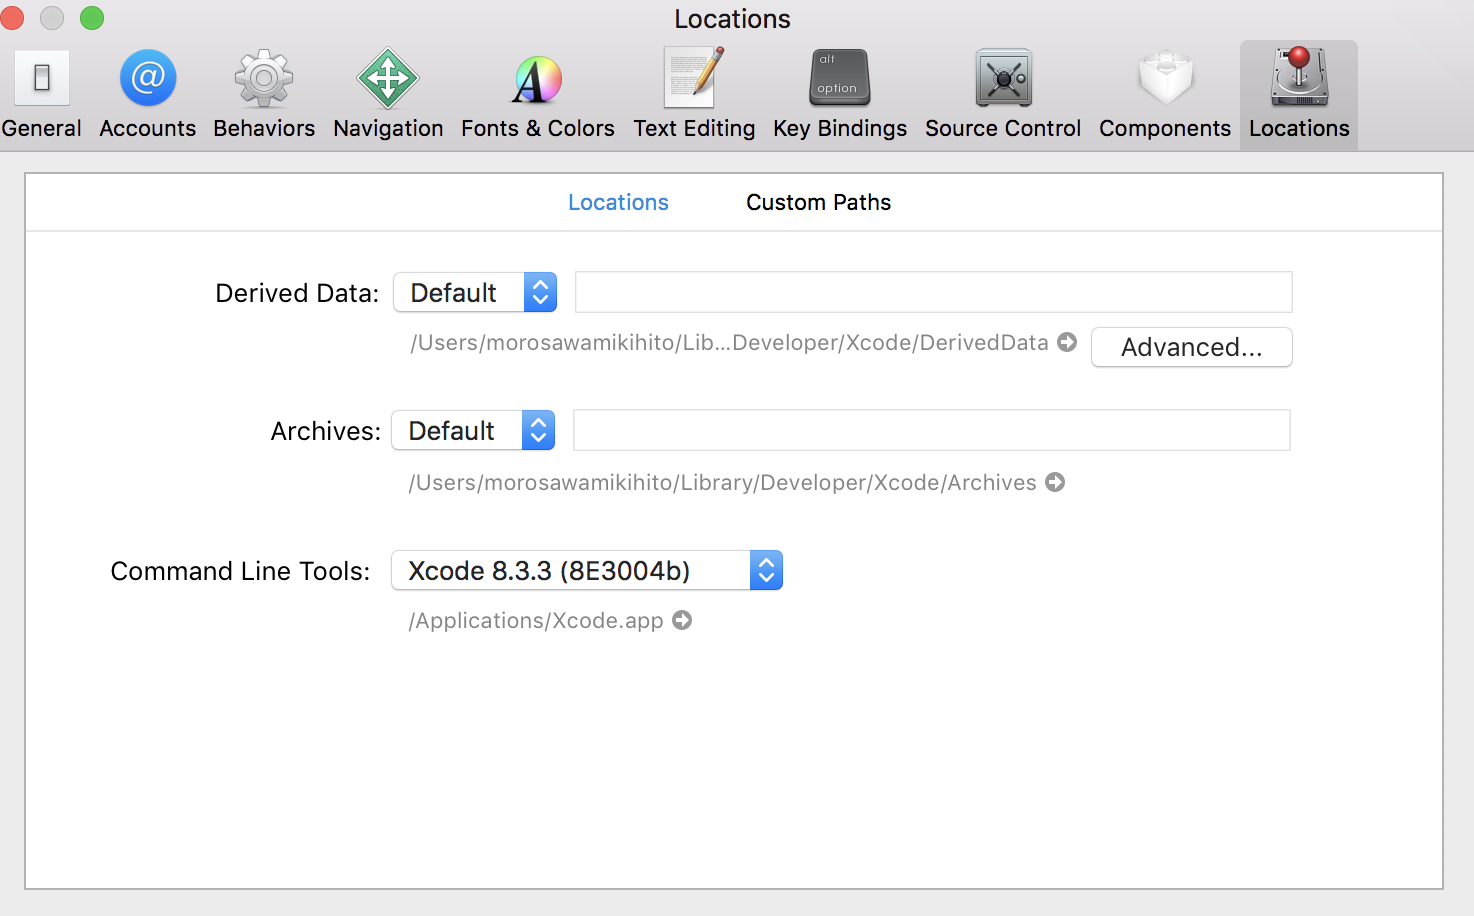
Xcodeを起動してPreferences -> LocationsからCommand Line Toolsを設定する。
起動まで
terminal
create-react-native-app CountApp
cd CountApp
npm start
- 0.44まで
react-native init AppNameでアプリケーションを作れたが、0.45からcreate-react-native-app AppNameで作れるようになった。 - react-native-cliで
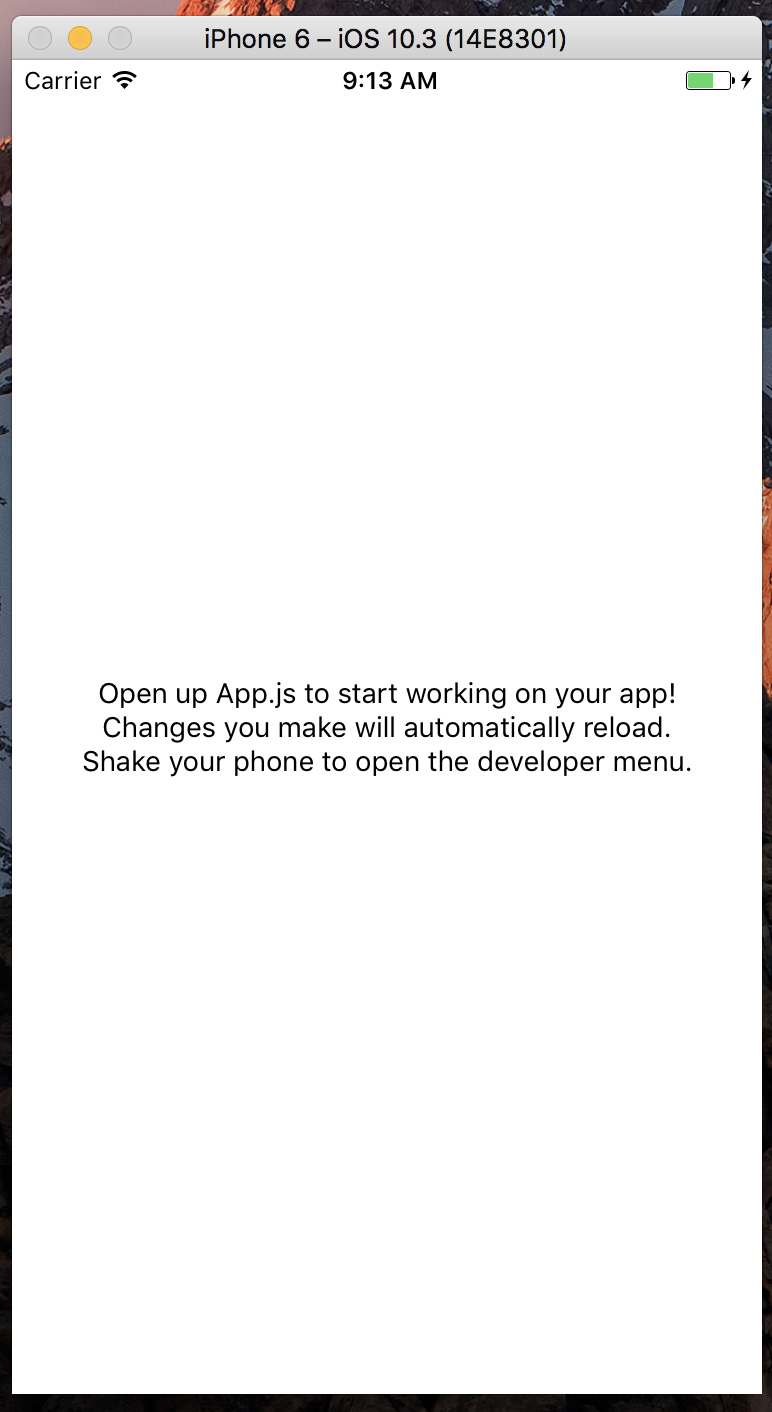
react-native run-iosやreact-native run-androidでシミュレータを起動できたが、npm startだけでiOSもAndroidも起動できるようになった。(両方同時にシミュレータで動作させることはまだできなさそう) - npm start後、シミュレータを立ち上げて、流れに沿うと下記の画面へ遷移できる。
簡単なアプリを作ってみる
ボタンがクリックされたら数字が増えるアプリの開発をします。
下記は現在最新の0.45をベースで、手順は下記の通り実装しました。
- ボタンの配置
- デザイン周り
ボタンの配置
Buttonというコンポーネントでボタンを作れます。onPressでクリックされた際に呼び出す関数を指定できます。
CountApp/App.js
import React from 'react';
import { StyleSheet, Text, View, Button } from 'react-native';

export default class App extends React.Component {
  oneCountUp(number) {
    console.log(number);
  }
  render() {
    return (
      <View style={styles.container}>
        <Button
          onPress={this.oneCountUp.bind(this, 1)}
          title="1"
          />
      </View>
    );
  }
}

const styles = StyleSheet.create({
  container: {
    flex: 1,
    backgroundColor: '#fff',
    alignItems: 'center',
    justifyContent: 'center',
  },
});
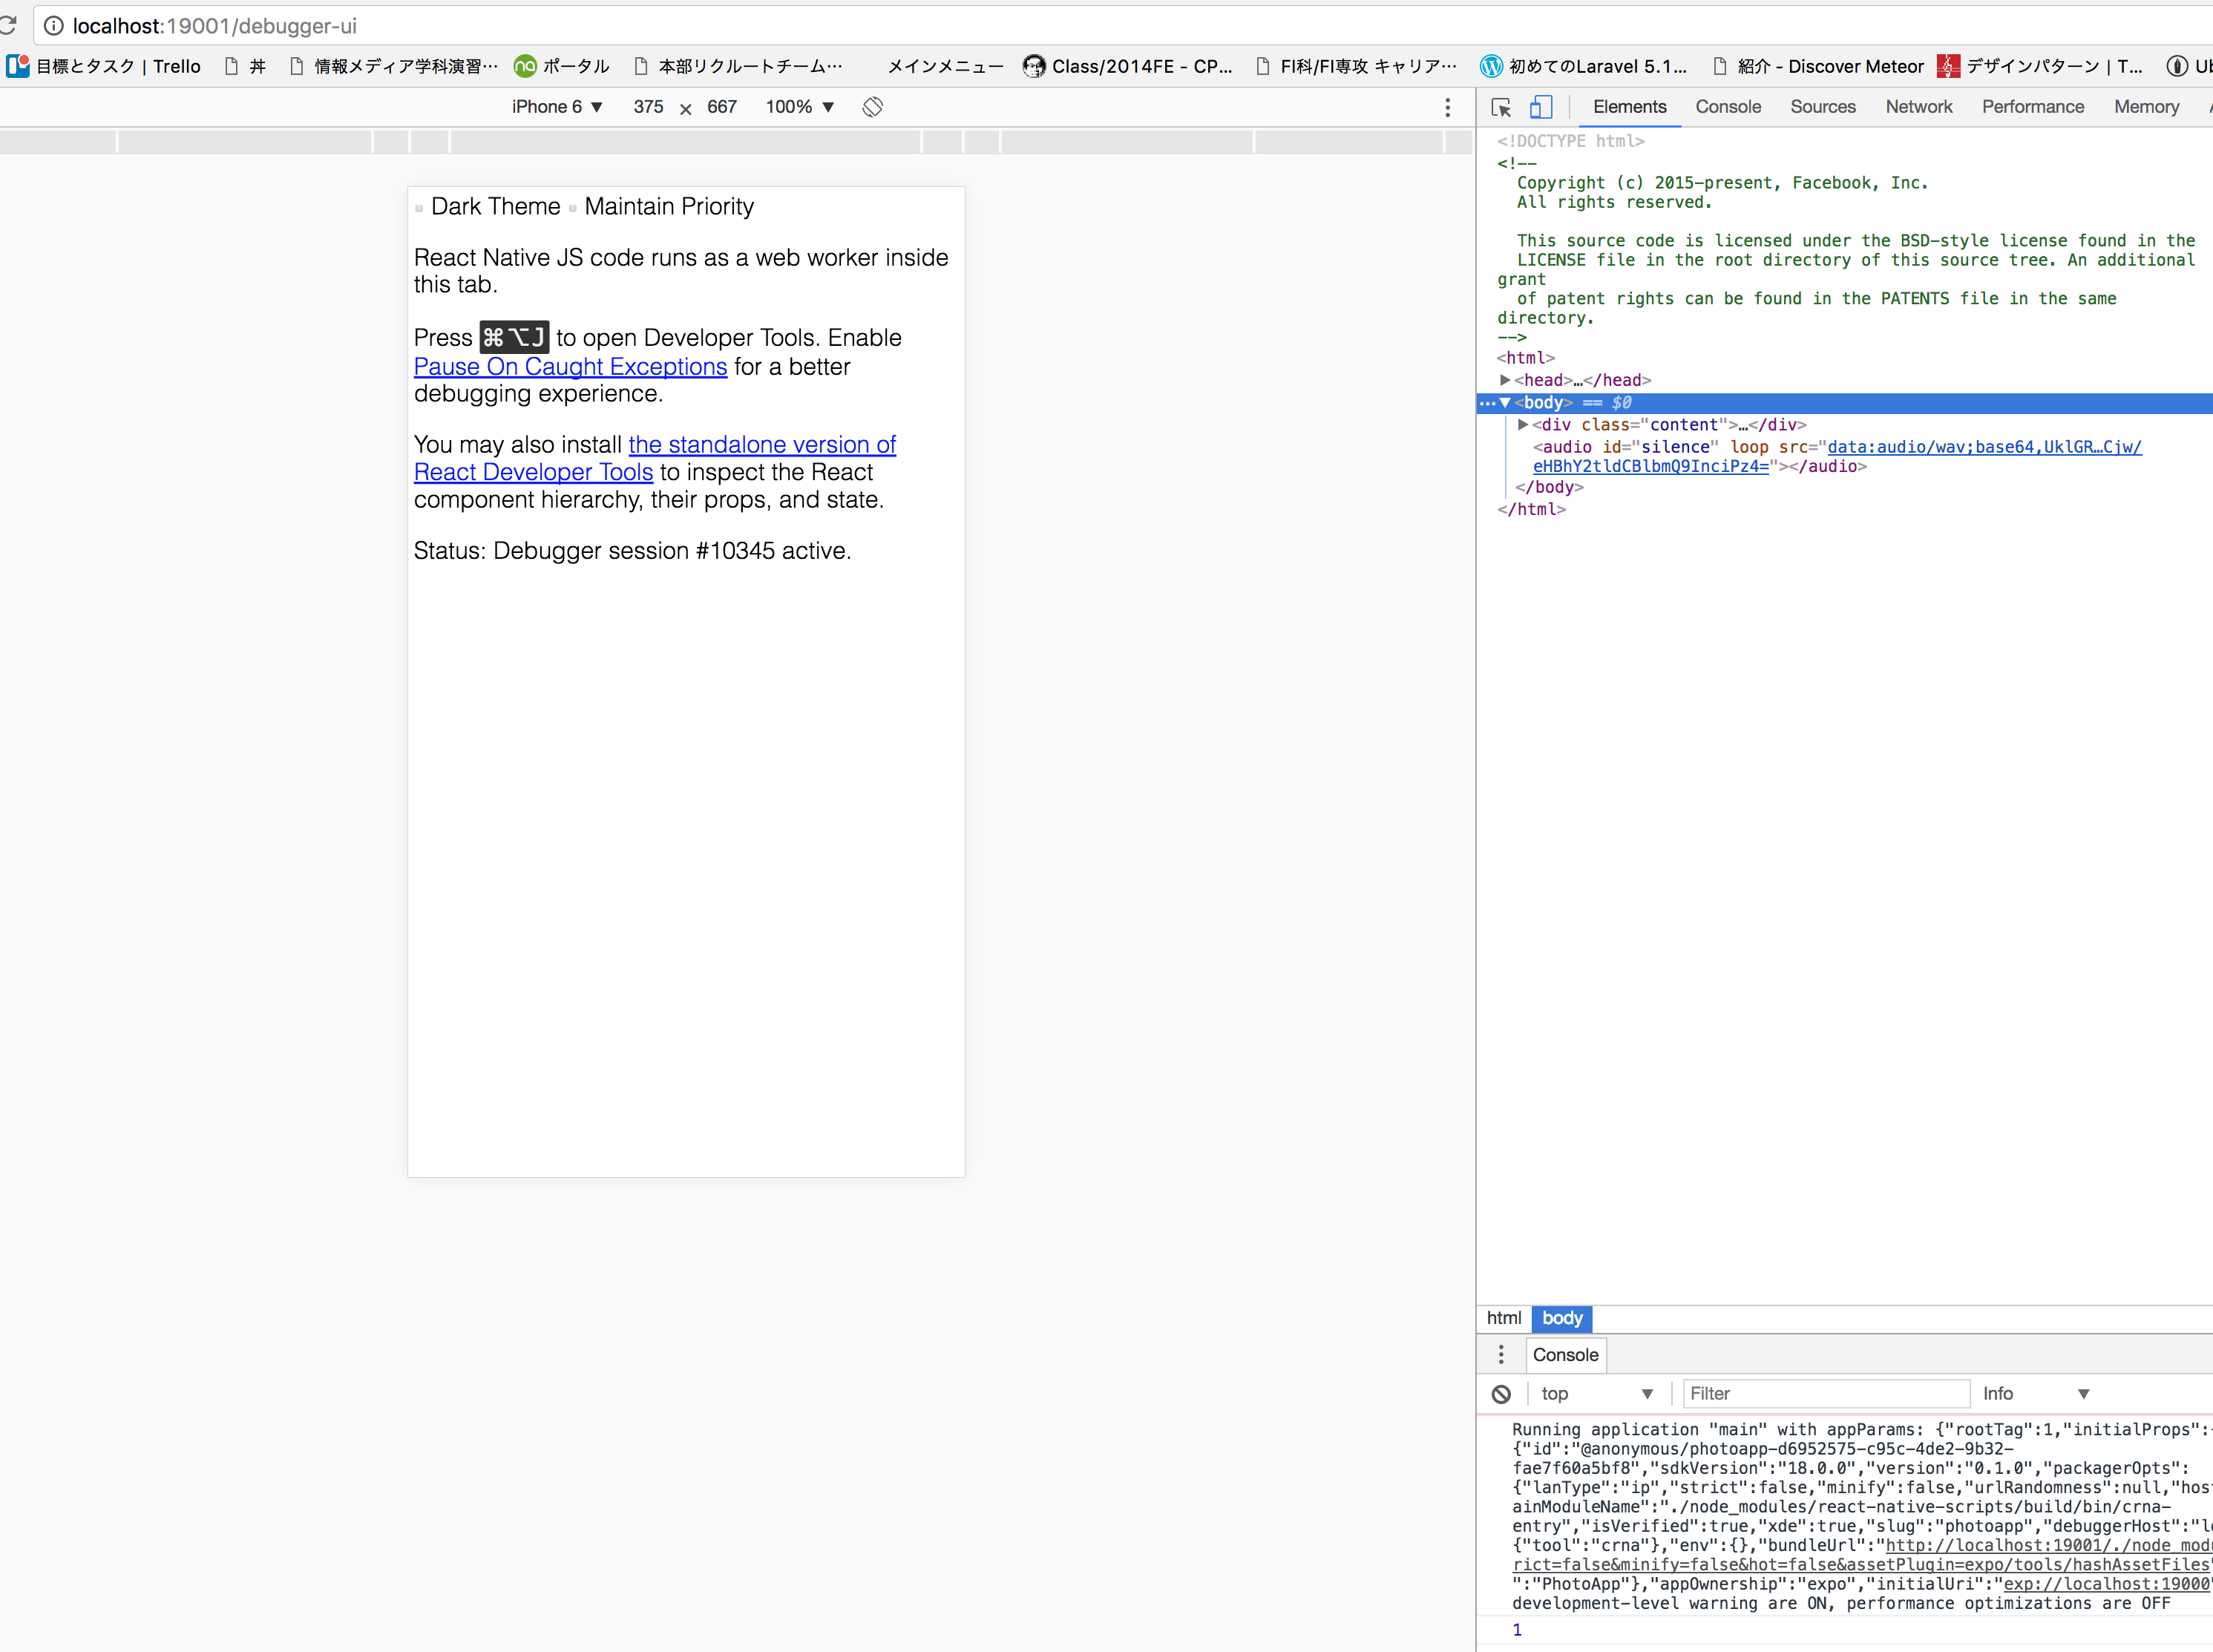
結果は下記の通り。

また、シュミレータ上で⌘Dを押し、ブラウザでログの出力を確認しましょう。
stateで数字の管理
onPress()で数字渡さないで、stateで管理します。constructorやcomponentWillMountだったりで初期化して、数字を上げていきます。
ついでにボタンも増やしたものが下記のコードです。
CountApp/App.js
import React from 'react';
import { StyleSheet, Text, View, Button } from 'react-native';

export default class App extends React.Component {
  constructor(props) {
    super(props)
    this.state = {
      number: 0
    }
  }
  oneCountUp() {
    this.setState({
      number: this.state.number + 1
    })
  }
  twoCountUp() {
    this.setState({
      number: this.state.number + 2
    })
  }
  fiveCountUp() {
    this.setState({
      number: this.state.number + 5
    })
  }
  tenCountUp() {
    this.setState({
      number: this.state.number + 10
    })
  }
  render() {
    return (
      <View style={styles.container}>
        <Text>{ this.state.number }</Text>
        <Button
          onPress={this.oneCountUp.bind(this)}
          title="1"
        />
        <Button
          onPress={this.twoCountUp.bind(this)}
          title="2"
        />
        <Button
          onPress={this.fiveCountUp.bind(this)}
          title="5"
        />
        <Button
          onPress={this.tenCountUp.bind(this)}
          title="10"
        />
      </View>
    );
  }
}

const styles = StyleSheet.create({
  container: {
    flex: 1,
    backgroundColor: '#fff',
    alignItems: 'center',
    justifyContent: 'center',
  },
});
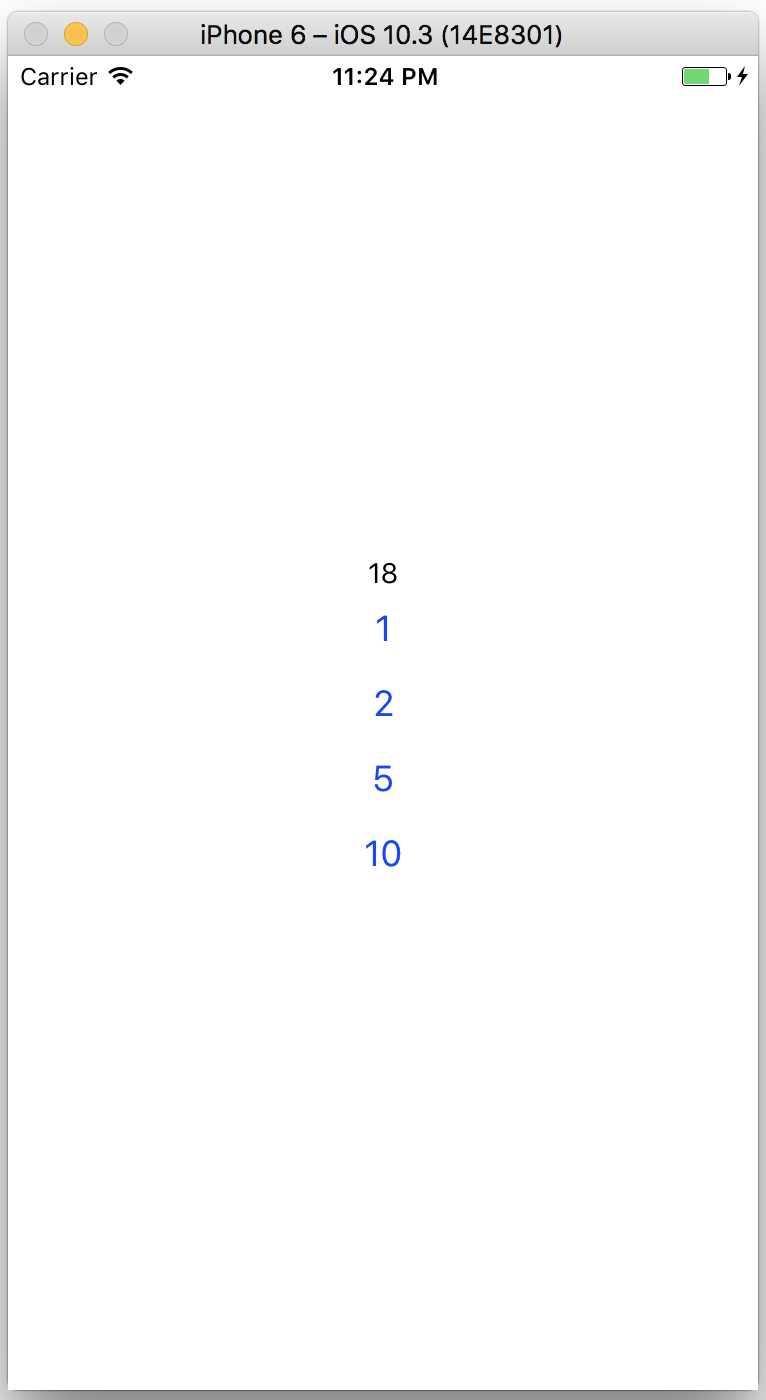
結果の画面は下記の通りです。
ボタンをクリックすると実際に数字が増えます。
デザイン周り
今の状態だとデザインがイケてないので、デザイン周りの実装をします。
ReactNativeは、CSSライクにデザインを実装できます。
デザインの仕方
下記の二種類の書き方があります。
- コンポーネントで直接デザインを実装する方法
- ReactNativeのStyleSheetを使って実装する方法
デザインの実装例
render() {
    return (
      <View style={styles.container}>
        <Text style={{ color: '#f00' }}>コンポーネントで直接デザインを実装する方法</Text>
        <Text style={ styles.sampleText }>ReactNativeのStyleSheetを使って実装する方法</Text>
      </View>
    );
  }
}

const styles = StyleSheet.create({
  container: {
    flex: 1
  },
  sampleText: {
    color: '#00f'
  }
});
アプリケーションで実装する
ReactNativeのStyleSheetを使う方法で今回は実装します。
デザインの実装例
import React from 'react';
import { StyleSheet, Text, View, Button } from 'react-native';

export default class App extends React.Component {
  constructor(props) {
    super(props)
    this.state = {
      number: 0
    }
  }
  oneCountUp() {
    this.setState({
      number: this.state.number + 1
    })
  }
  twoCountUp() {
    this.setState({
      number: this.state.number + 2
    })
  }
  fiveCountUp() {
    this.setState({
      number: this.state.number + 5
    })
  }
  tenCountUp() {
    this.setState({
      number: this.state.number + 10
    })
  }
  render() {
    return (
      <View style={ styles.container }>
        <View style={ styles.numberField }>
          <Text style={ styles.number }>{ this.state.number }</Text>
        </View>
        <View style={ styles.btnField }>
          <Button
            onPress={ this.oneCountUp.bind(this) }
            style={ styles.numberBtn }
            title="1"
          />
          <Button
            onPress={ this.twoCountUp.bind(this) }
            style={ styles.numberBtn }
            title="2"
          />
          <Button
            onPress={ this.fiveCountUp.bind(this) }
            style={ styles.numberBtn }
            title="5"
          />
          <Button
            onPress={ this.tenCountUp.bind(this) }
            style={ styles.numberBtn }
            title="10"
          />
        </View>
      </View>
    );
  }
}

const styles = StyleSheet.create({
  container: {
    flex: 1,
  },
  numberField: {
    width: '100%',
    flex: 4,
    alignItems: 'center',
    justifyContent: 'center',
    backgroundColor: '#162228'
  },
  number: {
    color: '#fff'
  },
  btnField: {
    width: '100%',
    flex: 1,
    flexDirection: 'row',
    alignItems: 'center',
    justifyContent: 'center',
    backgroundColor: '#17272f'
  },
  numberBtn: {
    color: '#fff'
  }
});
結果は下記の通り。
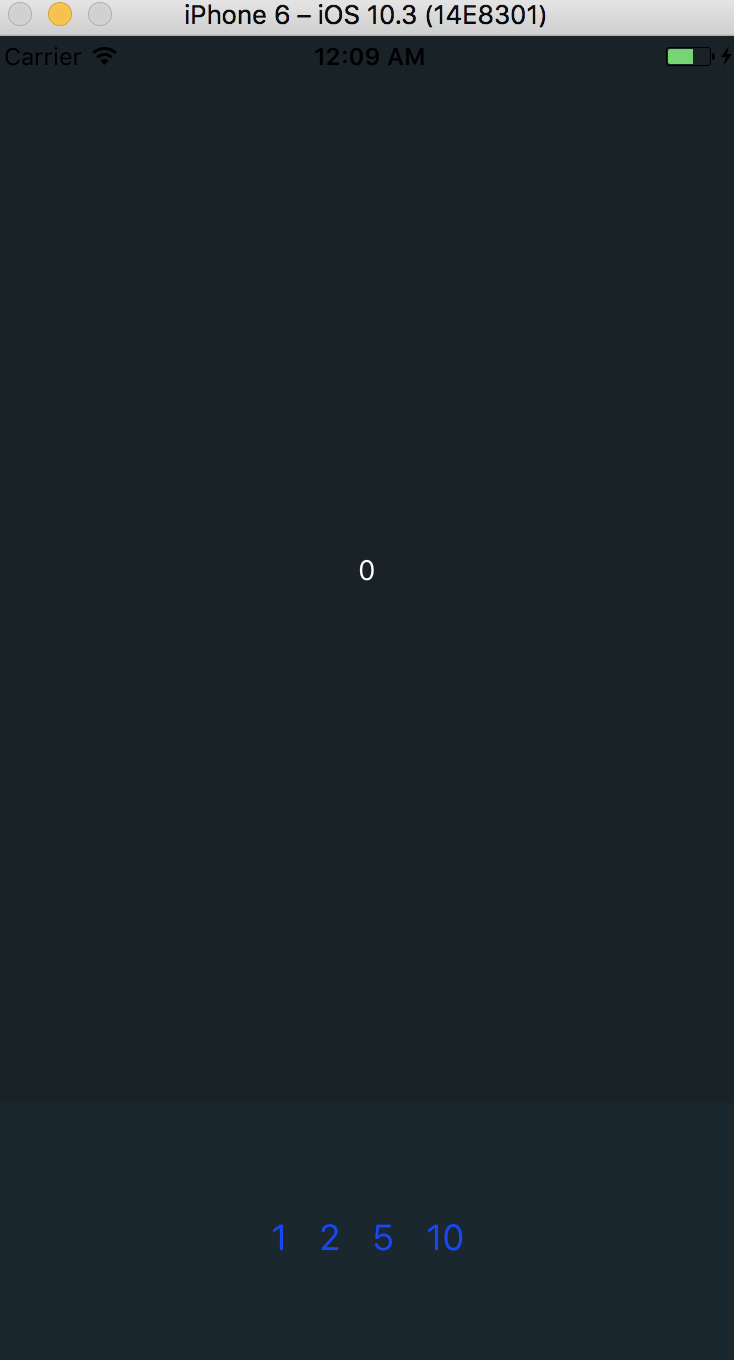
numberBtnで指定しているはずなのに、ボタンの色が変わりません。これは、Buttonの コンポーネントにtextStyleを渡してあげないといけないからです。
けどstylesにまとめてるのに、汚くなりますよね。そのような場合、TouchableOpacityなどを使っても良いでしょう。
TouchableOpacityを使って、ちょっとした修正をしたのが下記のコードです。
デザインの実装例
import React from 'react';
import { StyleSheet, Text, View, TouchableOpacity } from 'react-native';
import Dimensions from 'Dimensions';

export default class App extends React.Component {
  constructor(props) {
    super(props)
    this.state = {
      number: 0
    }
  }
  oneCountUp() {
    this.setState({
      number: this.state.number + 1
    })
  }
  twoCountUp() {
    this.setState({
      number: this.state.number + 2
    })
  }
  fiveCountUp() {
    this.setState({
      number: this.state.number + 5
    })
  }
  tenCountUp() {
    this.setState({
      number: this.state.number + 10
    })
  }
  render() {
    return (
      <View style={ styles.container }>
        <View style={ styles.numberField }>
          <Text style={ styles.number }>{ this.state.number }</Text>
        </View>
        <View style={ styles.btnField }>
          <TouchableOpacity
            onPress={ this.oneCountUp.bind(this) }
            style={ styles.numberBtn }
          >
            <Text style={ styles.numberBtnText }>1</Text>
          </TouchableOpacity>
          <TouchableOpacity
            onPress={ this.twoCountUp.bind(this) }
            style={ styles.numberBtn }
          >
            <Text style={ styles.numberBtnText }>2</Text>
          </TouchableOpacity>
          <TouchableOpacity
            onPress={ this.fiveCountUp.bind(this) }
            style={ styles.numberBtn }
          >
            <Text style={ styles.numberBtnText }>5</Text>
          </TouchableOpacity>
          <TouchableOpacity
            onPress={ this.tenCountUp.bind(this) }
            style={ styles.numberBtn }
          >
            <Text style={ styles.numberBtnText }>10</Text>
          </TouchableOpacity>
        </View>
      </View>
    );
  }
}

const windowWidth = Dimensions.get('window').width;
const styles = StyleSheet.create({
  container: {
    flex: 1,
  },
  numberField: {
    width: '100%',
    flex: 5,
    alignItems: 'center',
    justifyContent: 'center',
    backgroundColor: '#162228'
  },
  number: {
    color: '#fff',
    fontSize: 40
  },
  btnField: {
    width: '100%',
    flex: 1,
    flexDirection: 'row',
    alignItems: 'center',
    justifyContent: 'center'
  },
  numberBtn: {
    width: windowWidth / 4,
    height: '100%',
    alignItems: 'center',
    justifyContent: 'center',
    backgroundColor: '#17272f'
  },
  numberBtnText: {
    color: '#fff'
  }
});
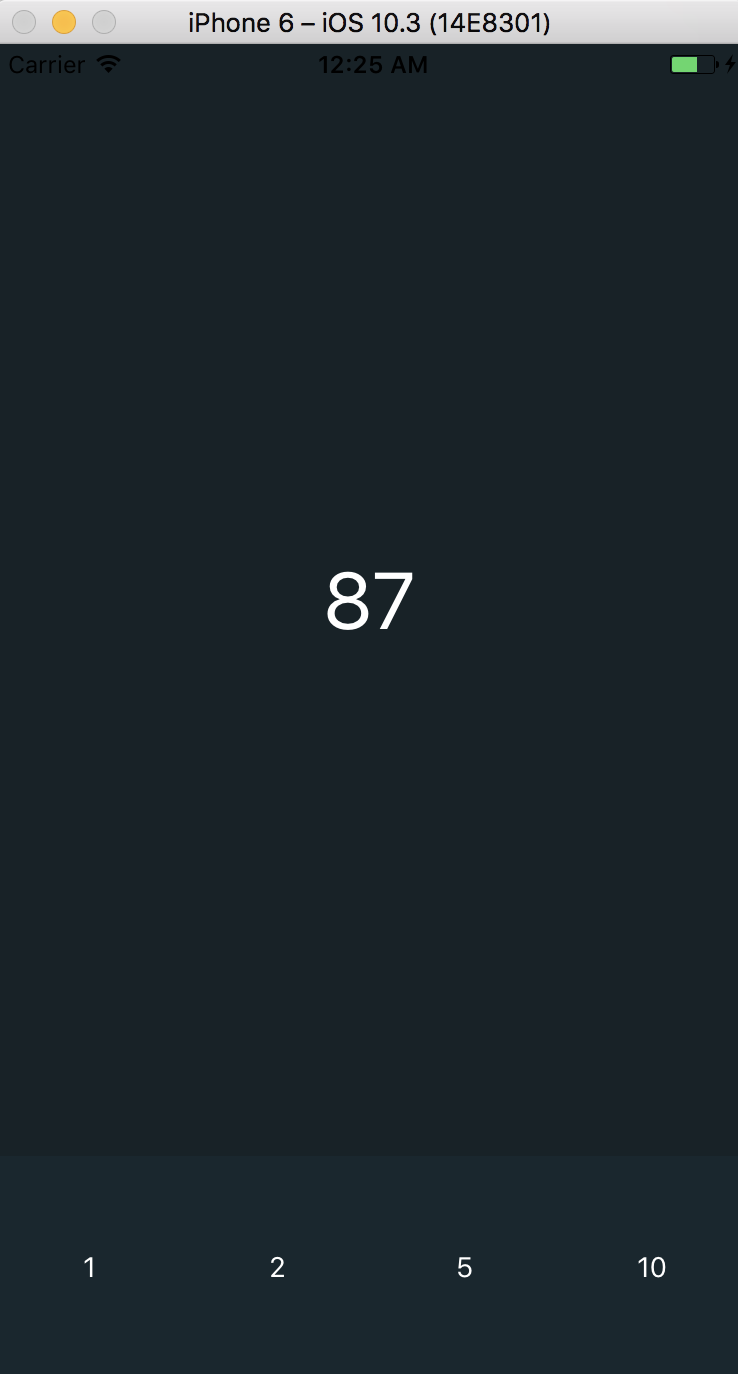
結果
まとめ
- デザインし易い。なんとなく馴染みがある感じに実装できる。
- JS・React詳しくなくても、そこそこ実装できる。
- 今回の記事では取り上げなかったが、PhotoライブラリのPrivacyの設定など、多少はネイティブの知識は必要になってくる。