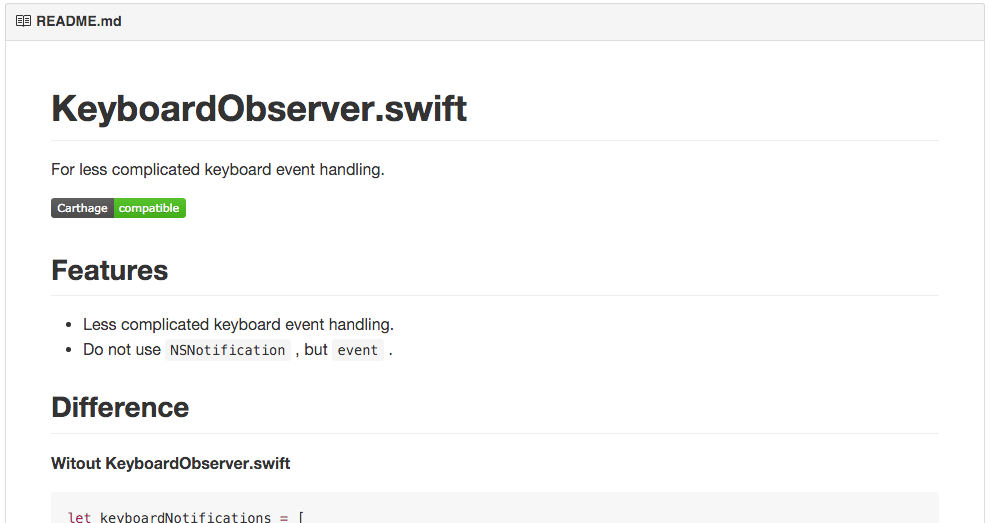
Swiftでライブラリを公開するという記事を書いた際に、手元のコードを一つマイクロライブラリ化してみました。それが、 KeyboardObserver です。
特徴
iOS開発で面倒なキーボードのイベントの処理を簡潔にします。キーボードのイベントはまず UINotificationの通知を監視 して、 渡ってくる辞書から値を取得してキャストして やっと高さ計算などをしてビューのサイズやinsetを変えると思います。やりたいことは、ビューの高さを変えることだけなのですが、そのための準備が面倒です。それを簡単に扱えるようにしたのが KeyboardObserver です。
通知をライブラリ内部で取得して、イベントを取り出し、専用のstructにマップして、クロージャで扱えるようにしています。コードの比較をしたほうがわかりやすいと思いますので書いてみます。
まずは、通常のやり方から(ざっと眺めてみるだけで良いと思います)。ここではinsetsを変えていますが、Viewのサイズを変えることのほうが多いとは思います。
通常のやり方
let keyboardNotifications = [
    UIKeyboardWillShowNotification,
    UIKeyboardWillHideNotification,
    UIKeyboardWillChangeFrameNotification
]

override func viewDidLoad() {
    super.viewDidLoad()
}

override func viewWillAppear(animated: Bool) {
    super.viewWillAppear(animated)

    keyboardNotifications.forEach {
        NSNotificationCenter.defaultCenter().addObserver(self, selector: "keyboardEventNotified:", name: $0, object: nil)
    }
}

override func viewWillDisappear(animated: Bool) {
    super.viewWillDisappear(animated)

    keyboardNotifications.forEach {
        NSNotificationCenter.defaultCenter().removeObserver(self, name: $0, object: nil)
    }
}

func keyboardEventNotified(notification: NSNotification) {
    guard let userInfo = notification.userInfo else { return }
    let keyboardFrameEnd = (userInfo[UIKeyboardFrameEndUserInfoKey] as! NSValue).CGRectValue()
    let curve = UIViewAnimationOptions(rawValue: UInt(userInfo[UIKeyboardAnimationCurveUserInfoKey] as! NSNumber))
    let duration = NSTimeInterval(userInfo[UIKeyboardAnimationDurationUserInfoKey] as! NSNumber)
    let distance = UIScreen.mainScreen().bounds.height - keyboardFrameEnd.origin.y
    let bottom = distance >= bottomLayoutGuide.length ? distance : bottomLayoutGuide.length

    UIView.animateWithDuration(duration, delay: 0.0, options: [curve], animations:
        { [weak self] () -> Void in
            self?.textView.contentInset.bottom = bottom
            self?.textView.scrollIndicatorInsets.bottom = bottom
        } , completion: nil)
}
ううう、面倒臭い。Swiftの記法で少し短く書けるようにはなっていますが、面倒です。通知を監視して、高さ変更のための関数を作って、通知を消して...。
KeyboardObserverの場合
let keyboard = KeyboardObserver()

override func viewDidLoad() {
    super.viewDidLoad()

    keyboard.observe { [weak self] (event) -> Void in
        guard let s = self else { return }
        switch event.type {
        case .WillShow, .WillHide, .WillChangeFrame:
            let distance = UIScreen.mainScreen().bounds.height - event.keyboardFrameEnd.origin.y
            let bottom = distance >= s.bottomLayoutGuide.length ? distance : s.bottomLayoutGuide.length

            UIView.animateWithDuration(event.duration, delay: 0.0, options: [event.curve], animations:
                { [weak self] () -> Void in
                    self?.textView.contentInset.bottom = bottom
                    self?.textView.scrollIndicatorInsets.bottom = bottom
                } , completion: nil)
        default:
            break
        }
    }
}
keyboard.observe の中で完結します。イベントの種類はevent.typeにenumとして入っているので、そこで処理を分けることも簡単です。KeyboardObserverの deinit とともに通知の監視は終了するので、監視の開始と終了を書く必要もありません。意図的に通知を受けないようにしたい場合は、 enabled をfalseにすればOKです。
KeyboardEvent
closureで渡ってくるeventは下記のプロパティを持っています。UINotificationのuserInfoの中身がそのままキャストされて用意されています。
public struct KeyboardEvent {
    public let type: KeyboardEventType
    public let keyboardFrameBegin: CGRect
    public let keyboardFrameEnd: CGRect
    public let curve: UIViewAnimationOptions
    public let duration: NSTimeInterval
    public var isLocal: Bool?
    ...
}
KeyboardEventType
KeyboardEventのプロパティの一つであるKeyboardEventTypeは下記のようになっています。
public enum KeyboardEventType {
    case WillShow
    case DidShow
    case WillHide
    case DidHide
    case WillChangeFrame
    case DidChangeFrame
    ...
}
これに加えて、public var notificationName: String もあります。これは、通知に関係するイベントを全てenumで網羅しています。
CarthageとCocoapodsで公開しています。是非、ご利用ください〜。
