coreup を使って簡単にクラウド上に CoreOS クラスタを構築しよう
どうも、僕です。
CoreOS ネタで世の中盛り上がってますね。
せっかくなので便利ツールを紹介したいと思います。
評価する際に使用してみて下さい。
coreup
今回は、coreup を紹介します。
(CoreOS CEO のリポジトリはみんなチェックしてますよね)
coreup は簡単に CoreOS をクラウド上に構築できるツールです。
現状 ec2 のみと書いてありますが gce も実は実装されています。
install
README 通りにするか、git clone してビルドします。
ビルドする際に driver が見つからないとか言われるので go get しておきましょう。
$ go get github.com/polvi/coreup/drivers && go build
helpを実行して、起動できるか確認してみましょう。
$ ./coreup --help
Usage of coreup:
  -cred-cache="/home/ma2/.coreup/cred-cache.json": location to store credential tokens
  -project="coreup-ma2": name for the group of servers in the same project
  -provider="ec2": cloud or provider to launch instance in
  -region="": region of the cloud to run these commands in
coreup with GCE
せっかくなので GCE にデプロイしてみましょう。
コンソールのセットアップ プロジェクト作成
まずGoogle API Console にログインします。
課金設定済みのプロジェクトを作ってない場合は作っておいてください。
認証情報 OAuthのキー発行
APIと認証->認証情報を選択し、OAuthの新しいクライアントIDを発行します。
新しいクライアントIDを作成を選択します。
アプリケーションの種類は インストールされているアプリケーション
インストールされているアプリケーションの種類 は その他 を指定します。
そうするとクライアント ID、クライアント シークレットが発行されます。
coreupではこのキーを使います。
同意画面の設定
同意画面は、クライアント ID を使用してユーザーのプライベート データへのアクセスが リクエストされたと
きにユーザーに対して必ず表示されます。
この設定を正しく行っていない場合、OAuth認証が通りません。
メールアドレス、サービス名(任意)を必ず設定して下さい。
coreup の起動
起動するにはrunコマンドを使います。
$ ./coreup run --help
Usage:
  -block-until-ready=true: tell run commands to wait until machines are up to return
  -channel="alpha": CoreOS channel to use
  -cloud-config="./cloud-config.yml": local file, usually ./cloud-config.yml
  -image="": image name (default to fetching from core-os.net)
  -num=1: number of instances to launch like this
  -provider="ec2": cloud or provider to launch instance in
  -size="m1.medium": size of instance
flag: help requested
providerにはgoogleを指定します。sizeはインスタンスタイプ、numにはインスタンス数を指定します。
cloud-config.ymlは任意のパスを指定するか、coreupと同じパスにコピーして下さい。
デフォルトではalpha版の最新版をデプロイします。
例: cloud-config.yml
# cloud-config

coreos:
  etcd:
    discovery: https://discovery.etcd.io/xxxxxxxxxxxxxxxxxxxxx
    addr: $private_ipv4:4001
    peer-addr: $private_ipv4:7001
    bind-addr: 0.0.0.0
  units:
    - command: start
      name: etcd.service
    - command: start
      name: fleet.service
    - command: start
      name: docker.service

users:
  - name: core
    coreos-ssh-import-github: xxxxxx
discovery は各自新しく発行したものを使って下さい。
githubからsshのキーをimportすると楽できます。
では起動してみましょう。
$ ./coreup -provider=google run -size=n1-standard-1 -num=3
先ほど発行したOAuthの情報を入力します。
$ ./coreup -provider=google run -size=n1-standard-1 -num=3
google project id: xxxxxxxx
google client id: xxxxxxxxxxxxxxxxxxxxxxx
google client secret: xxxxxxxxx
そうするとブラウザが立ち上がります。
OAuthの認証画面が出ます。
承認すると指定数分だけCoreOSが立ち上がります。
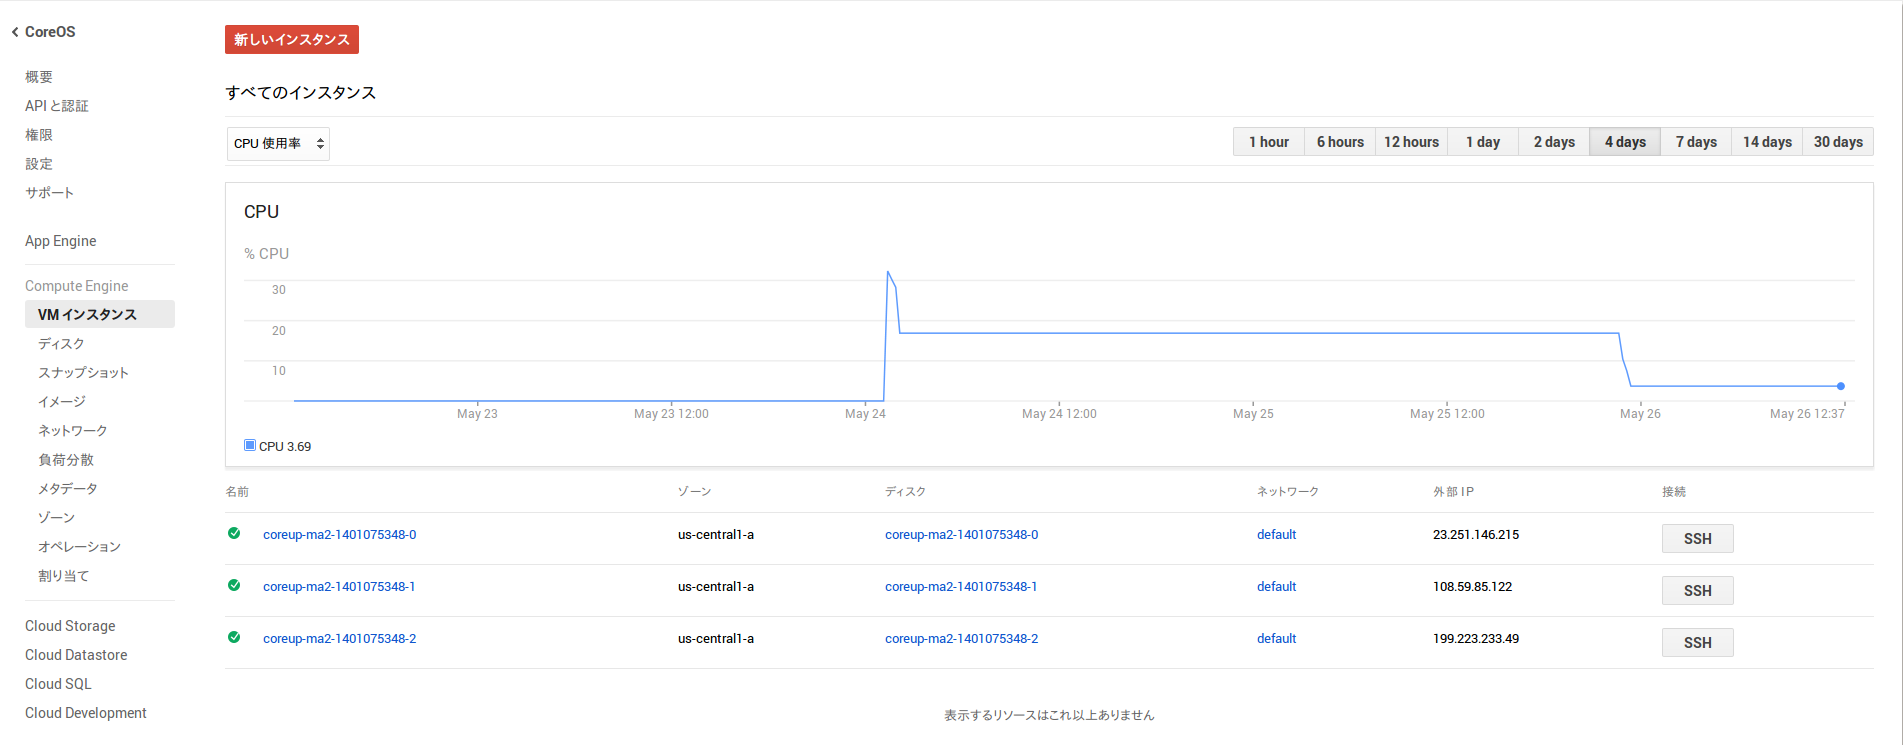
Webのコンソールから確認してみて下さい。
GCEは起動がクソ速いので便利ですね。
認証情報は~/.coreuo/cred-cache.jsonにキャッシュされるため、クライアントIDとクライアント シークレットは再度入力する必要はありません。
まとめ
簡単にCoreOSクラスタを構築するツールを紹介してみました。
正直、gcutilとかもそれなりにシンプルですなので無理に使う必要はないかも知れません。
が、ec2、googleと同じツールで構築できるのは楽ですね。
いろいろ検証する際にはなかなか便利なのではないかと思います。