#はじめに
やりたいこと
・Vagrantにて起動したCentOS上にOracle 11gR2(Single)をインストールする
・DBファイルはファイルシステム前提。そのためGridInfrastructureはインストールしない
・インストール後、リスナーおよびデータベースを作成する
環境
- 仮想化ソフト:VirtualBox 4.3.10
- ゲストOS:CentOS release 6.5
- DB:Oracle Database 11gR2
事前準備
インストールメディアをダウンロード
OTNからダウンロード11gR2のメディアをダウンロードする。
- linux.x64_11gR2_database_1of2.zip
- linux.x64_11gR2_database_2of2.zip
ゲストOSとのファイルの共有
インストールメディアをゲストOS上にみせてあげる必要がある。
「Vagrantfile」が設置されているフォルダがデフォルトで共有フォルダになるため、そのディレクトリに先ほどダウンロードしたファイルを配置する。
$ls

Vagrantfile				linux.x64_11gR2_database_2of2.zip
linux.x64_11gR2_database_1of2.zip

$vagrant ssh

$ls /vagrant/

Vagrantfile                        linux.x64_11gR2_database_2of2.zip
linux.x64_11gR2_database_1of2.zip
#インストールの事前作業
パッケージの追加
yumを使ってパッケージの追加をする。
基本的なパッケージについては、「oracle-rdbms-server-11gR2-preinstall」を使用する。
su - root
cd /etc/yum.repos.d/
wget https://public-yum.oracle.com/public-yum-ol6.repo --no-check-certificate
wget https://public-yum.oracle.com/RPM-GPG-KEY-oracle-ol6 -O /etc/pki/rpm-gpg/RPM-GPG-KEY-oracle --no-check-certificate
yum install oracle-rdbms-server-11gR2-preinstall
参考までにDIFFると以下が更新/新規のパッケージ。
< xorg-x11-xauth-1.0.2-7.1.el6.x86_64
< glibc-headers-2.12-1.132.el6_5.2.x86_64
< gcc-4.4.7-4.el6.x86_64
< oracle-rdbms-server-11gR2-preinstall-1.0-9.el6.x86_64
< gpg-pubkey-ec551f03-4c2d256a
< glibc-common-2.12-1.132.el6_5.2.x86_64
< libICE-1.0.6-1.el6.x86_64
< libXau-1.0.6-4.el6.x86_64
< libstdc++-devel-4.4.7-4.el6.x86_64
< libSM-1.2.1-2.el6.x86_64
< cpp-4.4.7-4.el6.x86_64
< bind-utils-9.8.2-0.23.rc1.el6_5.1.x86_64
< sysstat-9.0.4-22.el6.x86_64
< mailx-12.4-7.el6.x86_64
< bc-1.06.95-1.el6.x86_64
< kernel-uek-firmware-2.6.39-400.215.3.el6uek.noarch
< libX11-common-1.5.0-4.el6.noarch
< libXext-1.3.1-2.el6.x86_64
< libXtst-1.2.1-2.el6.x86_64
< libXxf86misc-1.0.3-4.el6.x86_64
< libXinerama-1.1.2-2.el6.x86_64
< libXv-1.0.7-2.el6.x86_64
< xorg-x11-utils-7.5-6.el6.x86_64
< libXmu-1.1.1-2.el6.x86_64
< kernel-uek-headers-2.6.32-400.36.3.el6uek.x86_64
< glibc-devel-2.12-1.132.el6_5.2.x86_64
< gcc-c++-4.4.7-4.el6.x86_64
< gpg-pubkey-c105b9de-4e0fd3a3
< glibc-2.12-1.132.el6_5.2.x86_64
< libaio-0.3.107-10.el6.x86_64
< libxcb-1.8.1-1.el6.x86_64
< libaio-devel-0.3.107-10.el6.x86_64
< compat-libcap1-1.10-1.x86_64
< bind-libs-9.8.2-0.23.rc1.el6_5.1.x86_64
< compat-libstdc++-33-3.2.3-69.el6.x86_64
< ksh-20120801-10.el6_5.6.x86_64
< smartmontools-5.43-1.el6.x86_64
< ql23xx-firmware-3.03.27-3.1.el6.noarch
< kernel-uek-2.6.39-400.215.3.el6uek.x86_64
< libX11-1.5.0-4.el6.x86_64
< libXi-1.6.1-3.el6.x86_64
< libXxf86vm-1.1.2-2.el6.x86_64
< libXxf86dga-1.1.3-2.el6.x86_64
< libdmx-1.1.2-2.el6.x86_64
< libXrender-0.9.7-2.el6.x86_64
< libXt-1.1.3-1.el6.x86_64
以下は自動では入らないのでyumで個別にインストール。
yum install unixODBC-devel
yum install unixODBC
yum install elfutils-libelf-devel
カーネルパラメータの設定
vi /etc/sysctl.conf


### 以下を追加or変更

kernel.sem = 250 32000 100 128
fs.file-max = 6815744
net.ipv4.ip_local_port_range = 9000 65500
net.core.rmem_default = 262144
net.core.rmem_max = 4194304
net.core.wmem_default = 262144
net.core.wmem_max = 1048576
fs.aio-max-nr = 1048576

sysctl -p
##ユーザの追加
oinstall,dbaグループを追加、oracleユーザを追加する。
groupadd oinstall
groupadd dba
useradd -g oinstall -G dba oracle
passwd oracle
なんだけど、勝手に「oracle-rdbms-server-11gR2-preinstall」で作られるみたいなので、今回は明示的には作成しない。
##各種ファイルの設定
###/etc/security/limits.conf
以下の内容を設定する。
oracle soft nproc 2047
oracle hard nproc 16384
oracle soft nofile 1024
oracle hard nofile 65536
ただし、oracle-rdbms-server-11gR2-preinstallにて勝手に設定されていたので今回は明示的には設定しない。
# oracle-rdbms-server-11gR2-preinstall setting for nofile soft limit is 1024
oracle   soft   nofile    1024

# oracle-rdbms-server-11gR2-preinstall setting for nofile hard limit is 65536
oracle   hard   nofile    65536

# oracle-rdbms-server-11gR2-preinstall setting for nproc soft limit is 16384
# refer orabug15971421 for more info.
oracle   soft   nproc    16384

# oracle-rdbms-server-11gR2-preinstall setting for nproc hard limit is 16384
oracle   hard   nproc    16384

# oracle-rdbms-server-11gR2-preinstall setting for stack soft limit is 10240KB
oracle   soft   stack    10240

# oracle-rdbms-server-11gR2-preinstall setting for stack hard limit is 32768KB
oracle   hard   stack    32768
###/etc/pam.d/login
以下を追加する。
session required pam_limits.so
###/etc/profile
以下を末尾に追加する。
if [ $USER = "oracle" ]; then
    if [ $SHELL = "/bin/ksh" ]; then
        ulimit -p 16384
        ulimit -n 65536
    else
        ulimit -u 16384 -n 65536
    fi
    umask 022
fi
##Oracleのインストール
###メディアを展開
cd /vagrant
chown oracle:oinstall linux.x64_11gR2_database_*
mkdir -p /u01/app
chown oracle:oinstall /u01/app
mv /vagrant/linux.x64_11gR2_database_* /u01/app

su - oracle
cd /u01/app
unzip linux.x64_11gR2_database_1of2.zip
unzip linux.x64_11gR2_database_2of2.zip
###OUIの起動
GUIが起動できる状態でOUIを起動する。
今回はGNOMEを立ち上げて、そこからGUIを起動した。
cd /u01/app/database
./runInstaller
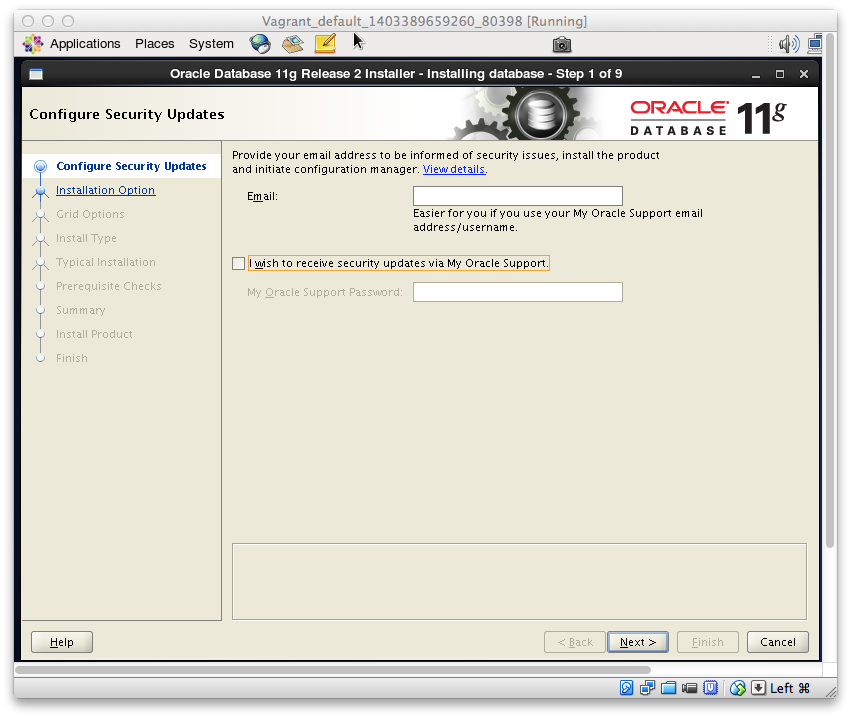
- チェックボックス外す
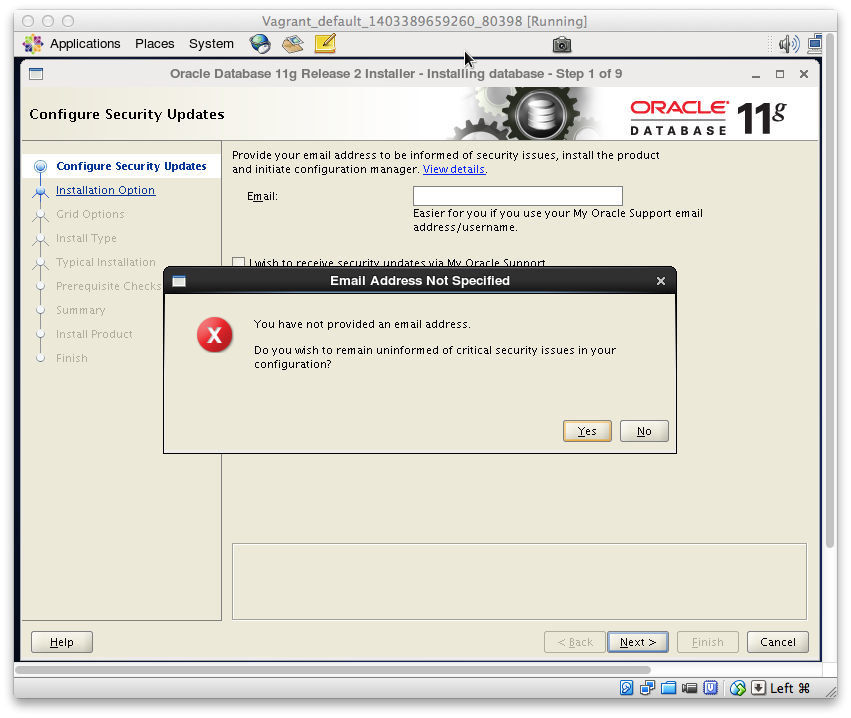
- 警告のポップは気にせずYES
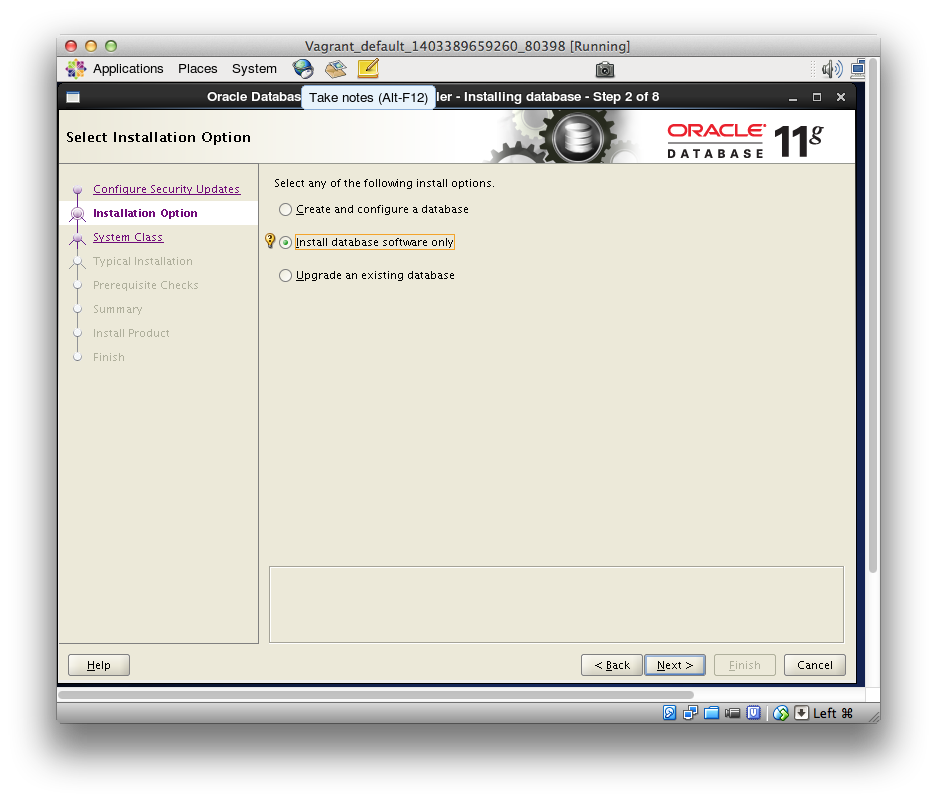
- ソフトウェアのみをインストール
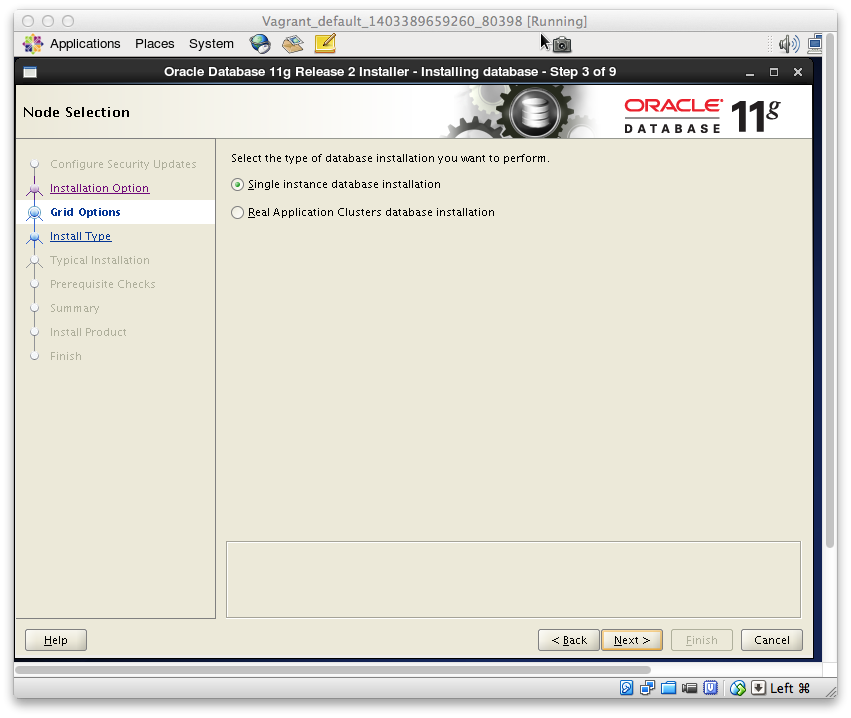
- シングルインスタンス構成でインストール
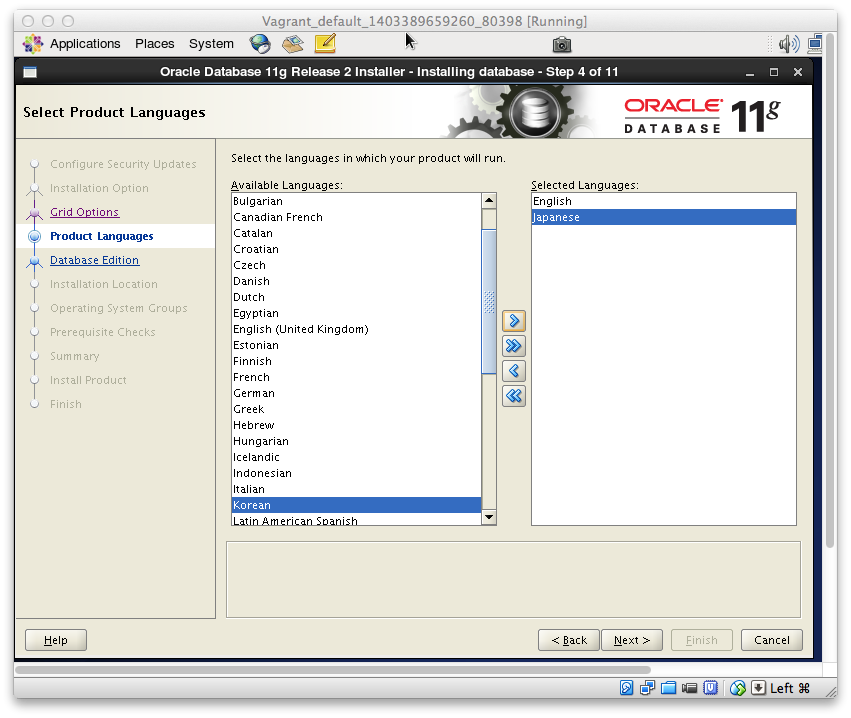
- Japaneseも追加
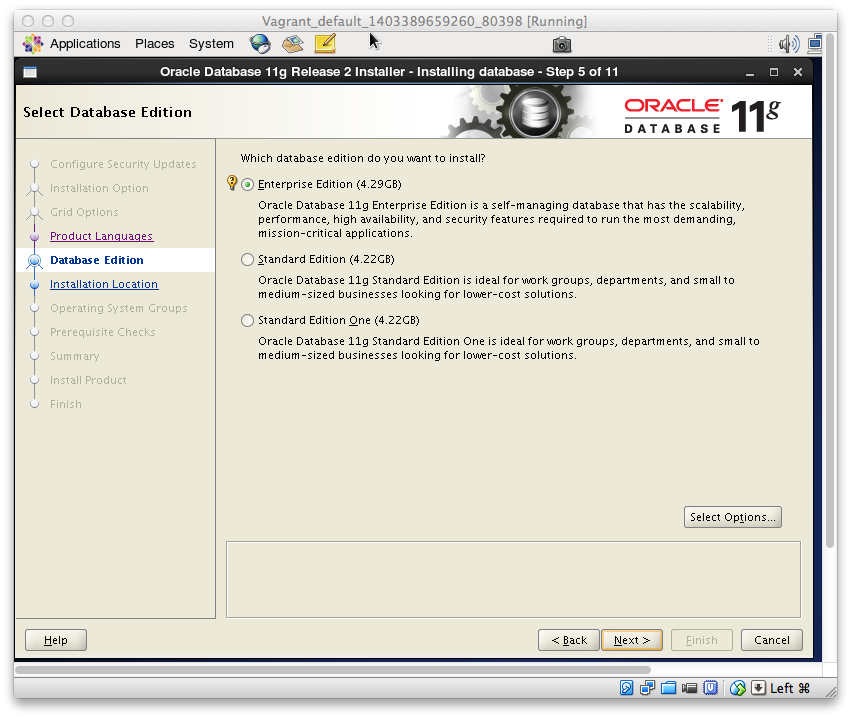
*EnterpriseEditionを選択
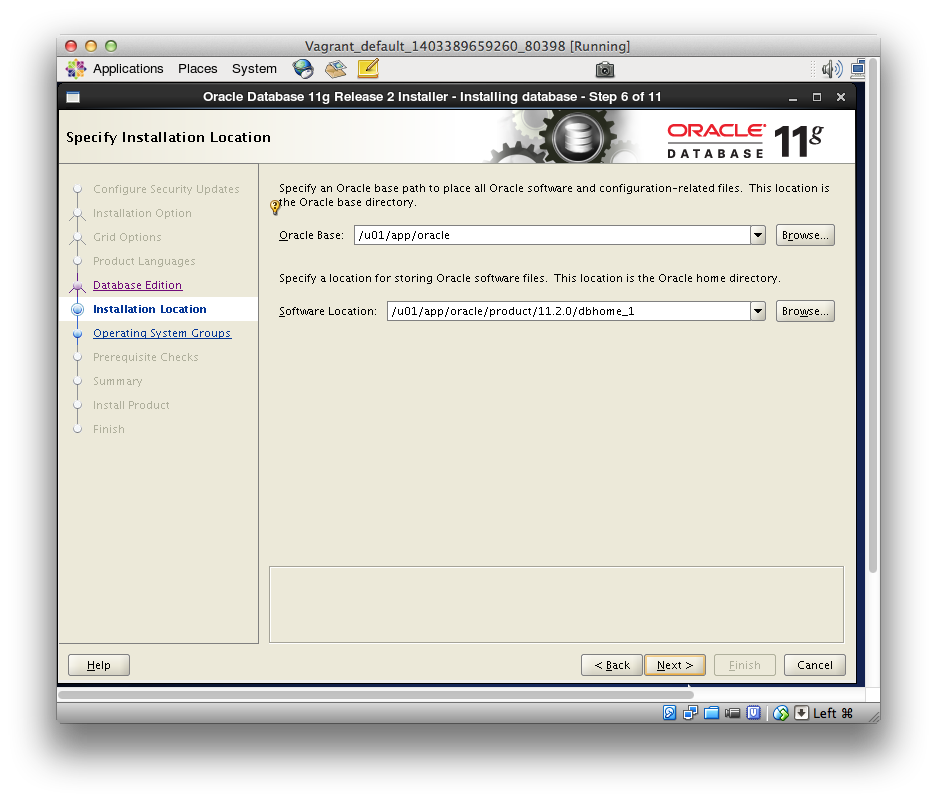
- ORACLE_BASE ORACLE_HOMEの確認
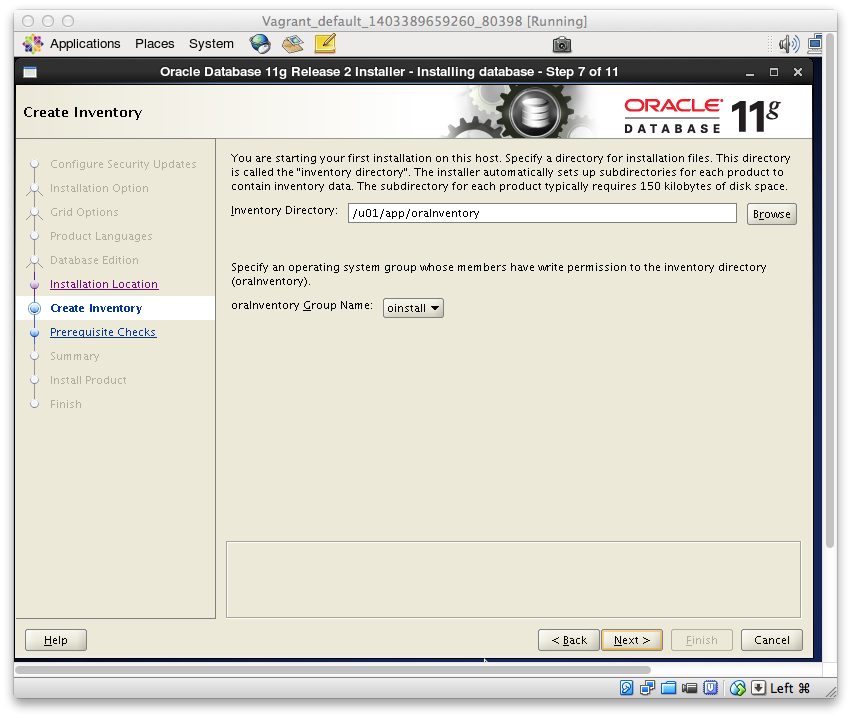
- Inventoryの場所などを確認
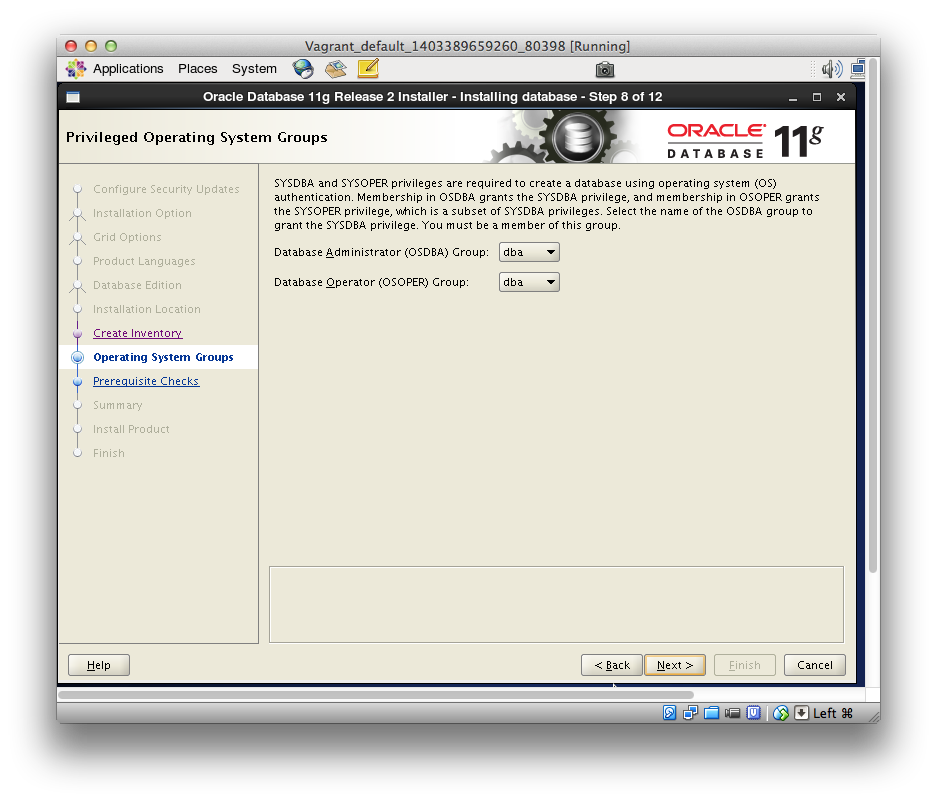
- Oracle関連の権限の設定、今回はそのまま
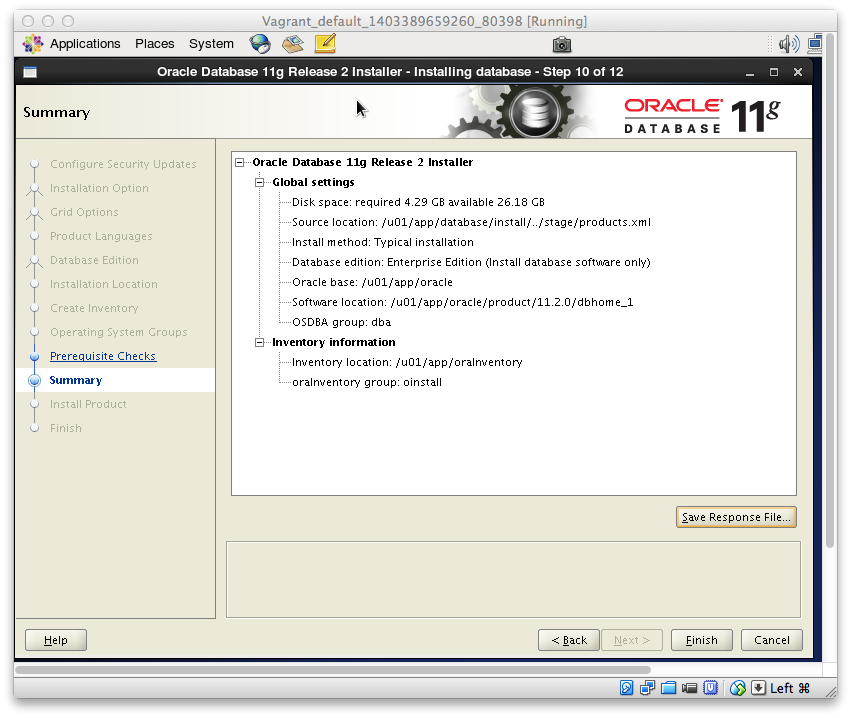
*確認画面、Finishを押す
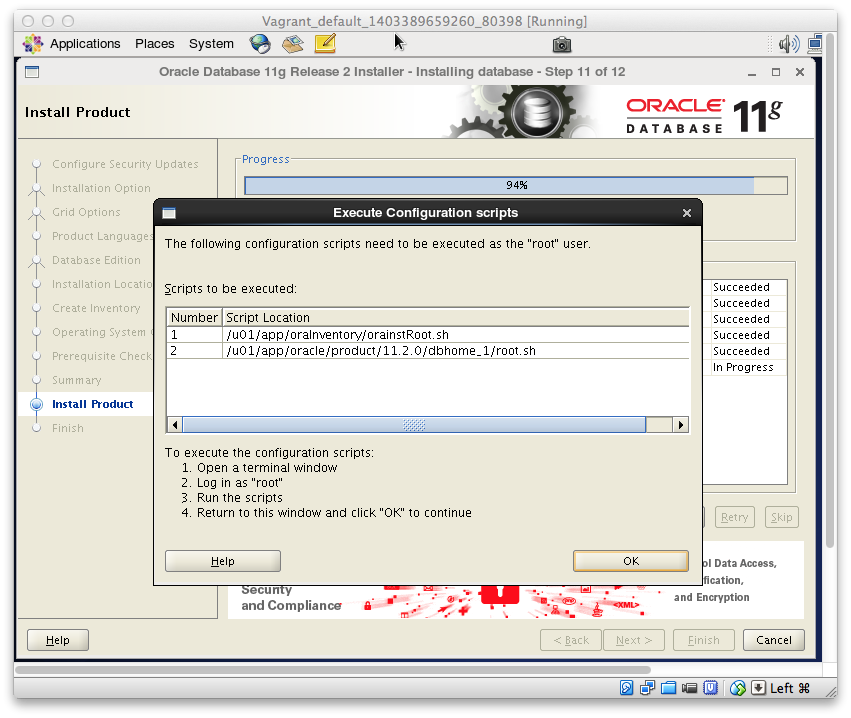
*ポップに従って、ターミナルでrootユーザでスクリプトを実行
$ su - root
Password:

# /u01/app/oraInventory/orainstRoot.sh
Changing permissions of /u01/app/oraInventory.
Adding read,write permissions for group.
Removing read,write,execute permissions for world.

Changing groupname of /u01/app/oraInventory to oinstall.
The execution of the script is complete.

# /u01/app/oracle/product/11.2.0/dbhome_1/root.sh
Running Oracle 11g root.sh script...

The following environment variables are set as:
    ORACLE_OWNER= oracle
    ORACLE_HOME=  /u01/app/oracle/product/11.2.0/dbhome_1

Enter the full pathname of the local bin directory: [/usr/local/bin]:
   Copying dbhome to /usr/local/bin ...

   Copying oraenv to /usr/local/bin ...
   Copying coraenv to /usr/local/bin ...


Creating /etc/oratab file...
Entries will be added to the /etc/oratab file as needed by
Database Configuration Assistant when a database is created
Finished running generic part of root.sh script.
Now product-specific root actions will be performed.
Finished product-specific root actions.
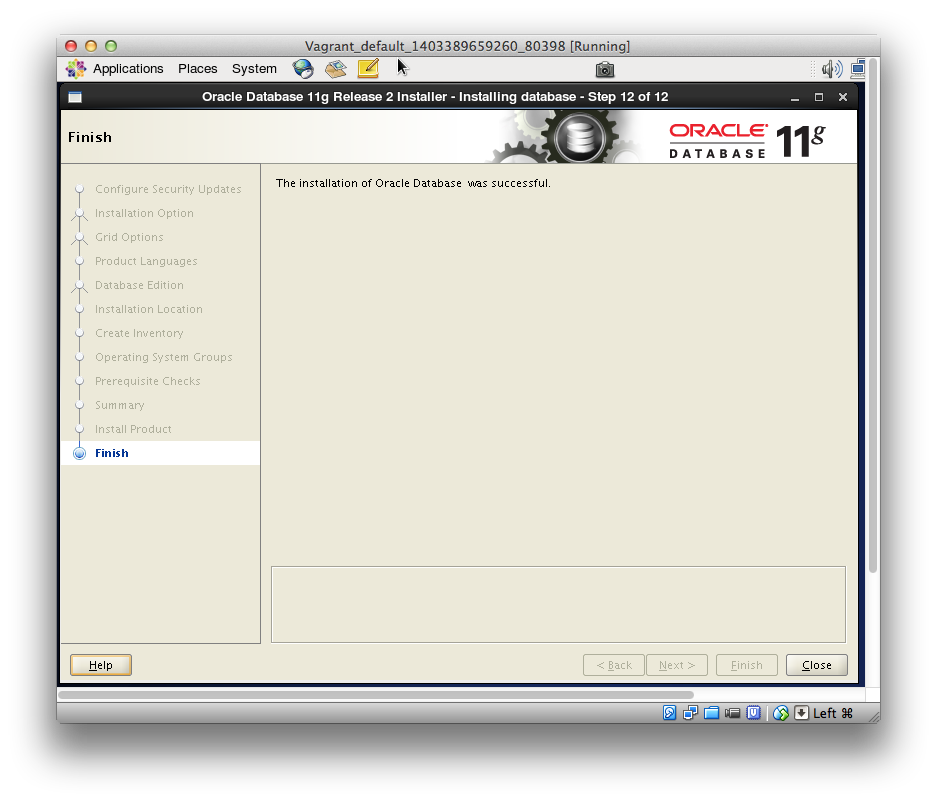
- インストール完了
####ちょっとはまった点
インストールの途中で処理が74%くらいで止まってしまった。
エラーログをみると以下のメッセージがあって、名前解決ができてないためと推測。
ホスト名の解決をできるよう、/etc/hostsにホスト名を追加。
Caught UnknownHostException: <ホスト名>
###インストール事後作業
oracleユーザの環境変数を設定する。
vi .bash_profile


###以下を追加

export ORACLE_BASE=/u01/app/oracle
export ORACLE_HOME=$ORACLE_BASE/product/11.2.0/dbhome_1
export PATH=$PATH:$ORACLE_HOME/bin
##リスナー作成
任意のリスナーを作成する。
EMをDBCAの中で構成する場合は、データベース作成の前にリスナーを作成する必要がある。
. .bash_profile
netca
##データベース作成
任意のデータベースを作成する。
dbca
DBできたらORACLE_SID環境変数を設定する。
vi .bash_profile


###以下を追加
export ORACLE_SID=orcl112
参考
Vagrant入門 – Vagrant の共有フォルダ機能 (Synced Folder)
http://weblabo.oscasierra.net/vagrant-synced-folder/
How I Simplified Oracle Database 12c and 11g Installations on Oracle Linux 6
http://www.oracle.com/technetwork/articles/servers-storage-admin/ginnydbinstallonlinux-488779.html
Oracle Database 11g Release 2 Installation on RHEL/CentOS 6.x/5.x/4.x
http://www.tecmint.com/oracle-database-11g-release-2-installation-in-linux/
Oracle Database 11g Release 2 (11.2.0.3.0) RAC On Oracle Linux 6.3 Using VirtualBox
http://www.oracle-base.com/articles/11g/oracle-db-11gr2-rac-installation-on-oracle-linux-6-using-virtualbox.php
