今までSpriteKitで開発していましたが、Androidでもアプリをリリースしてみたく、Cocos2d-xを触ってみます。
リファレンスなど
環境構築
Windows
Mac
Cocos2d-xプロジェクトの生成
Cocos2d-xのプロジェクトを作成するルートフォルダへ移動し、cocosコマンドからプロジェクトを生成します。
$ cd /cocos2d/
$ cocos new MyGame -p com.mycompany.mygame -l cpp
HelloWorld
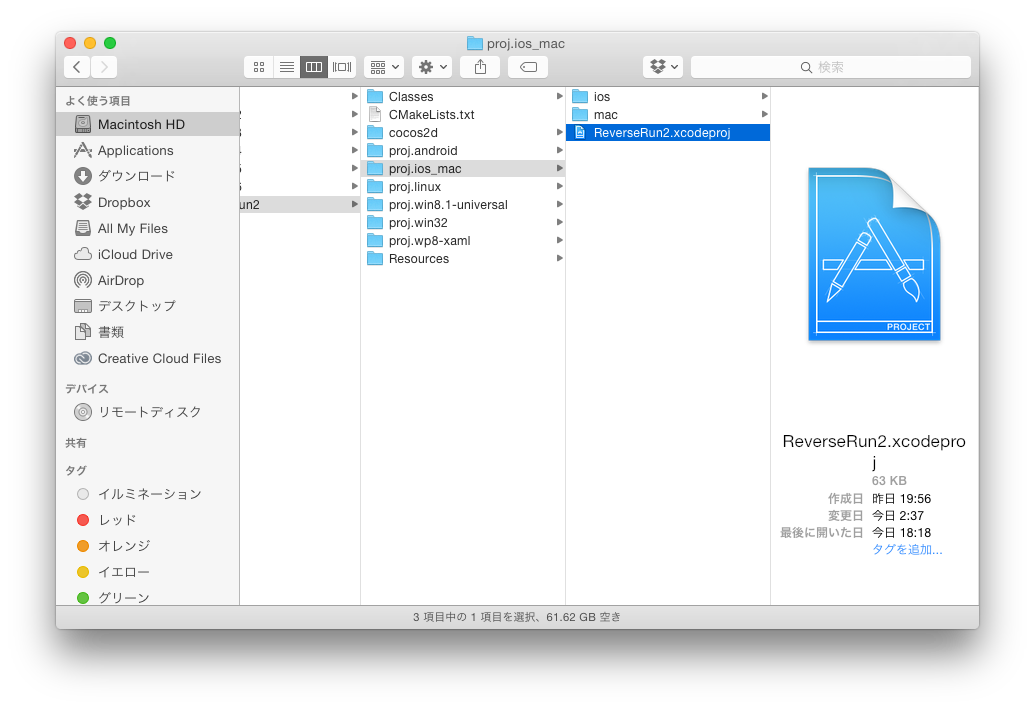
上記で作成したプロジェクトの中に、iOS用のプロジェクトが含まれているので、起動し、動作することを確認します。

シーンの仕組み
Cocos2d-xでは、タイトルシーンやゲームシーンなど、各シーンごとに画面(シーン)を用意し、その上にレイヤーを配置してスプライト(オブジェクト)を配置していきます。
HelloWorldプロジェクトには以下のようなコードが記述されており、クラスメソッドのcreate()を使用してオブジェクトを生成します。
このcreateメソッドを使用することで、autoreleaseされた状態でオブジェクトが生成されるようです。
Scene* HelloWorld::createScene()
{
    // 'scene' is an autorelease object
    auto scene = Scene::create();

    // 'layer' is an autorelease object
    auto layer = HelloWorld::create();

    // add layer as a child to scene
    scene->addChild(layer);

    // return the scene
    return scene;
}
ワンポイント
- USING_NS_CC;
namespaceとしてcocos2dを使うことを宣言するマクロで、以後"cocos2d::"を省略可能で、"using namespace cocos2d"と同等の意味を持つようです。
#include "HelloWorldScene.h"

// create a scene. it's an autorelease object
auto scene = HelloWorld::createScene();
背景と文字の表示
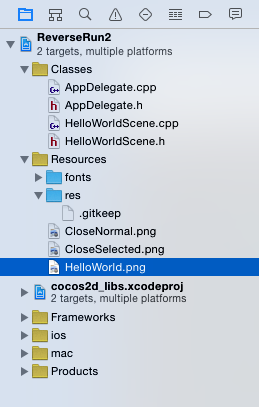
HelloWorldプロジェクトでは、下記Resourcesフォルダに資源が格納されています。
// add "HelloWorld" splash screen"
auto sprite = Sprite::create("HelloWorld.png");

// position the sprite on the center of the screen
sprite->setPosition(Vec2(visibleSize.width/2 + origin.x, visibleSize.height/2 + origin.y));

// add the sprite as a child to this layer
this->addChild(sprite, 0);
Resources直下に配置されたHelloWorld.pngが参照されていることがわかります。ここでは、Vec2クラスを使用して背景画像の座標を設定しています。デフォルトでアンカーポイント(スプライトの中心座標)が(0.5,0.5)に設定されているため、画面サイズの半分の位置にくるよう設定されています。また、作成した背景画像を表示するため、this(HelloWorldシーン)にaddChildしています。
同様に下記コードにて、ラベルが追加されていることがわかります。
auto label = Label::createWithTTF("Hello World", "fonts/Marker Felt.ttf", 24);

// position the label on the center of the screen
label->setPosition(Vec2(origin.x + visibleSize.width/2,
                        origin.y + visibleSize.height - label->getContentSize().height));

// add the label as a child to this layer
this->addChild(label, 1);
ざっくりですが、HelloWorldの解析は終わりにします。
次回は、アニメーションさせたり、タッチイベントを取得したりして、アプリケーションを作ってみたいと思います。