Androidを開発しているとJava6的な冗長というかめんどくさいというか、融通がきかないというかで、いらいらしてしまいます。Kotlinがいいよ!という噂を聞いたので試してみました。(あんまり色々試せなかったのでアップデートできたらいいな・・)
環境
試した環境は以下のとおりです
- OSX Yosemite(10.10.5)
- Android Studio 1.5
- Android SDK 24.4.1
- JDK 1.8
Android StudioにKotlinプラグインのインストール
まずはAndroid StudioにKotlinプラグインをインストールし、Kotlinの開発環境を整えます
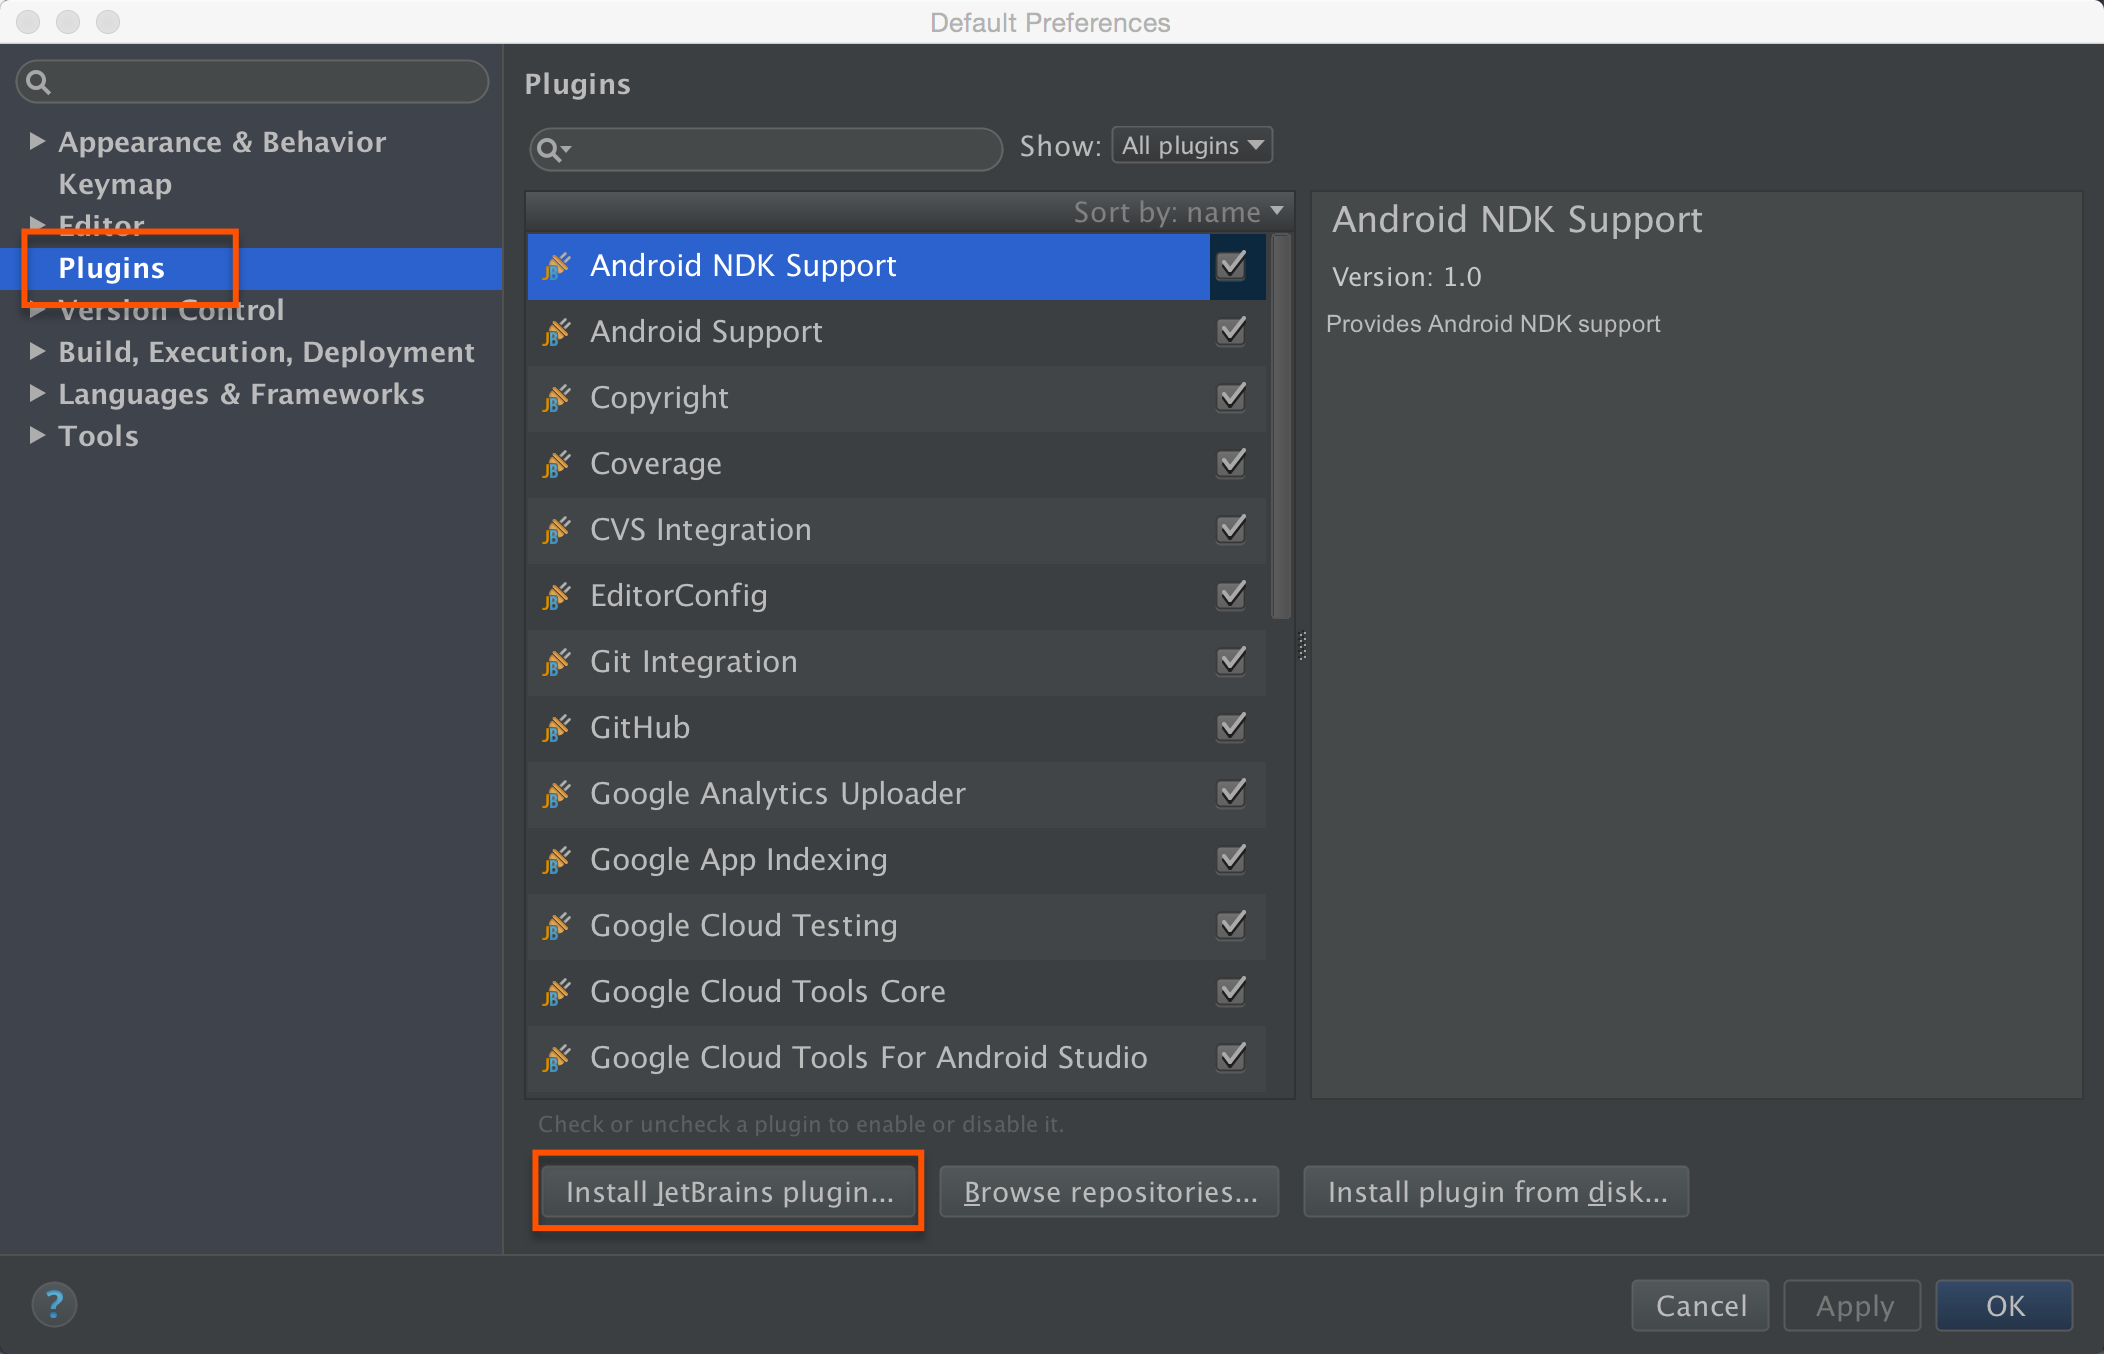
- [Preference]から[Plugins]を選択し、「Install JetBrain plugin...」をクリックします
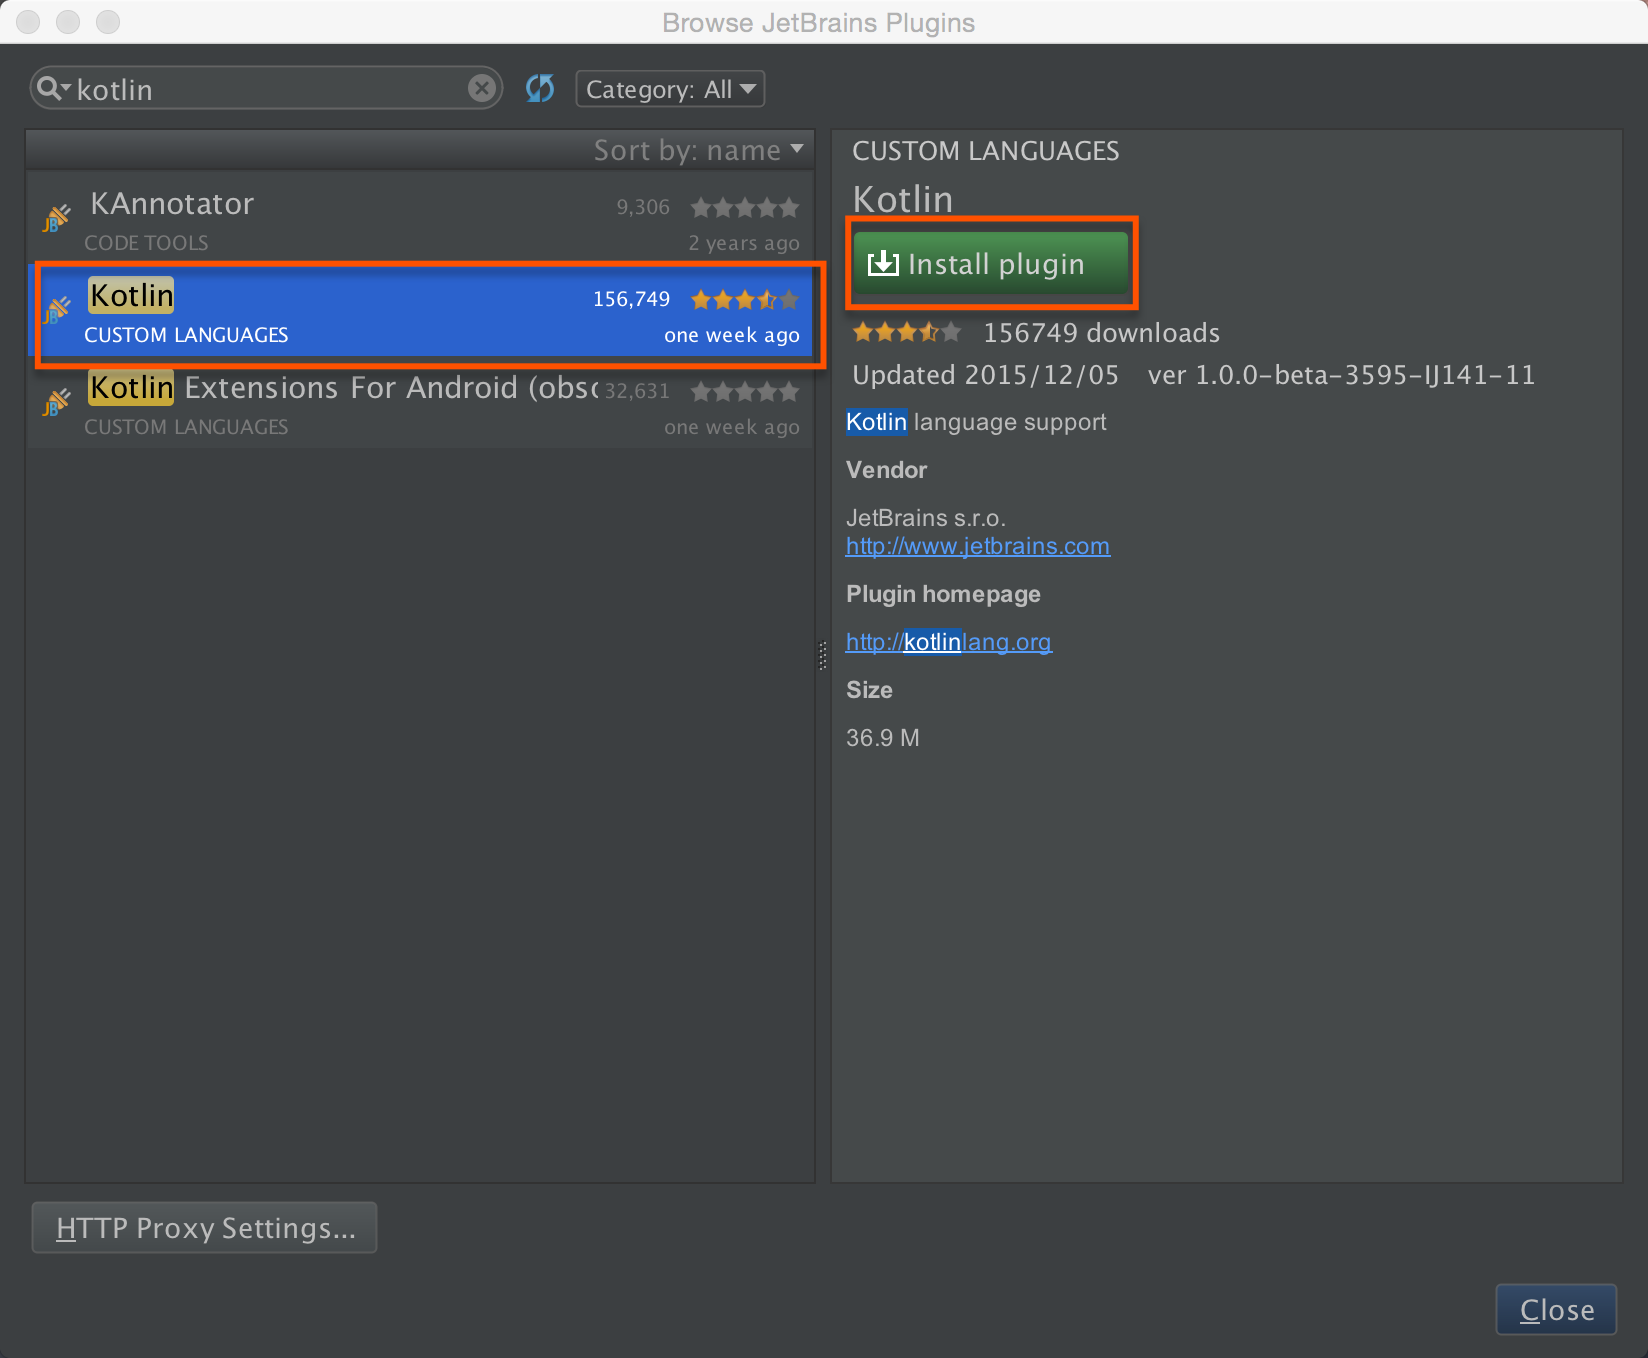
- 「Browse JetBrains Plugins」画面で"kotlin"を検索すると、"Kotlin"プラグインが表示されます。「Install plugin」ボタンをクリックしてプラグインをインストールします
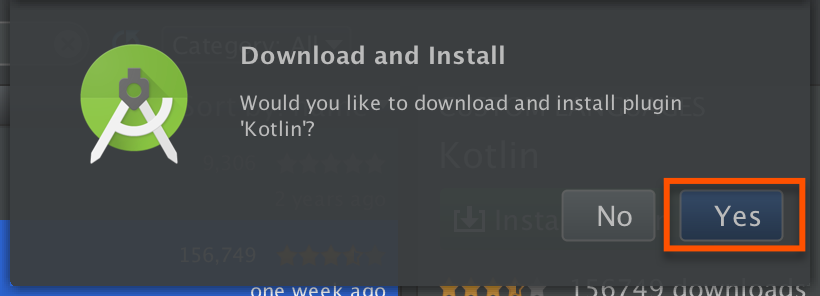
- ダウンロードとインストールの確認ダイアログが表示されるので、「Yes」ボタンをクリックします
- ダウンロードが開始されます

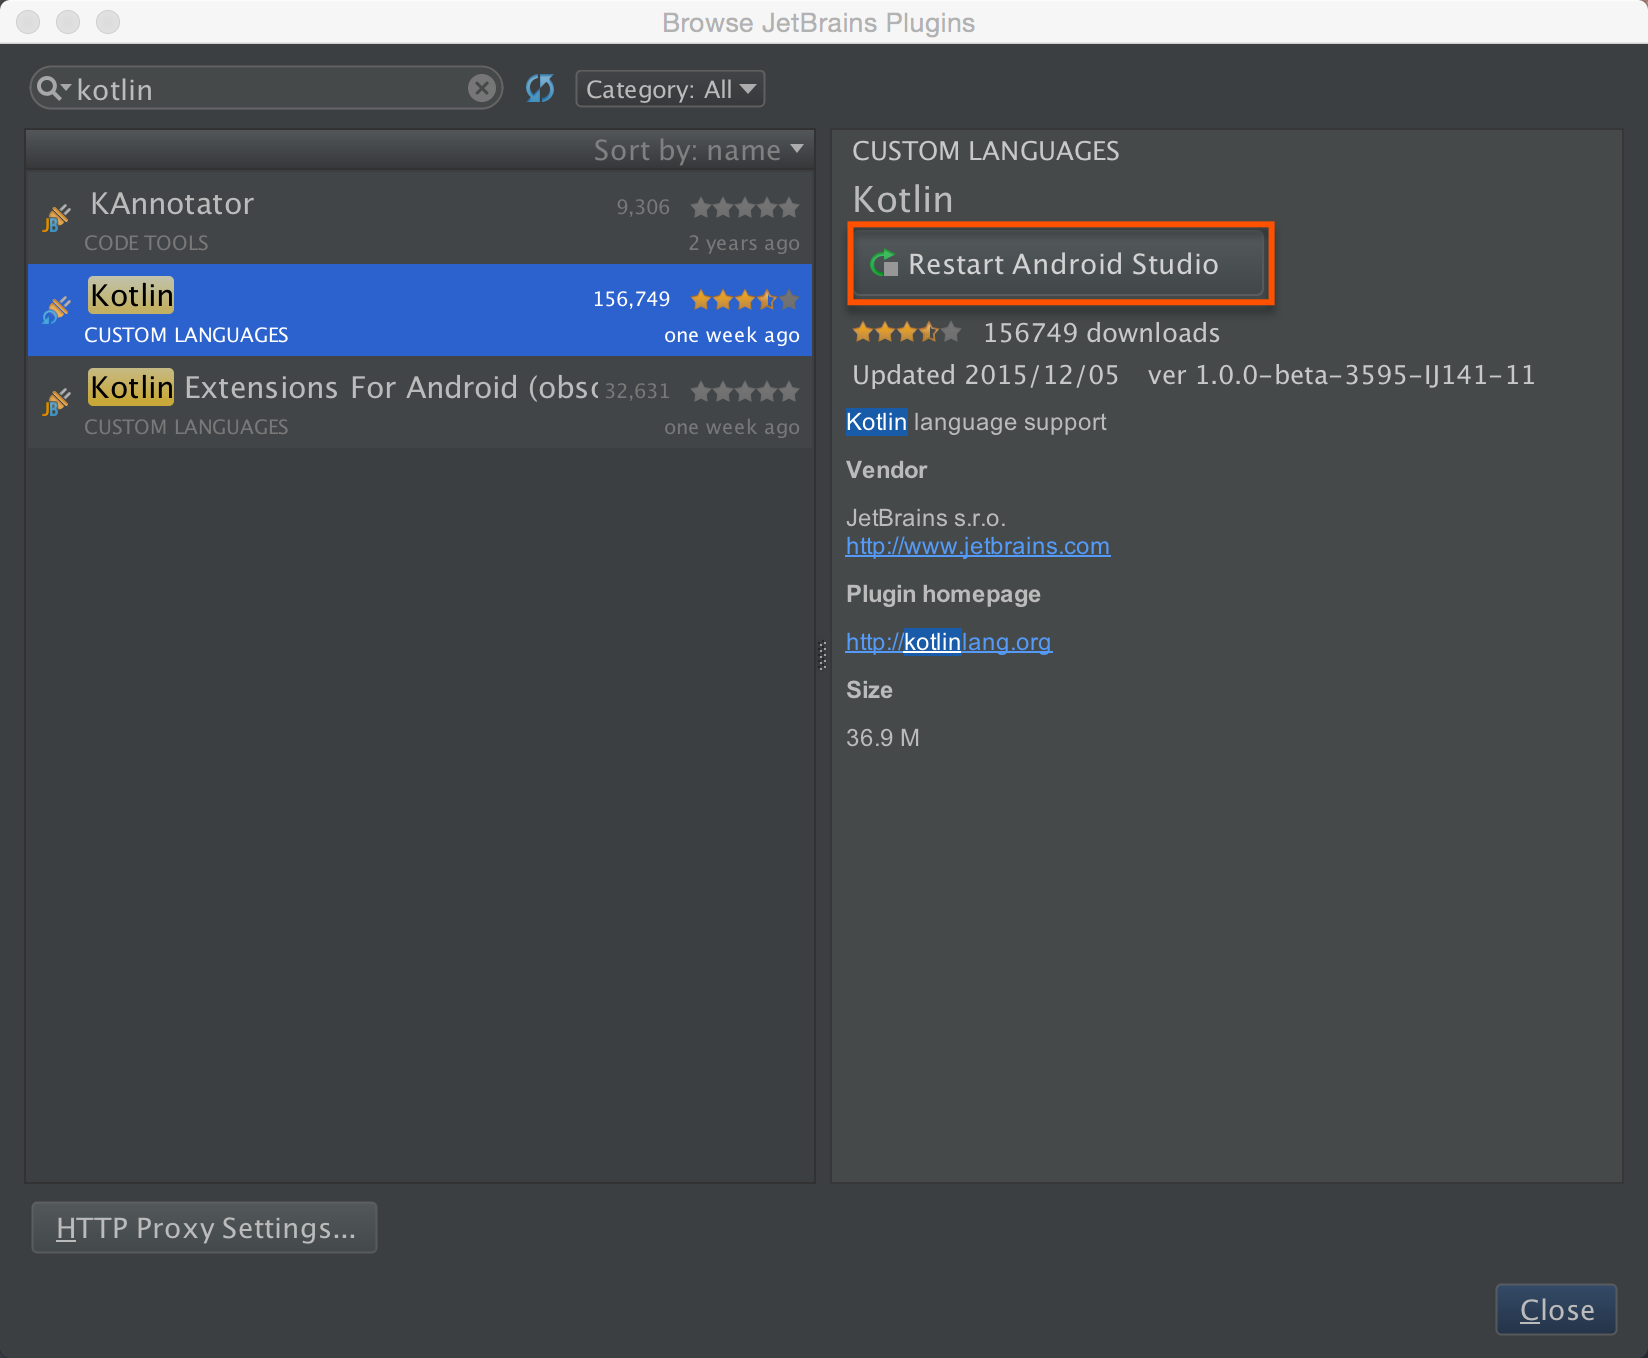
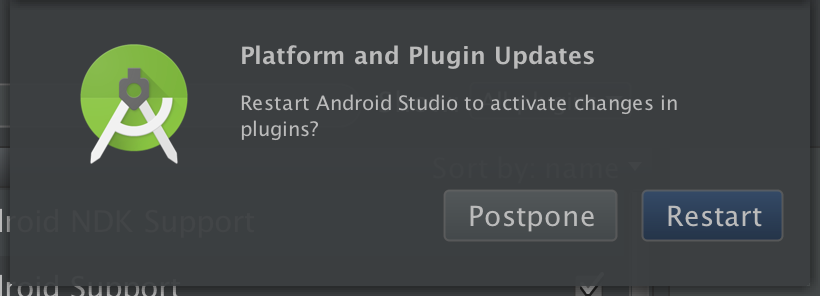
- ダウンロードが完了するとダイアログが閉じるので、「Restart Android Studio」ボタンをクリックしてAndroid Studioを再起動します
- 再起動の確認ダイアログが表示されるので、「Restart」ボタンをクリックしてAndroid Stusioを再起動します
サンプルプロジェクト作成
サンプルプロジェクトを作成します。通常のAndroidアプリ作成と同じ手順で作成し、Kotlinファイルに変換します。
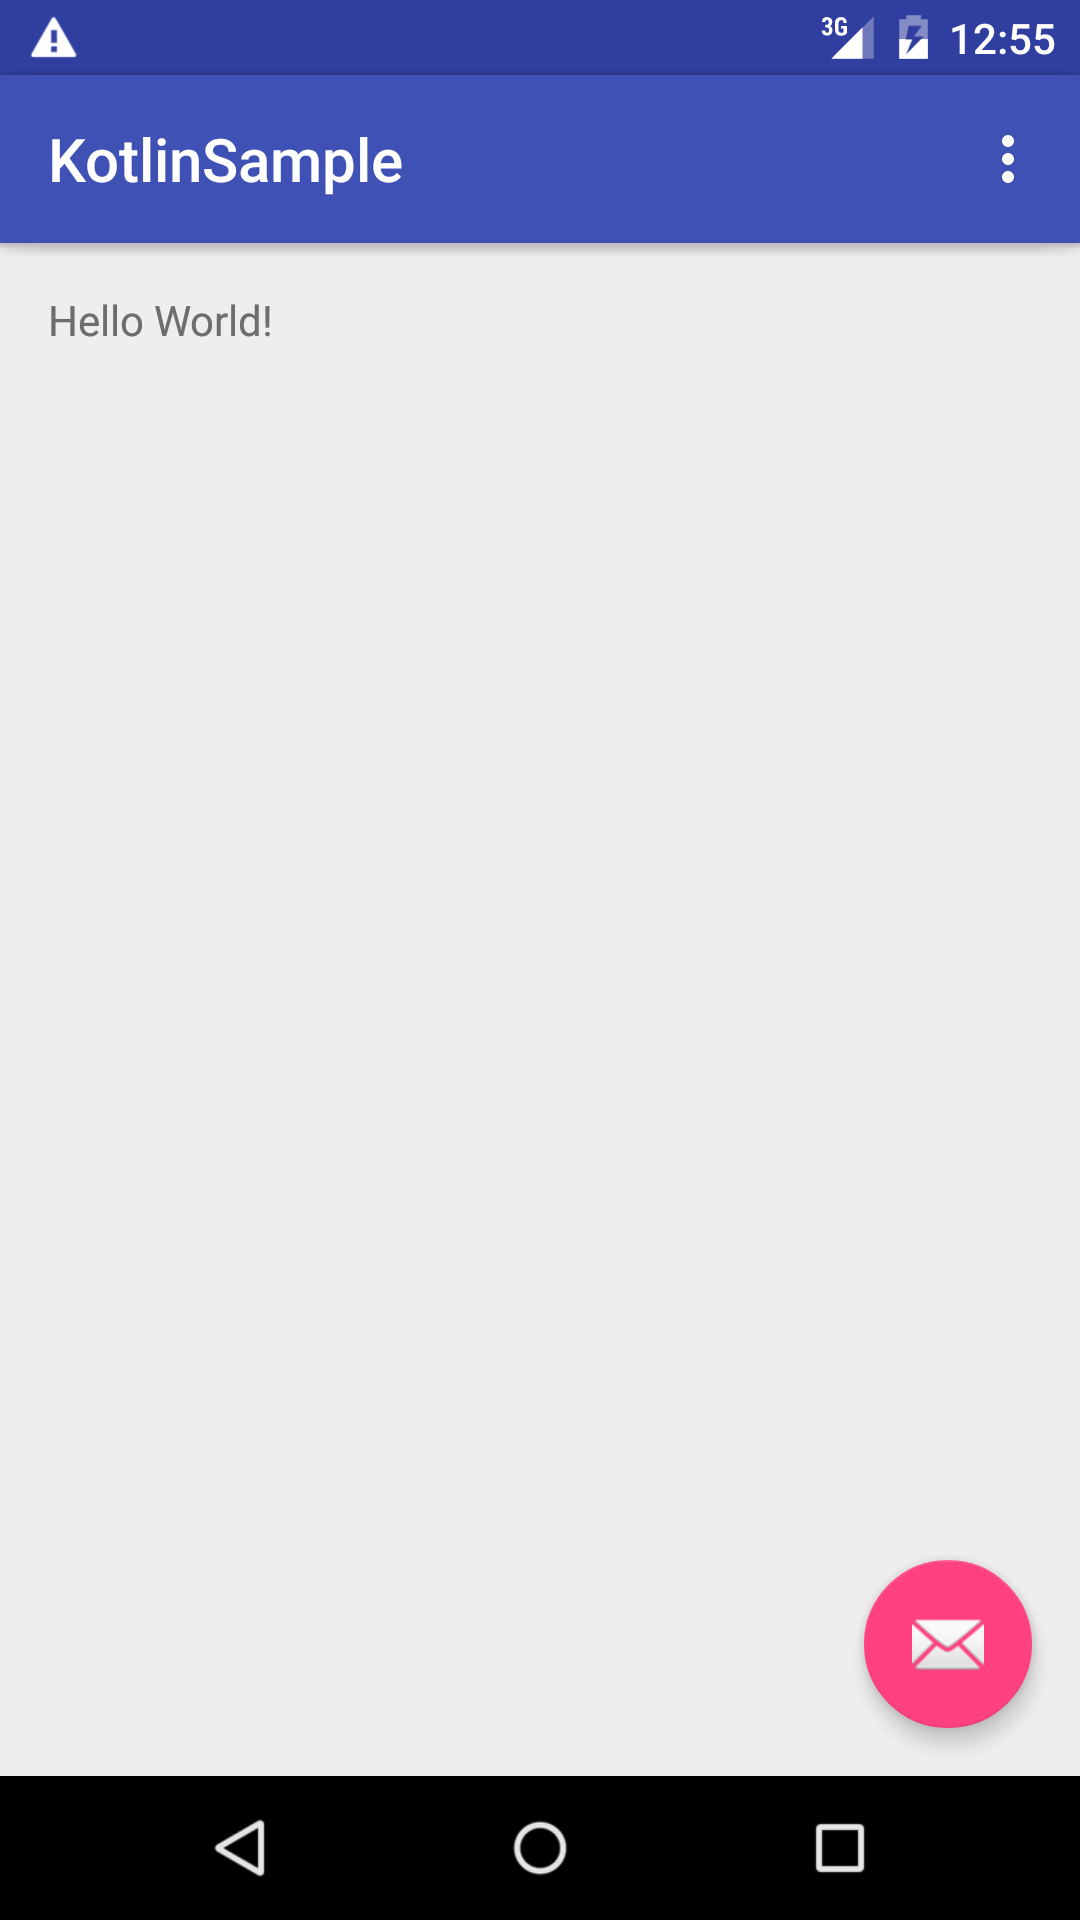
- Start a new Android Studio projectから、"BlankActivity"を作成します
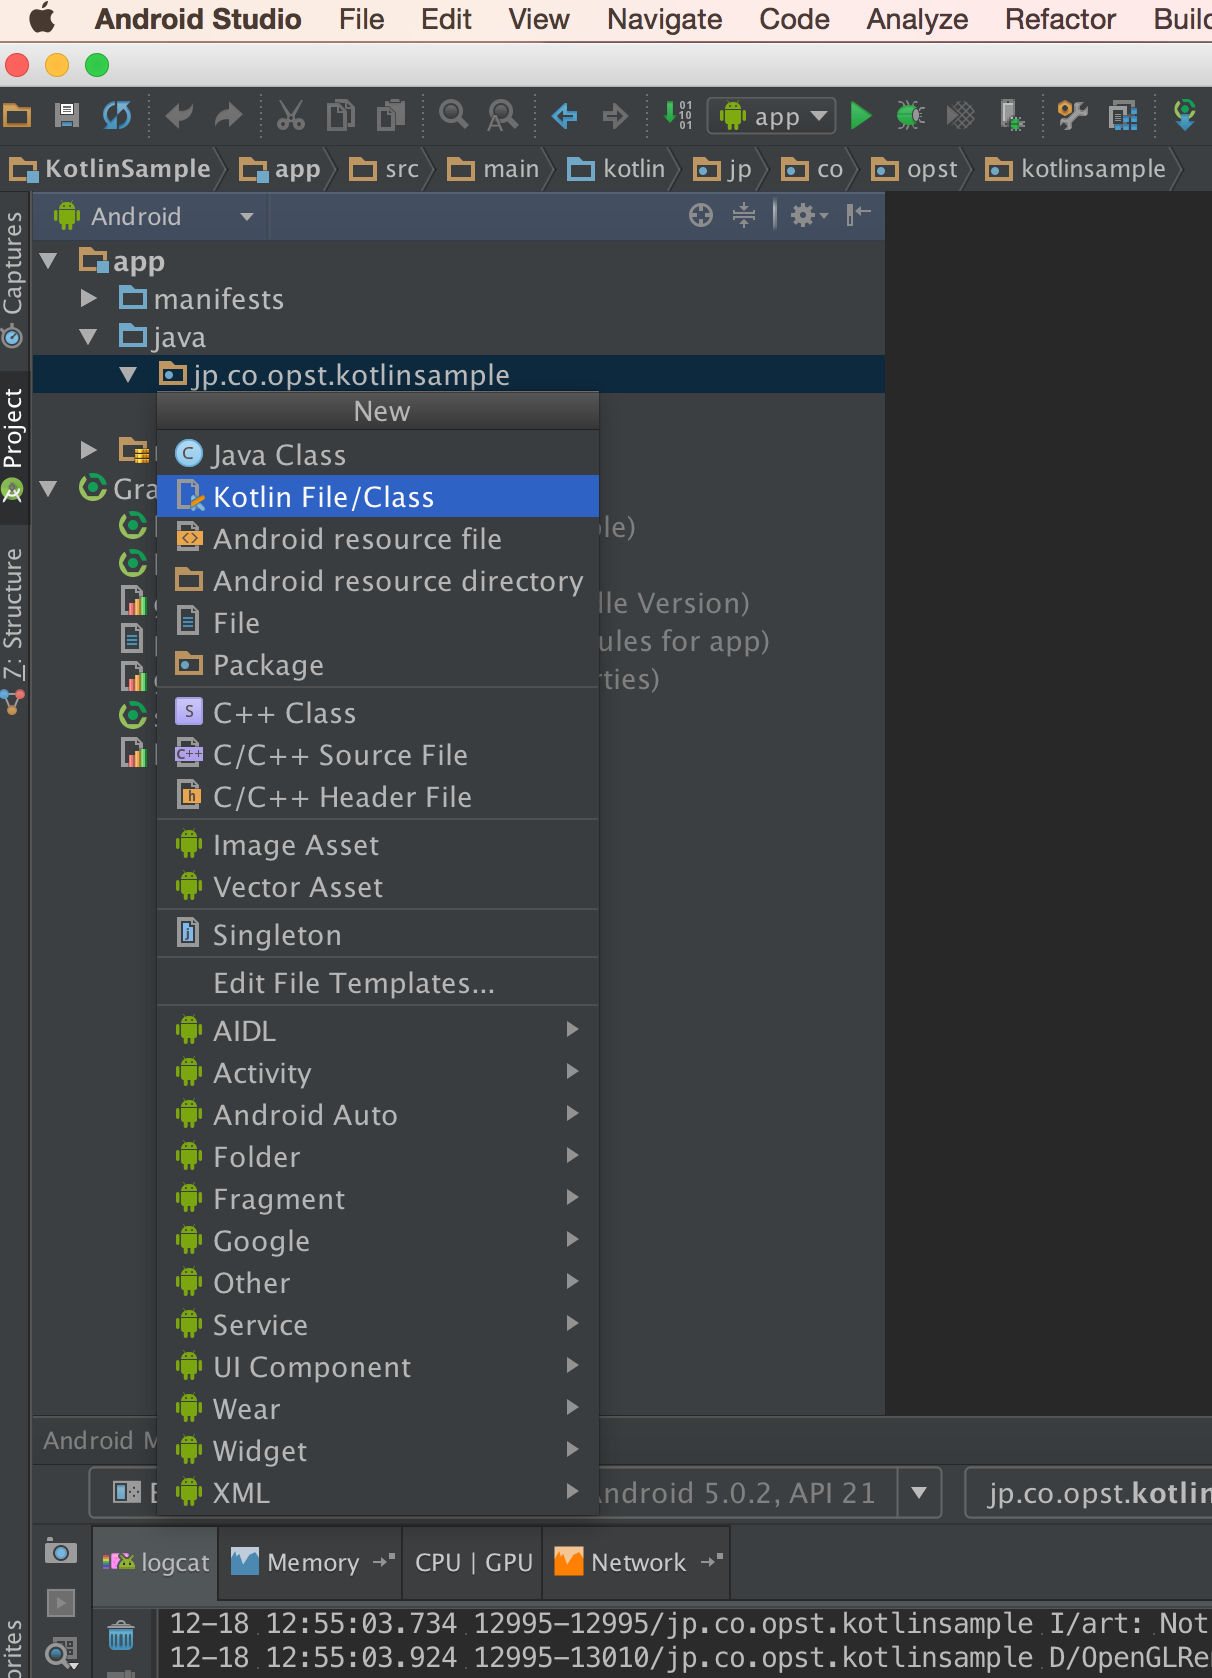
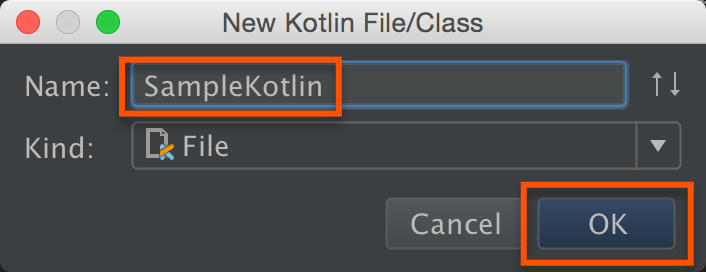
- [Code]-[Convert Java File to kotlin File]を選択すると、JavaがKotlinに変換されます。
変換されたコードは以下のようになります
class MainActivity : AppCompatActivity() {

    override fun onCreate(savedInstanceState: Bundle?) {
        super.onCreate(savedInstanceState)
        setContentView(R.layout.activity_main)
        val toolbar = findViewById(R.id.toolbar) as Toolbar
        setSupportActionBar(toolbar)

        val fab = findViewById(R.id.fab) as FloatingActionButton
        fab.setOnClickListener { view -> Snackbar.make(view, "Replace with your own action", Snackbar.LENGTH_LONG).setAction("Action", null).show() }
    }

    override fun onCreateOptionsMenu(menu: Menu): Boolean {
        // Inflate the menu; this adds items to the action bar if it is present.
        menuInflater.inflate(R.menu.menu_main, menu)
        return true
    }

    override fun onOptionsItemSelected(item: MenuItem): Boolean {
        // Handle action bar item clicks here. The action bar will
        // automatically handle clicks on the Home/Up button, so long
        // as you specify a parent activity in AndroidManifest.xml.
        val id = item.itemId

        //noinspection SimplifiableIfStatement
        if (id == R.id.action_settings) {
            return true
        }

        return super.onOptionsItemSelected(item)
    }
}
環境をKotlinに
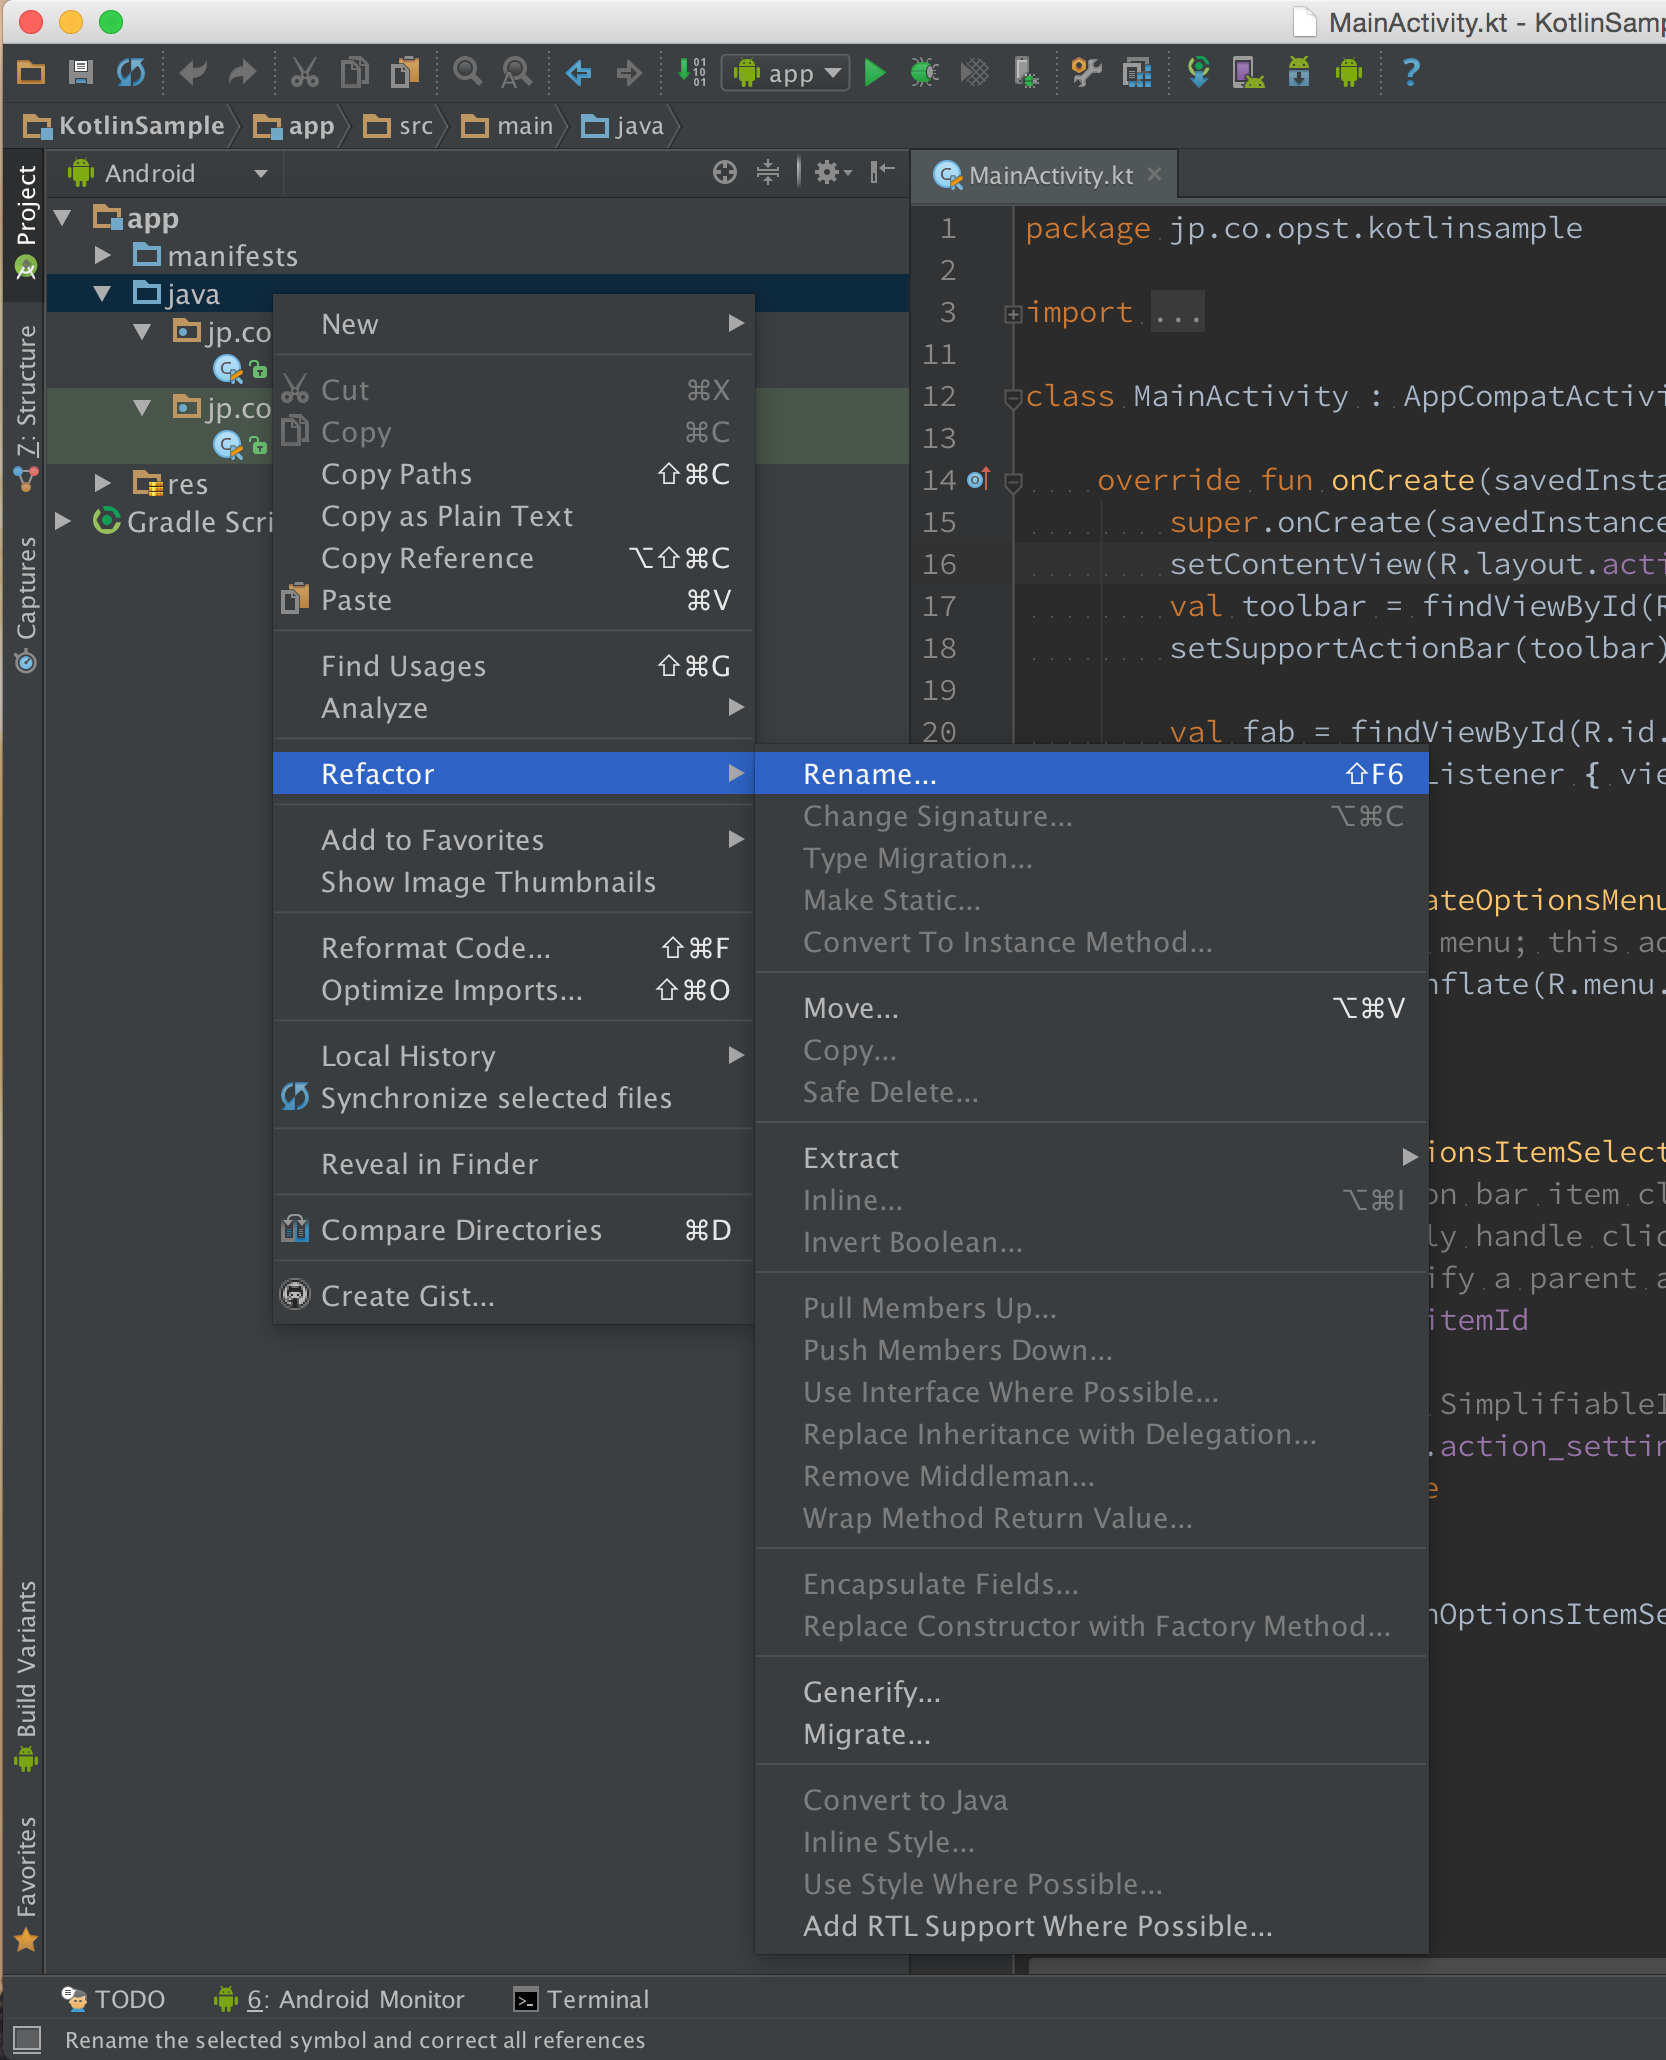
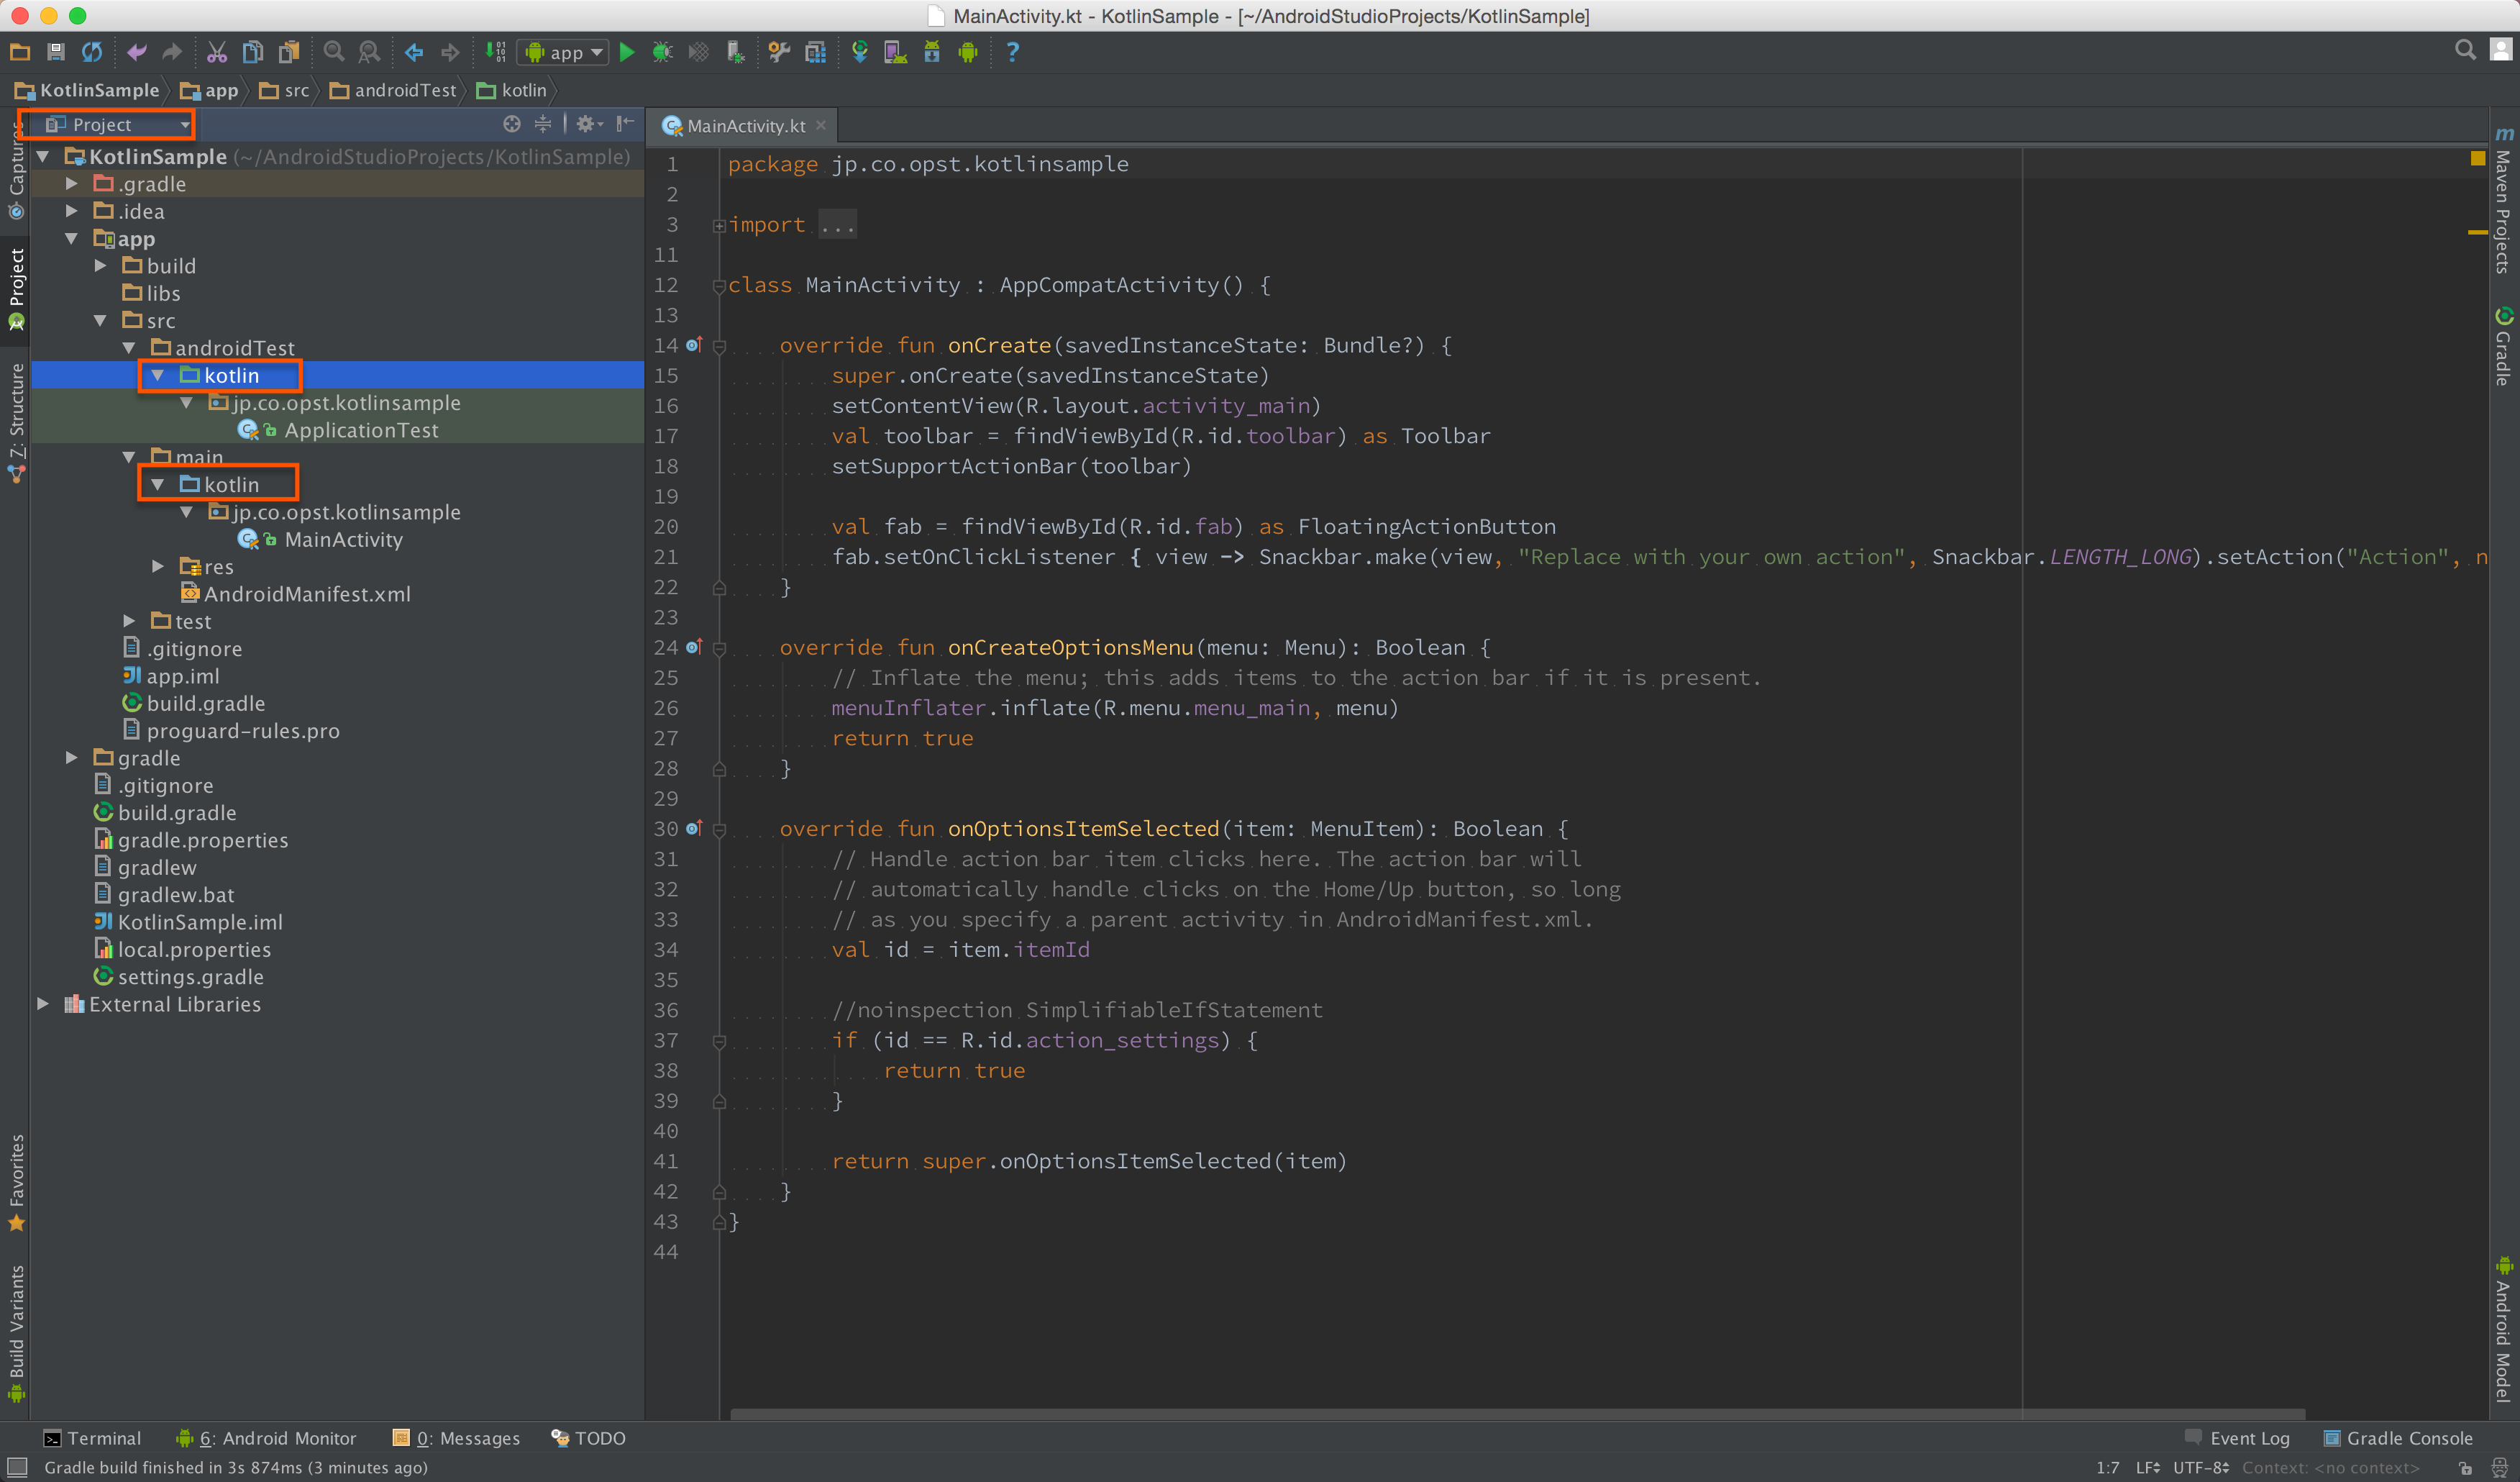
- ソースコードを配置するディレクトリ名を"java"から"kotlin"に変更します。"java"ディレクトリを選択し、右クリックから[Refactor]-[Rename...]を選択します(Testコードのパッケージもリネームします)
- Projectを見ると、以下の様な構成になっています
- [Tool]-[Kotlin]-[Configure Kotlin Project]を選択し、プロジェクトの構成をKotlinにあわせます

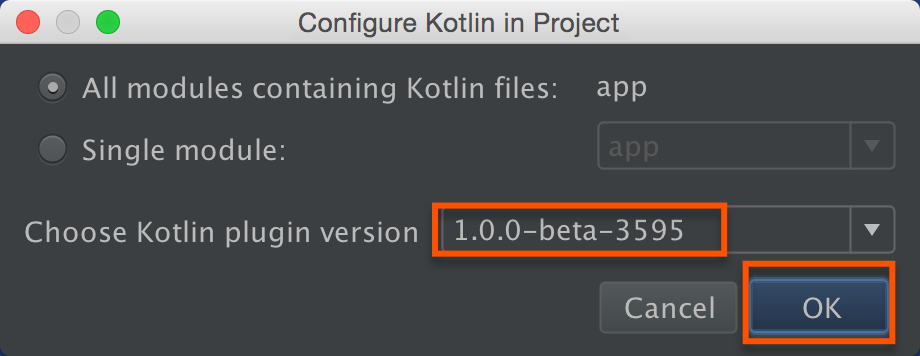
- 確認ダイアログが表示されます。バージョンはデフォルトのまま「OK」ボタンをクリックします
- build.gradleが変更されます。同期するようメッセージが表示されるの、"Sync Now"のリンクをクリックして変更を同期します
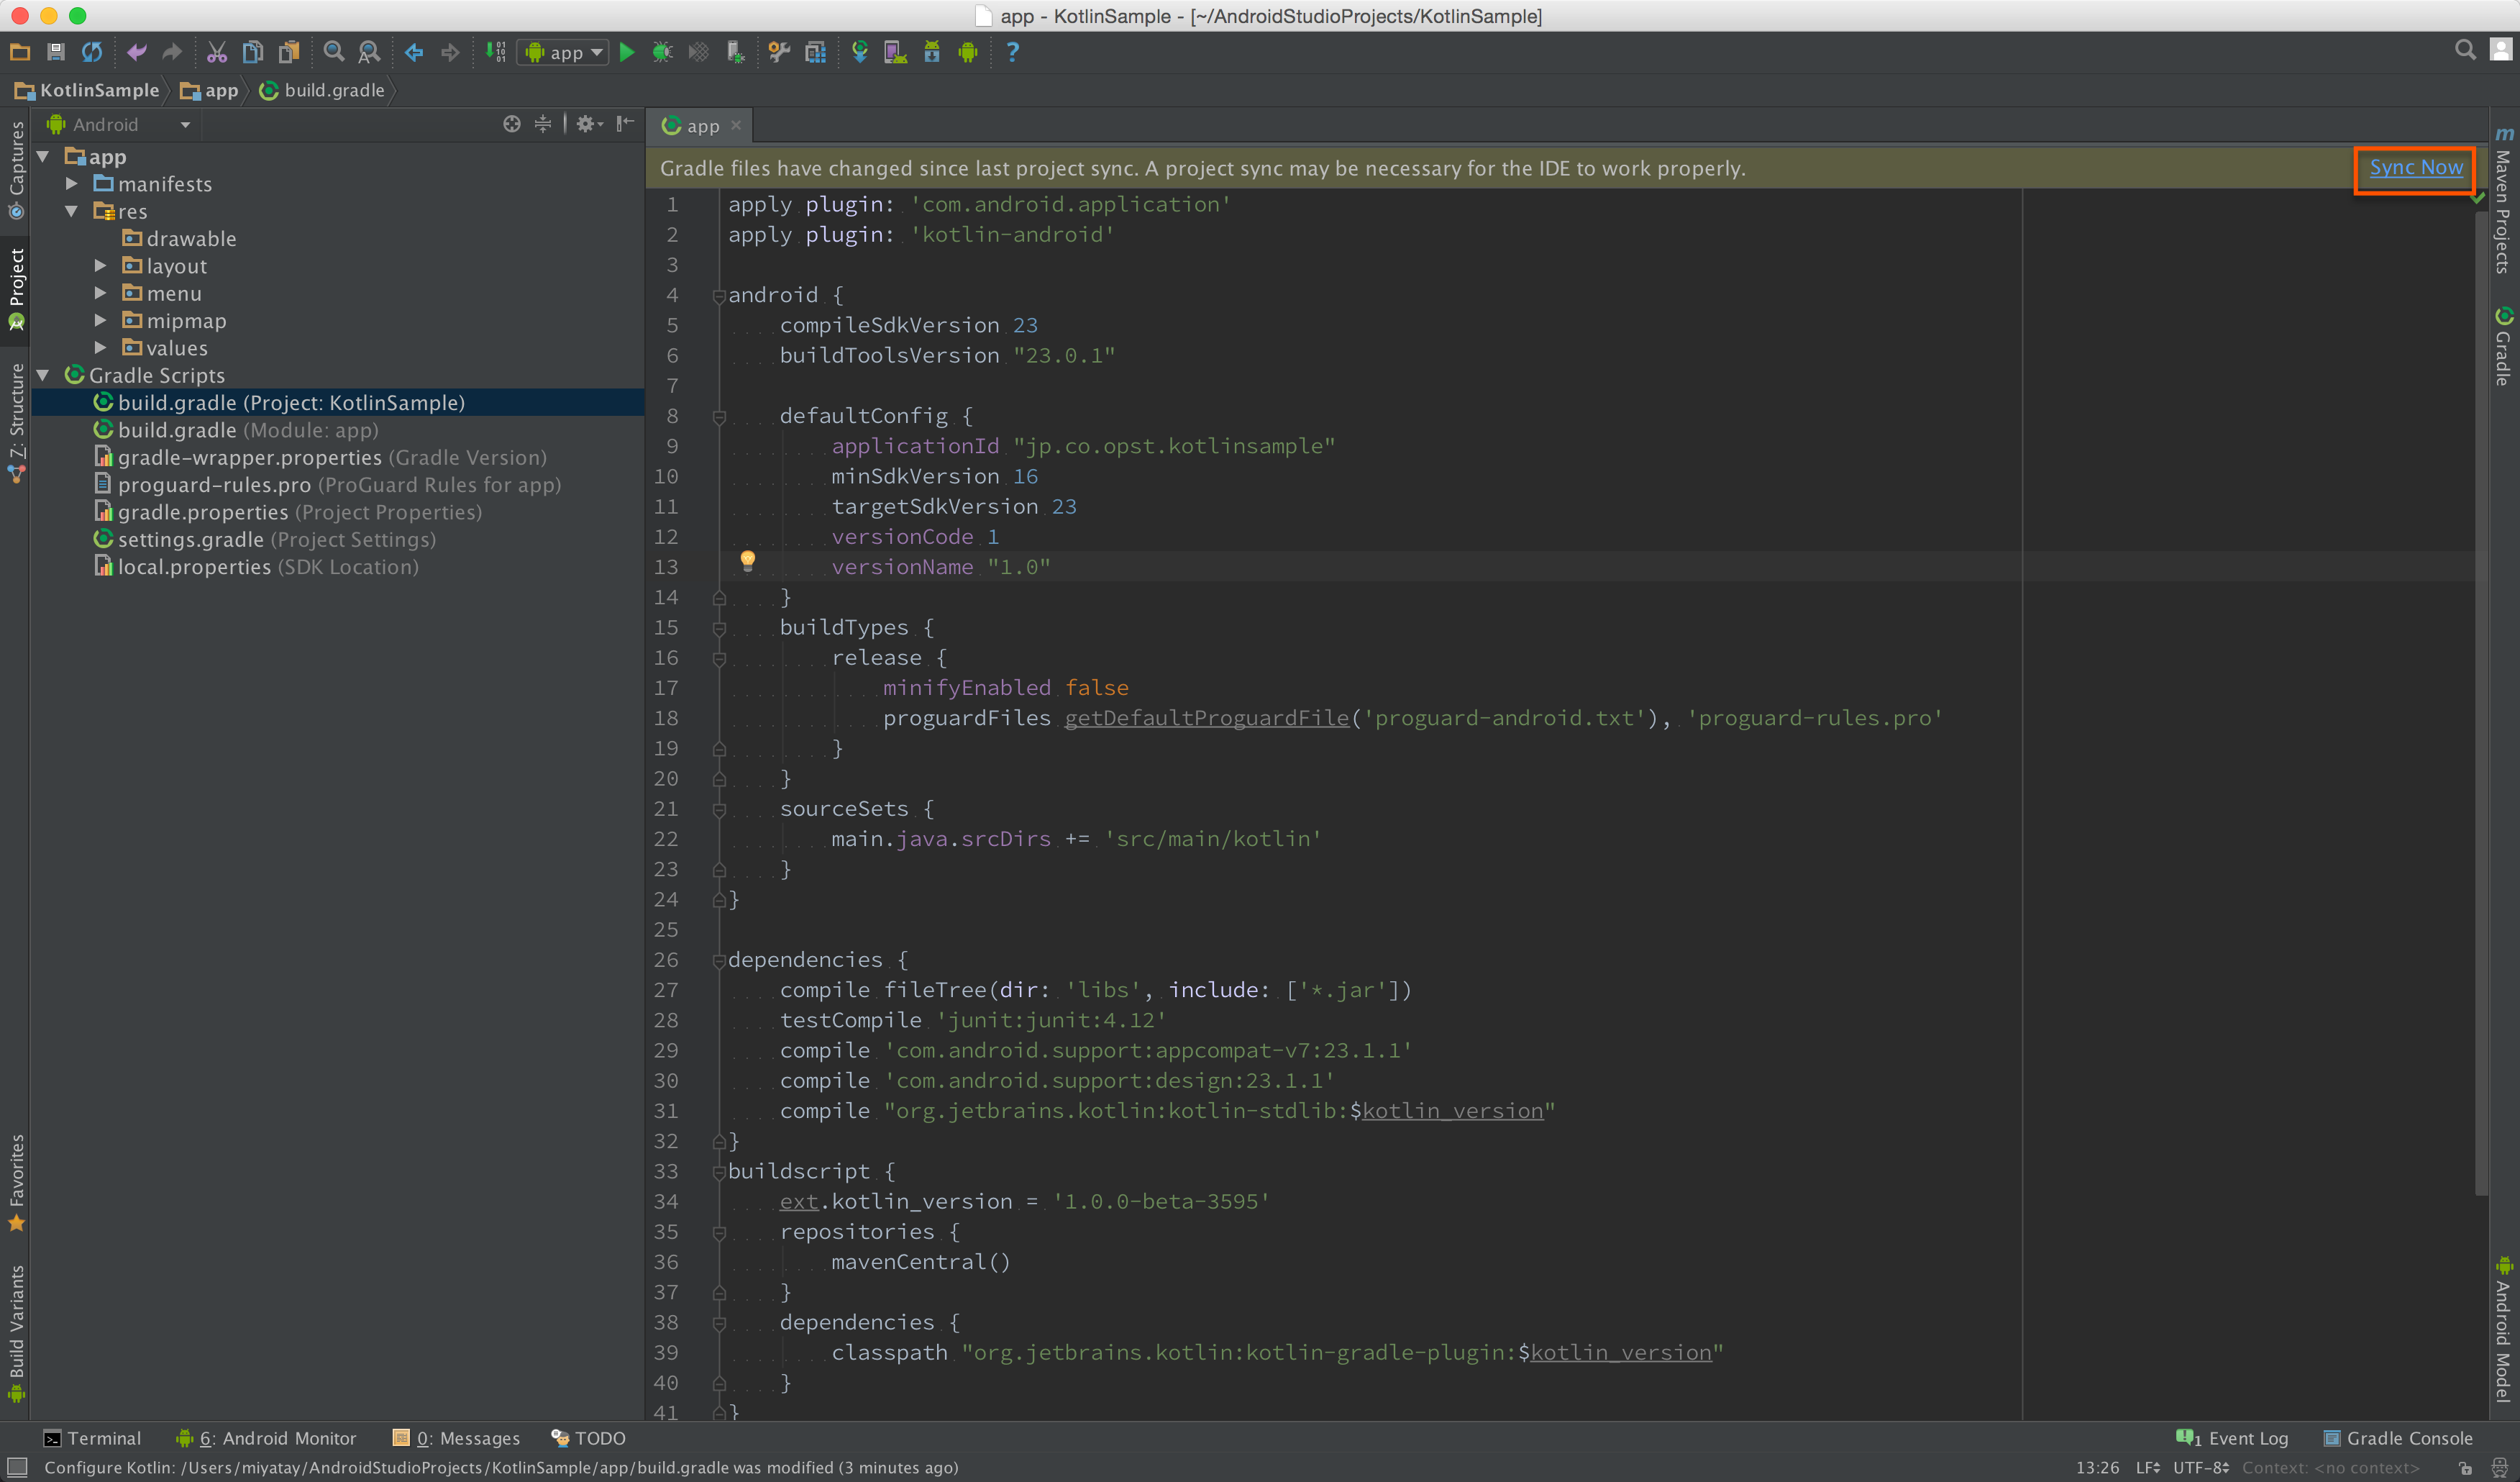
変更前のbuild.gradle(Module: app)
apply plugin: 'com.android.application'

android {
    compileSdkVersion 23
    buildToolsVersion "23.0.1"

    defaultConfig {
        applicationId "jp.co.opst.kotlinsample"
        minSdkVersion 16
        targetSdkVersion 23
        versionCode 1
        versionName "1.0"
    }
    buildTypes {
        release {
            minifyEnabled false
            proguardFiles getDefaultProguardFile('proguard-android.txt'), 'proguard-rules.pro'
        }
    }
}

dependencies {
    compile fileTree(dir: 'libs', include: ['*.jar'])
    testCompile 'junit:junit:4.12'
    compile 'com.android.support:appcompat-v7:23.1.1'
    compile 'com.android.support:design:23.1.1'
}
変更後のbuild.gradle(Module: app)
apply plugin: 'com.android.application'
apply plugin: 'kotlin-android'

android {
    compileSdkVersion 23
    buildToolsVersion "23.0.1"

    defaultConfig {
        applicationId "jp.co.opst.kotlinsample"
        minSdkVersion 16
        targetSdkVersion 23
        versionCode 1
        versionName "1.0"
    }
    buildTypes {
        release {
            minifyEnabled false
            proguardFiles getDefaultProguardFile('proguard-android.txt'), 'proguard-rules.pro'
        }
    }
    sourceSets {
        main.java.srcDirs += 'src/main/kotlin'
    }
}

dependencies {
    compile fileTree(dir: 'libs', include: ['*.jar'])
    testCompile 'junit:junit:4.12'
    compile 'com.android.support:appcompat-v7:23.1.1'
    compile 'com.android.support:design:23.1.1'
    compile "org.jetbrains.kotlin:kotlin-stdlib:$kotlin_version"
}
buildscript {
    ext.kotlin_version = '1.0.0-beta-3595'
    repositories {
        mavenCentral()
    }
    dependencies {
        classpath "org.jetbrains.kotlin:kotlin-gradle-plugin:$kotlin_version"
    }
}
repositories {
    mavenCentral()
}
依存関係を追加したり、ビルド時のクラスパスなどが追加されています。
サンプルアプリの実行
Kotlinっぽいコードを試してみる
エバンジェリストさんの資料を拝見して、色々試したかったけど時間がないので拡張関数だけ試してみます
エバンジェリスト直伝!Kotlinを既存プロダクトで使う #jjug_ccc #jjug #jkug // Speaker Deck
拡張関数を試す
package jp.co.opst.kotlinsample

import android.content.Context
import android.widget.Toast

fun Context.toast(message: String, duration:Int = Toast.LENGTH_SHORT) {
    Toast.makeText(this, message, duration).show()
}
class MainActivity : AppCompatActivity() {

    override fun onCreate(savedInstanceState: Bundle?) {
        super.onCreate(savedInstanceState)
		 // (省略)
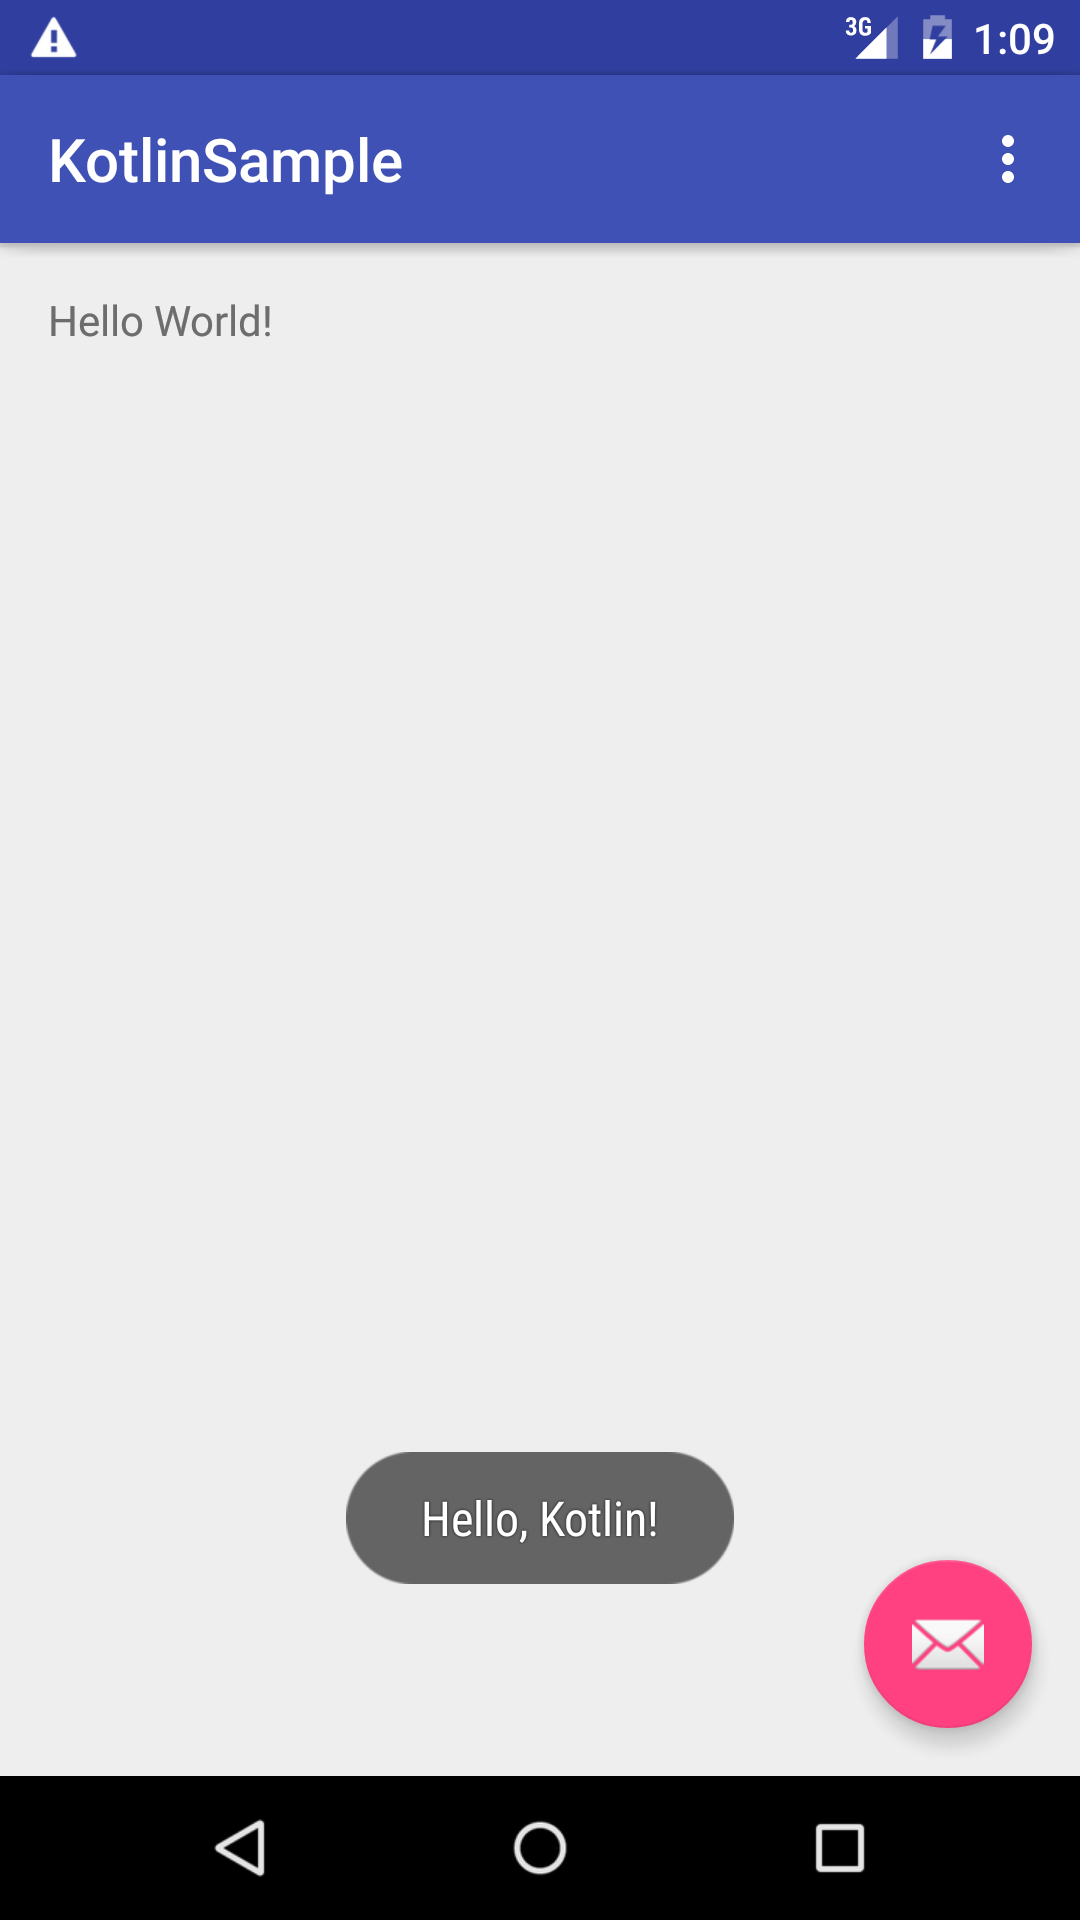
        toast("Hello, Kotlin!")
    }
