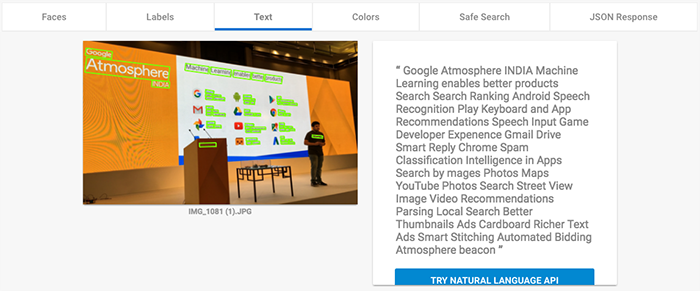
Text Detection using the Vision API
https://github.com/GoogleCloudPlatform/cloud-vision/tree/master/python/text
vision apiのわかりやすい記事
初期設定
git clone https://github.com/GoogleCloudPlatform/cloud-vision.git

cd cloud-vision/python/text
pip install -r requirements.txt
python -m nltk.downloader stopwords
python -m nltk.downloader punkt
Set Up a Service Accountで認証キー(サービスアカウント)を作成
→JSON(Key file)はローカルに保持しておく
https://cloud.google.com/speech/docs/common/auth#set_up_a_service_account
取得したapi keyのファイルを指定
export GOOGLE_APPLICATION_CREDENTIALS=/path/to/your/credentials-key.json
この認証がされてないと、こんな感じのエラーになる
HttpError 403 when requesting https://vision.googleapis.com/v1/images:annotate?alt=json returned "Project has not activated the vision.googleapis.com API. Please enable the API for project ..."
redis起動
redis入ってない場合は入れとく。
redis-server /usr/local/etc/redis.conf
実行
ディレクトリを指定して実行するとredisに登録される
./textindex.py <path-to-image-directory>
DBの内容確認
nodeのredis-commanderで見て見る
npm install -g redis-commander
起動
redis-commander
ブラウザで確認
http://localhost:8081/
文字は入ってるねと。
今回は座標を見た方ので、jsonのフォーマットを確認
https://cloud.google.com/vision/docs/detecting-text#vision-text-detection-gcs-protocol
{
  "responses": [
    {
      "textAnnotations": [
        {
          "locale": "en",
          "description": "Wake up human!\n",
          "boundingPoly": {
            "vertices": [
              {
                "x": 29,
                "y": 394
              },
              {
                "x": 570,
                "y": 394
              },
              {
                "x": 570,
                "y": 466
              },
              {
                "x": 29,
                "y": 466
              }
            ]
          }
        },
コードを見るとdef detect_text(self, input_filenames, num_retries=3, max_results=6):メソッドの中でif 'textAnnotations' in response:ってやってtextAnnotationsのドキュメントを取得してはります。
よってboundingPolyを取得する関数を追加。
def extract_bounding_poly(texts):
    for text in texts:
        try:
            print(text['boundingPoly'])   #座標取得
        except KeyError as e:
            print('KeyError: %s\n%s' % (e, text))
{'vertices': [{'x': 45, 'y': 18}, {'x': 769, 'y': 18}, {'x': 769, 'y': 1087}, {'x': 45, 'y': 1087}]}
{'vertices': [{'x': 47, 'y': 18}, {'x': 66, 'y': 18}, {'x': 66, 'y': 28}, {'x': 47, 'y': 28}]}
{'vertices': [{'x': 68, 'y': 18}, {'x': 88, 'y': 18}, {'x': 88, 'y': 28}, {'x': 68, 'y': 28}]}
{'vertices': [{'x': 106, 'y': 19}, {'x': 108, 'y': 19}, {'x': 108, 'y': 26}, {'x': 106, 'y': 26}]}
{'vertices': [{'x': 117, 'y': 20}, {'x': 167, 'y': 20}, {'x': 167, 'y': 29}, {'x': 117, 'y': 29}]}
...
座標がとれました。
あとはapiを無効にして終わりにします。

