はじめに
「写真の中から同じ物体を発見し、角度と位置をあわせて切り出すという作業を自動でできないでしょうか」という相談があり、やってみました。
条件としては、発見したいものは一つの物体で、写真の中には対象の物体が一つだけ写っているというものです。
実現するのに少し苦労したので記録しておきます。
また、画像によっては調整が必要みたいです(^_^;)
動作環境
| 項目 | 内容 |
|---|---|
| マシン | MacBook Air (13-inch, Early 2015) |
| プロセッサ | 2.2 GHz Intel Core i7 |
| メモリ | 8 GB 1600 MHz DDR3 |
| Python | 3.6.0 :: Anaconda 4.3.1 (x86_64) |
| Jupyter Notebook | 4.2.1 |
| OpenCV | 3.3.0-rc |
環境構築手順
いつもの手前味噌ですが、以下のURLをご参照下さい。
使用した写真
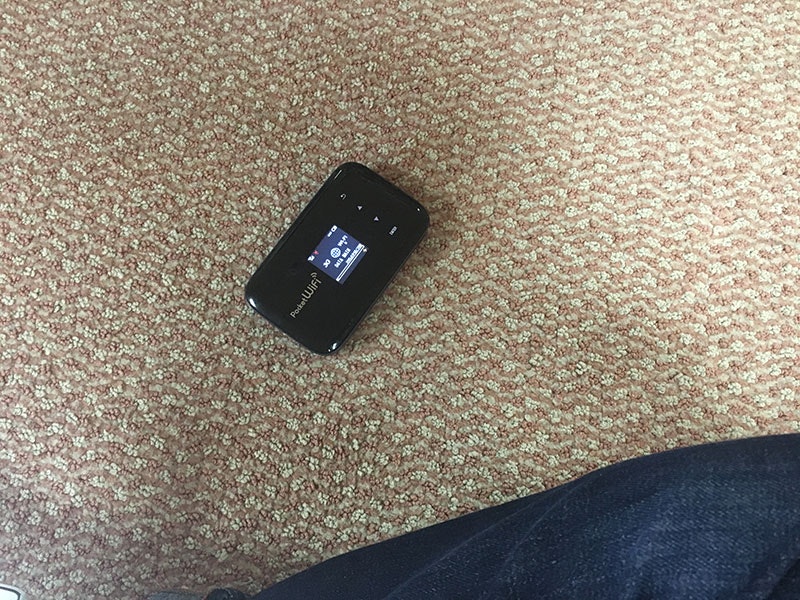
一枚目(IMG_4754.JPG)
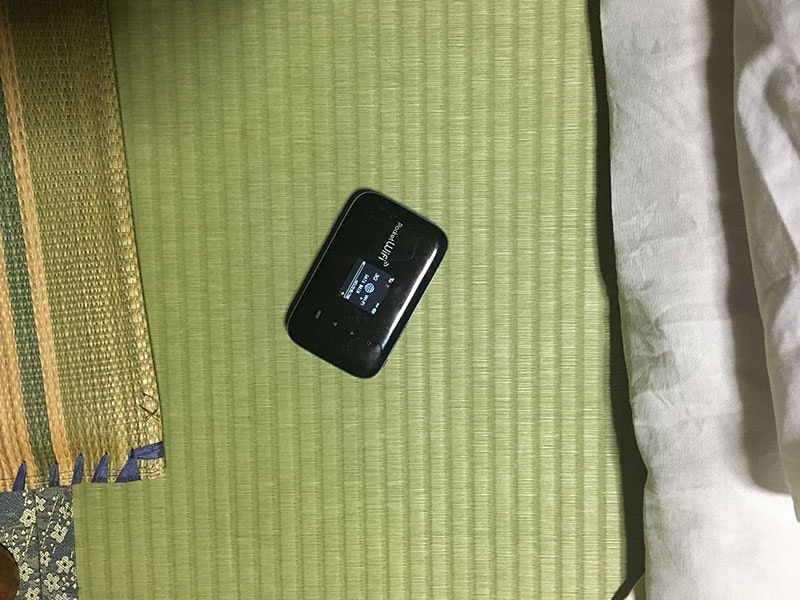
二枚目(IMG_4777.JPG)
ここで、一枚目を手作業で加工して以下のように編集。(IMG_4754s.JPG)
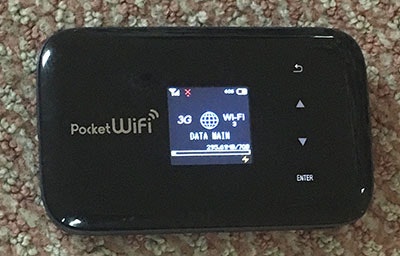
これをテンプレート画像として使用します。
ライブラリ読込
import cv2
import math
加えて、画像表示用に以下の関数を宣言します。
from IPython.display import display, Image

def display_cv_image(image, format='.png'):
    decoded_bytes = cv2.imencode(format, image)[1].tobytes()
    display(Image(data=decoded_bytes))
画像読込と特徴量抽出
以下の記事を参考にさせて頂きました。
OpenCV 3とPython 3で特徴量マッチング(A-KAZE, KNN)
# 画像読込
img1 = cv2.imread("IMG_4777.JPG")
img2 = cv2.imread("IMG_4754s.JPG")

# A-KAZE検出器の生成
detector = cv2.AKAZE_create()

# 特徴量の検出と特徴量ベクトルの計算
kp1, des1 = detector.detectAndCompute(img1, None)
kp2, des2 = detector.detectAndCompute(img2, None)

# Brute-Force Matcherの生成
bf = cv2.BFMatcher()

# 特徴量ベクトル同士をBrute-Force&KNNでマッチング
matches = bf.knnMatch(des1, des2, k=2)

# データを間引く
ratio = 0.2
good = []
for m, n in matches:
    if m.distance < ratio * n.distance:
        good.append([m])

# 特徴量をマッチング状況に応じてソート
good = sorted(matches, key = lambda x : x[1].distance)

# 対応する特徴点同士を描画
img3 = cv2.drawMatchesKnn(img1, kp1, img2, kp2, good[:2], None, flags=2)

display_cv_image(img3, '.png')
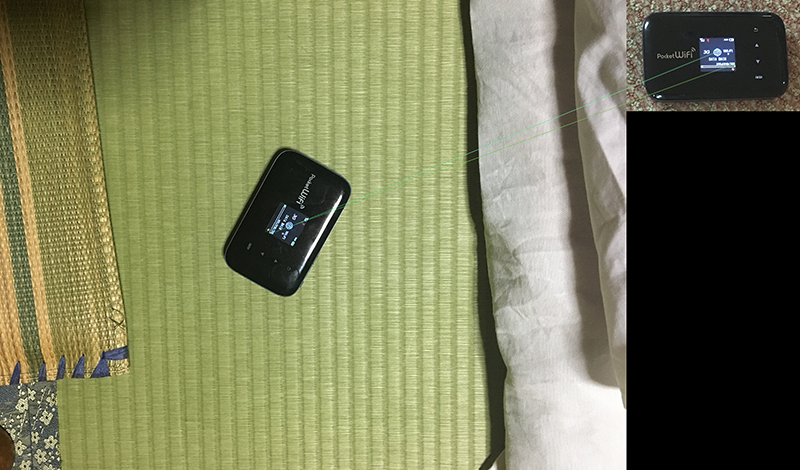
以下のような画像が表示され、特徴点が正しくマッチングされていることがわかります。
角度と位置、サイズを調整して切出す
# 特徴量データを取得

q_kp = []
t_kp = []

for p in good[:2]:
    for px in p:
        q_kp.append(kp1[px.queryIdx])
        t_kp.append(kp2[px.trainIdx])

# 加工対象の画像から特徴点間の角度と距離を計算
q_x1, q_y1 = q_kp[0]
q_x2, q_y2 = q_kp[-1]

q_deg = math.atan2(q_y2 - q_y1, q_x2 - q_x1) * 180 / math.pi
q_len = math.sqrt((q_x2 - q_x1) ** 2 + (q_y2 - q_y1) ** 2)

# テンプレート画像から特徴点間の角度と距離を計算
t_x1, t_y1 = t_kp[0]
t_x2, t_y2 = t_kp[-1]

t_deg = math.atan2(t_y2 - t_y1, t_x2 - t_x1) * 180 / math.pi
t_len = math.sqrt((t_x2 - t_x1) ** 2 + (t_y2 - t_y1) ** 2)

# 切出し位置の計算
x1 = q_x1 - t_x1 * (q_len / t_len)
x2 = x1 + img2.shape[1] * (q_len / t_len)

y1 = q_y1 - t_y1 * (q_len / t_len)
y2 = y1 + img2.shape[0] * (q_len / t_len)

# 画像サイズ
x, y, c = img1.shape
size = (x, y)

# 回転の中心位置
center = (q_x1, q_y1)

# 回転角度
angle = q_deg - t_deg

# サイズ比率
scale = 1.0

# 回転変換行列の算出
rotation_matrix = cv2.getRotationMatrix2D(center, angle, scale)

# アフィン変換
img_rot = cv2.warpAffine(img1, rotation_matrix, size, flags=cv2.INTER_CUBIC)

# 画像の切出し
img_rot = img_rot[y1:y2, x1:x2]

# 縮尺調整
x, y, c = img2.shape
img_rot = cv2.resize(img_rot, (y, x))

# 結果表示
display_cv_image(img_rot, '.png')
実行すると以下の画像が表示されました。
できた!
今後の課題
定点カメラなど、固定位置で撮影したものには使用できるかもしれませんが、斜めになっていたりするとまた別の加工が必要。
同じような計算を繰り返し行っているので、これを関数化して再利用しやすくすると良いかもしれません...というよりすべきですね。
...また時間を見つけて考えてみます(^-^)
2017.08.20追記
少し別のテストをしてみました。あわせてご覧下さい。
OpenCVを使って画像の射影変換をしてみるwithPython