はじめに
とっても安価なArduino互換機があったから、早速購入して試してみたのでレポートしてみます。
買ったもの
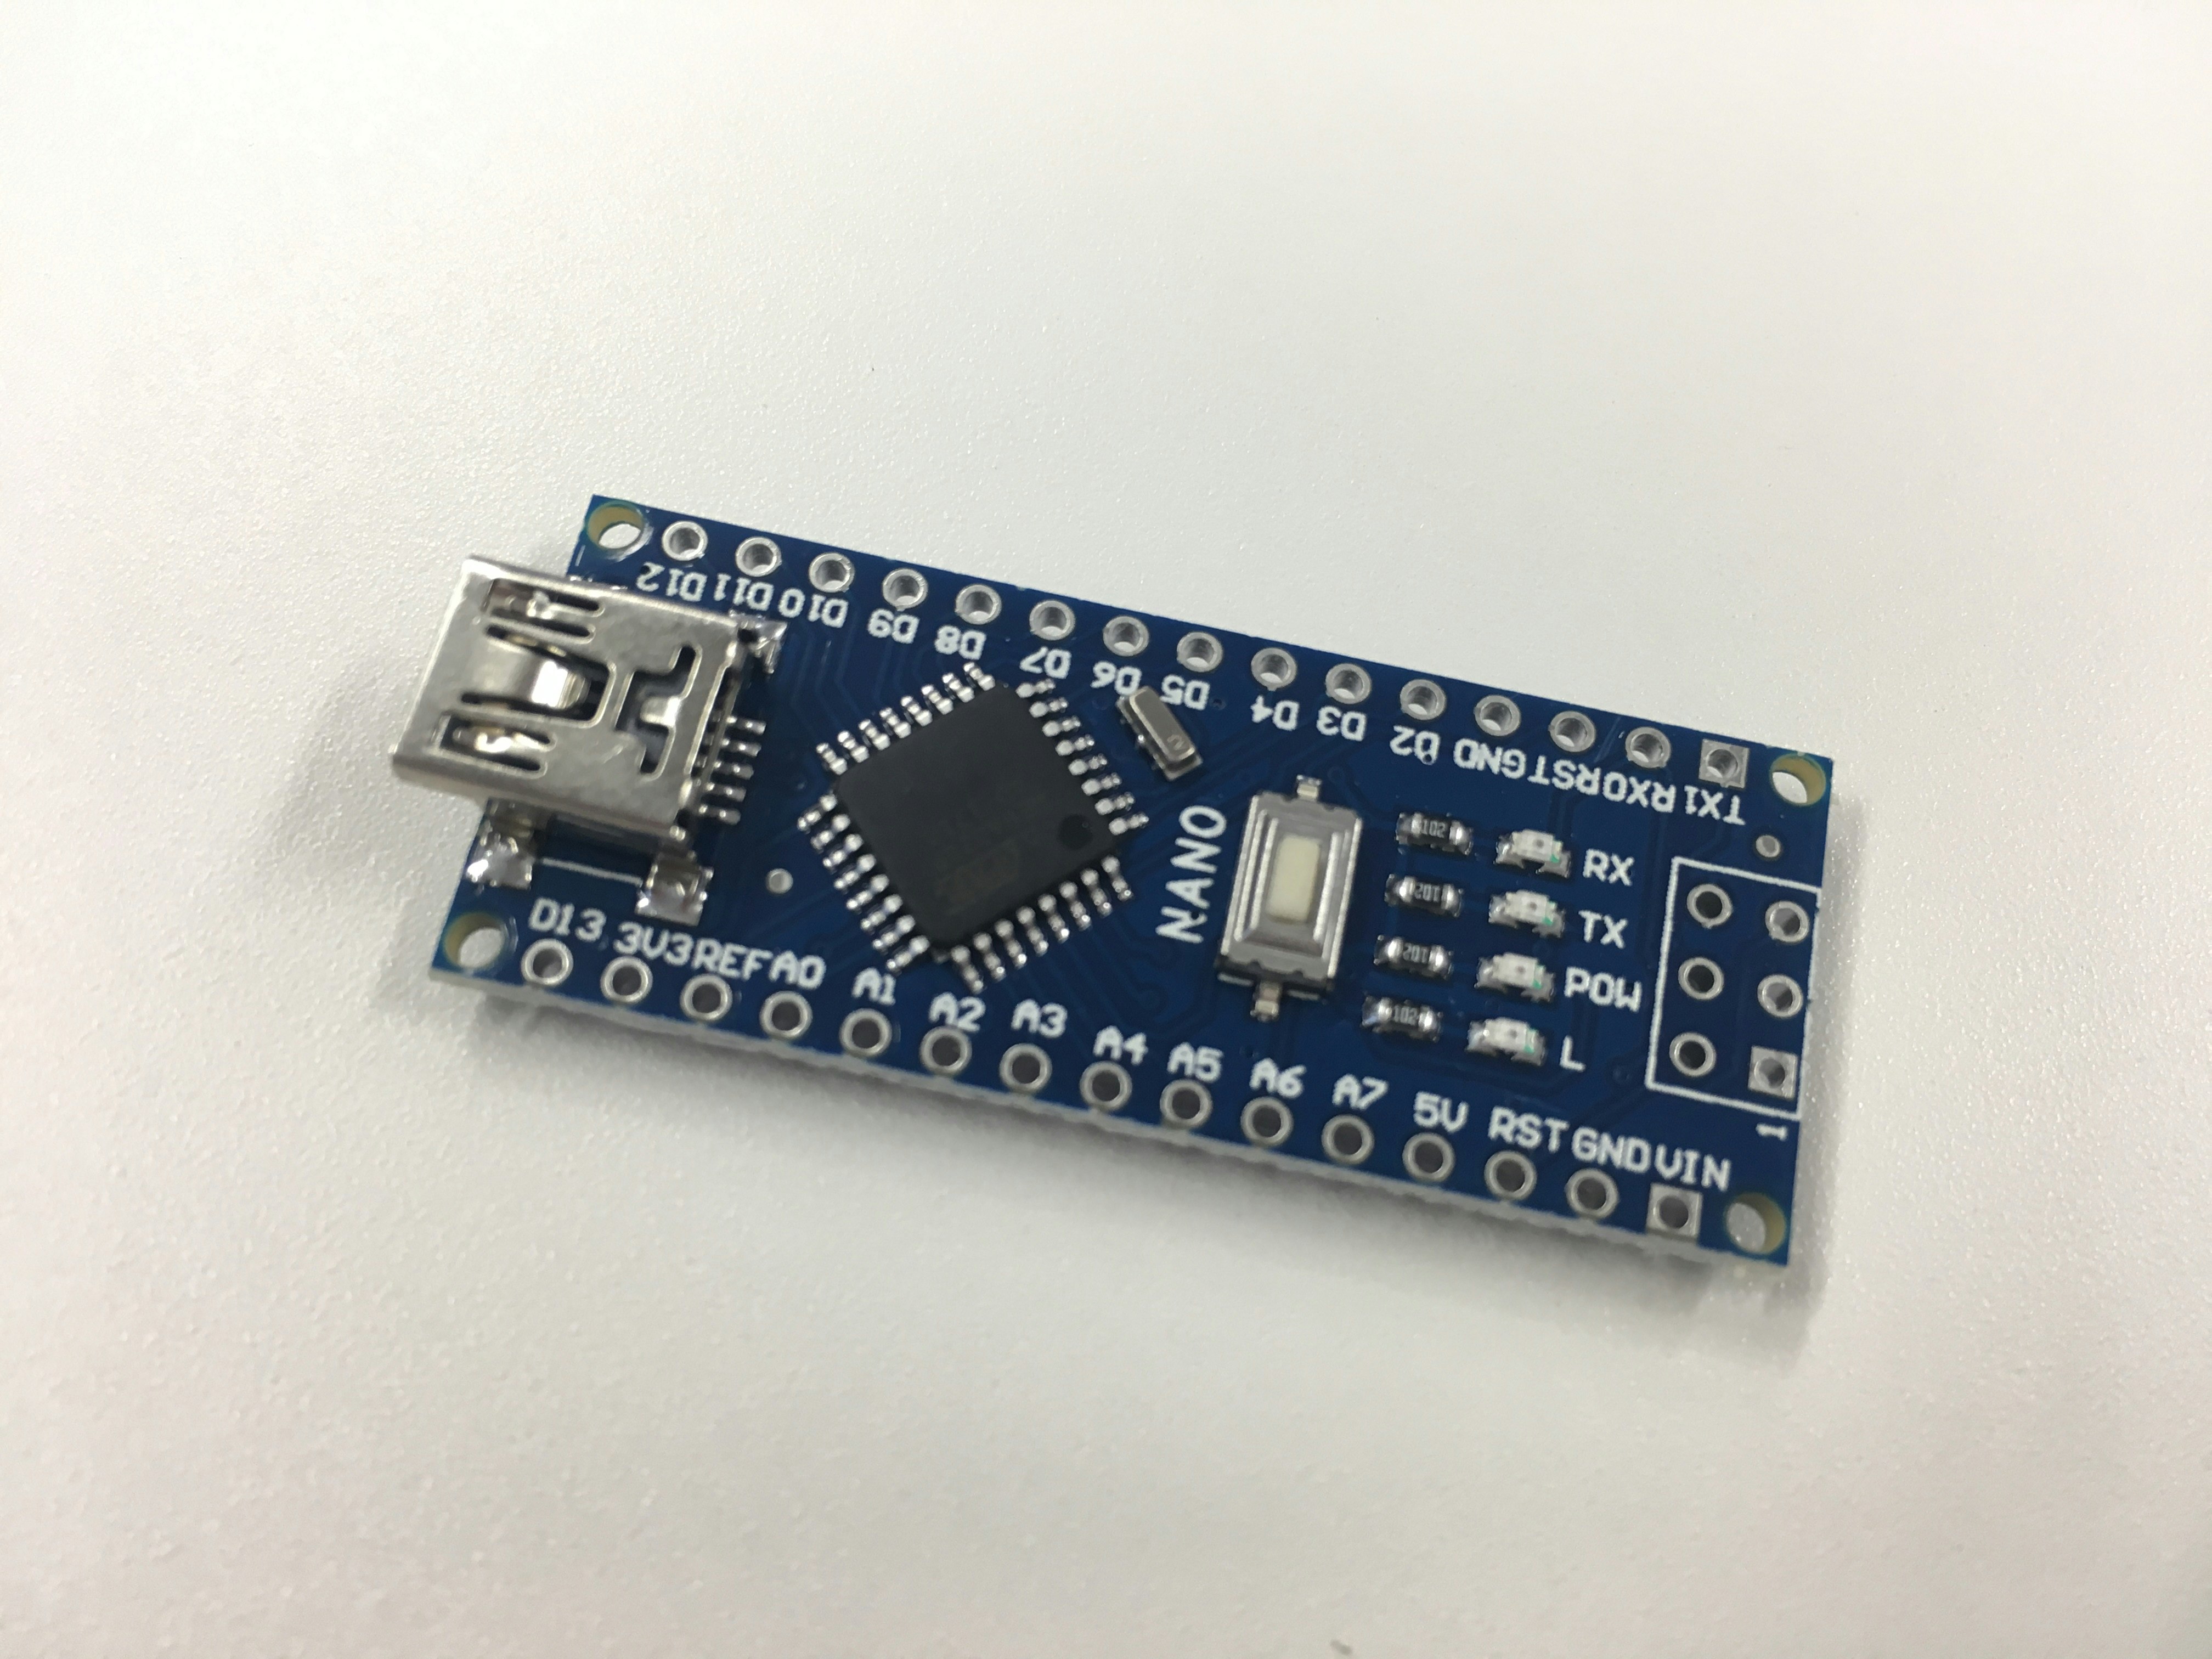
HiLetgo Mini USB Nano V3.0 ATmega328P CH340G 5V 16M マイクロコントローラーボード Arduinoと互換
330円
SG90サーボ用 2軸 カメラマウント 2軸アングル FPV 空撮にも (マウント+2個SG90)
750円
テスト環境
MacBook Air (13-inch, Early 2015)
macOS Sierra バージョン 10.12.4
開発環境
Arduino IDE
上記サイトよりダウンロードしてインストール。
ドライバーのインストール
ダウンロードサイトよりダウンロードしてインストール。
[参考URL] MacOSX+CH340G搭載Arduino互換ボードの動作メモ
インストール後に再起動。
Arduino IDEの初期設定と動作確認
起動し、「ツール」-「ボード」-「Arduino Nano」を選択。
「ツール」-「シリアルポート」「/dev/cu.wchusbserial1410」を選択。
以下のコードを書き込む。
int val = 0;

void setup() {
    Serial.begin(9600); //シリアル通信のデータ転送レート9600bpsで通信
    val = 0;
}

void loop() {
    Serial.println(val); //シリアルモニタにvalの数値を表示&改行する
    delay(1000);
    val = val + 1;
}
シリアルモニタを起動し、数値が1ずつ増加していることを確認。
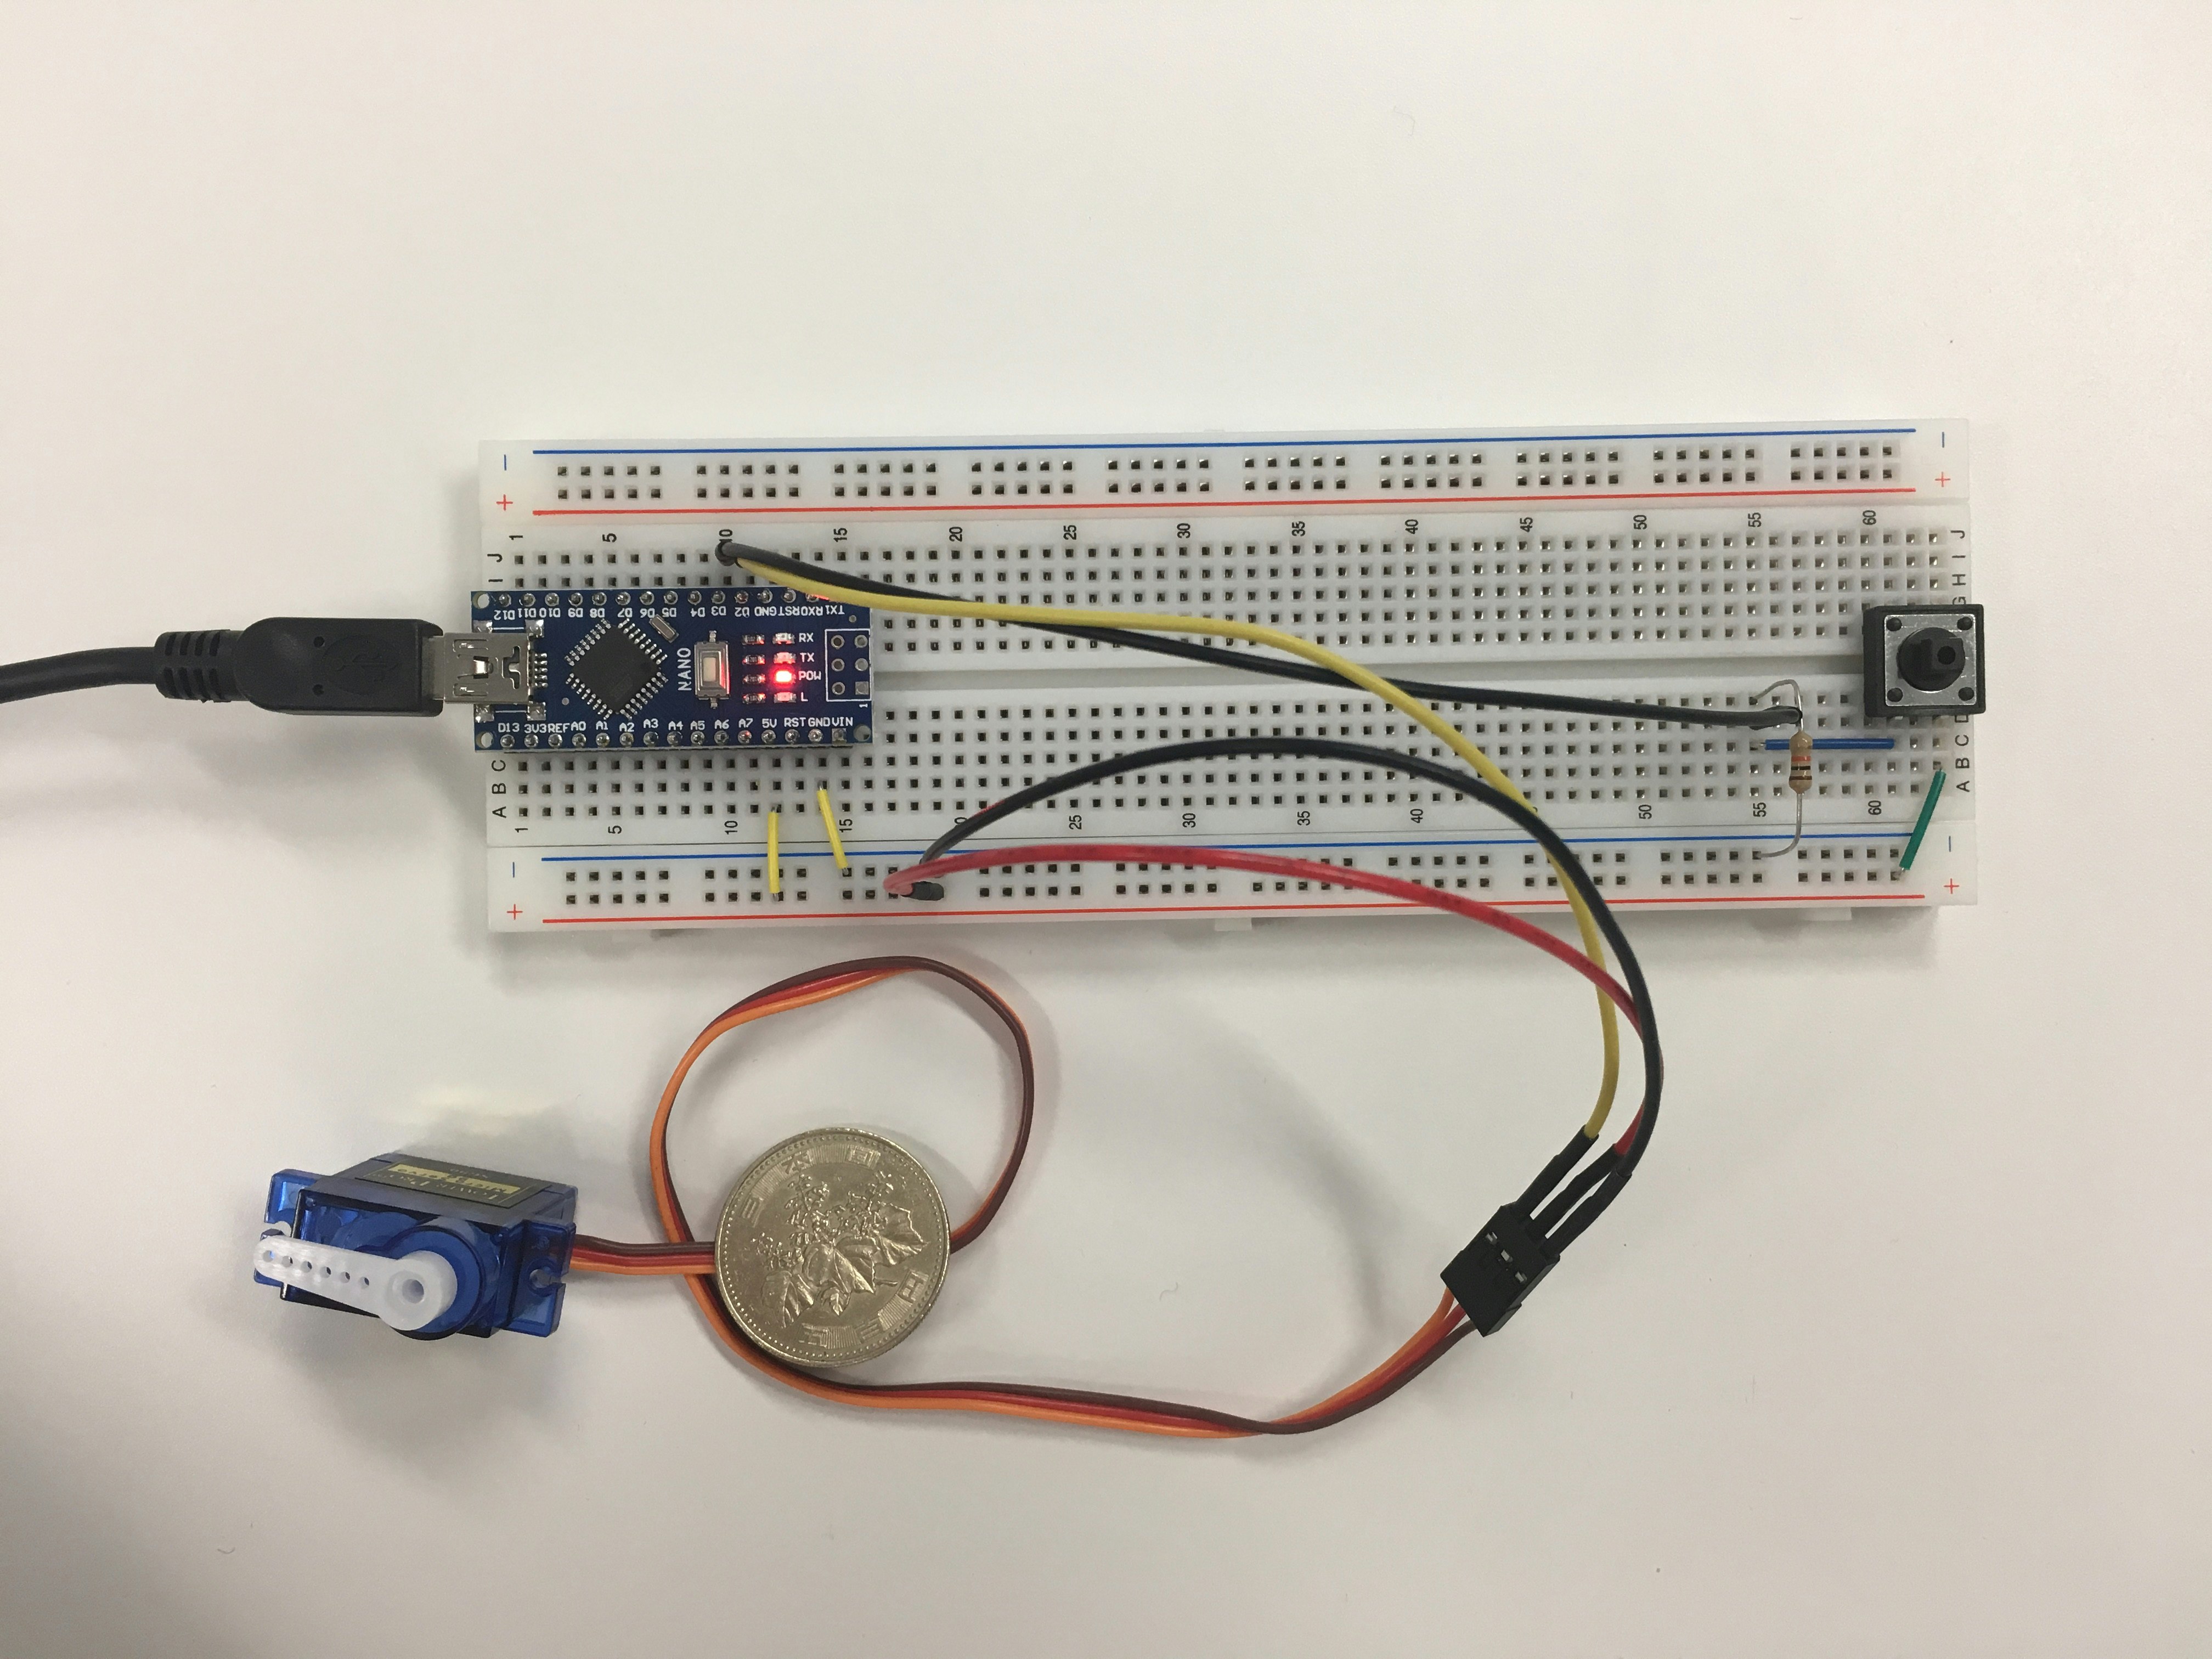
配線
以下のとおり配線。
ソースコード
以下のとおり入力。
ボタンを押すとサーボモーターが1往復するという内容です。
#include <Servo.h>

Servo myservo;

int pos = 0;
int value = 0;

void setup() {
  // put your setup code here, to run once:
  pinMode(3,INPUT);
  myservo.attach(2);
  Serial.begin(9600);
}

void loop() {
  // put your main code here, to run repeatedly:
  if (digitalRead(3) == HIGH) {
    for(pos = 0; pos <= 180; ++pos) {
      myservo.write(pos);
      value = myservo.read();
      Serial.println(value);
      delay(5);
    }

    for(pos = 180; pos >= 0; --pos) {
      myservo.write(pos);
      value = myservo.read();
      Serial.println(value);
      delay(5);
    }
  }
}
上記コードをボードに書き込む。
動作確認
ボタンを押し、サーボモーターが動作することを確認。
Arduino nanoでサーボモーターを動かしてみた(^-^) pic.twitter.com/MnQuKgqm49
— Shinobu Kimura (@mix_dvd) 2017年5月22日
できた(^-^)/