Unityとジャイロ機能付きスマホで、両眼立体視のVRアプリを作ってみましょう。
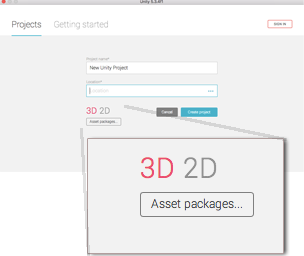
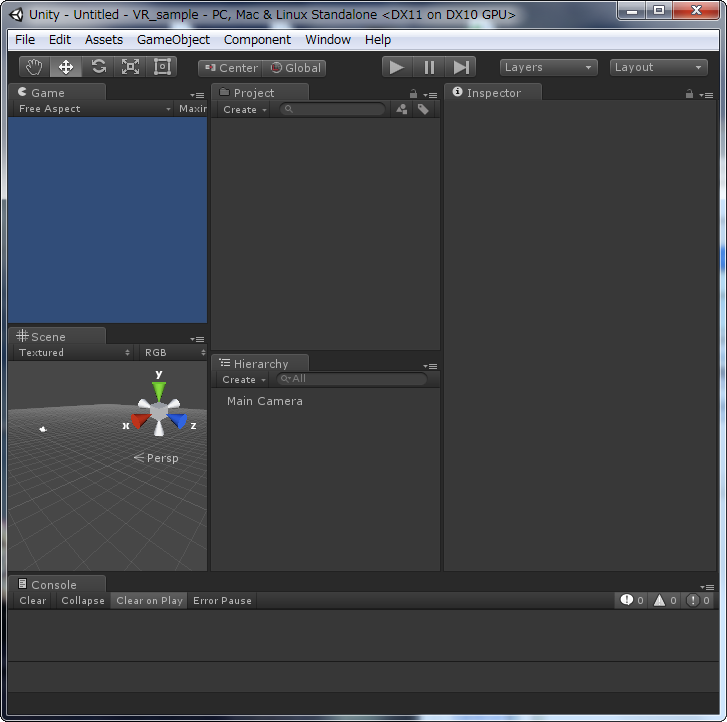
- Unityで新規プロジェクトを 3Dモードで 用意します
-
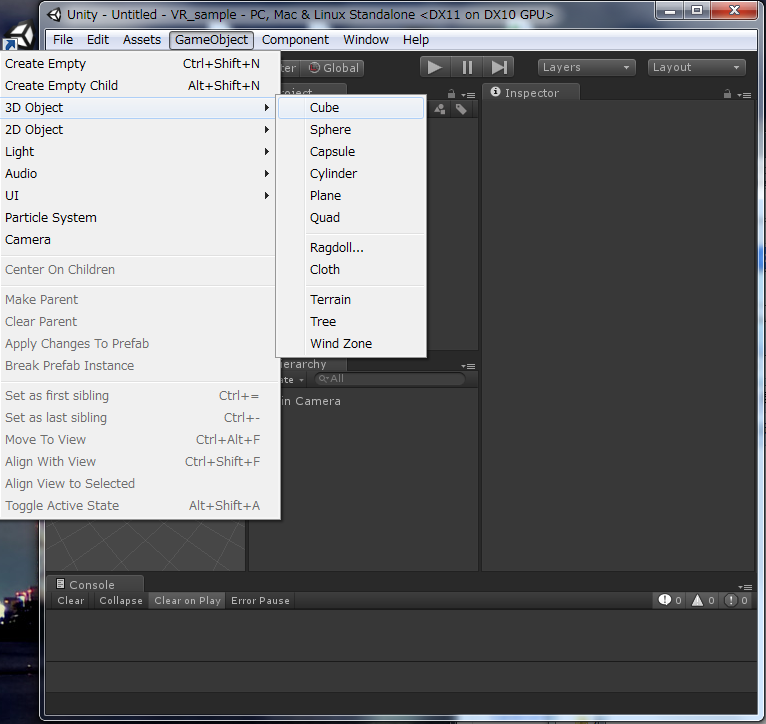
作業中わかりやすいよう、キューブとDirectional lightを置きます
-
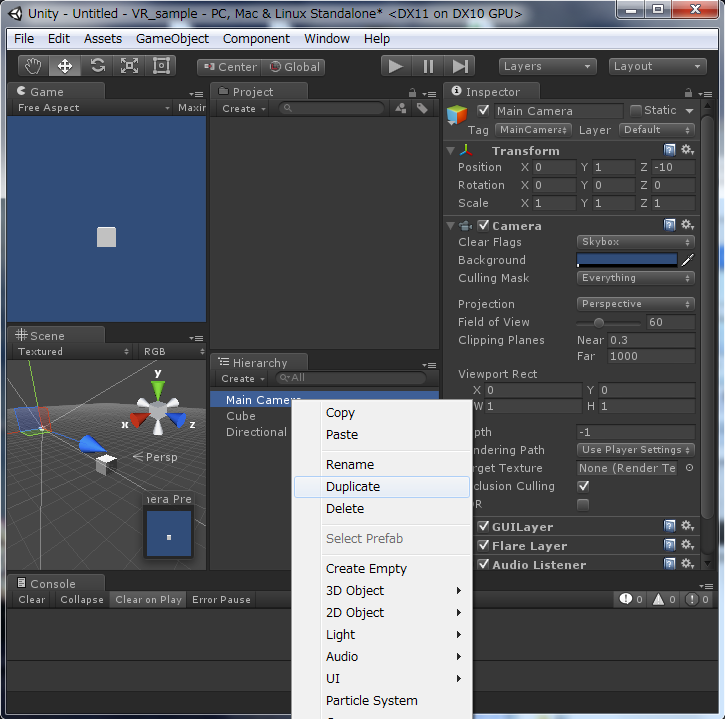
MainCameraを右クリック>Duplicateします
-
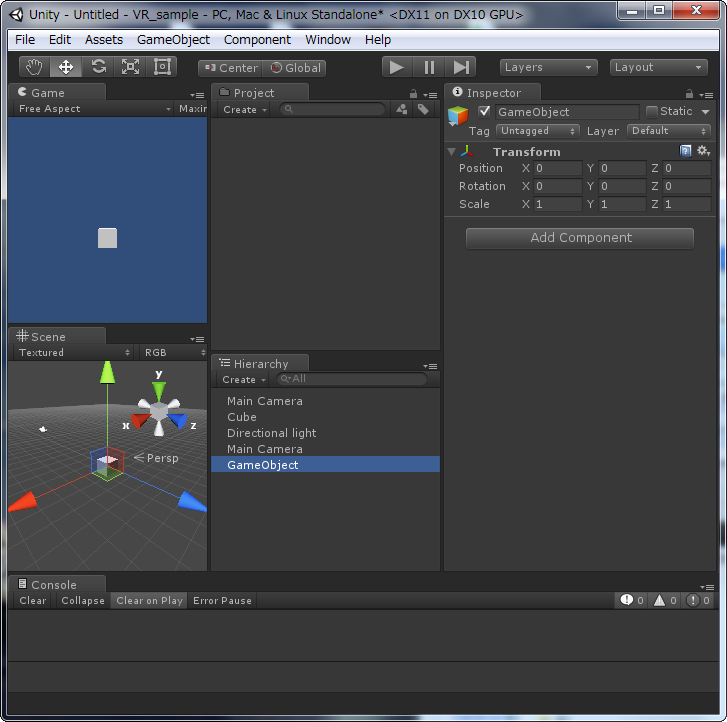
Create EmptyでGameObjectを作成します
-
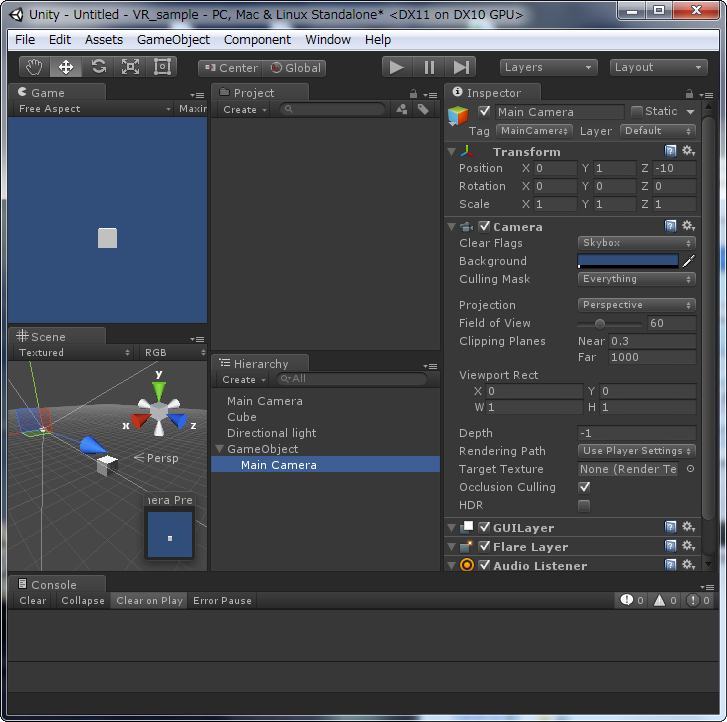
GameObjectの下にMainCameraを2つとも入れます
-
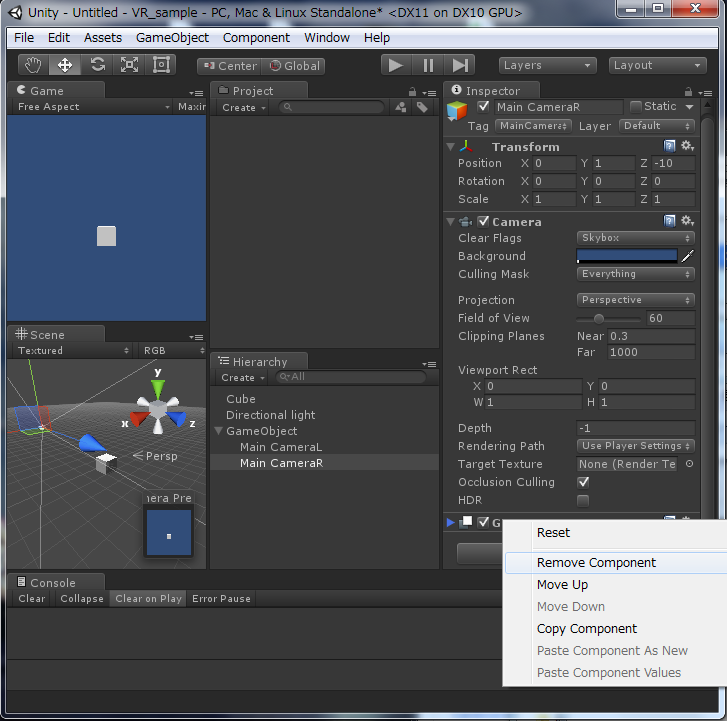
2つあるMainCameraをそれぞれMainCameraL/Rにリネームします
-
MainCameraRからTransform/Camera以外をRemove Componentします
-
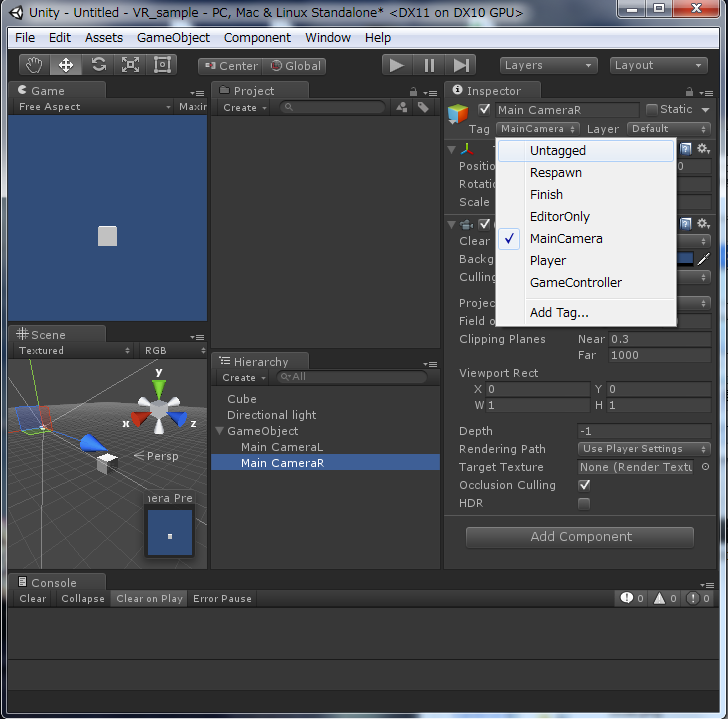
MainCameraRのTagをUntaggedにします
-
MainCameraLのViewport RectをW=0.5にします
-
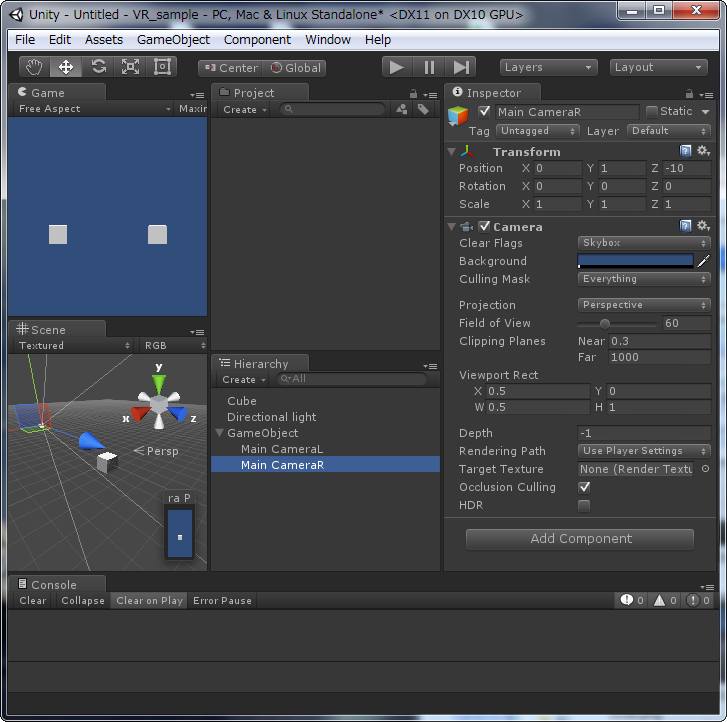
MainCameraRのViewport RectをW=0.5,X=0.5にします
-
MainCameraLのTransform>Positionを-0.1,0,0に、Rotationを0,0.5,0にします
-
MainCameraRのTransform>Positionを0.1,0,0に、Rotationを0,-0.5,0します
-
CubeのTransform>Positionを0,0,10にします
-
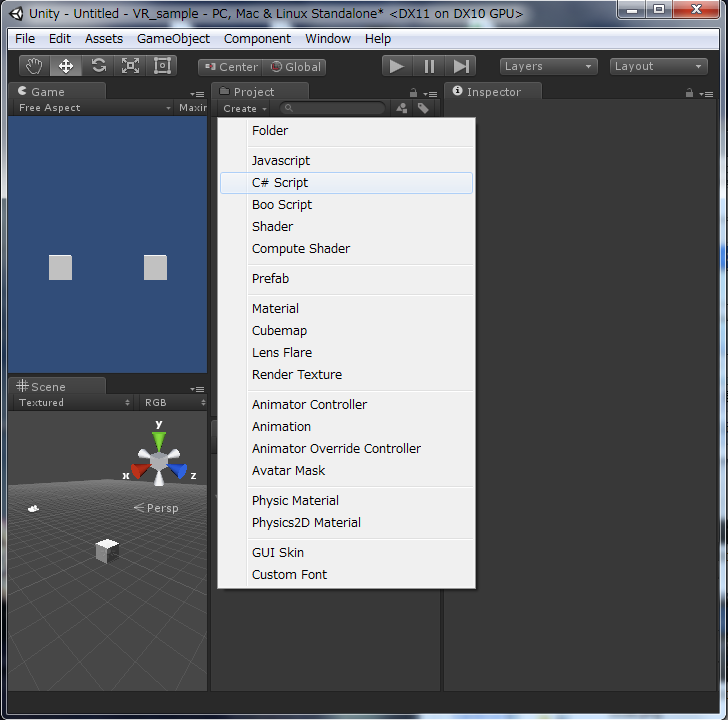
Project > Create > C# Script でC#スクリプトを gyro という名前で用意します
-
gyroをダブルクリックするとスクリプトが表示されます
-
ジャイロ機能を有効にするため、スクリプトのStart() 内に次の一行を記述します
Input.gyro.enabled = true;
- ジャイロを下方基準→前方基準に変更してカメラに反映させるため、Update()内に次の一行を記述します
transform.rotation = Quaternion.AngleAxis(90.0f,Vector3.right)*Input.gyro.attitude*Quaternion.AngleAxis(180.0f,Vector3.forward);
-
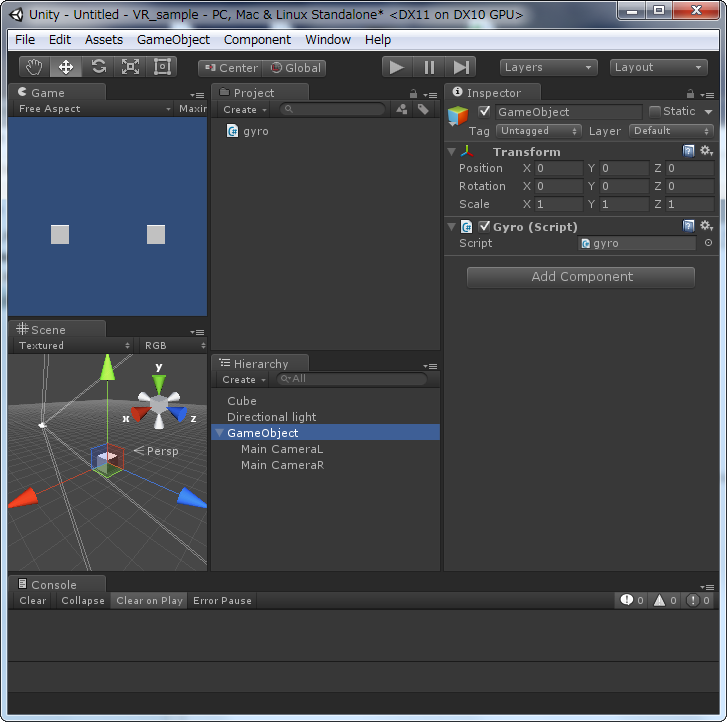
上記スクリプトをGameObjectに入れます
-
ここまでの作業で、以下のような配置になります。
-
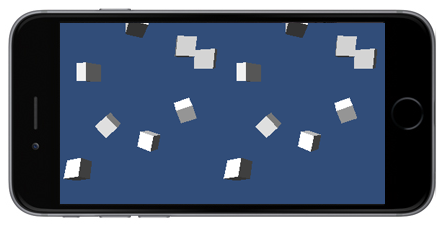
Cube1つだと寂しいので、Cubeオブジェクトをたくさん表示する部分を追加します
-
Project > Create > C# Script でC#スクリプトを cubes という名前で用意します
-
cubesに以下のコードを記述します
using UnityEngine;
using System.Collections;

public class cubes : MonoBehaviour {
	// Use this for initialization
	void Start () {
		for(int i=0; i<100; ++i){
			// 分身(Cube)を作る
			GameObject go = GameObject.CreatePrimitive(PrimitiveType.Cube);

			// 分身の親を本体(このオブジェクト)に
			go.transform.parent = gameObject.transform;
			// 元のオブジェクト相対で周囲ランダムに配置
			go.transform.localPosition = Random.onUnitSphere*20f;
			go.transform.localRotation = Random.rotation;
		}
	}

	// Update is called once per frame
	void Update () {
		// 本体(分身の親)を回転
		transform.Rotate (Vector3.right * Time.deltaTime * 10f);
	}
}
-
Cubeオブジェクトに上記cubesをアタッチ(ドラッグ&ドロップ)します
-
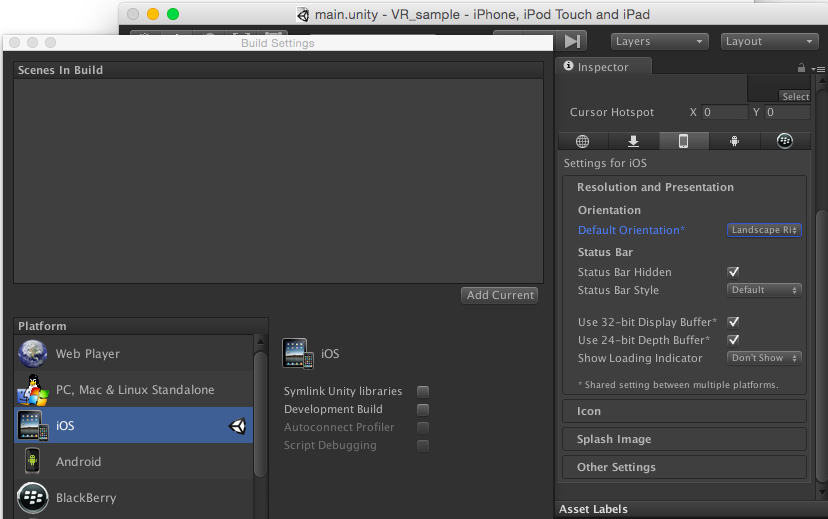
BuildSettingsを開きます
-
DefaultOrientationをLandscapeにします
-
Build&Runで実行します
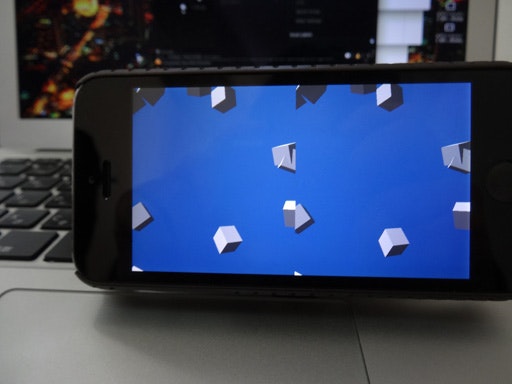
おつかれさまでした!
補足
上記はジャイロを使用してカメラの向きを変更しているため、ほとんどの場合、PC上でカメラの向きを変更することができません。
PC上(Unityエディター上)でカメラを動かしてチェックできるようにするには、gyro.csを以下のように記述します。
(#if UNITY_EDITOR ~ #else の中がPC上(Unityエディター上)で動かすための処理です)
using UnityEngine;
using System.Collections;

public class gyro : MonoBehaviour {
# if UNITY_EDITOR
	private Vector3 rot;
# endif

	// Use this for initialization
	void Start () {
# if UNITY_EDITOR
		rot = transform.rotation.eulerAngles;
# else
		Input.gyro.enabled = true;
# endif
	}

	// Update is called once per frame
	void Update () {
# if UNITY_EDITOR
		float spd = Time.deltaTime*100.0f;
		if(Input.GetKey(KeyCode.LeftArrow)){
			rot.y -= spd;
		}
		if(Input.GetKey(KeyCode.RightArrow)){
			rot.y += spd;
		}
		if(Input.GetKey(KeyCode.UpArrow)){
			rot.x -= spd;
		}
		if(Input.GetKey(KeyCode.DownArrow)){
			rot.x += spd;
		}
		transform.rotation = Quaternion.Euler(rot);
# else
		transform.rotation = Quaternion.AngleAxis(90.0f,Vector3.right)*Input.gyro.attitude*Quaternion.AngleAxis(180.0f,Vector3.forward);
# endif

	}
}