せっかく手元にWaffleがあるので、いろいろなセンサーと繋いでいきたいと思います。
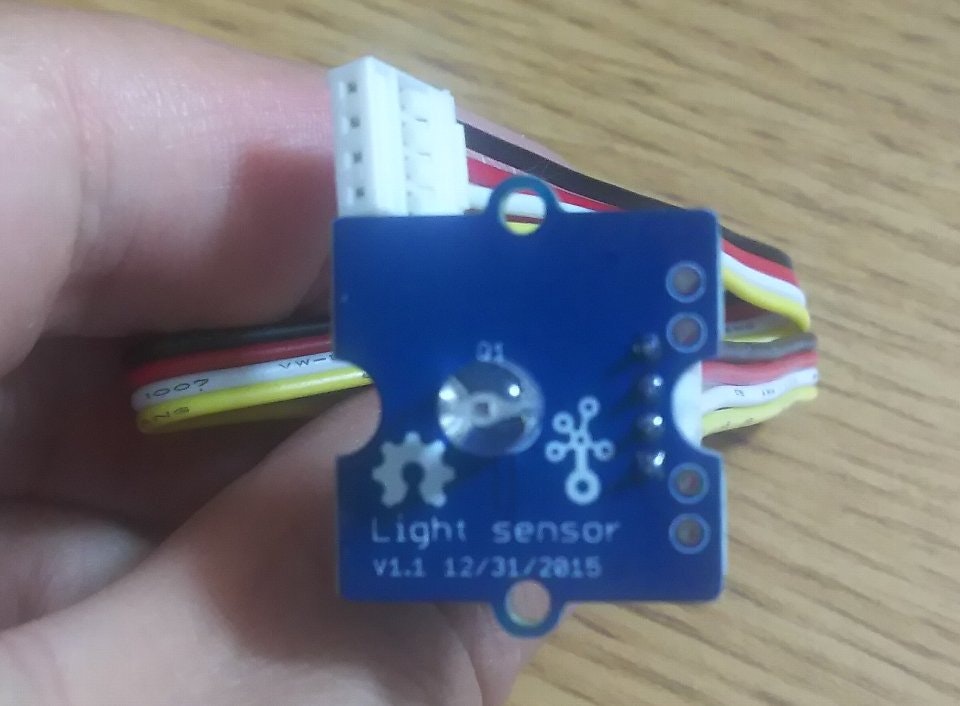
第1段は、「Grove Light Sensor」です。
※ちなみに私は初心者です(爆)
Waffleとは
ざっくり言うと、Arduino互換のマイコンボードです。
Groveコネクタが4つついており、はんだ付け等をせず、お気楽にセンサーデバイスと接続できます。
また、USBコネクタがありますので、PCからプログラムを転送したり、スマホ経由でインターネットに接続することも簡単にできます。
まさにお気楽にIoTができます。
Waffleはツクモのロボット王国で購入できます。
準備
とりあえず、以下は省略します。
- Waffleの購入
- Arduino IDEのインストール
- Grove Light Sensorの購入
- USB変換コネクタの購入
繋いでみる
早速、PCにつなぎます。
PC-USB変換コネクタ-Waffle-Grove Light Sensor
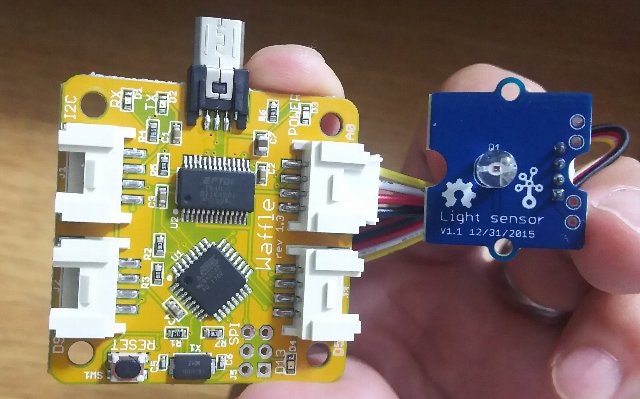
Grove Light SensorはWaffleのA0コネクタにつなぎます。
(値はアナログの値で取得できます)
プログラミング
とか言いつつ、サンプルをそのまま使います ^^;
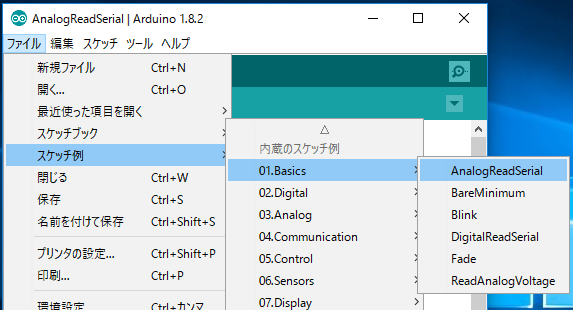
スケッチ例の「AnalogReadSerial」を読み込みます。
/*
  AnalogReadSerial
  Reads an analog input on pin 0, prints the result to the serial monitor.
  Graphical representation is available using serial plotter (Tools > Serial Plotter menu)
  Attach the center pin of a potentiometer to pin A0, and the outside pins to +5V and ground.

  This example code is in the public domain.
*/

// the setup routine runs once when you press reset:
void setup() {
  // initialize serial communication at 9600 bits per second:
  Serial.begin(9600);
}

// the loop routine runs over and over again forever:
void loop() {
  // read the input on analog pin 0:
  int sensorValue = analogRead(A0);
  // print out the value you read:
  Serial.println(sensorValue);
  delay(1);        // delay in between reads for stability
}
これをWaffleに書き込むと、センサーの値が送られてきます。
(シリアルモニタに表示されます)
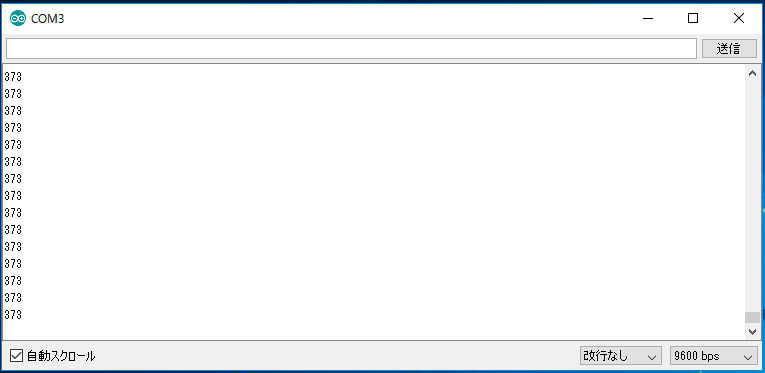
暗くすると0に近づき、明るくすると1,023に近づきます。
まとめ
とりあえず、なんの苦労もなく使うことができました。
何らかの閾値で処理を切り替える、なんて感じで使うイメージでしょうか。