1. クライアントセンターアカウントの作成
下記を確認しながら作成すると、メールが届く。
- https://developers.google.com/adwords/api/docs/signingup?hl=ja#step1
- https://support.google.com/adwords/answer/6139186?hl=ja&rd=1
お客様の AdWords MCC アカウントは適切に有効化されました。複数の AdWords アカウントを作成、リンクし、一元管理できるようになります。

新しいアカウントに関するヘルプについては、AdWords ヘルプセンターのクライアント センター(MCC)アカウントのセクション(https://adwords.google.com/support/aw/topic/6031997?hl=ja)で詳細を確認できます。

- アカウントのリンクの設定およびリンクの解除

- ユーザーのアクセス権の変更

- MCC アカウントのダッシュボードの利用方法

- 複数階層のクライアント センター

- レポートとアラート

- 統合請求

- その他

ご利用を開始するには、https://adwords.google.com/um/StartNewLogin からアカウントにログインします。

今後ともよろしくお願いいたします。

Google AdWords チーム
2. AdWordsアカウントの作成
まだやってない。
クライアントセンターアカウントとAdWordsアカウントは同じメールアドレスだとNGです。
AdWordsのお客様ID入力する。
手順に沿って入力するとAdWordsアカウント側にメールが届く。AdWordsアカウントの
アカウント設定>アカウントのアクセスにて承認する。
3. AdWords API の申請
AdWords API アクセスを申請して、テストアカウントを作る。
- MCCログイン後の右上のギアマークを押下して、
アカウント設定>AdWords API センターを選択する。 - 色々入力すると光の速さで開発者トークンをGetできる。
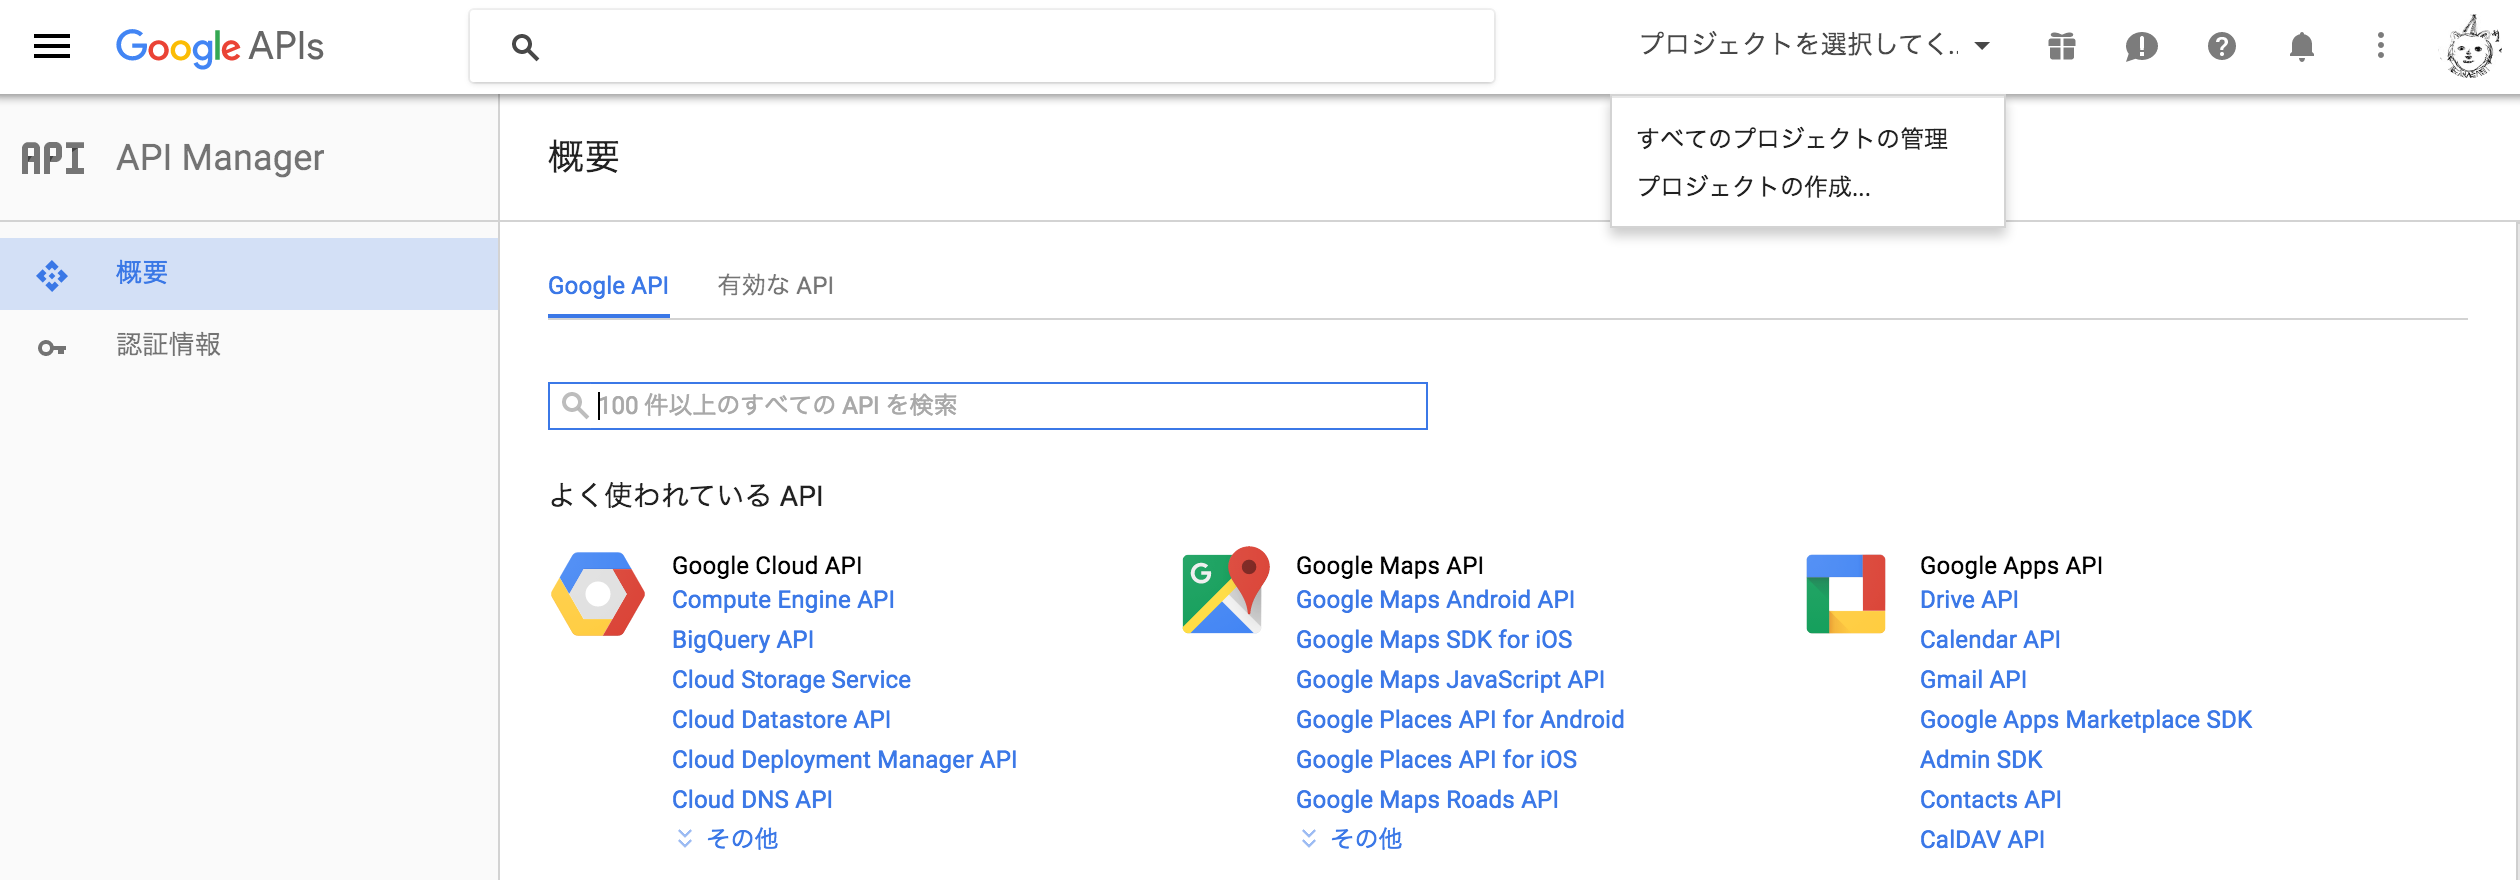
4. デベロッパーズコンソールでプロジェクトの作成。
5. クライアントライブラリの取得
https://github.com/googleads/
色々な言語が対応しているけれども、個人的にPHPが馴染みやすいので、PHPを選択しました。
git clone https://github.com/googleads/googleads-php-lib.git
ラインナップは下記の通り。
- Java
- .Net
- PHP: コードサンプル
- Perl
- Python
- Ruby
6. Get Started
概要はコチラ。
6-1. auth.iniを編集する
developerTokenとclient_id、client_secretを入力する。
clientCustomerIdは、MCCログイン後の右上、お客様 ID: ...の部分を入力する。
userAgentは何でも良いのですって。
; Detailed descriptions of these properties can be found at:
; https://developers.google.com/adwords/api/docs/headers

developerToken = "{開発者トークン}"
userAgent = "{自由}"

; Uncomment clientCustomerId to make requests against a single AdWords account,
; such as when you run the examples.
; If you don't set it here, you can set the client customer ID dynamically:
;  $user = new AdWordsUser();
;  $user->SetClientCustomerId(...);

clientCustomerId = "{お客様ID}"

[OAUTH2]

; If you do not have a client ID or secret, please create one of type
; "installed application" in the Google API console:
; https://cloud.google.com/console
client_id = "{クライアントID}"
client_secret = "{クライアントシークレット}"

; If you already have a refresh token, enter it below. Otherwise run
; GetRefreshToken.php.
refresh_token = "INSERT_OAUTH2_REFRESH_TOKEN_HERE"

; Optionally, uncomment the oAuth2AdditionalScopes line to provide additional
; OAuth2 scopes. The AdWords API OAuth2 scope is always included. For
; additional OAuth2 scopes, reference the OAuth 2.0 Playground
; (https://developers.google.com/oauthplayground/). In the playground, each
; application has a list of OAuth2 scopes. For example, you would enter
; https://www.googleapis.com/auth/analytics here as a value if you would like
; to include Google Analytics as an additional scope.
; oAuth2AdditionalScopes = "INSERT_COMMA_SEPARATED_LIST_OF_SCOPES_HERE"
6-2. リフレッシュトークンを取得する
./googleads-php-lib/examples/AdWords/Auth/GetRefreshToken.phpを実行する。
Log in to your AdWords account and open the following URL:の後に出力されるURLを叩く。
% php ./googleads-php-lib/examples/AdWords/Auth/GetRefreshToken.php

Log in to your AdWords account and open the following URL:
https://accounts.google.com/o/oauth2/auth?{色んなパラメータ}

After approving the token enter the authorization code here:
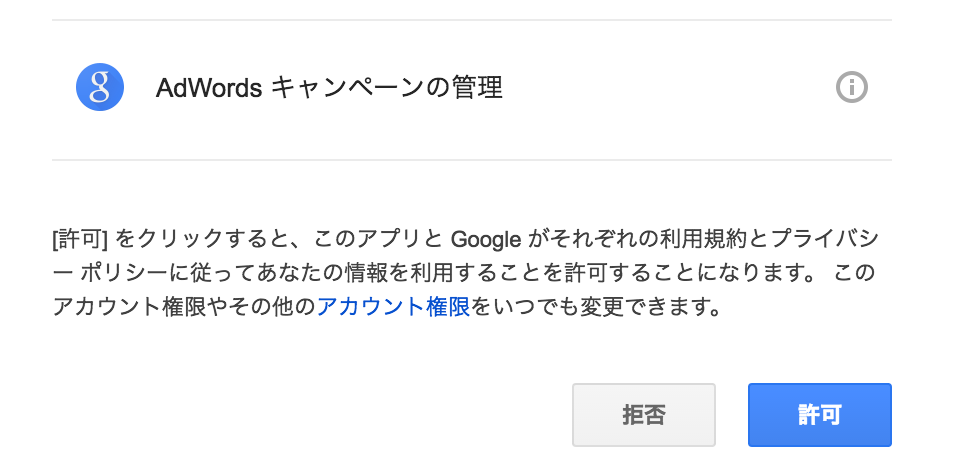
そうすると、このような画面が出るので、許可ボタンを押下すると、コードが表示された画面に遷移する。
表示されたコードをAfter approving the token enter the authorization code here:の後に入力し、Enterキーを押下すると、リフレッシュトークンが取得できるので、auth.iniを更新する。
After approving the token enter the authorization code here: {画面に出力されたコード}

Your refresh token is: {リフレッシュトークン}

In your auth.ini file, edit the refresh_token line to be:
refresh_token = "{リフレッシュトークン}"


