Let's encryptとは
- 最近(12/3)にPublic Betaになった無料のSSL証明書提供サービス
- ACMEプロトコルを利用して、人出を介さずにSSL証明書の取得/更新が可能
Let's encryptの仕組み
- Let's encryptではサーバを公開鍵で区別している。初回通信を行うタイミングで鍵を生成して、Let's encryptのサーバに鍵を送る。これは、普通のCAで言うところのアカウントを作ってドメインを登録するところに相当している。
- ドメインが正しいものであることを確認するために、Let's encryptはエージェントに対して、例えば証明書を利用するサーバにファイルを配置するよう指示を出す。
- Let's encryptから無作為な文字列をエージェントに渡してそれを秘密鍵で暗号化し、指定したパスに配置する。それを確認することでサーバの正しさを証明する。
- そのあとは単純で先ほどの鍵ペアを利用して証明書のやり取りを行う。
Let's encryptを利用する
Step0. Pre-Requirements
- Let's encryptへの登録や証明書の準備は必要ない。
- サーバもUbuntu 14.04をほぼ素の状態から構築していく。
Install
Step1. Install Client Tool
~# apt-get install git
~# git clone https://github.com/letsencrypt/letsencrypt
Cloning into 'letsencrypt'...
remote: Counting objects: 25266, done.
remote: Compressing objects: 100% (39/39), done.
remote: Total 25266 (delta 13), reused 0 (delta 0), pack-reused 25227
Receiving objects: 100% (25266/25266), 6.63 MiB | 1.65 MiB/s, done.
Resolving deltas: 100% (17704/17704), done.
Checking connectivity... done.
~# cd letsencrypt/
~/letsencrypt# ./letsencrypt-auto --help
- 最後のletsencrypt-autoで依存性のあるパッケージを含めてクライアントツールのインストールを行ってくれます。
Step2. Configure Apache Web Server
- まずApacheをインストールしておく。
~# apt-get install apache2
- ServerNameの設定は必須なので、下記のような記載コンフィグの適切な位置に追記しておく。
- 今回の環境では/etc/apache2/sites-enabled/000-default.confのVirtualHost内に追記した。
- 実際の環境ではその他色々設定があるかとは思うが、今回はそこに主眼は置いていないので割愛する。
ServerName www.example.com
-
もちろん、DNSの正引き、逆引きくらいは正しく返されるように設定しておく。
- 正引き/逆引きは環境によって設定の仕方が大きく変わるのでここでは記載しない。
-
また、実際利用したドメインは実際に私が保有しているドメインだが、ここで公開するのも微妙だったので画像上では加工して表示している。
Step3. Configure Let's Encrypt
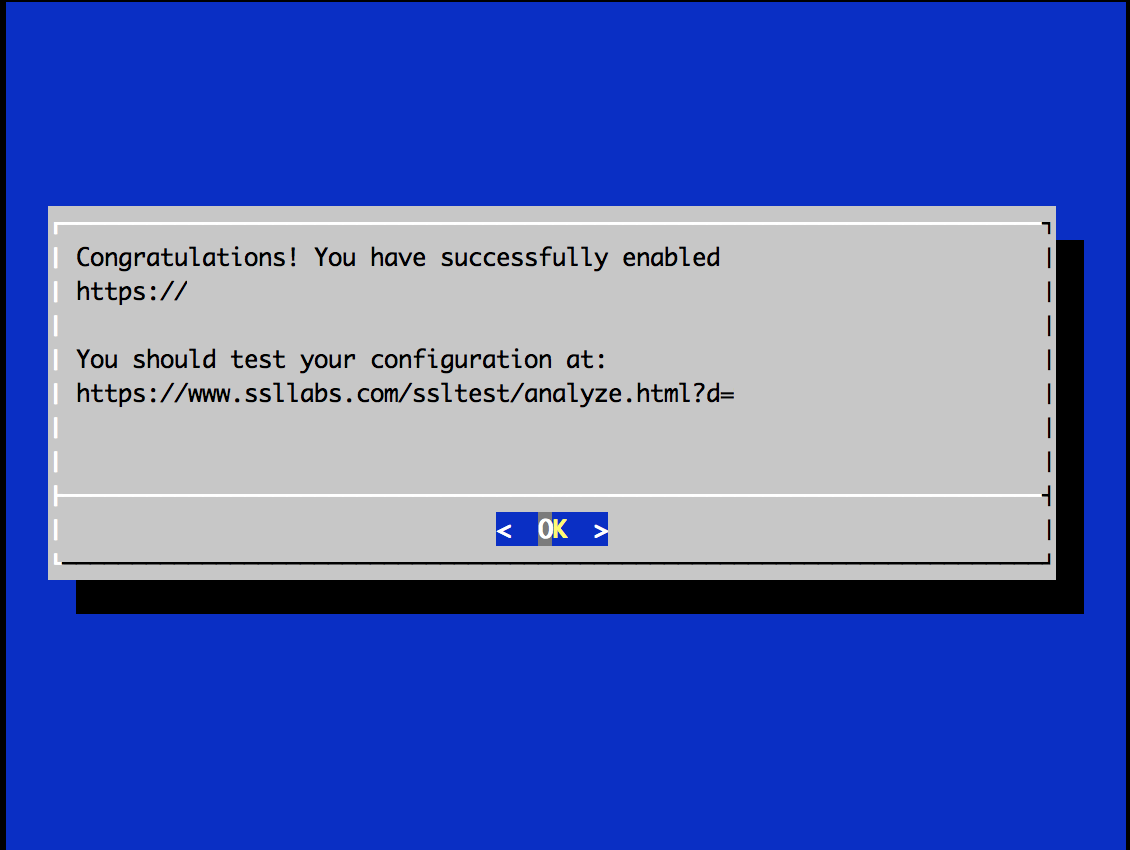
- インストーラを走らせてウィザードに従うだけで簡単に導入できる。
- まずは下記コマンドを叩く。
~# ./letsencrypt-auto --apache
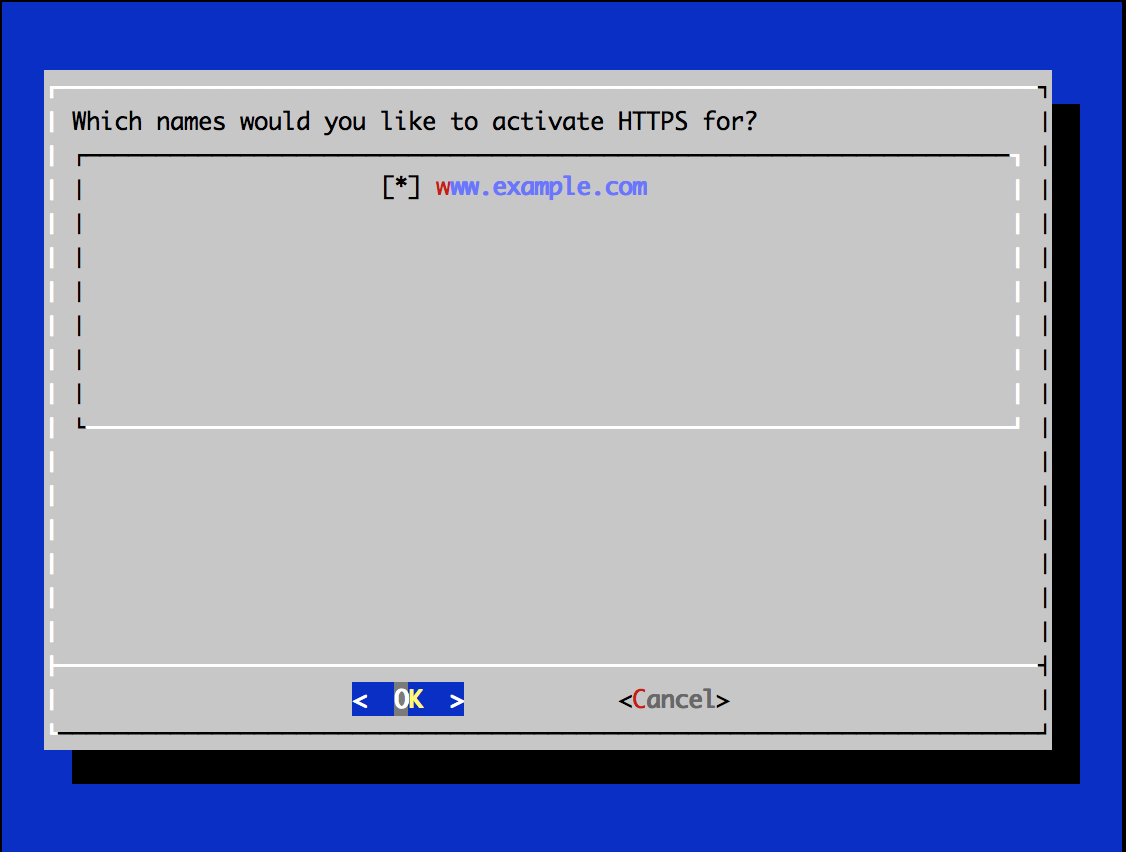
- 下記のような画面が表示されるので、先ほど設定したServerNameを選択する。
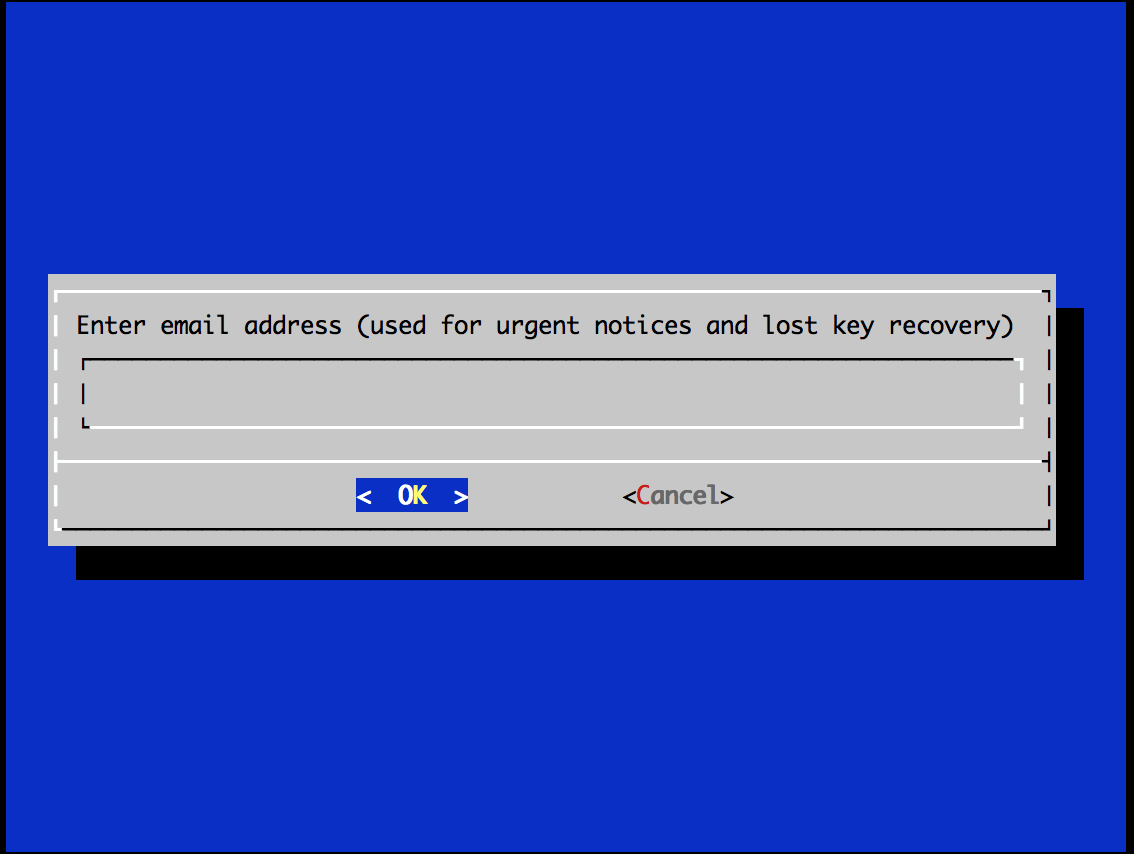
- 次の画面ではメールアドレスが求められる。
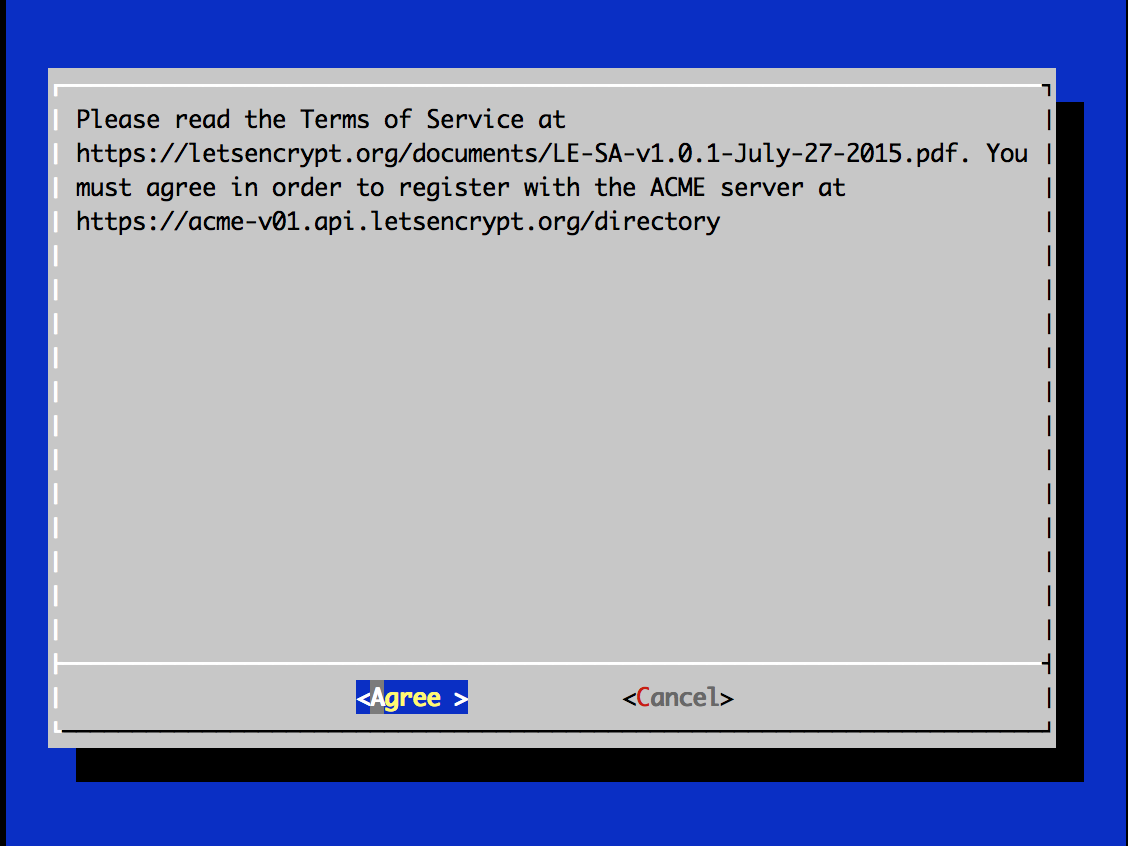
- 使用許諾書に同意しろと出るので、Agreeして進める。
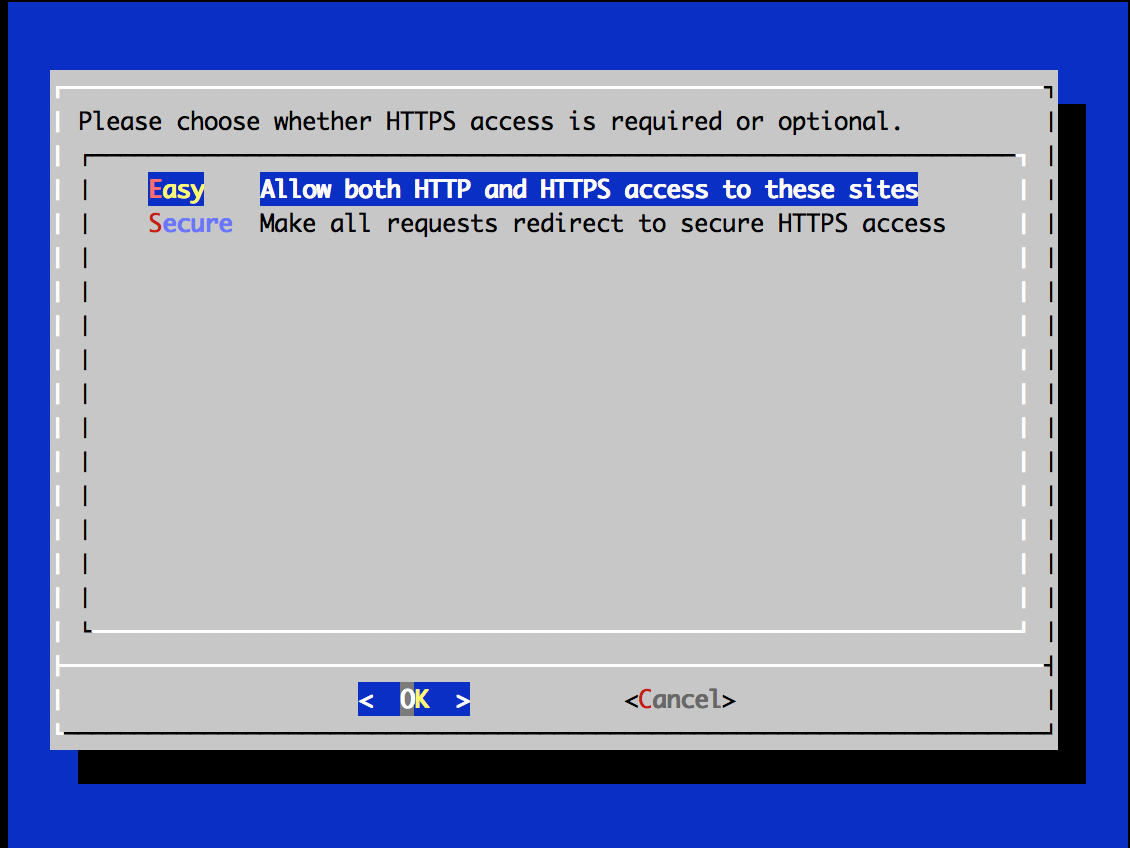
- Easyを選ぶとHTTP/HTTPS両方でアクセスし、Secureを選ぶとHTTPでアクセスが来た場合には自動的にHTTPSにリダイレクトする設定を組み込んでくれるようだ。
- 勝手にコンフィグが変わるのも微妙だが、気になったのでSecureを選択した。
- 結果を先に書くと、https://www.ssllabs.com/ でA判定が取れるようにはしてくれるので、こういったところが難しい人にはとりあえずいいのかもしれない。
- これでツールでの設定は完了。
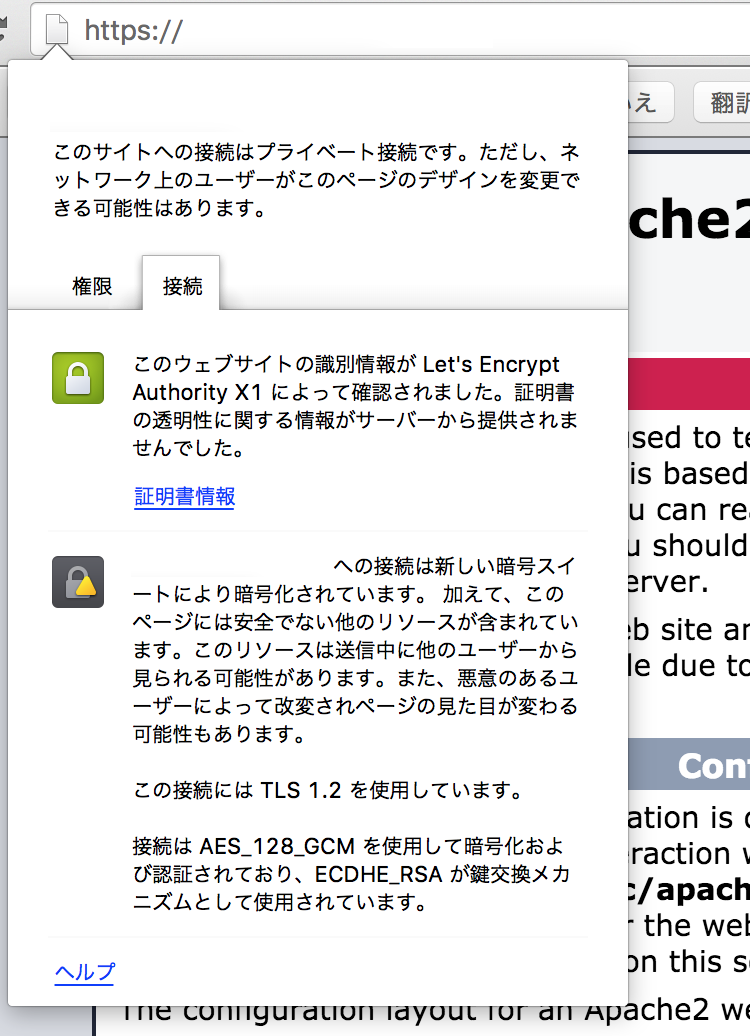
- 設定したサイトにアクセスして証明書を確認する。
確認
変更された設定ファイル
- /etc/apache2/sites-enabled/000-default.conf
- 下記のようなHTTPSへのリダイレクトが追加された。
<VirtualHost *:80>
...
RewriteEngine on
RewriteRule ^ https://%{SERVER_NAME}%{REQUEST_URI} [L,QSA,R=permanent]
</VirtualHost>
追加された設定ファイル
- /etc/apache2/sites-enabled/000-default-le-ssl.conf
- 気づいたらできていた
- 中身は下記のようなものとなる
- 基本的にはもともとあった000-default.confがベースとなっているように見受けられる。
<IfModule mod_ssl.c>
<VirtualHost *:443>
        # The ServerName directive sets the request scheme, hostname and port that
        # the server uses to identify itself. This is used when creating
        # redirection URLs. In the context of virtual hosts, the ServerName
        # specifies what hostname must appear in the request's Host: header to
        # match this virtual host. For the default virtual host (this file) this
        # value is not decisive as it is used as a last resort host regardless.
        # However, you must set it for any further virtual host explicitly.
        ServerName www.example.com

        ServerAdmin webmaster@example.com
        DocumentRoot /var/www/html

        # Available loglevels: trace8, ..., trace1, debug, info, notice, warn,
        # error, crit, alert, emerg.
        # It is also possible to configure the loglevel for particular
        # modules, e.g.
        #LogLevel info ssl:warn

        ErrorLog ${APACHE_LOG_DIR}/error.log
        CustomLog ${APACHE_LOG_DIR}/access.log combined

        # For most configuration files from conf-available/, which are
        # enabled or disabled at a global level, it is possible to
        # include a line for only one particular virtual host. For example the
        # following line enables the CGI configuration for this host only
        # after it has been globally disabled with "a2disconf".
        #Include conf-available/serve-cgi-bin.conf
SSLCertificateFile /etc/letsencrypt/live/www.example.com/cert.pem
SSLCertificateKeyFile /etc/letsencrypt/live/www.example.com/privkey.pem
Include /etc/letsencrypt/options-ssl-apache.conf
SSLCertificateChainFile /etc/letsencrypt/live/www.example.com/chain.pem
</VirtualHost>

# vim: syntax=apache ts=4 sw=4 sts=4 sr noet
</IfModule>
最後に
- 個人的には簡単にSSL証明書が利用できてしまって、良いと思った。
- 特にopensslコマンドなんかは個人的に滅多に使わないので都度調べるのが結構手間だったので、そこが軽く出来てしまうのは良いように思った。
- あと、証明書の入れ替えも何かとめんどくさい(せっかくの休日が!)ところではあるので、それも簡略化できるのは良いと思う。
- どの程度実用的なのかは自分では測れないですが、私的利用であればまずこれでよいのではないかなと思います。個人的にはこれでしばらくは運用してみようかと思います。
- コンテンツがありませんが :)
