この記事はGoodpatch Advent Calendar 2016、22日目の記事です。 先日は @migi の ナイーブベイズを利用した自動カテゴリ判定器の開発でした。
グッドパッチにてプロダクトマネージャーをしてます、 @mariokada です! エンジニアではないですが、今年もアドベントカレンダーに参加させていただきました!
昨年はプログラミング初心者がPebble Time Watchfaceを作ってみた を書きました。
今年もPebbleの記事を書きます!とてつもなく悲しいことに、Pebbleはfitbitに買収され、Pebble自体の購入や開発はこれ以上ないとのことですが...まだ壊れるまで使い続けていきたいと思っているみなさまにむけて、自分だけのWatchfaceを簡単に作る方法を書きたいと思います!
用意するもの
- 好きな画像
- Pebble Time Round の場合 : 180×180
- そのほかの場合 : 144 × 168
- CLOUDPEBBLEのアカウント
以上です!
さっそくやってみる
環境構築などなしで、CLOUD PEBBLEで簡単にWatchfaceをつくることができます。
アカウントを作ったら、さっそくログインして自分だけのWatchfaceを作ってみましょう ![]()

プロジェクトをつくる
好きな名前でプロジェクトを作ります。
設定諸々はデフォルトのままでOKです。
- PROJECT TYPE : Pebble C SDK
- SDK VERSION : SDK4
- TEMPLATE : Empty project
APP SOURCEにファイルを追加する
APP SOURCE の ADD NEW からファイルを追加します。
- FILE TYPE : C file
- FILENAME : main.c
- TARGET : App / Watchface
ファイルが作成できたら、下記をコピペします。
:main.c
# include <pebble.h>

static Window *s_main_window;
static TextLayer *s_time_layer;
static GBitmap *s_bitmap;
static BitmapLayer *s_bitmap_layer;


static void update_time() {
  // Get a tm structure
  time_t temp = time(NULL);
  struct tm *tick_time = localtime(&temp);

  // Write the current hours and minutes into a buffer
  static char s_buffer[8];
  strftime(s_buffer, sizeof(s_buffer), clock_is_24h_style() ?
                                          "%H:%M" : "%I:%M", tick_time);

  // Display this time on the TextLayer
  text_layer_set_text(s_time_layer, s_buffer);
}

static void tick_handler(struct tm *tick_time, TimeUnits units_changed) {
  update_time();
}

static void main_window_load(Window *window) {
  // Get information about the Window
  Layer *window_layer = window_get_root_layer(window);
  GRect bounds = layer_get_bounds(window_layer);

  // Create the TextLayer with specific bounds
  s_time_layer = text_layer_create(
      GRect(0, PBL_IF_ROUND_ELSE(58, 52), bounds.size.w, 50));

  // Improve the layout to be more like a watchface
  text_layer_set_background_color(s_time_layer, GColorClear);
  text_layer_set_text_color(s_time_layer, GColorWhite);
  text_layer_set_text(s_time_layer, "00:00");
  text_layer_set_font(s_time_layer, fonts_get_system_font(FONT_KEY_LECO_42_NUMBERS));
  text_layer_set_text_alignment(s_time_layer, GTextAlignmentCenter);

  // Add to Window
  s_bitmap = gbitmap_create_with_resource(RESOURCE_ID_PIC);
  s_bitmap_layer = bitmap_layer_create(bounds);
  bitmap_layer_set_background_color(s_bitmap_layer, GColorVividCerulean);
  bitmap_layer_set_bitmap(s_bitmap_layer, s_bitmap);
  bitmap_layer_set_compositing_mode(s_bitmap_layer, GCompOpSet);
  layer_add_child(window_layer, bitmap_layer_get_layer(s_bitmap_layer));


  // Add it as a child layer to the Window's root layer
  layer_add_child(window_layer, text_layer_get_layer(s_time_layer));


}

static void main_window_unload(Window *window) {
  // Destroy TextLayer
  text_layer_destroy(s_time_layer);
  bitmap_layer_destroy(s_bitmap_layer);
}


static void init() {
  // Create main Window element and assign to pointer
  s_main_window = window_create();

  // Set handlers to manage the elements inside the Window
  window_set_window_handlers(s_main_window, (WindowHandlers) {
    .load = main_window_load,
    .unload = main_window_unload
  });

  // Show the Window on the watch, with animated=true
  window_stack_push(s_main_window, true);

  // Make sure the time is displayed from the start
  update_time();

  // Register with TickTimerService
  tick_timer_service_subscribe(MINUTE_UNIT, tick_handler);
}

static void deinit() {
  // Destroy Window
  window_destroy(s_main_window);
}

int main(void) {
  init();
  app_event_loop();
  deinit();
}
画像を追加する
上記のコードで
- 日時、曜日
ex. 12/23 fri - 時間
ex. 10:28
が真ん中に表示されます。背景には自分が好きな画像を表示させるために、画像を追加してみましょう!
RESOURCES の ADD NEWから画像が追加できます。
- FILE NAME : なんでもOK
- IDENTIFIER : PIC
で UPLOAD NEW FILE からファイルを追加します。
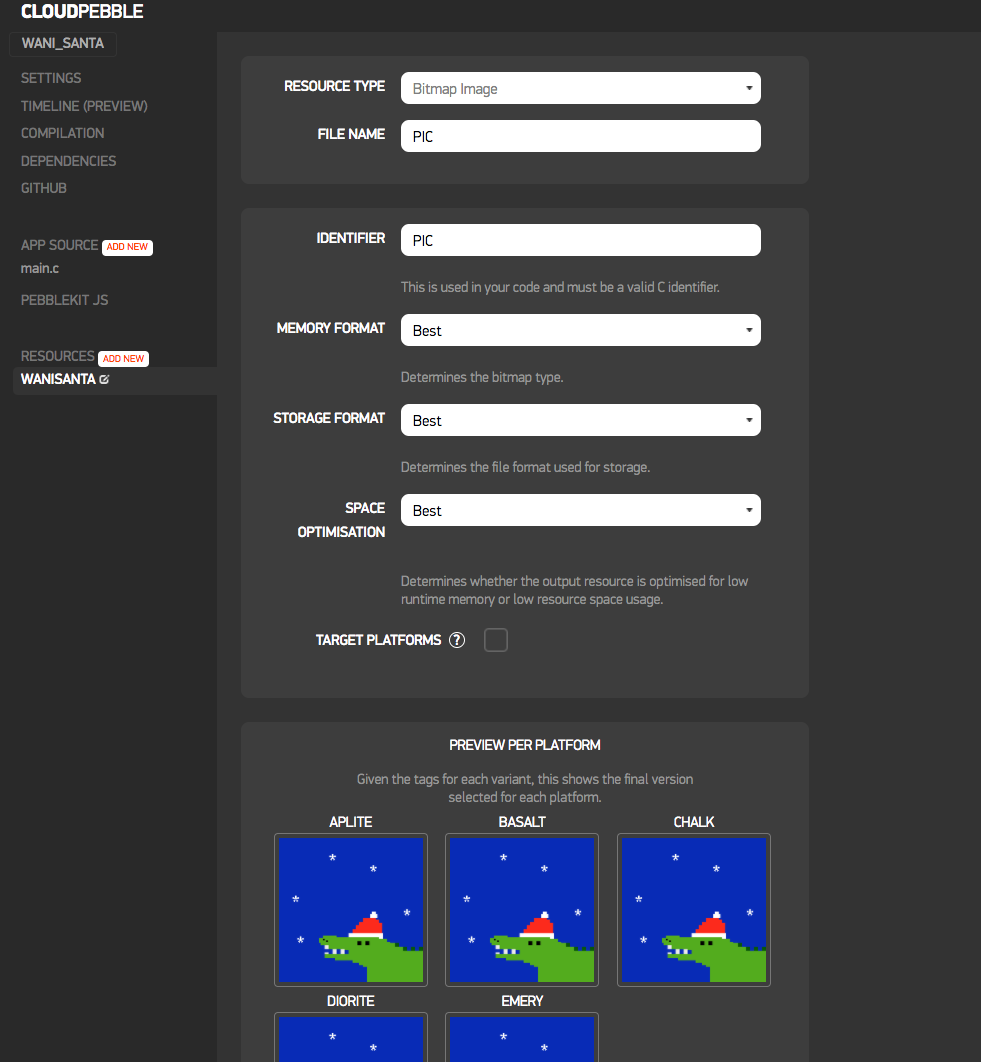
ファイルを追加するとこのように表示されます
作ったものをみてみよう
もうこれで、Watchfaceの完成です ![]() どんな感じで表示されているか、確かめてみましょう。
どんな感じで表示されているか、確かめてみましょう。
確認の方法は
- エミュレーター
- 実機
があります。
COMPILATIONから好きな方を選んでください。
エミュレーターの場合
どの端末で表示させるかを選ぶことができます。

これは CHALK(Pebble Time Round)で表示しました。
実機で確認する場合
実機で確認する場合は Pebbleアプリ側から Developper modeをオンにしておいた状態にしておき、 INSTALL AND RUNを押すとすぐ表示されます。

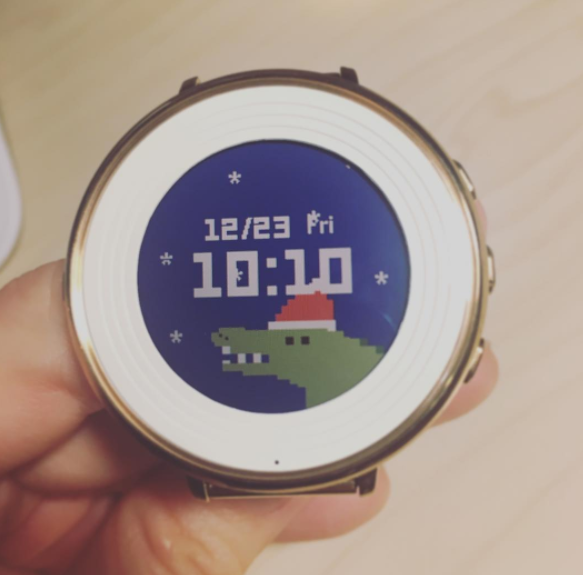
実機で見るとこのように表示されます! エミュレーターで見るのと、実機で見ると色の見え方が全然違うので、実機で確認しながら色を調整するとよさそうです。
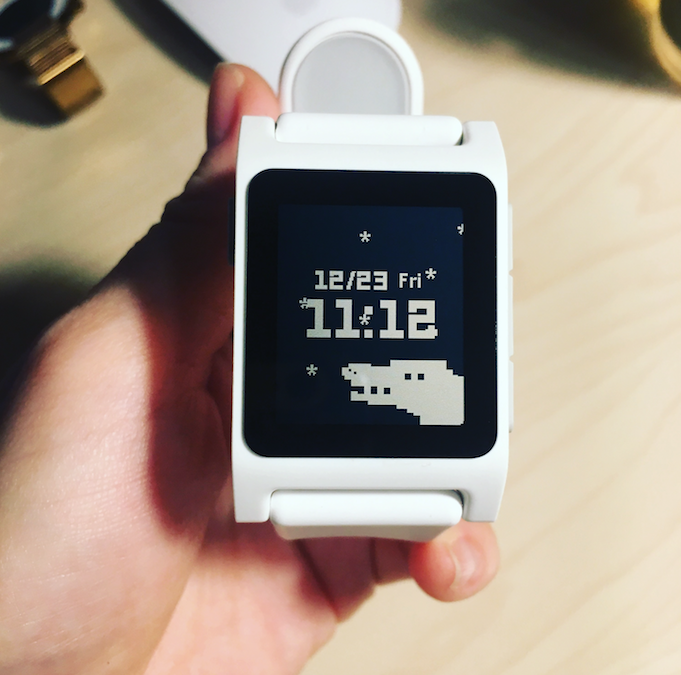
Pebble, Pebble Steel, Pebble2は 白黒表示なのでこのように表示されます ![]() 端末別で画像は出し分けは可能です。
端末別で画像は出し分けは可能です。
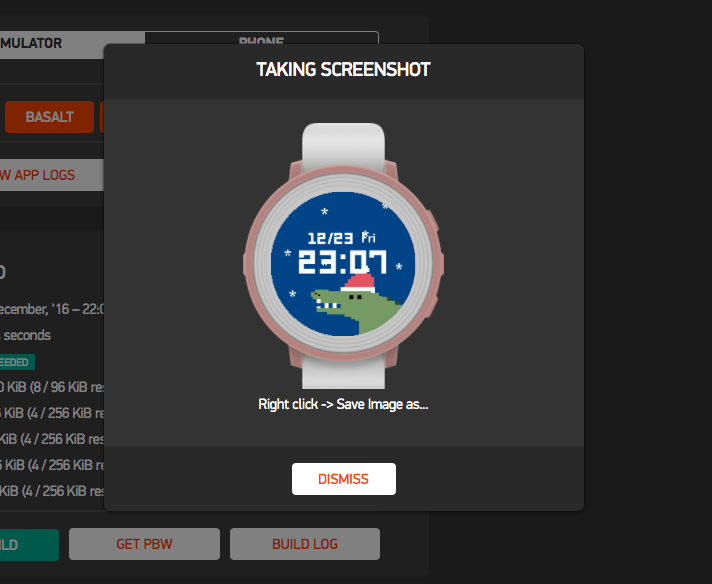
申請はこちらから
せっかくなので、できたPebble Watchfaceを申請したい!という方は
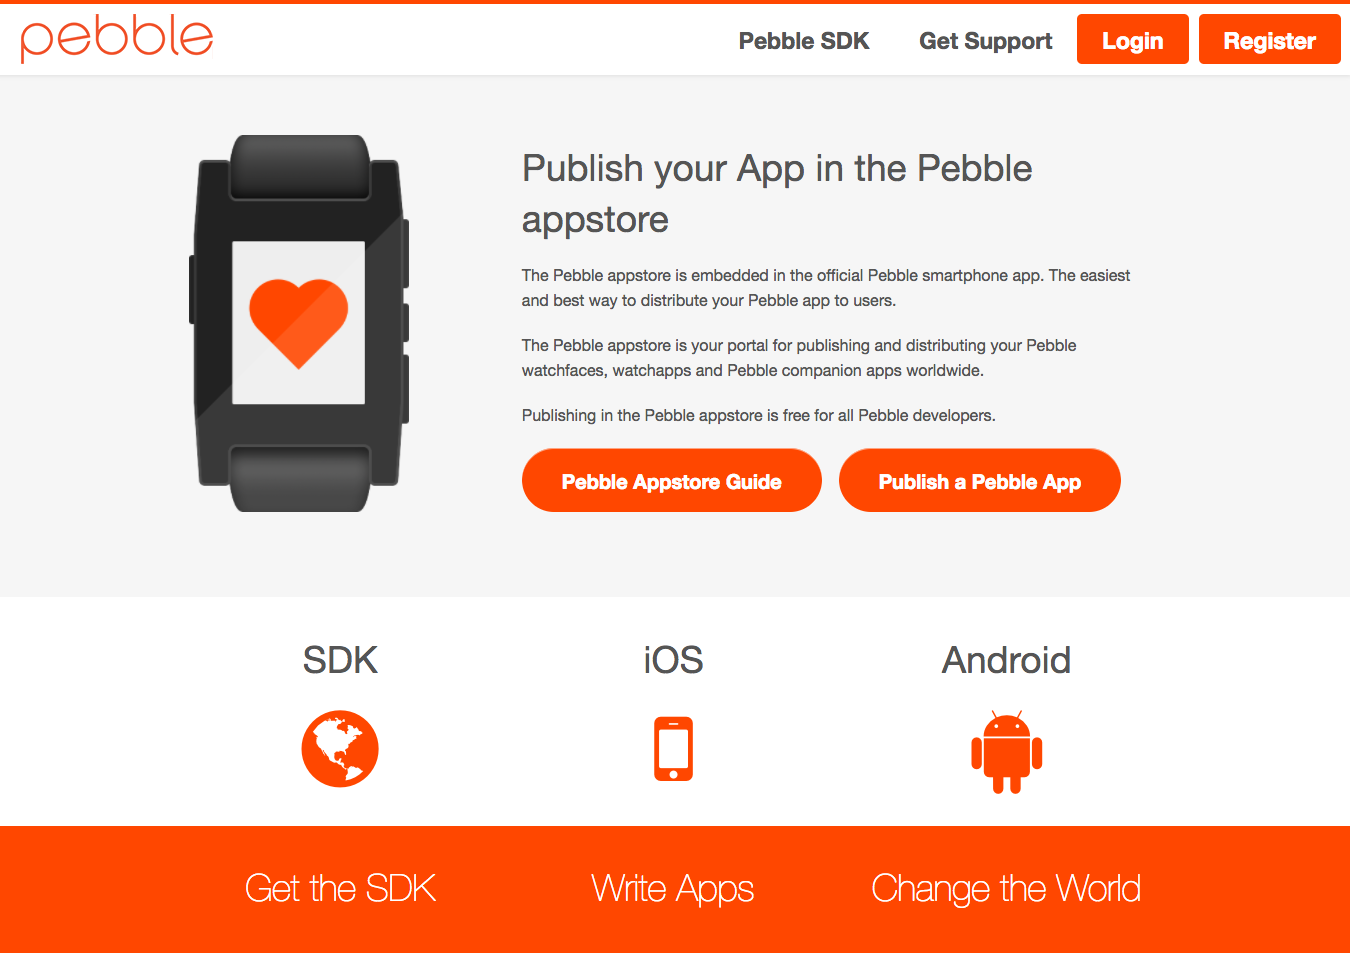
https://dev-portal.getpebble.com/
からできます。スクリーンショットなどはエミュレーターからダウンロードすることができるので、あまり手間はかかりません!
最後に
Pebble WatchfaceはC言語(or JS)でつくることができます。凝ったものをつくろうとすると、なかなか難しいですが 今回ご紹介したもののように 画像 + 時計表示は すぐできるので是非試してみてください!
また、わたしが作ったWatchfaceもGithubで公開しています。本当はアニメーションとか、Watchfaceの切替をできるように色々やりたいのですがまだできていない... Pull requestお待ちしております ![]()
![]()
https://github.com/mario-kada/waniwatch
https://github.com/mario-kada/toriwatch