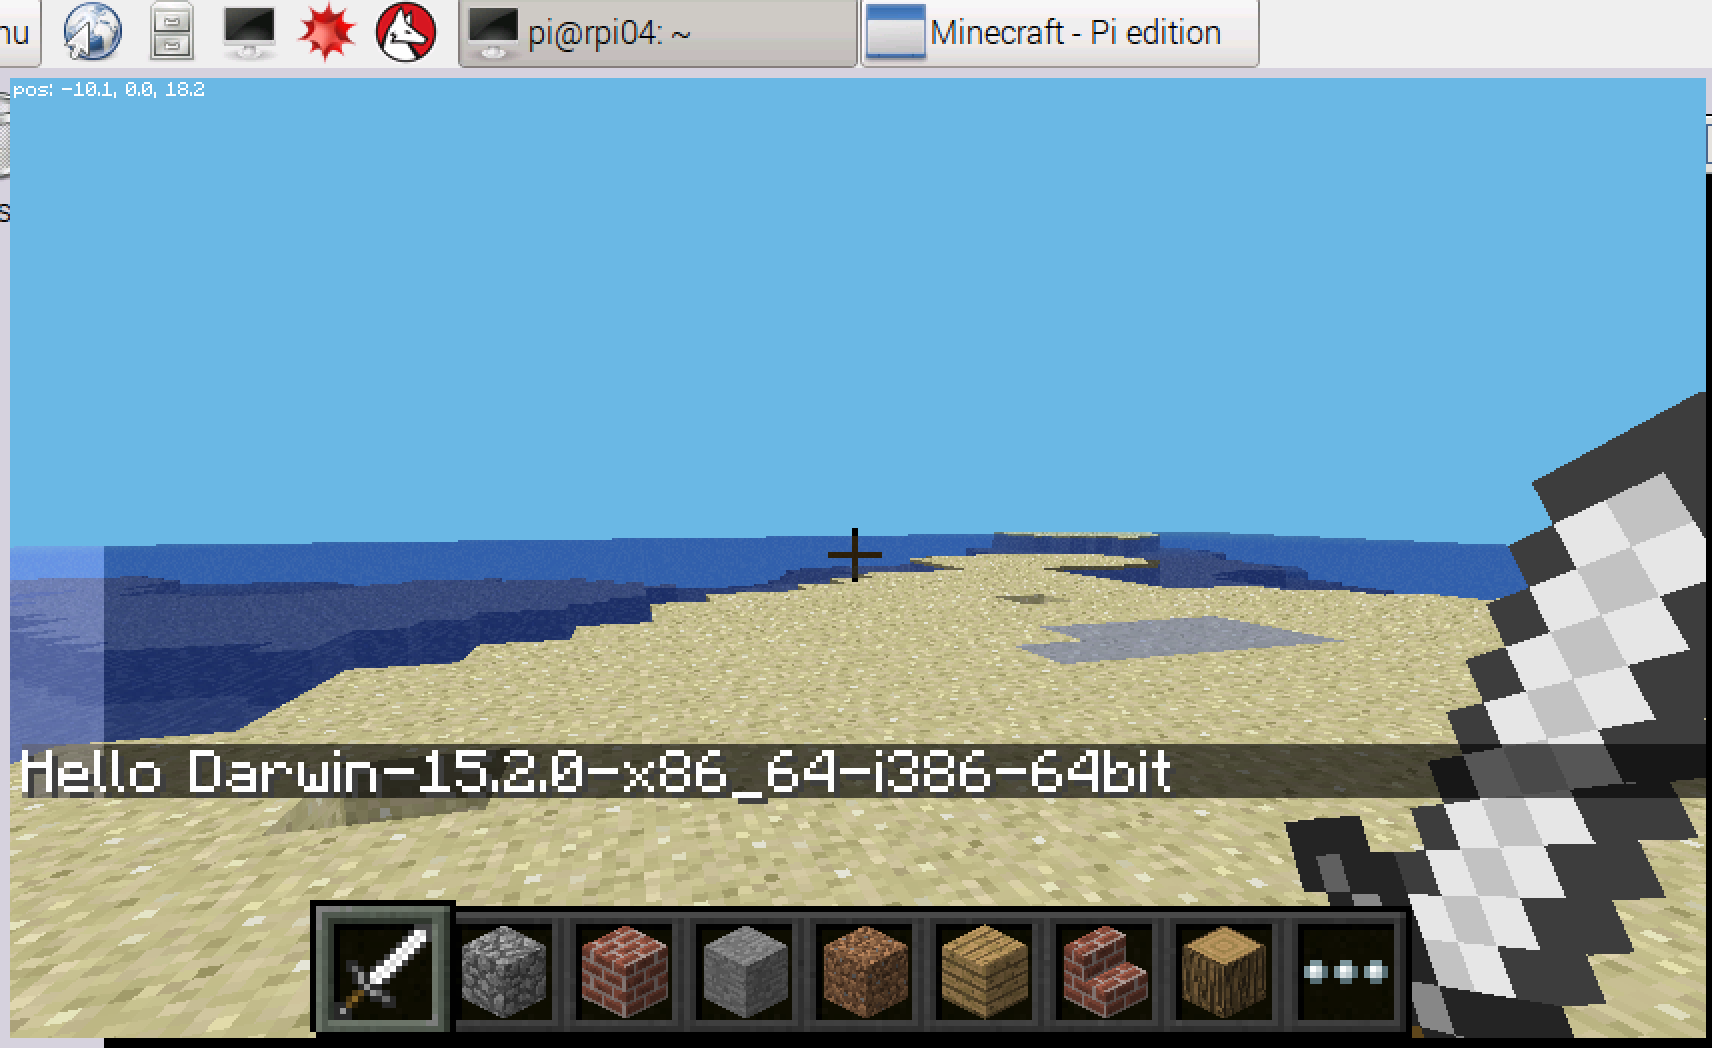
Raspberry PiのOSであるRaspbianにはMinecraft Pi Editionがインストールされています。Minecraft Pi Editionには外部から操作できるAPIが存在し、Pythonプログラムを使ってMinecraftの世界にブロックを追加するなどができます。
今回はMinecraft Pi EditionをPCから操作する方法を紹介します。
使ったソフトウェア
Raspberry Pi側
- Raspbian Jessie (2015-11-21)
- Python 2.7.9
- Minecraft Pi Edition v0.1.1 alpha
PC側
- Mac OS X El Capitan (10.11.2)
- Python 2.7.11
- rsync
- エディタ
※ 古いRaspbianにはMinecraft Pi Editionがプリインストールされていないことがあります
※ jessie-liteにはMinecraft Pi Editionはプリインストールされていません
※ PC側はPython 2が動けばMacである必要はありません
リモートで操作する仕組み
Minecraft Pi Editionはポート4711でAPIを公開しています。Raspbianではクライアント用のPythonのライブラリ(以後mcpi)が /usr/lib/python2.7/dist-packages/mcpi/ にあり、Pythonプログラムを書いて操作ができます。
$ python
>>> import mcpi
>>> print mcpi.__file__
/usr/lib/python2.7/dist-packages/mcpi/__init__.pyc
minecraft.createメソッドの実装は以下のようになっており、第一引数にRaspberry PiのIPアドレスを入れることで同じローカルネットワーク上のPCからMinecraft Pi Editionを操作することができます。
    def create(address = "localhost", port = 4711):
        return Minecraft(Connection(address, port))
mcpiはソケット通信が実装できればPython以外の移植も可能ですので、Rubyで書き換えている人もいるようです。(eaglestone/minecraft-pi-ruby)
開発環境の準備
まずRaspberry PiにあるmcpiをPC側にコピーします。(pi@192.168.1.49のIPアドレスの部分はRaspberry Piでifconfigなどを実行するなりして変更してください。)
mkdir minecraft-pi-samples
cd minecraft-pi-samples
rsync -av --copy-links pi@192.168.1.49:/usr/lib/python2.7/dist-packages/mcpi/ ./mcpi/ --exclude=*.pyc
この作業がわからない・面倒な人はサンプルプログラムを公開しているので こちら をダウンロードして解凍し src ディレクトリをお使いください。
プログラムを実行する
以下のプログラムを作成します。Minecraft.createの第一引数の"192.168.1.49"をお使いのRaspberry PiのIPアドレスに置き換えてください。
import platform
from mcpi.minecraft import Minecraft
mc = Minecraft.create("192.168.1.49")
mc.postToChat("Hello " + platform.platform())
ディレクトリ構成はこのようになります。
.
├── hello.py
└── mcpi
    ├── __init__.py
    ├── block.py
    ├── connection.py
    ├── event.py
    ├── minecraft.py
    ├── util.py
    └── vec3.py
python hello.pyを実行し、Minecraft Pi Edition側にプログラムを実行したPCのプラットフォーム情報がチャットメッセージに表示されると成功です。
まとめ
今回はmcpiのコードを読み、ソケット通信しているということからリモートで開発するということを行いました。
PCを使うメリットとしてエディタなど普段使い慣れた開発環境を利用できるという点と、リモートで操作できることから一人がMinecraftを操作し、もう一人がプログラムを実行して妨害 or 補助するといった遊び方ができる点があると思います。
副次的なメリットとしてmcpiを同じディレクトリにコピーしているのでメソッドの内容を確認しながらコードを書けるという点もあります。
教育現場ではRaspberry Pi側で実行してもらう必要がある気はするのですが、教材としてサンプルコードを作ったりする側はこういった生産性の高い環境を使っても良いのかなと思います。
