カラーミーショップAPI
概要についての説明は公式ページ をご確認ください。
今回は公式ページ から下記の手順をやってみます。
- カラーミーデベロッパーアカウント登録
- アプリケーション登録登録
- ローカルでのテスト(PHP)
(利用手順の中から「6. その他のAPIの呼び出し」の[アプリケーションのWebサーバのサンプル]部分について)
使い方
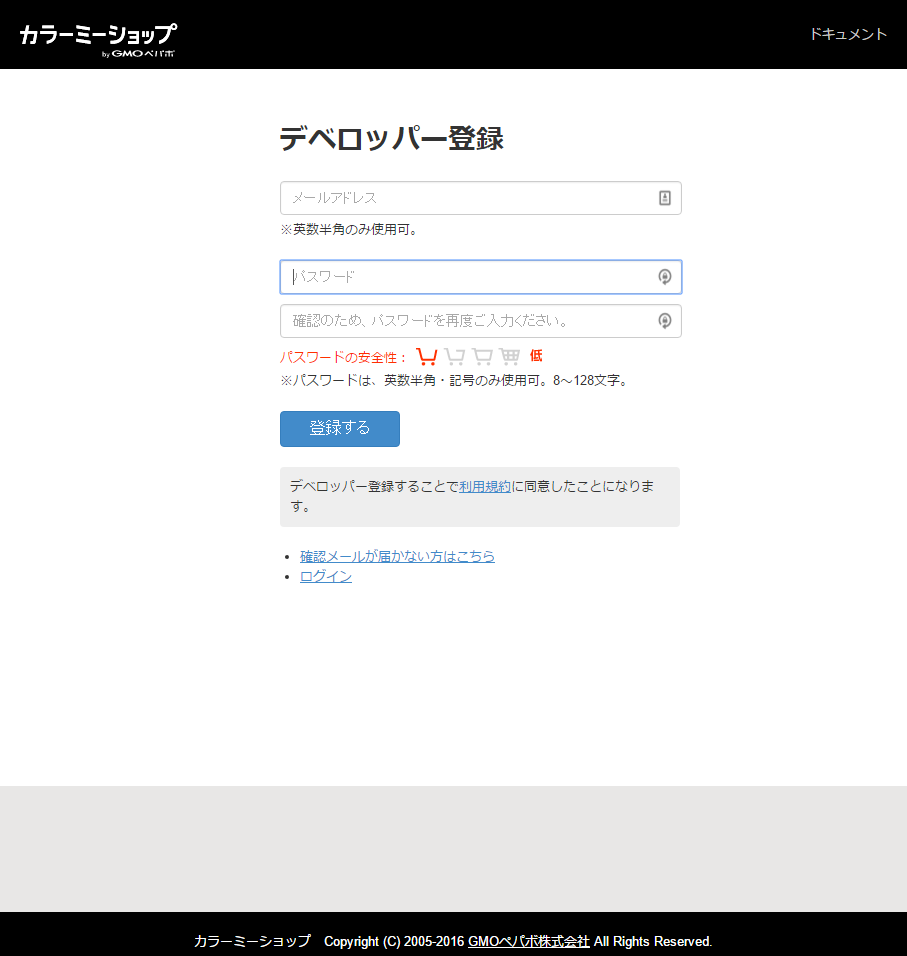
カラーミーデベロッパーアカウント登録
下記から登録します。
https://api.shop-pro.jp/developers/sign_up
アプリケーション登録
下記から登録します。
https://api.shop-pro.jp/oauth/applications/new
アプリケーション名とリダイレクトURLを入力してください。
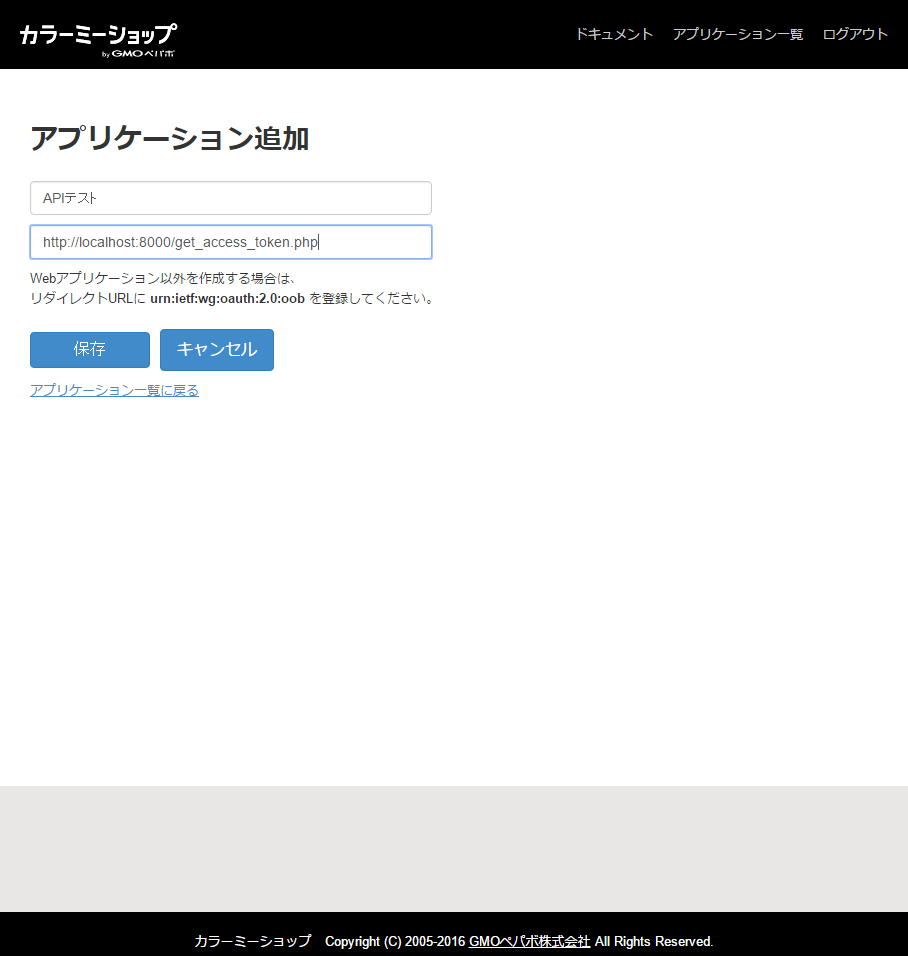
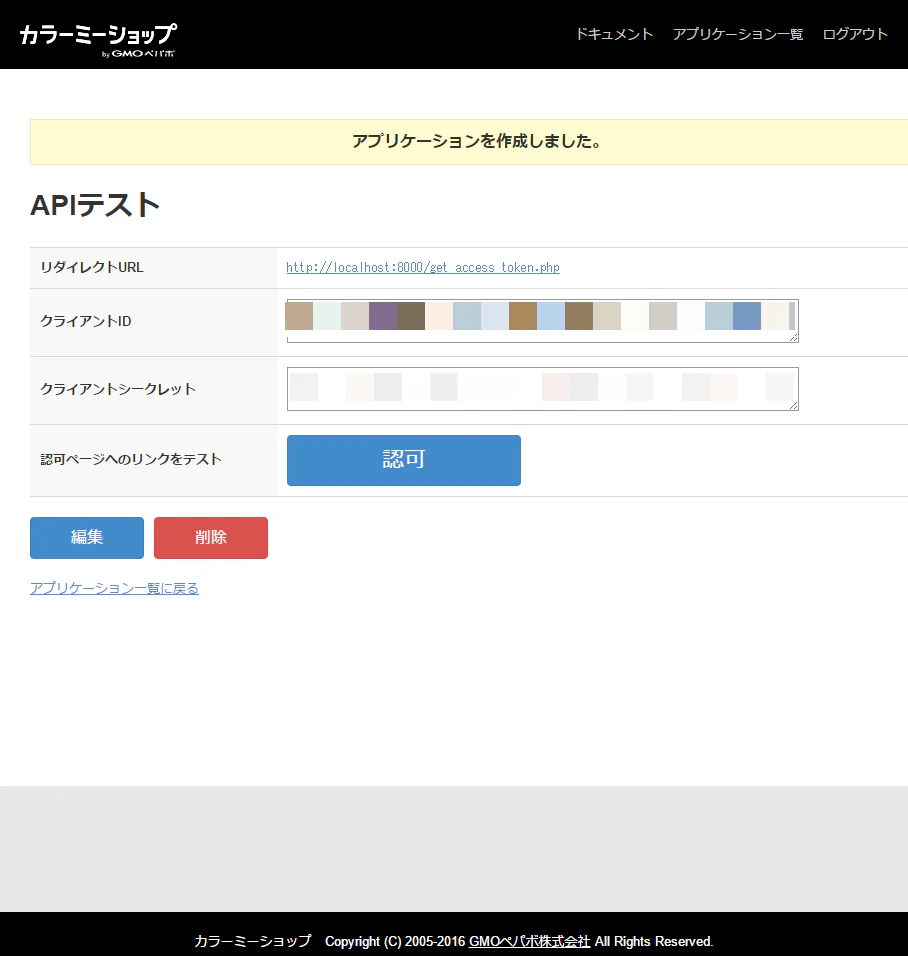
リダイレクトURL、クライアントID、クライアントシークレット は後ほど使用するので控えておいてください。
ローカルでテスト
サンプルコードを設置
PHPが実行できる場所に下記ファイルを設置します。
(curlではなく file_get_contents()なのでphp.iniの設定など不要)
get_access_token.php
アクセストークン取得時に使用する。
<?php
define("OAUTH2_SITE", 'https://api.shop-pro.jp');
define("OAUTH2_CLIENT_ID",'クライアントID');
define("OAUTH2_CLIENT_SECRET", 'クライアントシークレット');
define("OAUTH2_REDIRECT_URI", 'http://localhost:8000/get_access_token.php');

$code = $_GET['code'];
// 認可ページへリダイレクトする
if (empty($code)) {
    $params = [
        'client_id'     => OAUTH2_CLIENT_ID,
        'redirect_uri'  => OAUTH2_REDIRECT_URI,
        'response_type' => 'code',
        'scope'         => 'read_products write_products read_sales write_sales',
    ];
    $auth_url = OAUTH2_SITE . '/oauth/authorize?' . http_build_query($params);
    header('Location: ' . $auth_url);
    exit;
}

// 認可後
$params = [
    'client_id'     => OAUTH2_CLIENT_ID,
    'client_secret' => OAUTH2_CLIENT_SECRET,
    'code'          => $code,
    'grant_type'    => 'authorization_code',
    'redirect_uri'  => OAUTH2_REDIRECT_URI,
];
$request_options = [
    'http' => [
        'method'  => 'POST',
        'header'  => implode("\r\n", [
            "Content-Type: application/x-www-form-urlencoded",
        ]),
        'content' => http_build_query($params),
    ]
];
$context = stream_context_create($request_options);

$token_url = OAUTH2_SITE . '/oauth/token';

$response_body = file_get_contents($token_url, false, $context);
$response_json = json_decode($response_body);

echo '<pre>';
// var_dump($response_body);
var_dump($response_json);
echo '</pre>';

exit();
request.php
リクエストを実行するときに使用する。
<?php
$request_options = [
    'http' => [
        'method'  => 'GET',
        'header'=> "Authorization: Bearer アクセストークン\r\n"
    ]
];
$context = stream_context_create($request_options);

// $url = 'https://api.shop-pro.jp/v1/shop.json';
$url = 'https://api.shop-pro.jp/v1/customers.json';
$response_body = file_get_contents($url, false, $context);

$response_json = json_decode($response_body, true);

echo '<pre>';
var_dump($response_json);
echo '</pre>';
ビルトインサーバ起動
サンプルコードを置いているディレクトリに移動して
cd /YOUR_WORK_DIR/
ビルトインサーバを起動する。
php -S localhost:8000
アクセストークンの取得
下記にアクセスする。
http://localhost:8000/get_access_token.php
ショップの管理者アカウントでログインする。
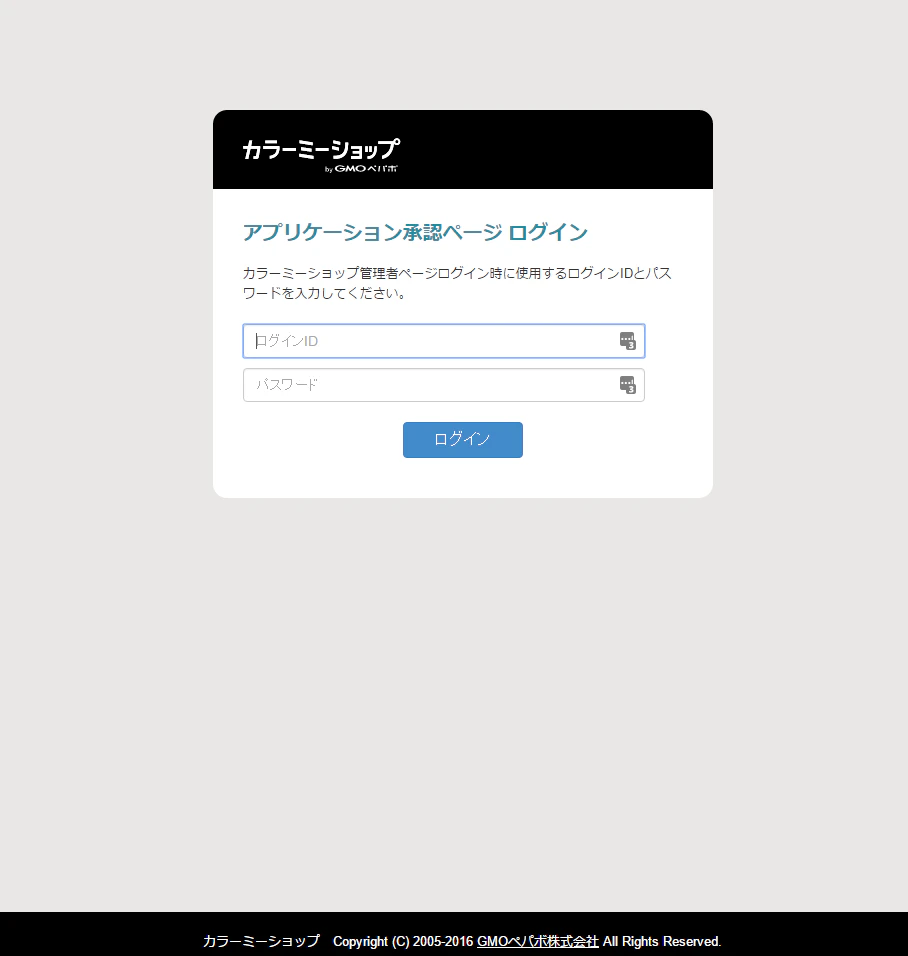
「承認する」ボタンを押す。
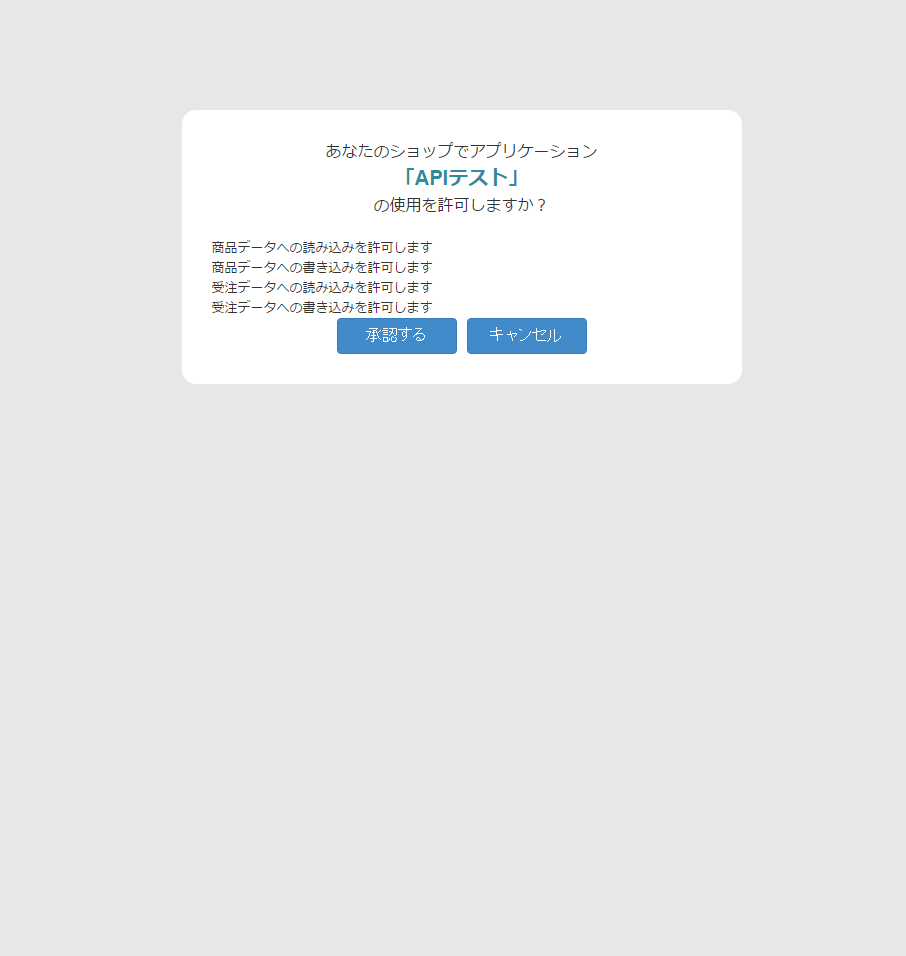
ブラウザに表示された["access_token"]の値をコピーする。
object(stdClass)#1 (3) {
  ["access_token"]=>
  string(64) "アクセストーク"
  ["token_type"]=>
  string(6) "bearer"
  ["scope"]=>
  string(51) "read_products write_products read_sales write_sales"
}
リクエスト実行ファイルにアクセストークンを設定する
先ほど取得したアクセストークンを request.php に設定する。
$request_options = [
    'http' => [
        'method'  => 'GET',
        'header'=> "Authorization: Bearer アクセストークン\r\n"
    ]
];
リクエストを実行
サンプルコードでは下記のように顧客情報一覧が取得できる。
array(2) {
  ["customers"]=>
  array(2) {
    [0]=>
    array(18) {
      ["id"]=>
      int(00000000)
      ["account_id"]=>
      string(10) "XX00000000"
      ["name"]=>
      string(15) "山田 太郎"
      ["furigana"]=>
      string(0) ""
      ["hojin"]=>
      string(0) ""
      ["busho"]=>
      string(0) ""
      ["sex"]=>
      NULL
      ["postal"]=>
      string(0) ""
      ["pref_id"]=>
      int(1)
      ["pref_name"]=>
      string(9) "北海道"
      ["address1"]=>
      string(24) "市区町村、番地等"
      ["address2"]=>
      string(0) ""
      ["mail"]=>
      string(24) "customer2@example.com"
      ["tel"]=>
      string(10) "0312345678"
      ["fax"]=>
      string(0) ""
      ["tel_mobile"]=>
      string(0) ""
      ["points"]=>
      int(0)
      ["member"]=>
      bool(true)
    }
    [1]=>
    array(18) {
      ["id"]=>
      int(00000000)
      ["account_id"]=>
      string(10) "XX00000000"
      ["name"]=>
      string(9) "顧客1"
      ["furigana"]=>
      string(0) ""
      ["hojin"]=>
      NULL
      ["busho"]=>
      NULL
      ["sex"]=>
      NULL
      ["postal"]=>
      string(7) "1234567"
      ["pref_id"]=>
      int(1)
      ["pref_name"]=>
      string(9) "北海道"
      ["address1"]=>
      string(21) "市区町村・番地"
      ["address2"]=>
      NULL
      ["mail"]=>
      string(28) "customer@example.com"
      ["tel"]=>
      string(10) "0312456789"
      ["fax"]=>
      NULL
      ["tel_mobile"]=>
      NULL
      ["points"]=>
      int(0)
      ["member"]=>
      bool(true)
    }
  }
  ["meta"]=>
  array(3) {
    ["total"]=>
    int(2)
    ["limit"]=>
    int(10)
    ["offset"]=>
    int(0)
  }
}
ショップに何もデータが無い場合は、ショップ管理者アカウントで管理画面にログイン後、
テストで商品登録、購入、会員登録をしておくと良いです。