はじめに
「Meteor」というフレームワークってご存知でしょうか?
こちらにて紹介させていただいています。
リアルタイムWEBアプリケーションフレームワークであり、リアクテイブフレームワークです。
個人的に上記2点が自分の惹かれるポイントなわけですが、
問題は基本的にWebsocketによる双方向通信を行なっており、
WebAPIは用意されていない点がネイティブクライアントアプリとの接続に問題がありそうです。
しかし、Meteorは独自にWebScoket上にDDPというプロトコルを定義しています。
しかもiOS用にクライアントが開発されているようでしたので使ってみることにしました。
ですが、まずはDDPってどんな通信をしているか見てみましょう
DDPの通信をみる
Meteorのインストールは完了しているものとします。
すごく簡単ですので、是非ここから試してみてほしいです。
DDPを監視するためのツールをいれて動作を見てみる
Meteor DDP Analyzerを導入します。
npm install -g ddp-analyzer
npmもインストール済みの前提です。(brew install npmとかで入れましょう)
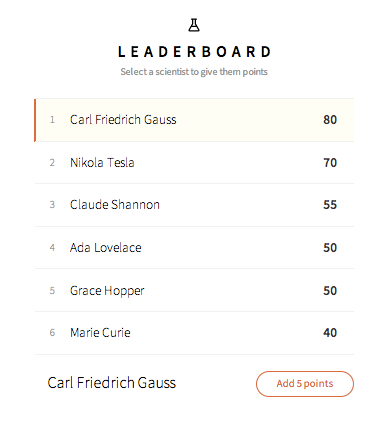
適当なアプリとしてexampleからleaderboardを導入してみます。
meteor create --example leaderboard
cd leaderboard
ここでmeteorと入れればアプリが起動しますが、DDP proxyを間に挟むため以下のように入力します。
export DDP_DEFAULT_CONNECTION_URL=http://localhost:3030
meteor
これで、アプリが起動したと思いますが、ddp-analyzerを別タブでterminalを開き起動します。
ddp-analyzer-proxy
上記TerminalからDDP入出力のログが見えるようになります。
ブラウザからhttp://localhost:3000にアクセスしてみてください
複数画面からみるとサーバサイドと連動してるのがわかると思います。
 2  IN   0  {"server_id":"0"}
 2  OUT  194  {"msg":"connect","version":"1","support":["1","pre2","pre1"]}
 2  IN   55  {"msg":"connected","session":"SiGpwuWFvxHbBfoKT"}
 2  IN   5  {"msg":"added","collection":"players","id":"e2iqRNh7WuHH2q7dv","fields":{"name":"Ada Lovelace","score":30}}
 2  IN   6  {"msg":"added","collection":"players","id":"4XbrBYFfGhdmkne6S","fields":{"name":"Grace Hopper","score":50}}
 2  IN   11  {"msg":"added","collection":"players","id":"KoLMxcq8cotTNMAia","fields":{"name":"Marie Curie","score":40}}
 2  IN   0  {"msg":"added","collection":"players","id":"drmtfDKhPFZzdoKcH","fields":{"name":"Carl Friedrich Gauss","score":20}}
 2  IN   1  {"msg":"added","collection":"players","id":"6FNTfH4yniGQyC45Q","fields":{"name":"Nikola Tesla","score":55}}
 2  IN   0  {"msg":"added","collection":"players","id":"7NDd96fhJKgoke7Qq","fields":{"name":"Claude Shannon","score":30}}
 2  OUT  11  {"msg":"sub","id":"WSoxxLbKaxBiTBEDc","name":"meteor_autoupdate_clientVersions","params":[]}
 2  IN   10  {"msg":"added","collection":"meteor_autoupdate_clientVersions","id":"P66dYxYKmH8ud6Y7i","fields":{"current":true}}
 2  IN   2  {"msg":"added","collection":"meteor_autoupdate_clientVersions","id":"version","fields":{"version":"9c9878112ad755389718cb18711718b4bf0cb5e0"}}
 2  IN   2  {"msg":"added","collection":"meteor_autoupdate_clientVersions","id":"version-cordova","fields":{"version":"51af6ca65d12bb7019f8483d5a4f44eaaadf2ac8","refreshable":false}}
 2  IN   4  {"msg":"added","collection":"meteor_autoupdate_clientVersions","id":"version-refreshable","fields":{"version":"96a1d99467ffa8e9f508b65850bebaf9f8396957","assets":{"allCss":[{"url":"/de4f33c8b52b307376a0d274d7bc1dfeddede1ed.css"}]}}}
 2  IN   2  {"msg":"ready","subs":["WSoxxLbKaxBiTBEDc"]}
 1  IN   29860  {"msg":"ping"}
 2  OUT  19184  {"msg":"method","method":"/players/update","params":[{"_id":"e2iqRNh7WuHH2q7dv"},{"$inc":{"score":5}},{}],"id":"1"}
 2  IN   40  {"msg":"result","id":"1","result":1}
 1  IN   121  {"msg":"changed","collection":"players","id":"e2iqRNh7WuHH2q7dv","fields":{"score":35}}
 2  IN   44  {"msg":"changed","collection":"players","id":"e2iqRNh7WuHH2q7dv","fields":{"score":35}}
 2  IN   4  {"msg":"updated","methods":["1"]}
 2  IN   10677  {"msg":"ping"}
 2  OUT  12  {"msg":"pong"}
実際の操作と照らしわせると大体の動きがわかって面白いと思います。
ログから察するにplayersというコレクションがあり、フィールドは
name,scoreのようです。
/players/updateというメソッドから値の更新を行っているみたいですね。
これをiOS版として実装してみます。
ObjectiveDDPを試す。
DDPの仕様は公開されており各言語実装があります。
参考:http://meteorpedia.com/read/DDP_Clients
このうちiOS版実装を行っているObjectiveDDPを試してみます
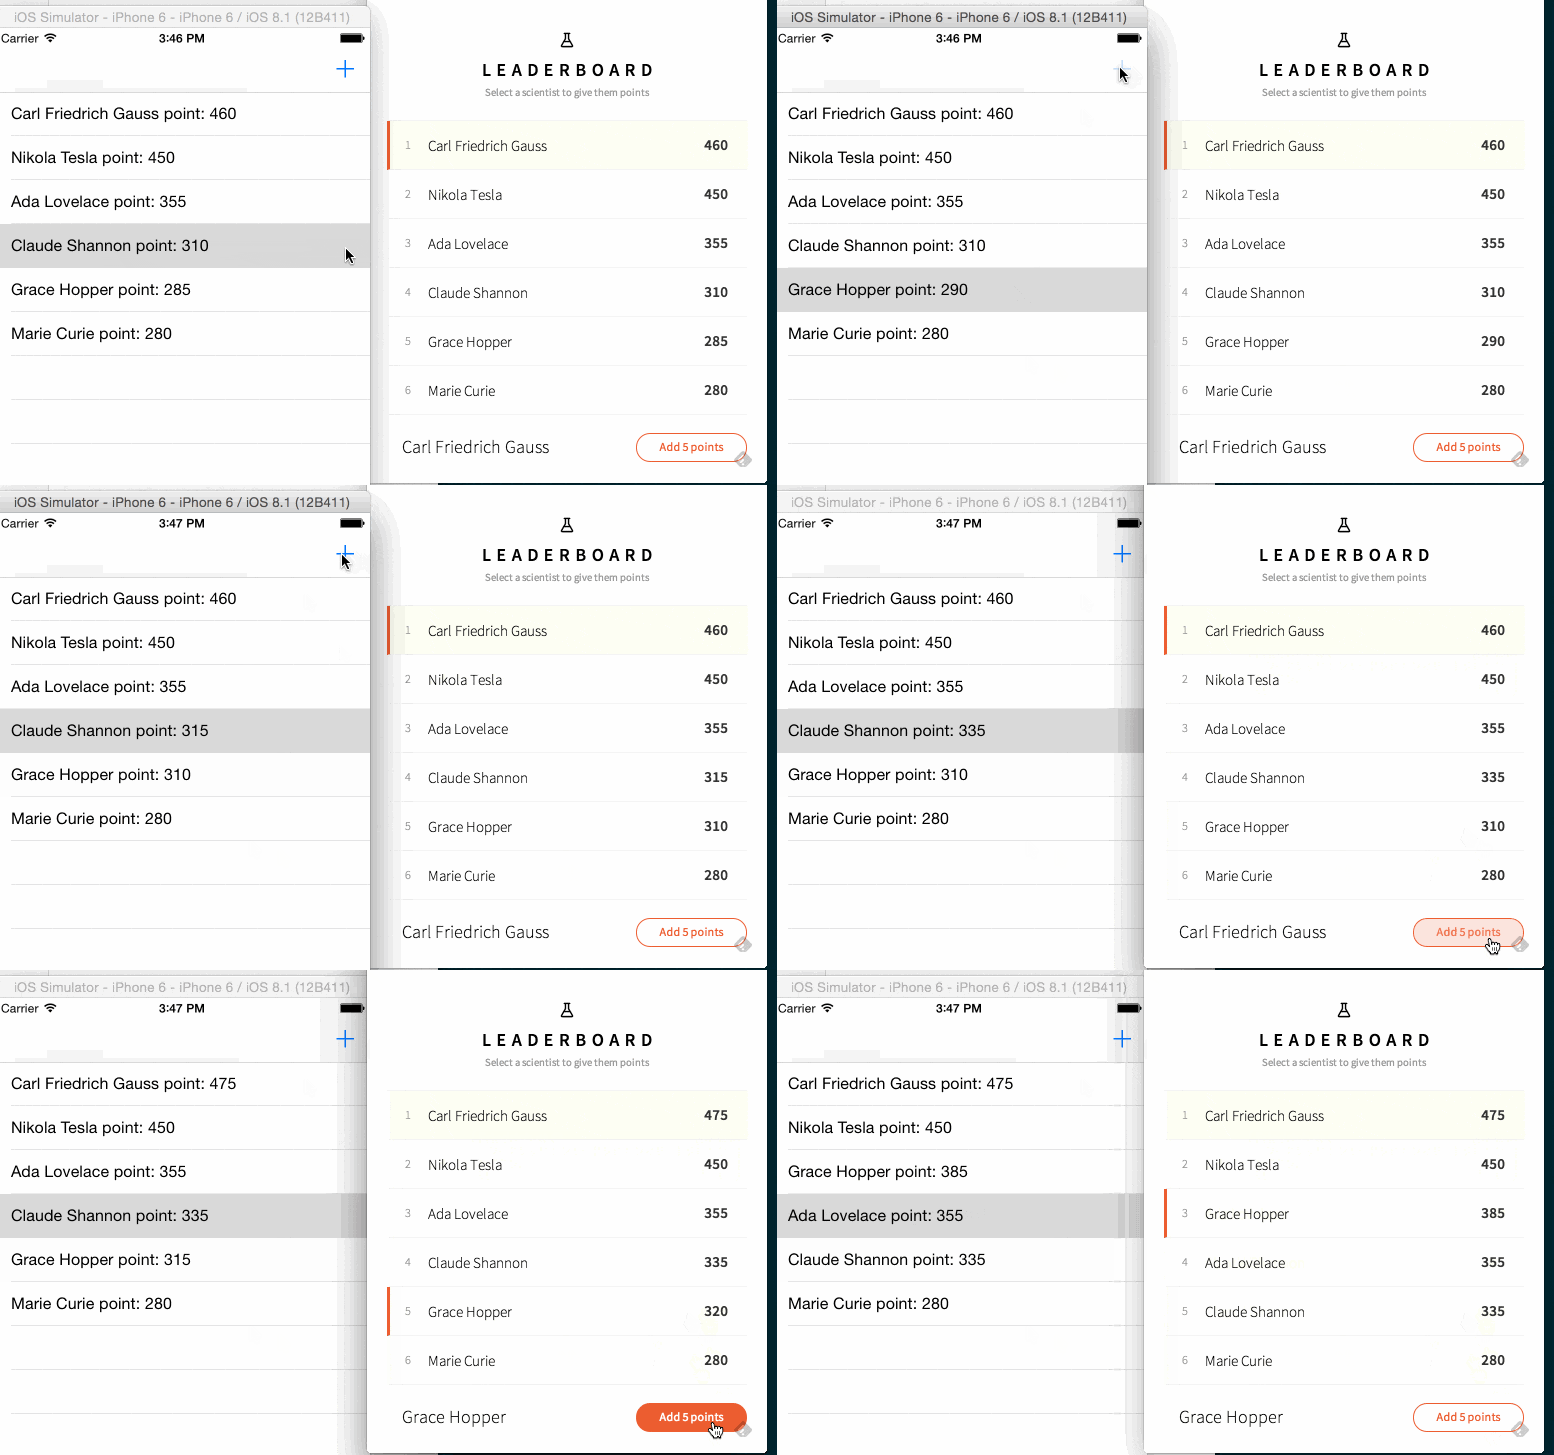
実際に先ほどのサンプルであるleaderboardをiosネイティブとして実装してみました。

結論から言えば、Meteorが自動的にやってくれるデータバインディングを手動で行うイメージでした。
まずはデリゲート側でDDPへのアクセスURLの設定と、サブスクリプションの設定を行います。
今回はplayersコレクションを全公開しているだけなので、それをサブスクリプション設定して取り込むようにします。
//省略
@UIApplicationMain
class AppDelegate: UIResponder, UIApplicationDelegate {

    var window: UIWindow?
    //接続先URLには事前にデプロイした環境を設定しています
    var meteorClient = initialiseMeteor("pre2", "wss://m0a_test.meteor.com/websocket");

    func application(application: UIApplication, didFinishLaunchingWithOptions launchOptions: [NSObject: AnyObject]?) -> Bool {
    //playersコレクションを同期対象に設定
	meteorClient.addSubscription("players");	return true
    }

//省略
デリゲートに設定したMeteorクライアントから同期されたCollectionを取り出し、
監視対象に追加します。
//省略

class TableViewController: UITableViewController {
    var players:M13OrderedDictionary!; //順序性を保持するDictinary
    var meteor:MeteorClient!;
    var selectedIndex = -1
    @IBOutlet weak var plusButton: UIBarButtonItem!


    required init(coder aDecoder: NSCoder) {
        self.meteor = (UIApplication.sharedApplication().delegate as AppDelegate).meteorClient
        super.init(coder: aDecoder)
    }

    override func viewDidLoad() {
        super.viewDidLoad()
        //監視対象に追加
        NSNotificationCenter.defaultCenter().addObserver(self, selector: "didReceiveUpdate:", name: "added", object: nil)
        NSNotificationCenter.defaultCenter().addObserver(self, selector: "didReceiveUpdate:", name: "changed", object: nil)
        NSNotificationCenter.defaultCenter().addObserver(self, selector: "didReceiveUpdate:", name: "removed", object: nil)
        // Do any additional setup after loading the view, typically from a nib.
    }


    //サーバサイドからの変更を含め値の変更を検知すると実行されます
    func didReceiveUpdate(notification:NSNotification){
        if (self.meteor.collections.objectForKey("players") != nil){

            self.players = self.meteor.collections["players"]  as M13OrderedDictionary

            //並び替え
            self.players = self.players.sortedByObjectsUsingComparator({ (objA, objB) -> NSComparisonResult in
                var scoreA = objA["score"] as Int
                var scoreB = objB["score"] as Int
                if (scoreA > scoreB ) {
                    return NSComparisonResult.OrderedAscending
                }
                if (scoreA < scoreB) {
                    return NSComparisonResult.OrderedDescending
                }
                return NSComparisonResult.OrderedSame

            })

            //Tableへ反映
            self.tableView.reloadData()
            self.tableView.selectRowAtIndexPath(NSIndexPath(forRow: self.selectedIndex, inSection: 0), animated: true, scrollPosition: UITableViewScrollPosition.Middle)
        }

    }


    @IBAction func clickPlusButton(sender: AnyObject) {

        if (self.selectedIndex < 0 || self.players == nil) {
            return
        }
        let obj: NSMutableDictionary = self.players[UInt(self.selectedIndex)] as NSMutableDictionary
        var _id = obj["_id"] as String

        //Meteorメソッドコール(MeteorにおけるRPCです)
        meteor.callMethodName("/players/update", parameters: [["_id" : _id ],["$inc":["score":5]]],
            responseCallback:
            { (NSDictionary response, NSErrorPointer error) in
                println(response)
                println(error)

            }
        )
    }


    //Tableへの表示処理
    override func tableView(tableView: UITableView, cellForRowAtIndexPath indexPath: NSIndexPath) -> UITableViewCell {

        var cell = tableView.dequeueReusableCellWithIdentifier("testCell", forIndexPath: indexPath) as UITableViewCell

        let obj = self.players[UInt(indexPath.row)] as NSMutableDictionary?;
        var name = obj?["name"] as String
        var score = obj?["score"] as Int
        cell.textLabel?.text = "\(name) point: \(score)"
        return cell
    }

    override func tableView( tableView: UITableView, numberOfRowsInSection section: Int) -> Int {
        if (self.players == nil) {
            return 0
        }

        return Int(self.players.count())
    }


    override func tableView(tableView: UITableView, didSelectRowAtIndexPath indexPath: NSIndexPath) {
        selectedIndex = indexPath.row
    }

}
とりあえず、やってみたというだけでした。
