Docker Advent Calendar 2016 3日目の記事です。
そして実は私の初投稿記事です。よろしくお願いします![]()
やったこと
- Vagrantで作っていた開発環境をDockerに変えてみた
動機
- 最近周りで「Dockerが〜」、「Dockerの~」とやたら名前を聞くようになった。
- そんなに良いならとりあえず使ってみるか。
- 特にVagrantに不満があったわけではないが、強いて言えば起動が遅いので早くなるといいなぁという感じ
Docker for Macの導入
というわけで早速進めていきます。
まずはインストールします。下記コマンドで特に問題起きずにインストールできました。
brew cask install docker
Launchpadの中にクジラがいるのでクリックしてみると…

おぉ、無事にインストールできてる。(かわいい…)
Nextを押すと

ネットワークコンポーネントとDockerアプリケーションへのリンクをインストールするために権限くれと言ってくるのであげる。(目が…怖い…)

そうすると上部メニューバーにクジラが出現する。これでDocker起動できている状態の模様。(やっぱりかわいい…)
コマンドラインからversionを確認してみる
$ docker version
Client:
 Version:      1.12.3
 API version:  1.24
 Go version:   go1.6.3
 Git commit:   6b644ec
 Built:        Wed Oct 26 23:26:11 2016
 OS/Arch:      darwin/amd64

Server:
 Version:      1.12.3
 API version:  1.24
 Go version:   go1.6.3
 Git commit:   6b644ec
 Built:        Wed Oct 26 23:26:11 2016
 OS/Arch:      linux/amd64
インストールできた!
なにはともあれHelloWorld
何事も挨拶からということでとりあえずHelloWorldします
$ docker run hello-world
Unable to find image 'hello-world:latest' locally
...
Hello from Docker!
This message shows that your installation appears to be working correctly.
...
ということで挨拶完了!
以下のコマンドで実行履歴が確認できる
docker ps --all
imagesにhello-worldが入っていることも一応確認
$ docker images
REPOSITORY          TAG                 IMAGE ID            CREATED             SIZE
hello-world         latest              c54a2cc56cbb        5 months ago        1.848 kB
開発環境構築
いよいよ開発環境を構築していきます。なお、私の場合はCentOSを使う事が多いのでCentOS6系を構築してみます。
ローカル環境からansibleで環境構築したいので、sshできるようコンテナを作ります。
まずはCentOSのイメージをとってくる
docker pull centos:6.8
次に適当な作業ディレクトリを作ってDockerfileを作成。
FROM centos:6.8

ENV container docker

RUN \
  (echo 'include_only=.jp' >>/etc/yum/pluginconf.d/fastestmirror.conf) \
  && yum -y update \
  && yum -y reinstall glibc-common \
  && yum clean all \
  && cp -f /usr/share/zoneinfo/Asia/Tokyo /etc/localtime

ENV LANG ja_JP.UTF-8

RUN \
  yum -y install openssh-server openssh-clients passwd sudo \
  && yum clean all \
  && sed -ri 's/^#UseDNS yes/UseDNS no/' /etc/ssh/sshd_config \
  && sed -ri 's/^GSSAPIAuthentication yes/GSSAPIAuthentication no/' /etc/ssh/sshd_config \
  && sed -ri 's/^UsePrivilegeSeparation sandbox/UsePrivilegeSeparation no/' /etc/ssh/sshd_config \
  && sed -ri 's/^UsePAM yes/UsePAM no/' /etc/ssh/sshd_config \
  && chkconfig sshd on

RUN \
  (echo "root" | passwd root --stdin) \
  && groupadd docker \
  && useradd -g docker docker \
  && (echo "docker" | passwd docker --stdin) \
  && sed -i 's/Defaults.*requiretty/#Defaults requiretty/g' /etc/sudoers \
  && ssh-keygen -q -N "" -t dsa -f /etc/ssh/ssh_host_dsa_key \
  && ssh-keygen -q -N "" -t rsa -f /etc/ssh/ssh_host_rsa_key \
  && sed -ri 's/session    required     pam_loginuid.so/#session    required     pam_loginuid.so/g' /etc/pam.d/sshd \
  && (echo "docker ALL=(ALL) NOPASSWD: ALL" >/etc/sudoers.d/docker)

CMD ["/sbin/init"]
こんな感じ。
そのディレクトリ内で下記のコマンドを実行
$ docker build --rm -t local/centos6 .
- --rm でビルド成功後、中間コンテナを削除する
- -t は作成するDockerイメージのイメージ名およびタグ名を指定する
すると新しいイメージができます。
 $docker images
REPOSITORY          TAG                 IMAGE ID            CREATED             SIZE
local/centos6       latest              1692f69b43bf        8 seconds ago       639.4 MB
CentOSコンテナを起動します。
docker run -d -p 22 -p 80 local/centos6 /sbin/init
- -pで指定したportへのport forward
- -dでコンテナをバックグラウンドで動かす
ポート情報をdocker psで確認する
 $docker ps
CONTAINER ID        IMAGE               COMMAND             CREATED             STATUS              PORTS                                          NAMES
a34bbea488d2        local/centos6       "/sbin/init"        5 seconds ago       Up 4 seconds        0.0.0.0:32770->22/tcp, 0.0.0.0:32769->80/tcp   ecstatic_mayer
よし、sshします。(root/rootでログインする)
 $ssh -p 32770 root@127.0.0.1
root@127.0.0.1's password:
Last login: Sat Dec  3 13:03:58 2016 from 172.17.0.1
[root@a34bbea488d2 ~]#
できました!次にローカルからansibleも流します。
$ ansible-playbook -i "127.0.0.1:32770," -u root -k develop.yml
このplaybookは、LAMP環境をインストールするように作ったものです。
本当はコンテナを分けたほうがいいんだろうけど、今回は開発環境の移行なのでこれでいきます。
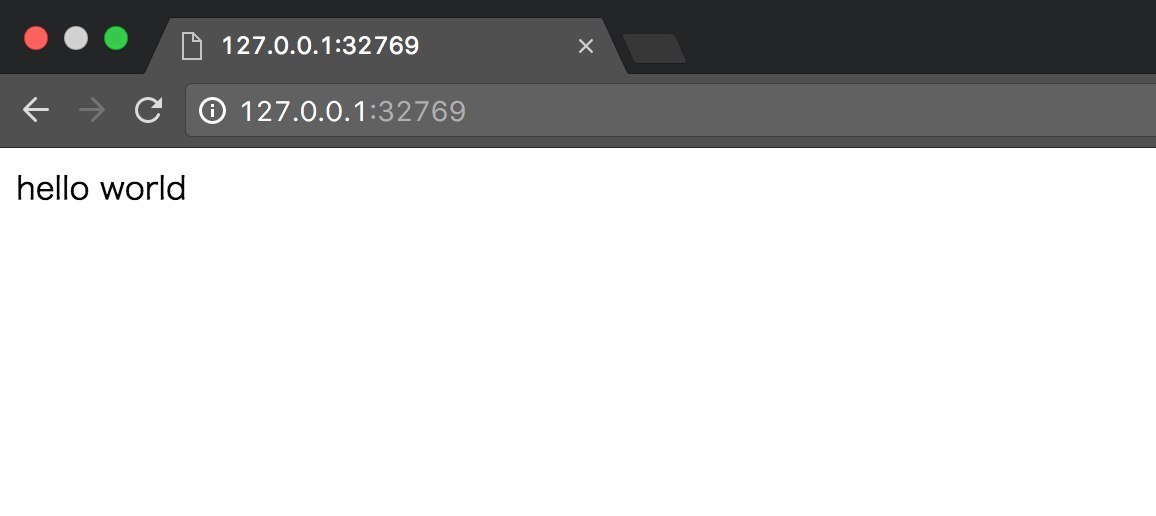
問題なく実行できたので、後は適当なファイルを/var/www/html配下においてブラウザからアクセスしてみる
ということでまだ改善点はあるけど、とりあえず開発環境が出来ました。
参考情報
大変参考にさせて頂きました。ありがとうございました。
Docker for Mac
MacにインストールしたDocker上のCentOSでTomcatを動かす
Docker で SSH 接続可能なコンテナ (CentOS) を作成する
docker buildのオプションまとめ
Dockerでagent forwardingが有効な開発環境の構築 (OS X)
Dockerfileとdocker buildコマンドでDockerイメージの作成
Dockerで固定IPアドレスを使う。
docker runの便利なオプション
Dockerで立てたコンテナにsshで接続する
