Vagrantで作った仮想ゲストにインターネット越しにアクセスしようとすると、いろいろと面倒なものです。設定が面倒なだけでなくファイアーウォールの内側にVagrant環境があったり、環境が自宅にあってプロバイダーからprivate addressしか割り当てられていなかったりすると、外に踏み台を用意したりといろいろ考えないといけません。でも、vagrant share を使えば、vagrantshare.comのサーバに中継してもらって、自宅の Vagrant環境へインターネットからアクセスするといったことが簡単に実現できます。httpを転送する場合の手順をまとめてみました(sshの場合は、Vagrant の仮想ゲストにインターネットから ssh 接続する(Vagrant Share --ssh)にまとめました)。
手順概要
1.HashiCorpのAtlasにアカウントを作成
2.Atlasにログイン(vagrant loginコマンド)
3.ポートフォワーディングの設定(Vagrantfile)
4.Atlasへ接続し、アクセス用URLを取得(vagrant shareコマンド)
5.アクセス用URLを使って、外部からアクセス
手順詳細
1.HashiCorpのAtlasにアカウントを作成
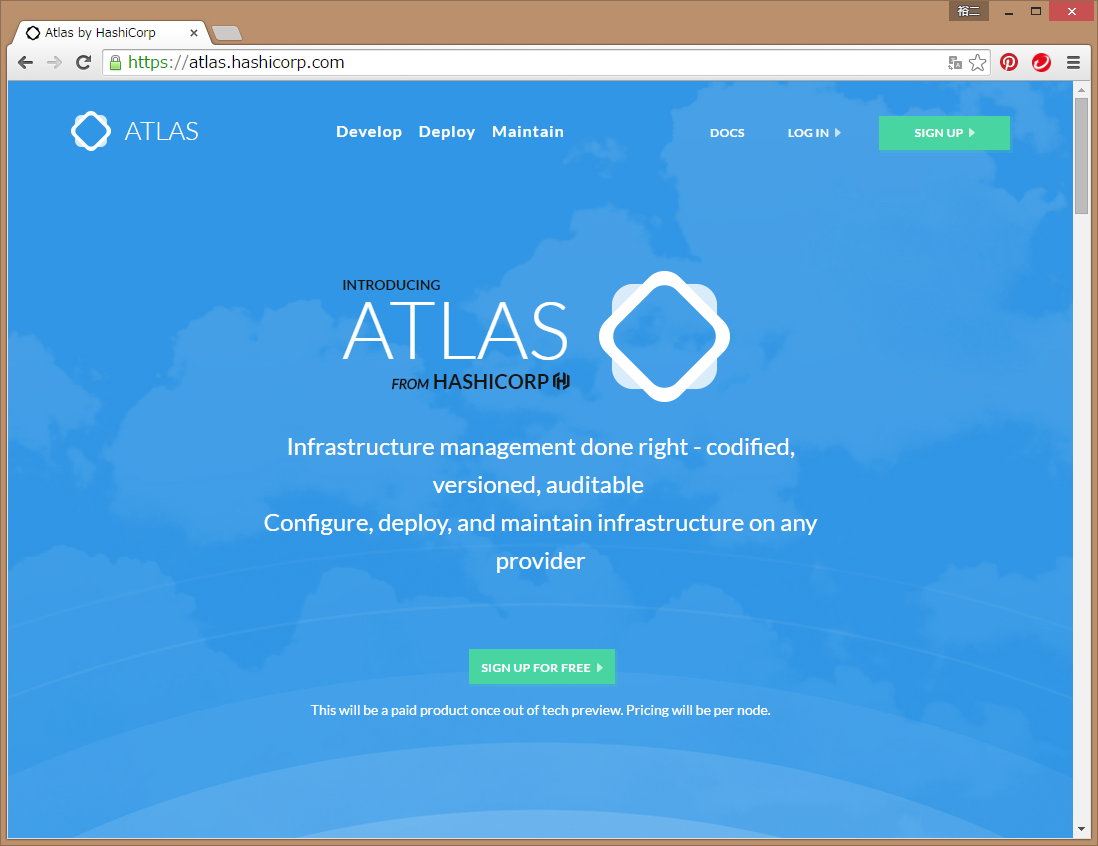
HashiCorp Atlasにブラウザからアクセスします。
右上に見える「SIGN UP」をクリックします。
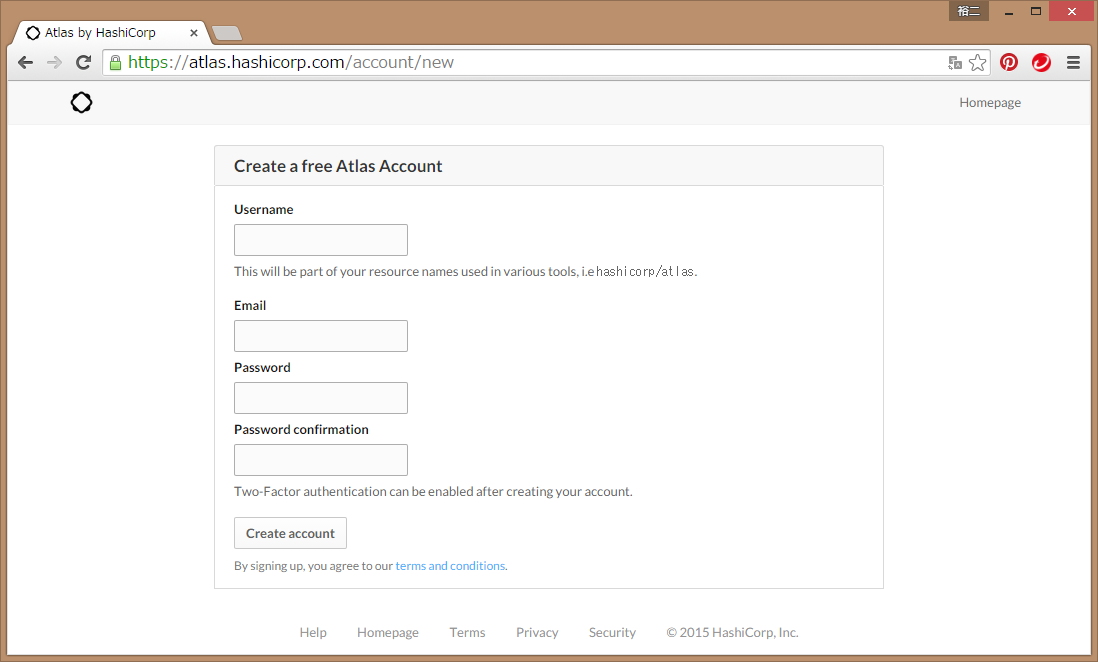
各項目に入力して、「terms and conditions」に同意できたら「Create account」をクリックして、アカウントを作成します。
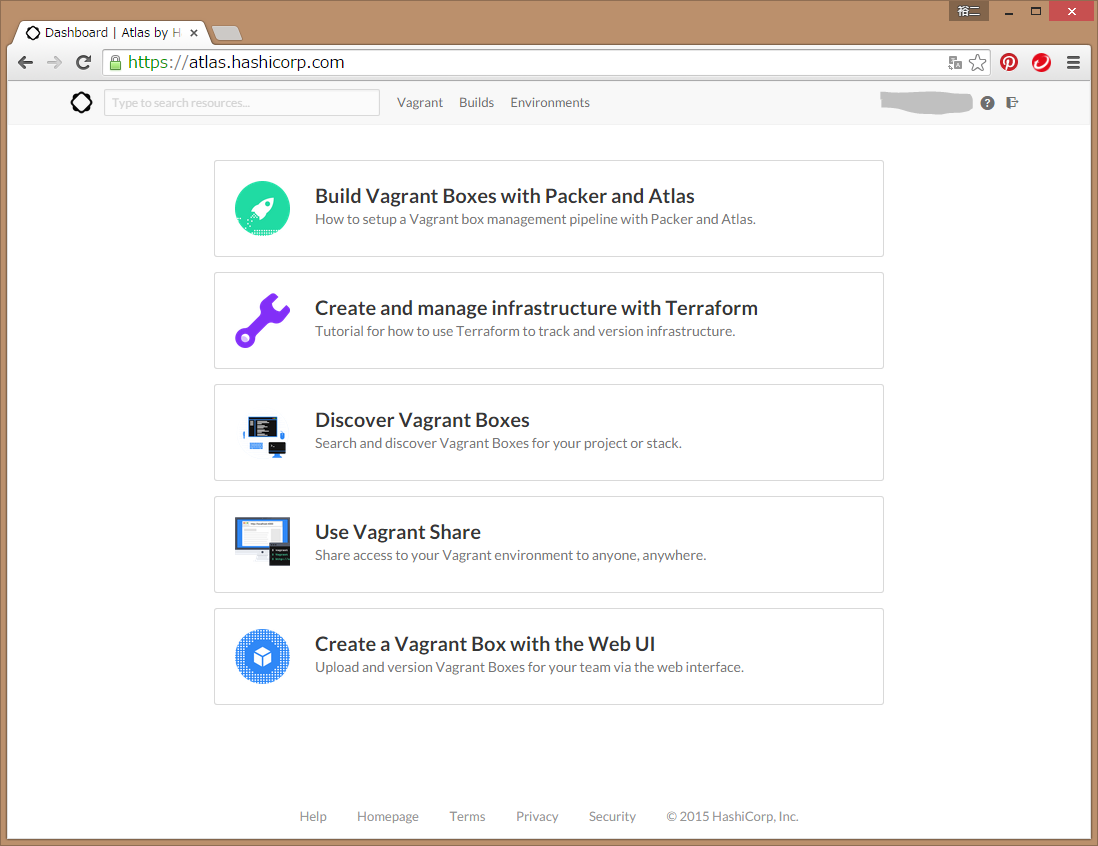
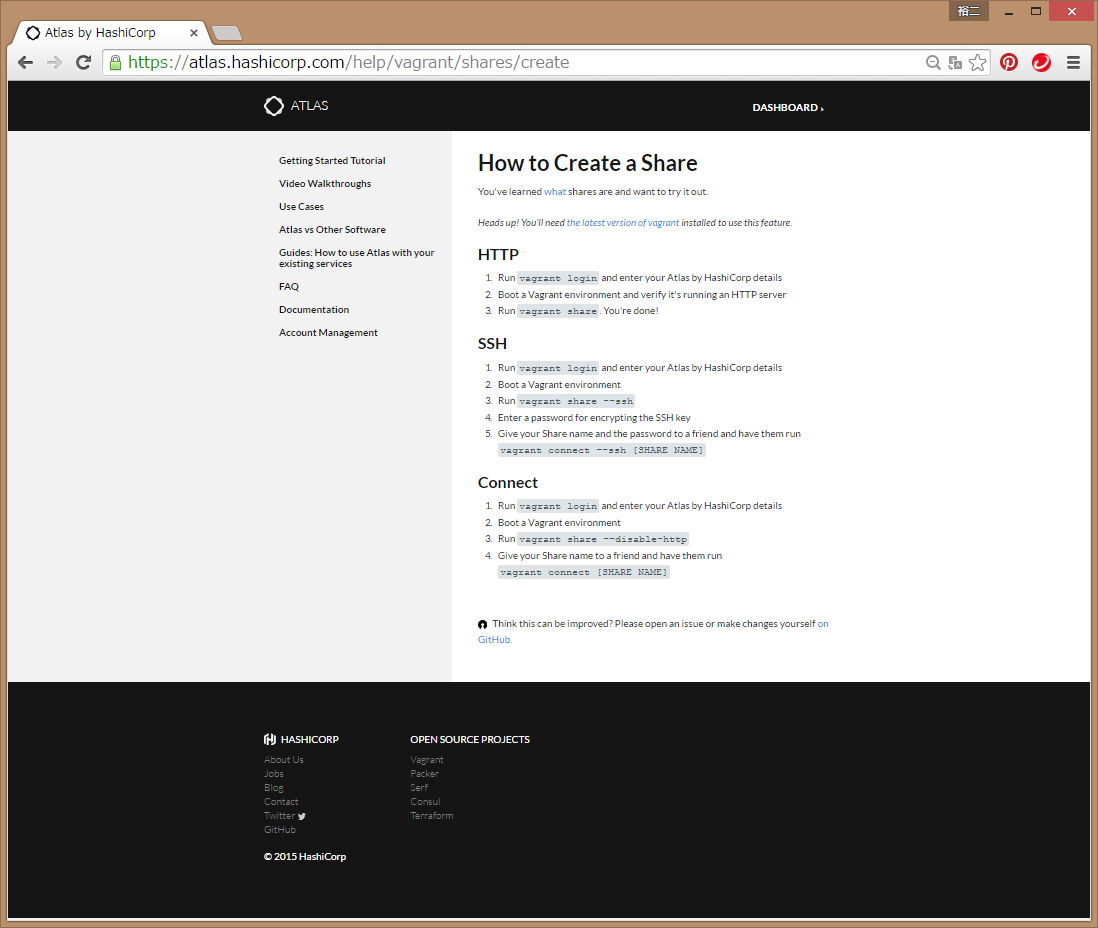
「Use Vagrant Share」をクリックすると、使い方のサマリーが表示されます。
2.Atlasにログイン(vagrant loginコマンド)
ローカル側(共有したいVagrant環境を実行している側)のホストでvagrant loginコマンドを使ってAtlas by HashiCorp へログインします(ブラウザからではありません)。
$ vagrant login
In a moment we will ask for your username and password to HashiCorp's
Atlas. After authenticating, we will store an access token locally on
disk. Your login details will be transmitted over a secure connection, and
are never stored on disk locally.

If you do not have an Atlas account, sign up at
https://atlas.hashicorp.com.

Atlas Username: xxxxxxxxxx
Password (will be hidden):
Error! Your console doesn't support hiding input. We'll ask for
input again below, but we WILL NOT be able to hide input. If this
is a problem for you, ctrl-C to exit and fix your stdin.
 Password (will be hidden): xxxxxxxx
You are now logged in.
なお、"Error! Your console doesn't support hiding input."のエラーは、WindowsでCygwin の mintty を使っているときに出ます。パスワードをこの入力画面上で非表示にできないというものです。
ログインすると .vagrant.d ディレクトリの下の data ディレクトリに vagrant_login_token というファイルが作成されます。
3.ポートフォワーディングの設定(Vagrantfile)
vagrant share は、vagrantshare.comのサーバに入ってきたトラフィックを、vagrant が仮想ゲストのポートへフォワードしているローカルホストのポートへ転送するものです。
つまり、このように転送されます。
リモートクライアント(インターネットの向こう側)
--> vagrantshare.comのサーバのポート
--> ローカルホストのポート
--> 仮想ゲストのポート
そのため、http をフォワードするためには、まず、仮想ゲストのhttpポートへローカルホストのポートをフォワードする必要があります。
次のような設定をVagrantファイルに追加することで、ローカルホストの8080番ポートを仮想ゲストの80番ポートへフォワードすることができます。
config.vm.network "forwarded_port", guest: 80, host: 8080
Vagrantfileは、たとえば、下記のようになります。
Vagrant.configure(2) do |config|
  config.vm.box = "ubuntu/trusty64"
  config.vm.network "forwarded_port", guest: 80, host: 8080
  config.vm.provision "shell", inline: <<-SHELL
    sudo apt-get update
    sudo apt-get install -y apache2
  SHELL
end
通常どおり vagrant upします。ポートフォワーディング設定前に、既に up していた場合は、vagrant reload します。
$ vagrant up
Bringing machine 'default' up with 'virtualbox' provider...
==> default: Importing base box 'ubuntu/trusty64'...
...
...
...
4.Atlasへ接続し、アクセス用URLを取得(vagrant shareコマンド)
ここまでで、仮想マシンが起動して、ホスト・ポート(8080) => 仮想ゲスト・ポート(80)のフォワーディングができました。つまり、下記のうちの太字部分ができたことになります。
リモートクライアント(インターネットの向こう側)
--> vagrantshare.comのサーバのポート
--> ローカルホストのポート
--> 仮想ゲストのポート
次に、vagrantshare.com のサーバが受け取ったトラフィックがローカルホストの 8080 ポートへフォワードされるようにします。そうすることで、リモートクライアント(インターネットの向こう側)が、ブラウザで、vagrantshare.comのサーバへアクセスすると、vagrant環境の仮想ゲストへ転送されるようになります。つまり、下記のうちの太字部分です・
リモートクライアント(インターネットの向こう側)
--> vagrantshare.comのサーバのポート
--> ローカルホストのポート
--> 仮想ゲストのポート
コマンドは、vagrant share です。
$ vagrant share
==> default: Detecting network information for machine...
    default: Local machine address: 127.0.0.1
    default:
    default: Note: With the local address (127.0.0.1), Vagrant Share can only
    default: share any ports you have forwarded. Assign an IP or address to your
    default: machine to expose all TCP ports. Consult the documentation
    default: for your provider ('virtualbox') for more information.
    default:
    default: Local HTTP port: 8080
    default: Local HTTPS port: disabled
    default: Port: 2222
    default: Port: 8080
==> default: Checking authentication and authorization...
==> default: Creating Vagrant Share session...
    default: Share will be at: ghastly-hartebeest-1276
==> default: Your Vagrant Share is running! Name: ghastly-hartebeest-1276
==> default: URL: http://ghastly-hartebeest-1276.vagrantshare.com
==> default:
==> default: You're sharing your Vagrant machine in "restricted" mode. This
==> default: means that only the ports listed above will be accessible by
==> default: other users (either via the web URL or using `vagrant connect`).
なお、vagrant share は、フォアグランドで実行されています。プロンプトは戻りません。
vagrant share コマンドは、デフォルトで http を自動検出して、転送するため、オプション等で http であることや、ゲストのポートが 80 番であることは指定していません。異なるポート番号を使っていて自動検出できない場合は、 --httpオプションでポート番号を指定できます。また、httpsを使用したい場合は明示的に--httpsでポート番号を指定する必要があります。詳しくは、vagrant share --helpをみてください。
5.アクセス用URLを使って、外部からアクセス
インターネット側からは、4.で「==> default: URL: 」に表示されたURLでアクセスします。
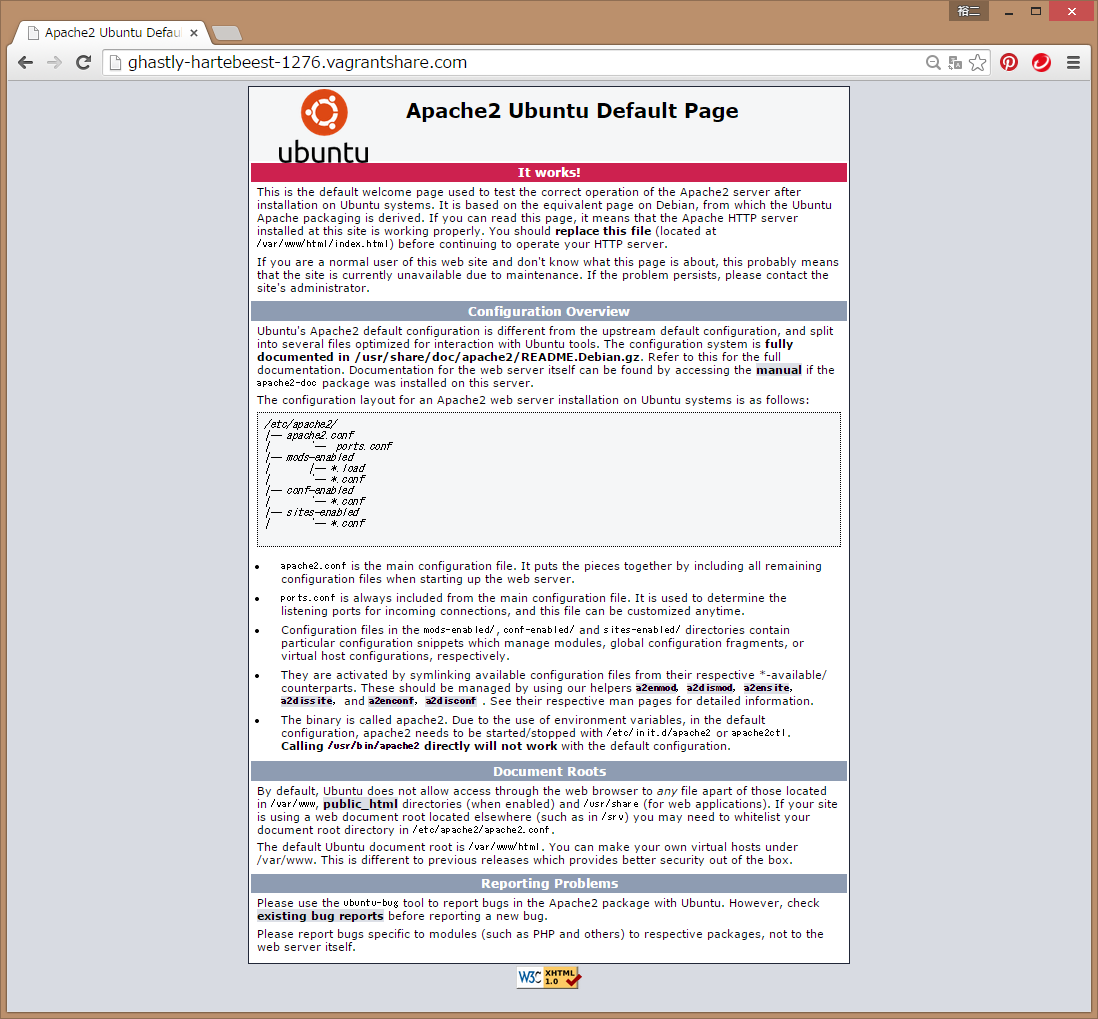
share を終了するには、vagrant shareを Ctrl-C等で終了させます。
なお、4.で提供されるURLはvagrant shareを実行する度に変わります。このURLはわかりにくいURLにはなっているものの、辞書に載っている単語で構成されていますので、他人が誤って、もしくは、故意にアクセスしてしまう可能性があります。仮想ゲストの httpサーバ側で認証等のセキュリティ対策をしておいた方が良さそうです。
