heroku OAuth
herokuのアカウントを使って、ログイン画面を実装することができます。
twitterとかfacebookとかのSNSアカウントを使ってログインする、というのはよくあるやつですね。
あれと同じ仕組でherokuからトークンを取得することで認証を行いログインする、ということが自分のアプリでも実装できます。
herokuアカウントでの設定
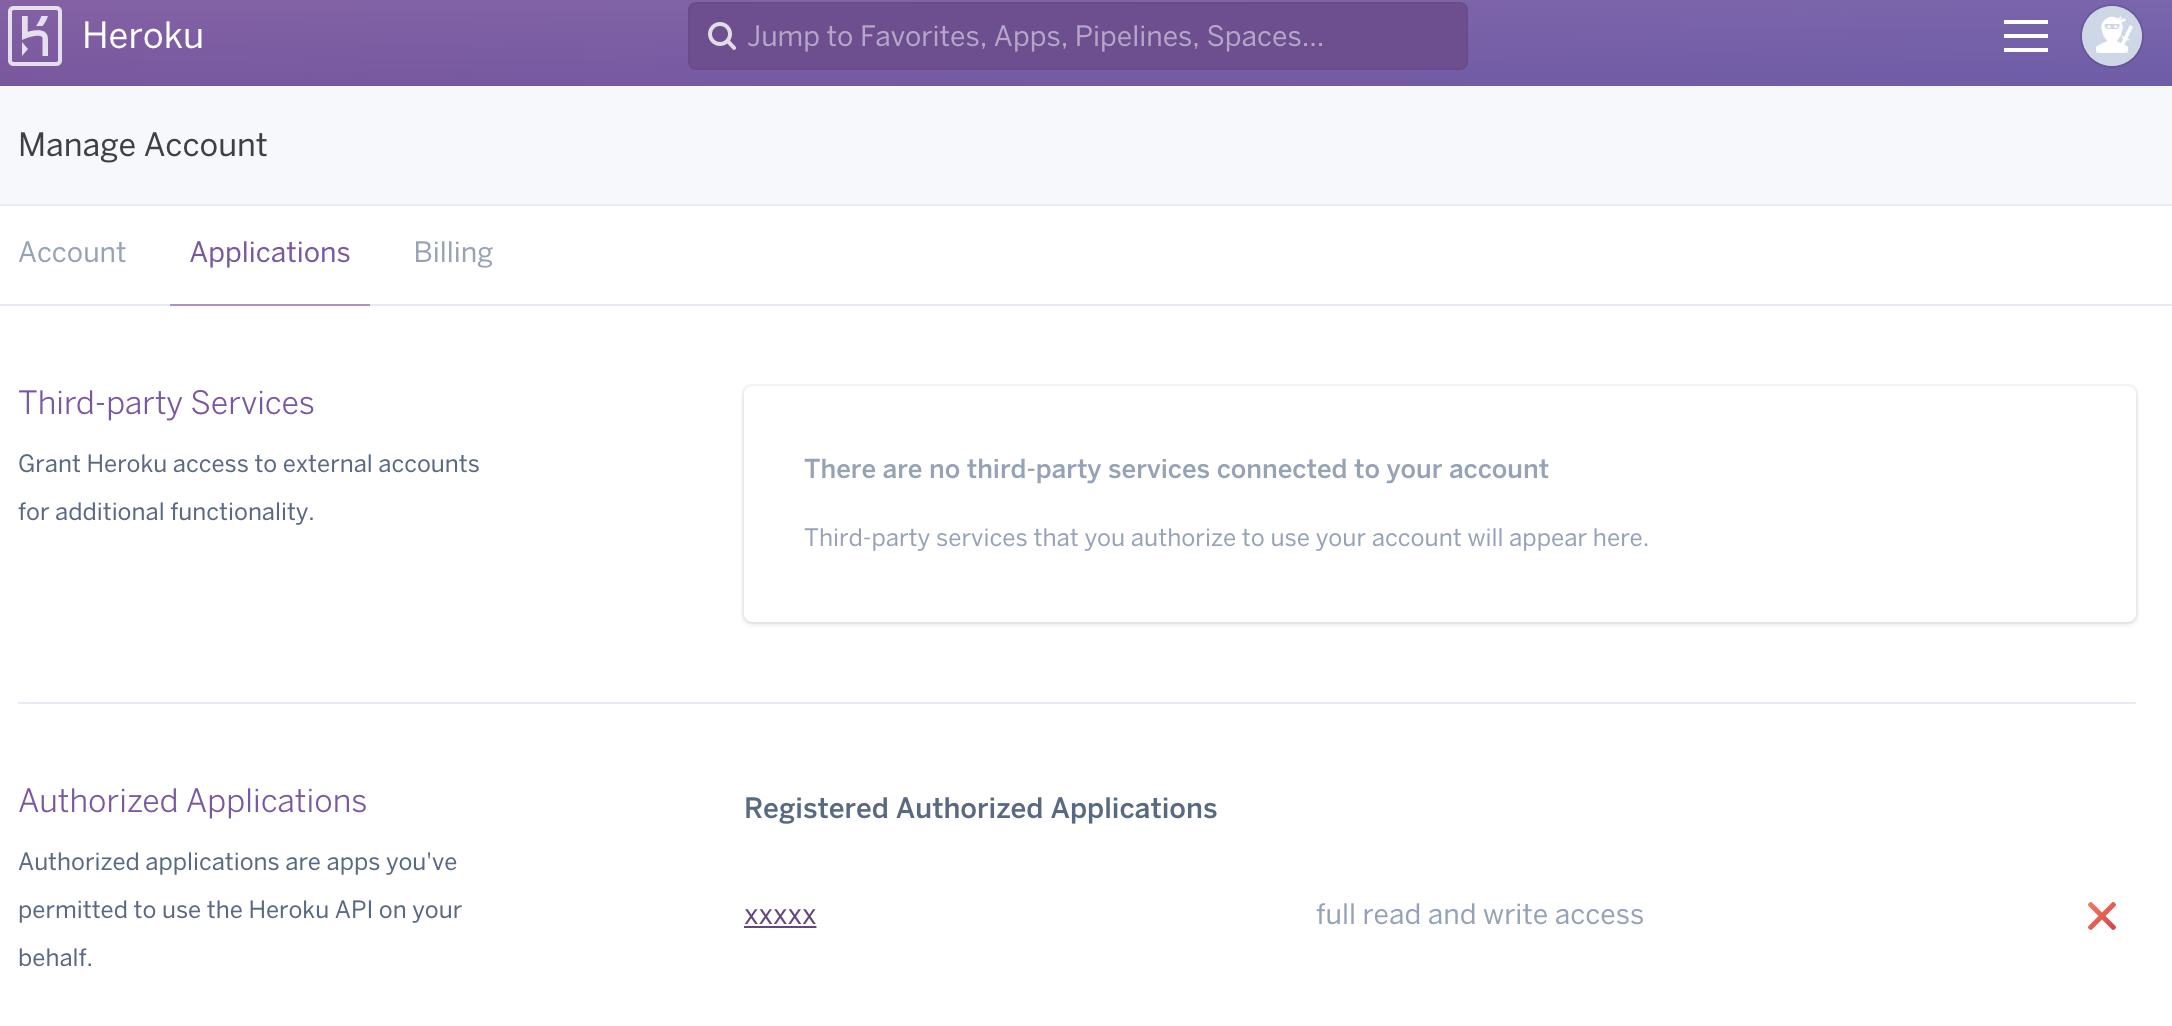
 herokuの画面の右上にあるアイコンをクリックし、「Account settings」をクリックして、「Manage Account」画面の「Applications」タブを開きます。

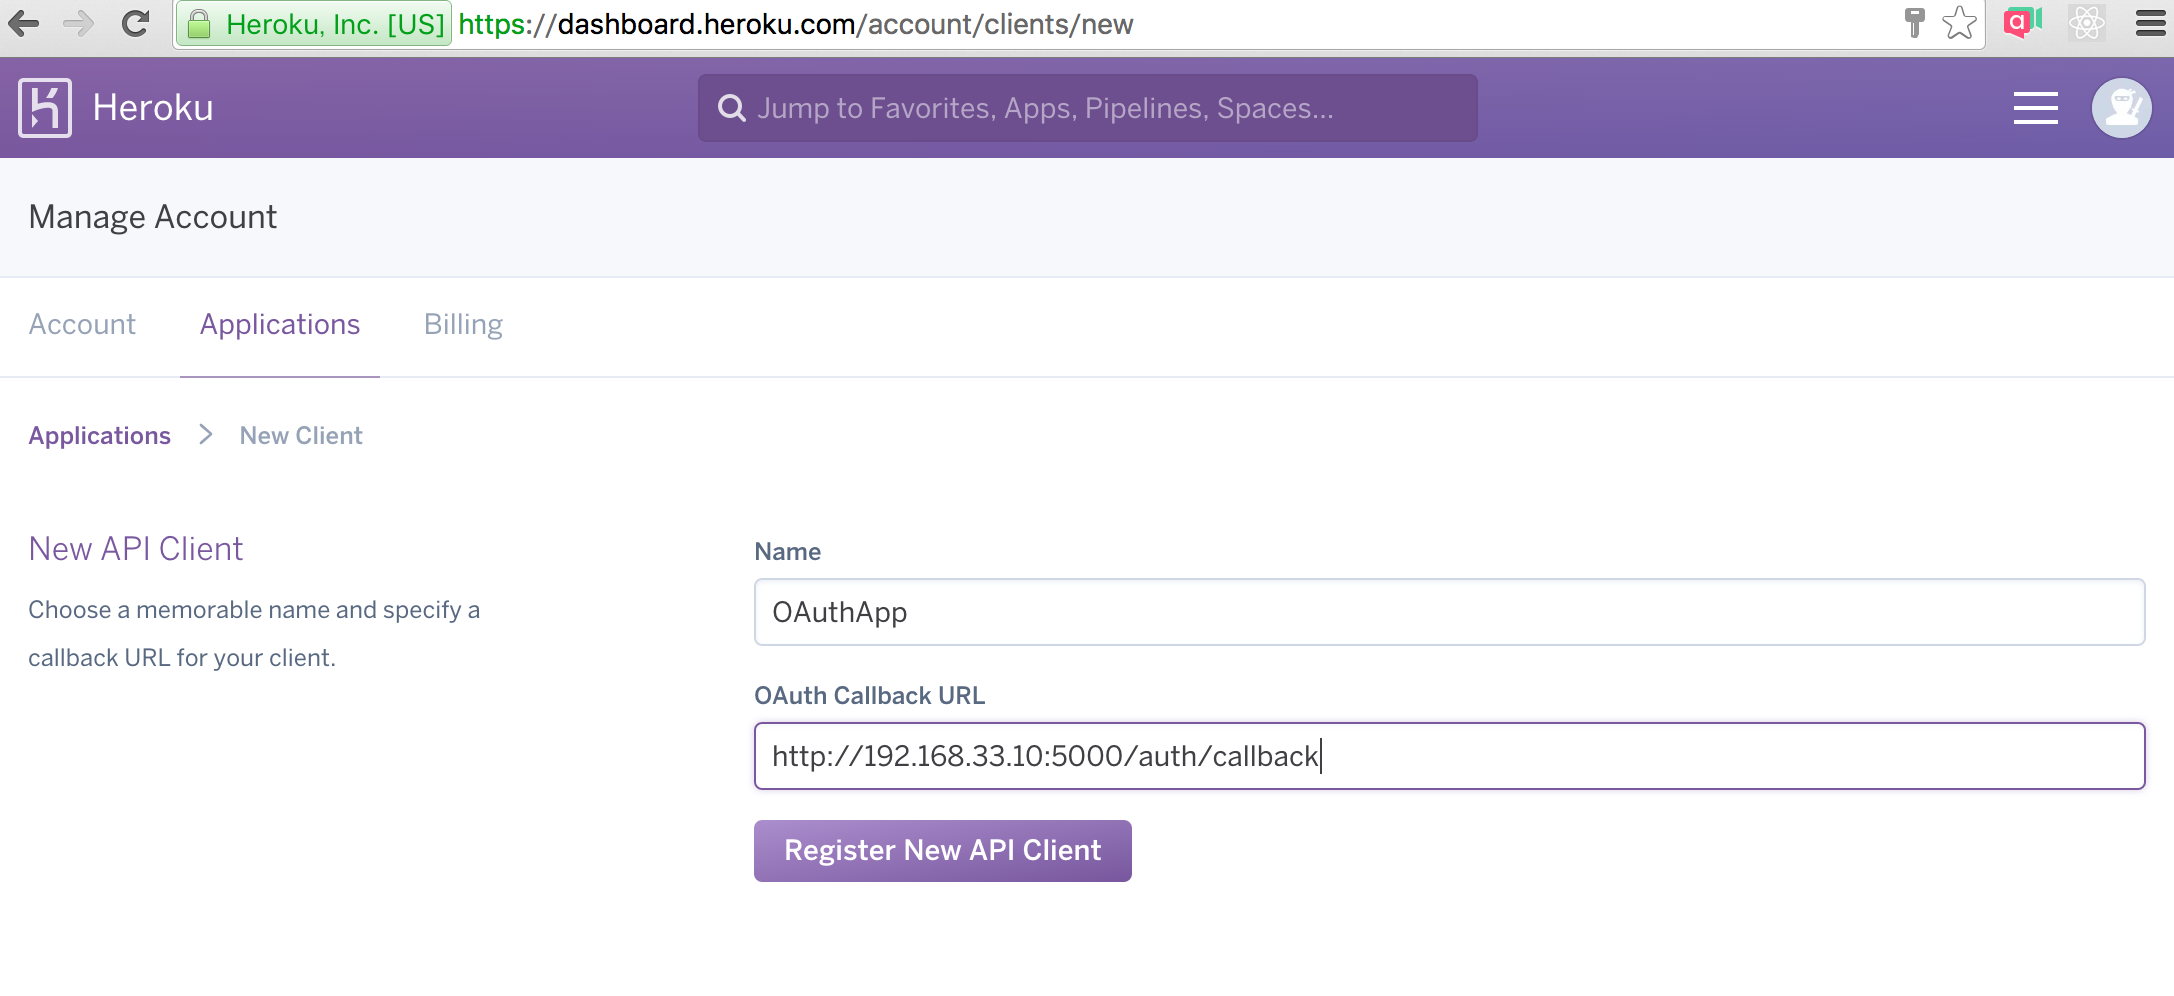
で、一番下の「API Clients」の「Register New API Client」ボタンをクリックして、API Clientを登録します。

Clientを識別するための名前と、トークンが発行された後の戻り先のURLを指定します。
登録すると、以下のように、IDとSecretが表示されます。
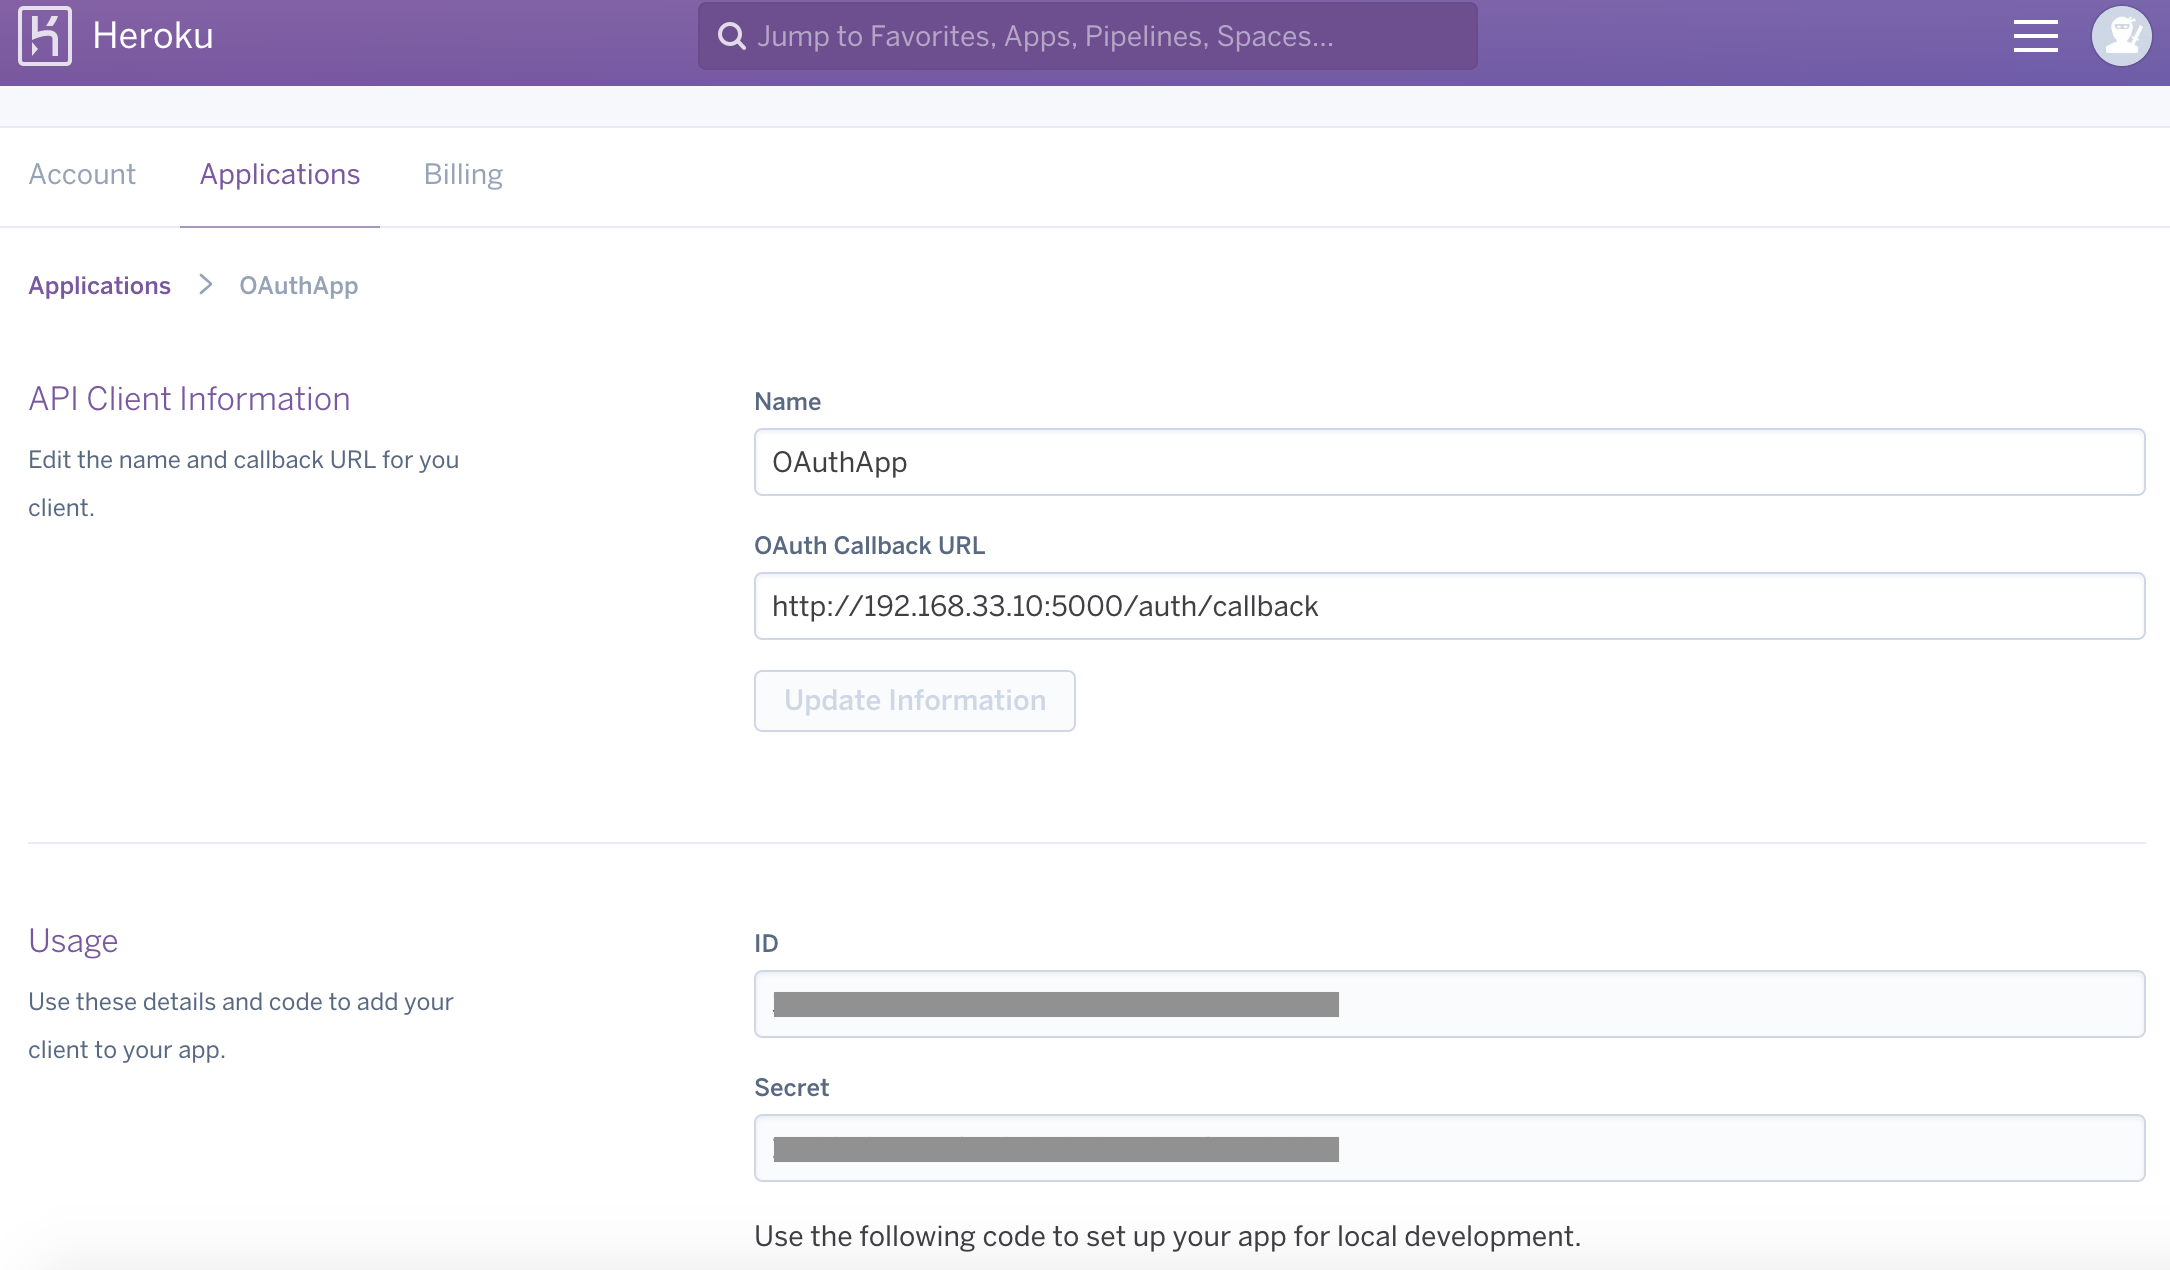
この値を作成するアプリの環境変数などに登録しておき、認証トークン発行時に使用するようにします。
passport-heroku
nodejsでのOAuth認証といえばpassportシリーズですが、herokuOAuthも幾つかライブラリが存在しています。私はpassport-herokuが一番他のSNSのものと構造が似ていたので、こちらを採用しました。
インストール
passportと一緒にインストールします。
$ npm install passport passport-heroku --save
セッションを管理するためのライブラリもインストールします。
セッション情報をRedisに持ってしまいたかったため、ストレージにRedisを指定するようにしました。のでセッションの他にredis関連もインストールしました。
$ npm install redis connect-redis cookie-parser express-session --save
ソース
関係するものだけ抜き出しますが、以下のようにしました。
serverサイド
var session = require('express-session'),
    passport = require('passport'),
    redis = require('redis'),
    RedisStore = require('connect-redis')(session);

:
:

//sessionの保存先をredisにする
app.use(session({
  secret: 'thisissecret',
  resave: false,
  saveUninitialized: false,
  store: new RedisStore({
      ttl: 3600000, //セッション保持期間(ミリ秒)。任意。
      client: redis.createClient('redis://127.0.0.1:6379', {detect_buffers: true})})
}));

:
:

app.use(passport.initialize());
app.use(passport.session());//passportでセッションを管理できるようにする

:
:

passport.use(new HerokuStrategy({
    clientID: herokuで登録したClientのID,
    clientSecret: herokuで登録したClientのSecret,
    callbackURL: '/auth/callback' //戻り先のURL
  },
  function(accessToken, refreshToken, profile, done) {
    //profileにherokuのアカウント情報が入ってくるので何かしたければここで行う
    return done(null, profile.id);//profile.idにはログインしたひとのherokuユーザーIDが入っている。
  }
));

:
:

//画面側で実装したログインURLが実行された時の定義
app.get('/login',
  passport.authenticate('heroku'),
  function(req, res){
    // function will not be called.
  });

//トークン取得時の戻り先URLが実行された時の定義
app.get('/auth/callback',
  passport.authenticate('heroku', { failureRedirect: '/' }),
  function(req, res) {
    // Successful authentication, redirect home.
    res.redirect('/');
  });

//認証されたあとで実行される
passport.serializeUser(function(id, done) {
  done(null, id);
});
//サーバーアクセス時にserializeUserでセットしたもの(id)が取得できる
passport.deserializeUser(function(id, done) {
  done(null, id);
});
clientサイド
めっちゃ単純ですが以下のようにしました。
import React from 'react';
import ReactDOM from 'react-dom';

class Login extends React.Component{

  componentDidMount(){
    if (this.props.location.query.auth == "true"){
      this.context.router.push({ pathname: '/portal', query: '', state: '' })
    }
  }

  render(){
    return (
      <div>
        <div className="main col-md-4">
          <div className="form-group col-md-12">
            <a className="btn btn-default pull-right" href="/login">ログイン(heroku連携)</a>
          </div>
        </div>
      </div>
    );
  };
}
//contextTypesは外で定義する
Login.contextTypes = {
  router: React.PropTypes.object.isRequired
}

export default Login;
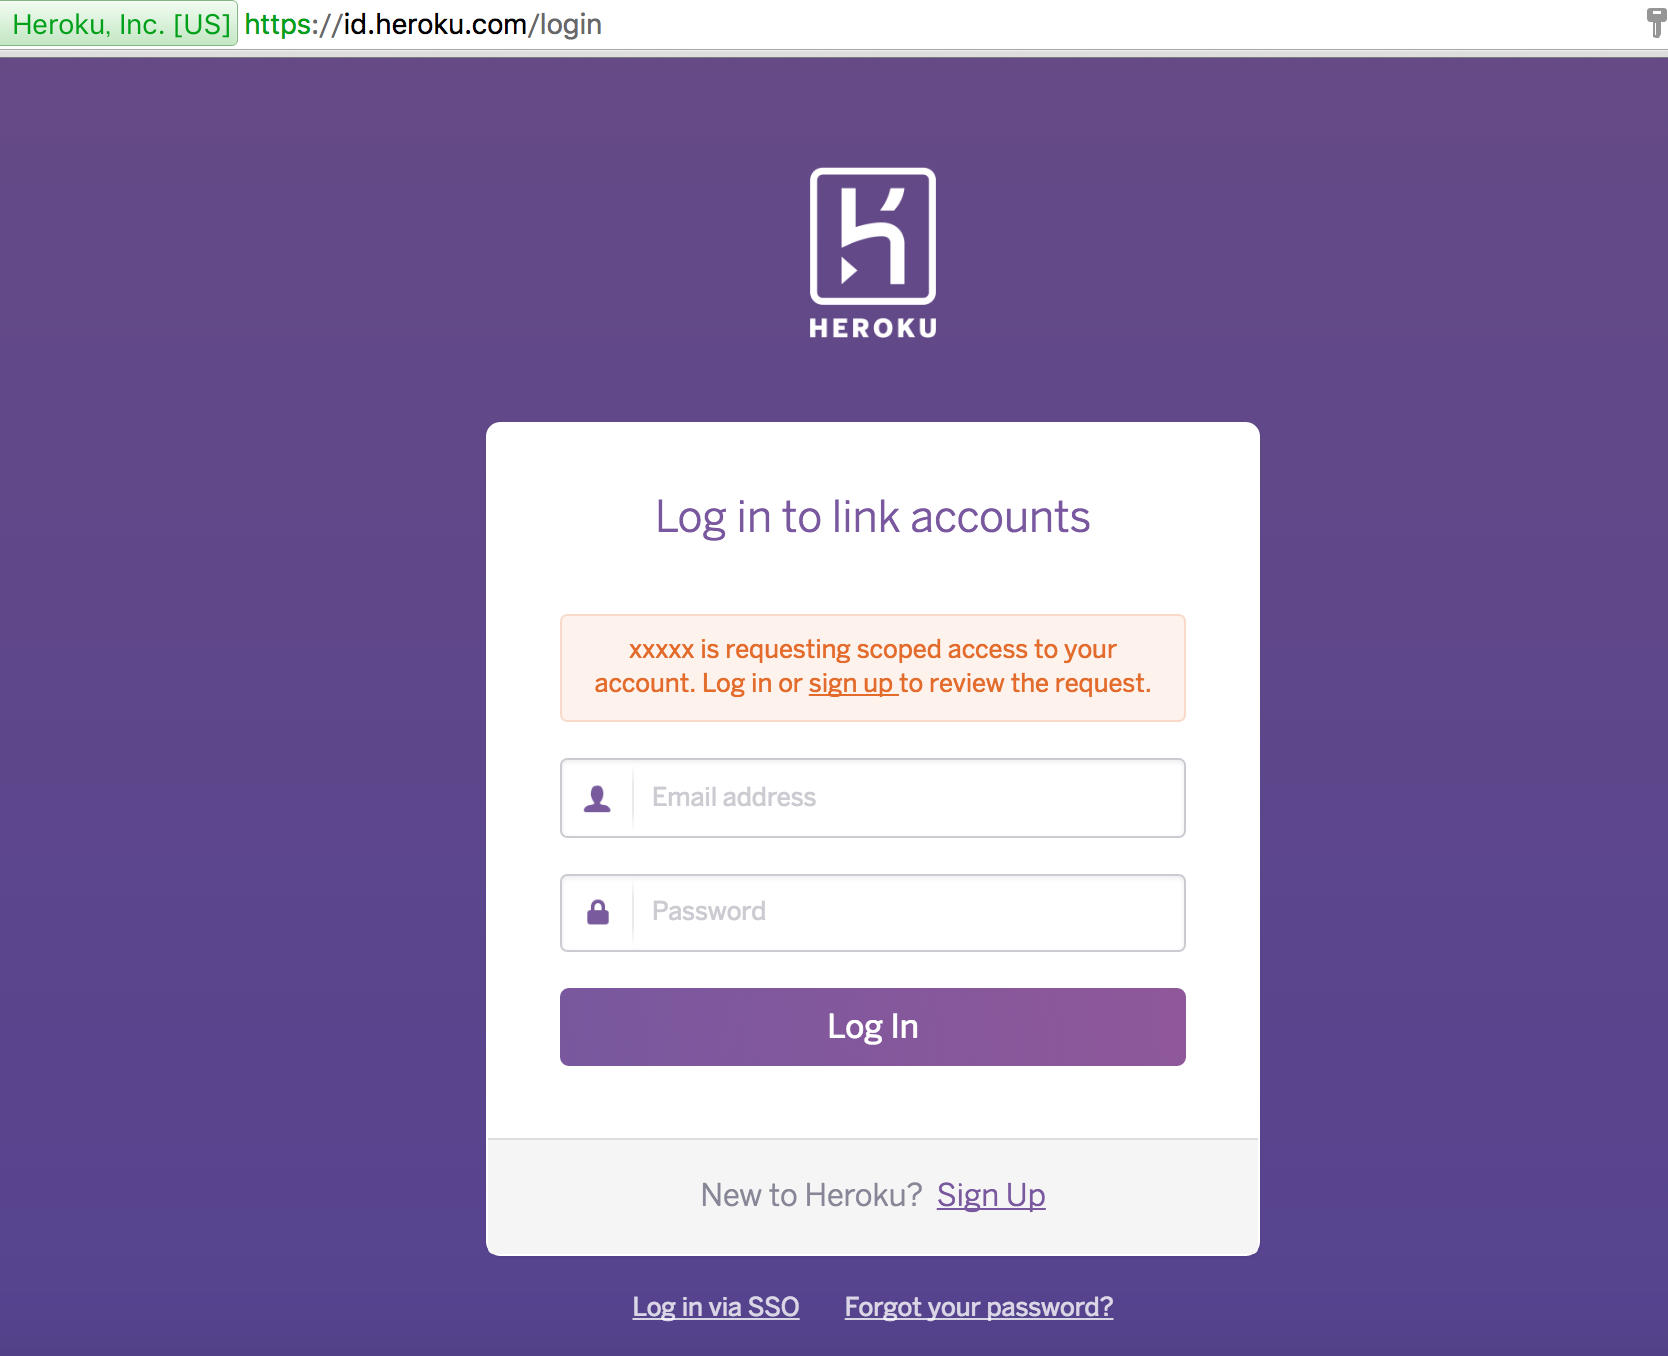
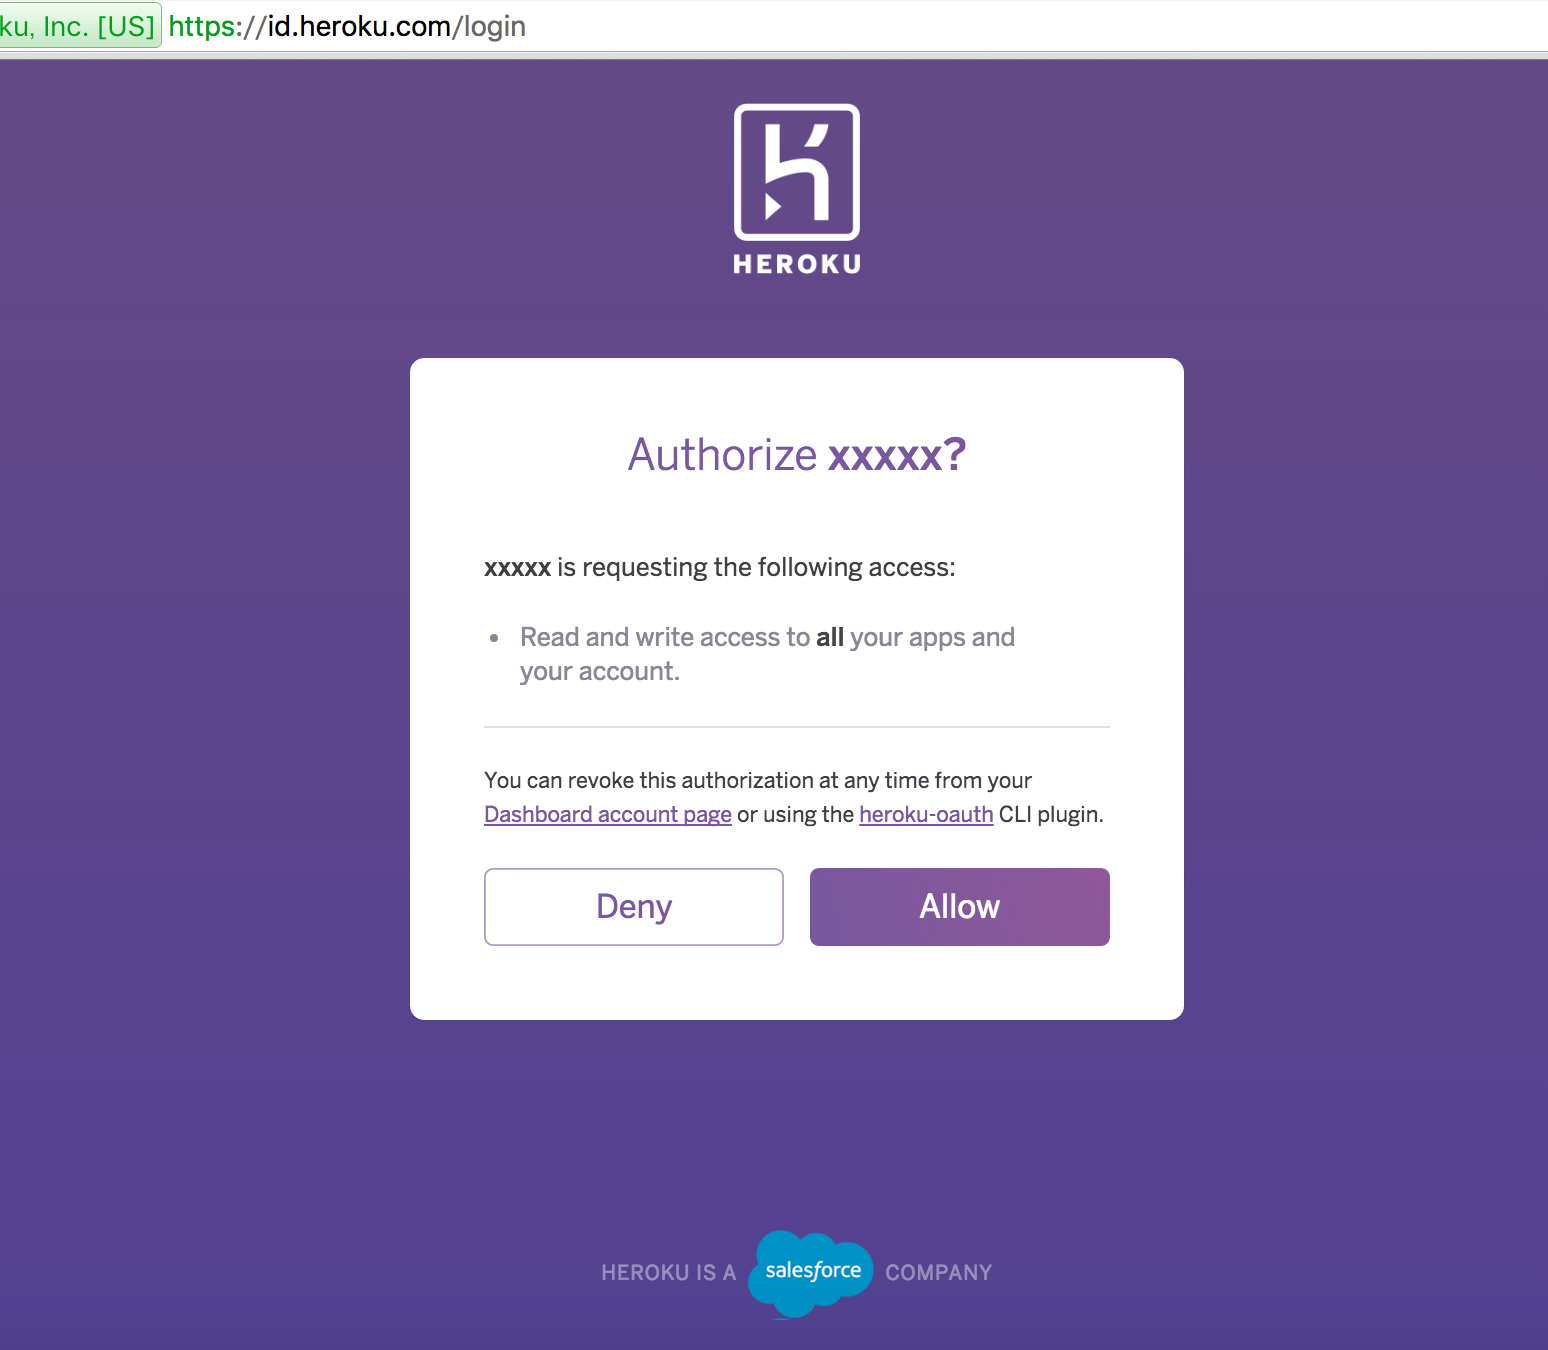
動かしてみると、下のようになるのですが、

ログインボタンをクリックすると、herokuに遷移し、認証を許可すると戻ってきます。
ユーザーのherokuアカウントページを見てみると、「Authorized Applications」に許可したアプリが追加されます。
