概要
VagrantとCentOS7の組み合わせでRuby on Railsの環境を構築したのですがWEBrick起動後ホストOSからゲストOSのlocalhost:3000に接続出来ませんでした。
色々と調べてみると同じような事例は見つかりましたが、CentOS6とCentOS7ではFirewallのサービスが異なるみたいでハマりました。
私と同様にVagrant + CentOS7 + Railsの組み合わせで、ホスト側からlocalhost:3000に接続出来ない場合の参考になればと思い投稿してみました。
環境
GuestOSにRailsをインストール
- Host OS:OS X El Capitan(version 10.11.4)
- Guest OS:CentOS Linux release 7.1.1503 (Core)
- ruby 2.1.8p440 (2015-12-16 revision 53160) [x86_64-linux]
- Rails 4.2.6
内容
ゲストOS側で、rails s -b 0.0.0.0でwebricを起動
ゲスト側でport3000がlisten状態になっていることは確認
[root@localhost zones]# netstat -ant4 -p | grep 3000
tcp        0      0 0.0.0.0:3000            0.0.0.0:*               LISTEN      4620/ruby
ゲスト側でport3000が空いていないことを確認
[vagrant@localhost ~]$ route
Kernel IP routing table
Destination     Gateway         Genmask         Flags Metric Ref    Use Iface
default         10.0.2.2        0.0.0.0         UG    100    0        0 enp0s3
10.0.2.0        0.0.0.0         255.255.255.0   U     100    0        0 enp0s3
iptablesサービスが起動しているか確認
[root@localhost sysconfig]# systemctl list-unit-files | grep "ip"
var-lib-nfs-rpc_pipefs.mount                static
iprdump.service                             disabled
iprinit.service                             disabled
iprupdate.service                           disabled
iprutils.target                             disabled
iptablesというサービスは起動していない模様
調べてみるとCentOSではiptablesの代わりにFirewalldというのが使われるようになったみたいです。
CentOS 7からデフォルトのFirewalldでハマった(iptablesは今後使わない?)
上記のサイトを参考にしてFirewalldの設定を行う。
修正前のFirewalldの確認
[root@localhost sysconfig]# firewall-cmd --list-all
public (default, active)
  interfaces: enp0s3
  sources:
  services: dhcpv6-client ssh
  ports:
  masquerade: no
  forward-ports:
  icmp-blocks:
  rich rules:
/etc/firewalld/zones/public.htmlにhtmlを追加
 <?xml version="1.0" encoding="utf-8"?>
<zone>
  <short>Public</short>
  <description>For use in public areas. You do not trust the other computers on networks to not harm your computer. Only selected incoming connections are accepted.</description>
  <service name="dhcpv6-client"/>
  <service name="ssh"/>
</zone>
 <?xml version="1.0" encoding="utf-8"?>
<zone>
  <short>Public</short>
  <description>For use in public areas. You do not trust the other computers on networks to not harm your computer. Only selected incoming connections are accepted.</description>
  <service name="dhcpv6-client"/>
  <service name="ssh"/>
  <service name="http"/>
</zone>
以下のコマンドを実行してport3000を開ける
[root@localhost zones]# firewall-cmd --permanent --add-port=3000/tcp
success
public.htmlの修正とport3000追加後に以下コマンドでサービスを再起動
systemctl restart firewalld
サービス再起動後にport3000とhttpが追加されたことを確認
[root@localhost zones]# firewall-cmd --list-all
public (default, active)
  interfaces: enp0s3
  sources:
  services: dhcpv6-client http ssh
  ports: 3000/tcp
  masquerade: no
  forward-ports:
  icmp-blocks:
  rich rules:
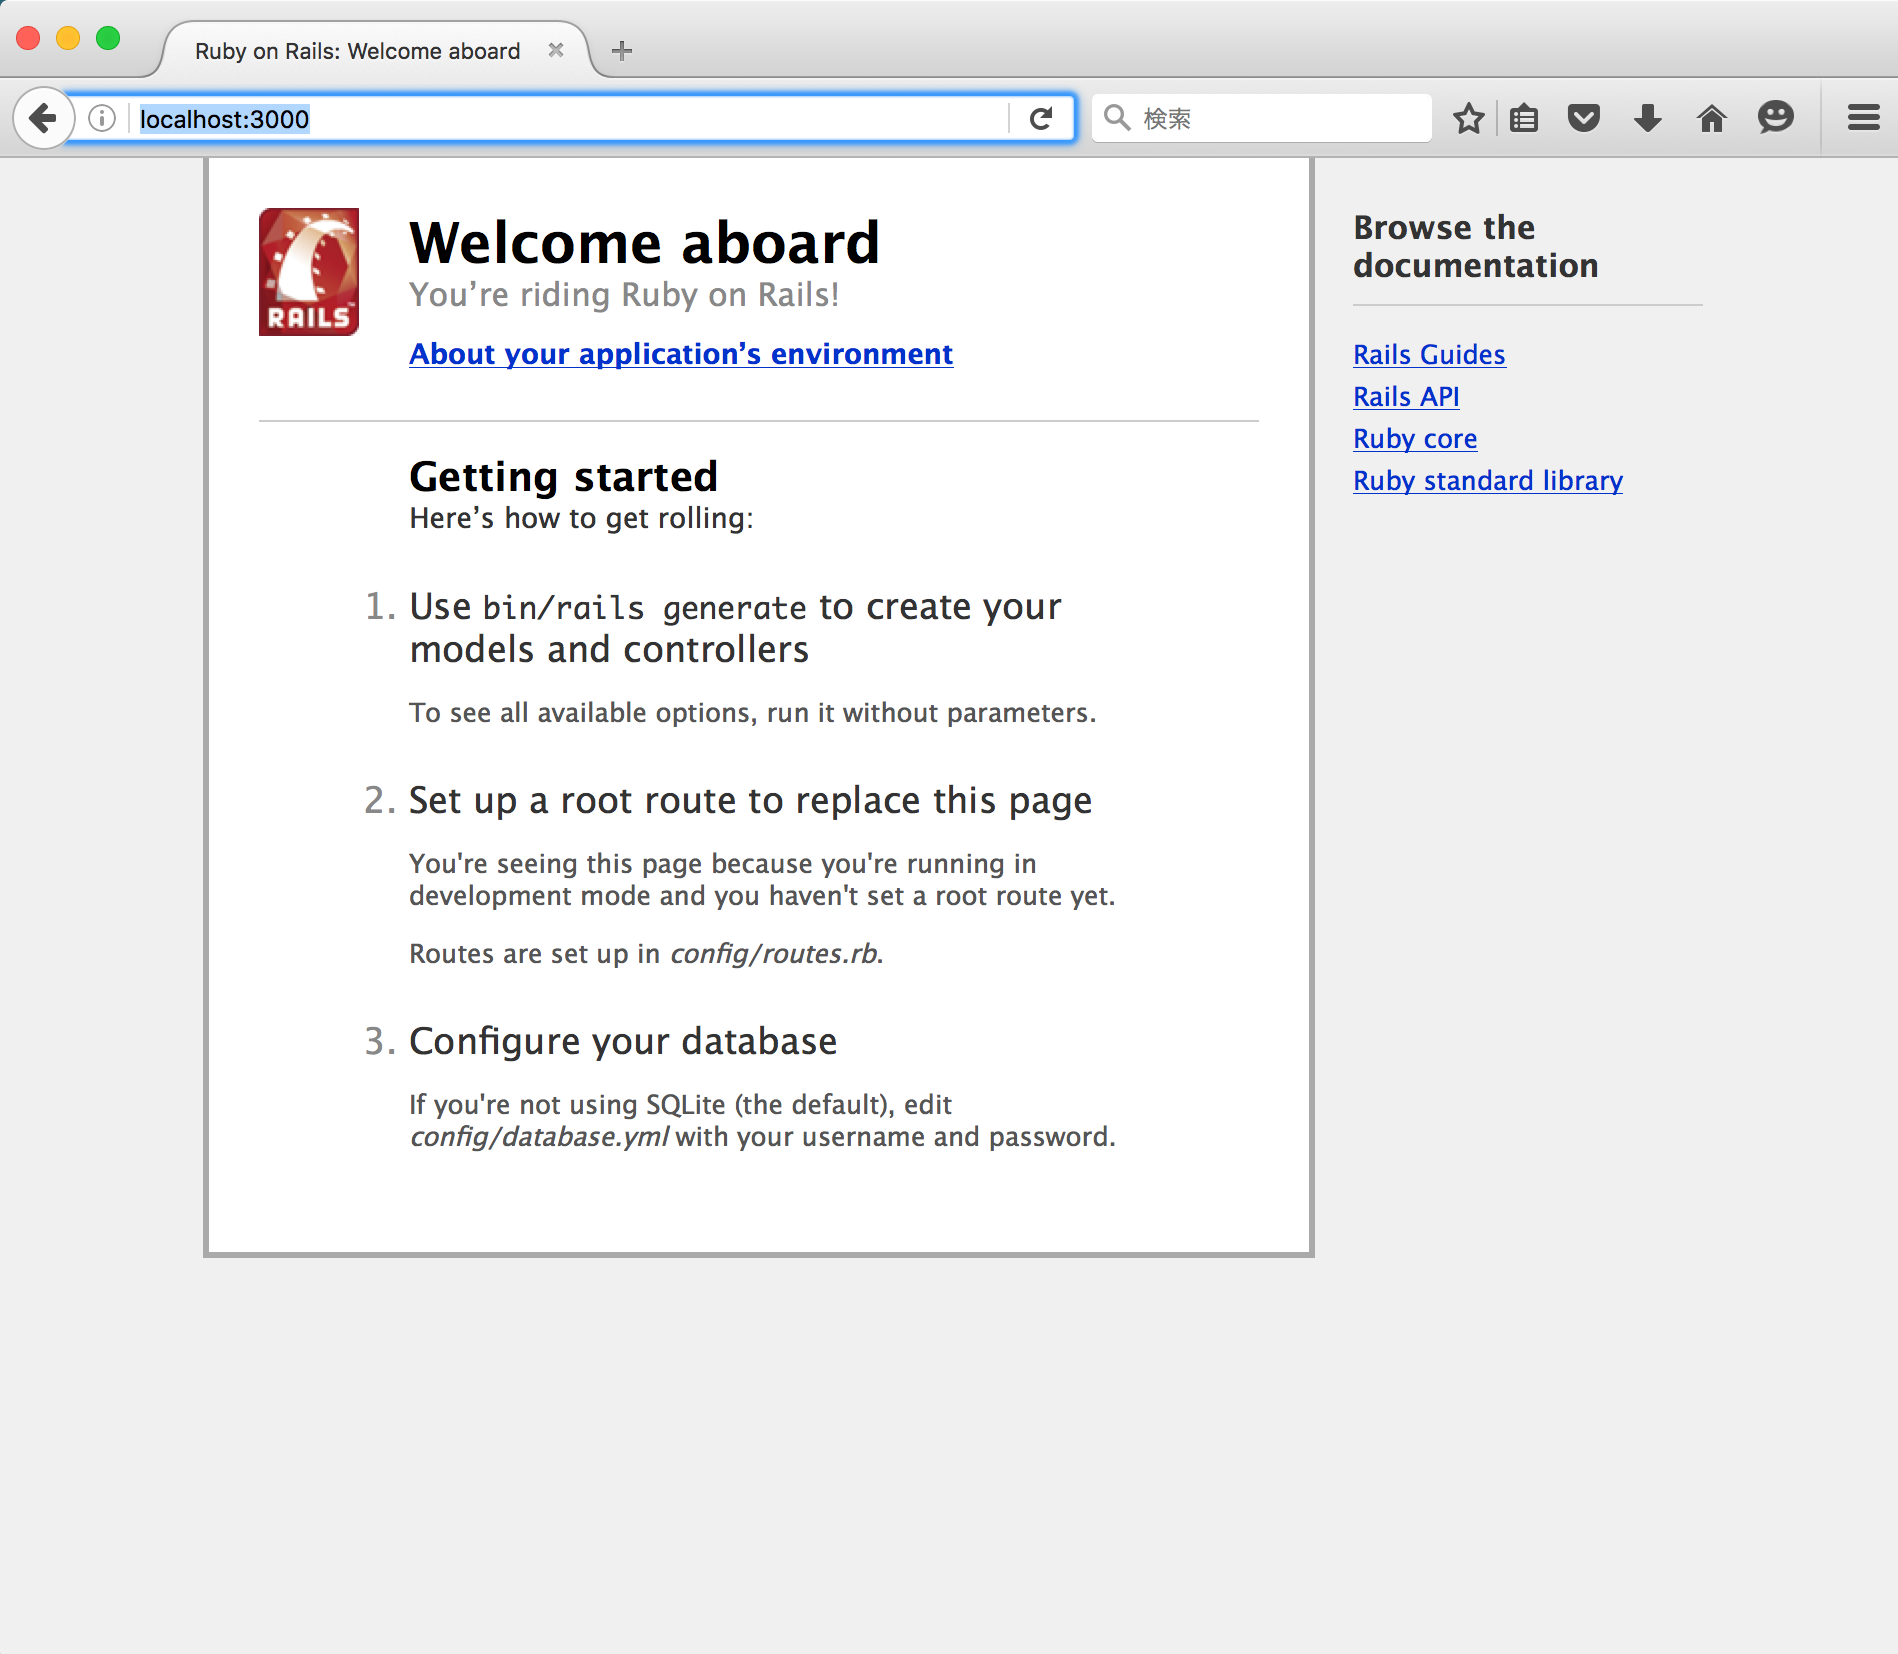
ホストOSからゲストOSのhttp://localhost:3000/ にアクセスするとやっと下の画面が表示されました!!
参考にしたサイト
今回参考にさせて頂いたサイトです。大変役立ちました。ありがとうございました!
[CentOS 7からデフォルトのFirewalldでハマった(iptablesは今後使わない?)]
(http://urashita.com/archives/963)
CentOS7.1 64bit firewalldによるアクセス制御
CentOS7 firewalldの設定
