JavaとTomcatの初学メモ
公式
検証環境
| 種別 | バージョン |
|---|---|
| OS | Windows 10 64bit |
| JDK | jdk1.8.0_121 |
| IDE | IntelliJ IDEA 2017.1.3 |
| Tomcat | 9.0.0.M21 |
Tomcat のインストール
今回は現状の最新の Tomcat 9 で検証しました。
Apache Tomcat® - Apache Tomcat 9 Software Downloads
ダウンロードページの 32-bit/64-bit Windows Service Installer をインストールします。
インストールの際に、adminアカウントを追加し、今回はそれを認証に使用します。
デプロイ先サーバー設定の追加
Mavenが参照しに行くサーバー設定を追加します。
C:\Users\user\.m2\settings.xml に以下を追記します。
id は任意で良いです。username/password は一旦adminのアカウントで追加します。
    <servers>
        <server>
            <id>localhost</id>
            <username>user</username>
            <password>pass</password>
        </server>
    </servers>
IntelliJで新規プロジェクトの作成
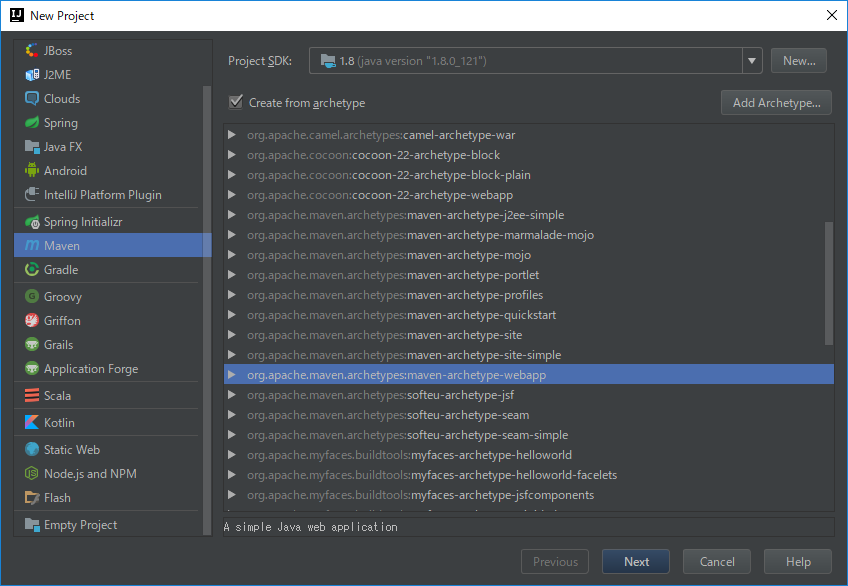
Mavenの新規プロジェクトで、maven-achetype-webapp を選択
pom.xml の修正
プロジェクトを作成したら、 pom.xml に以下を追加する。
  <build>
    <finalName>test3</finalName>
    <!-- 以下を追加 -->
    <plugins>
      <plugin>
        <groupId>org.apache.maven.plugins</groupId>
        <artifactId>maven-compiler-plugin</artifactId>
        <version>3.6.1</version>
        <configuration>
          <source>1.8</source>
          <target>1.8</target>
          <encoding>UTF-8</encoding>
        </configuration>
      </plugin>
      <plugin>
        <groupId>org.apache.tomcat.maven</groupId>
        <artifactId>tomcat7-maven-plugin</artifactId>
        <version>2.2</version>
        <configuration>
          <server>localhost</server>
          <url>http://localhost:8080/manager</url>
          <path>/${project.build.finalName}</path>
        </configuration>
      </plugin>
    </plugins>
  </build>
maven-compiler-plugin => バージョンを明示的に指定(今回は1.8)
tomcat7-maven-plugin => デプロイ先のサーバーを指定
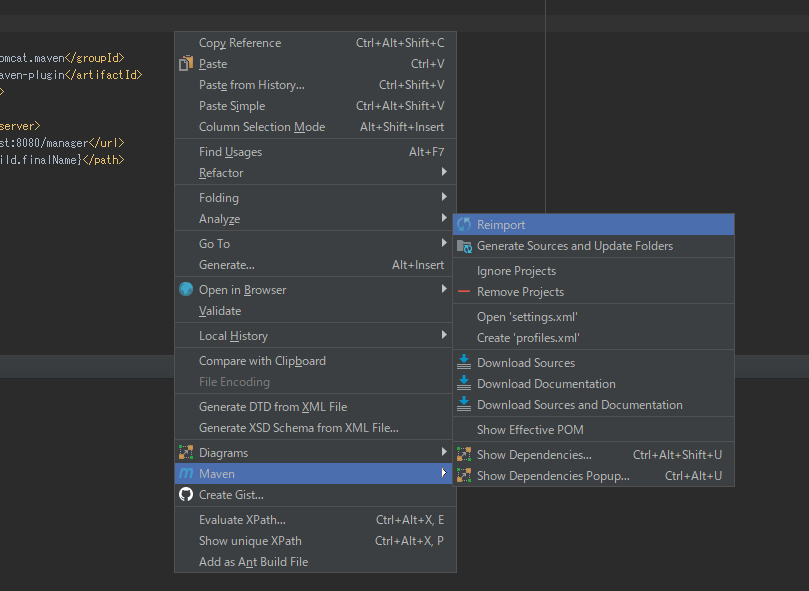
プラグインの設定を追加したら Maven の Reimport を実行しておく
IntelliJのビルド時のデプロイ設定を追加
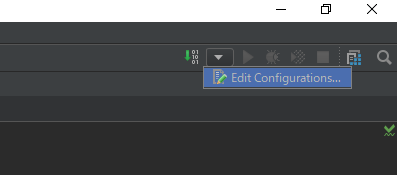
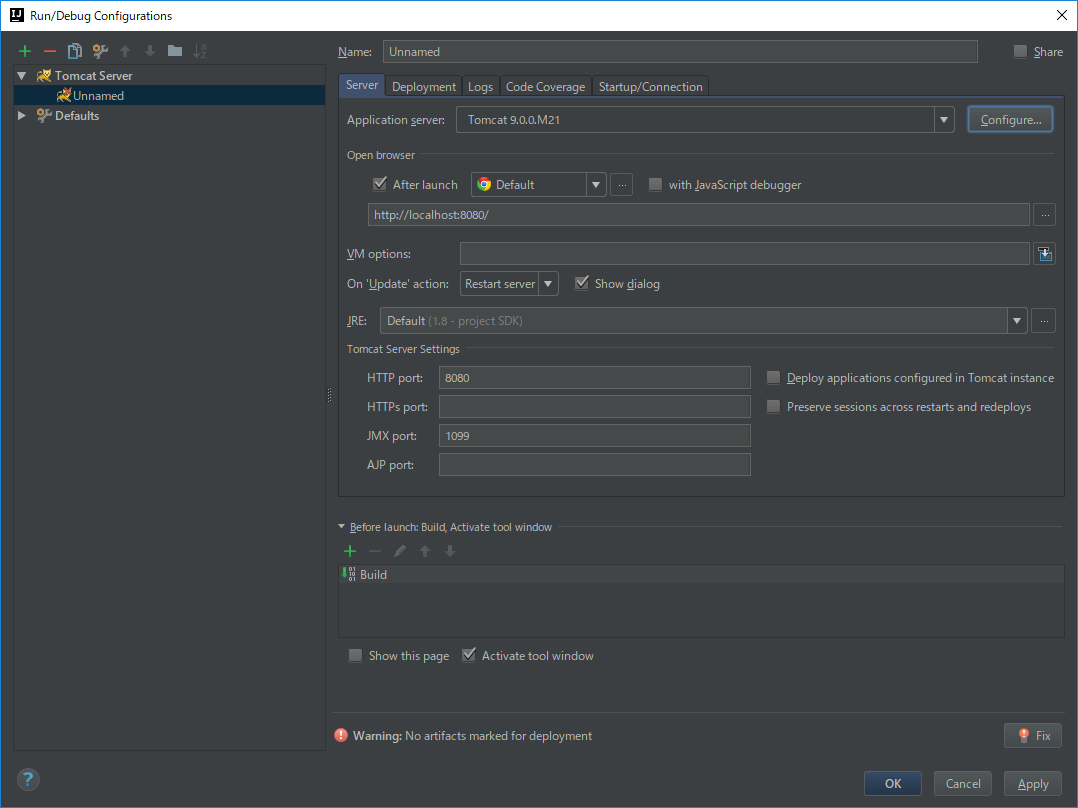
Edit Configurations から設定を追加
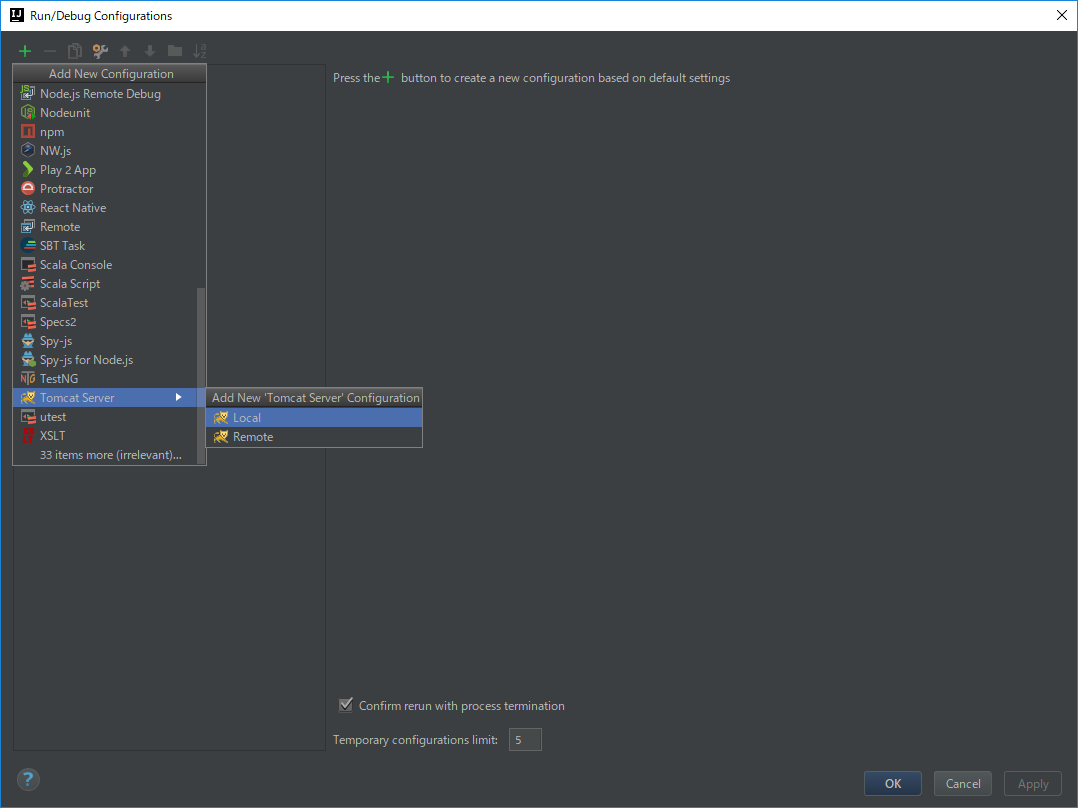
+ の追加から、Tomcat Serverを選択
Application Server でインストール済みの Tomcat 9 を指定する。
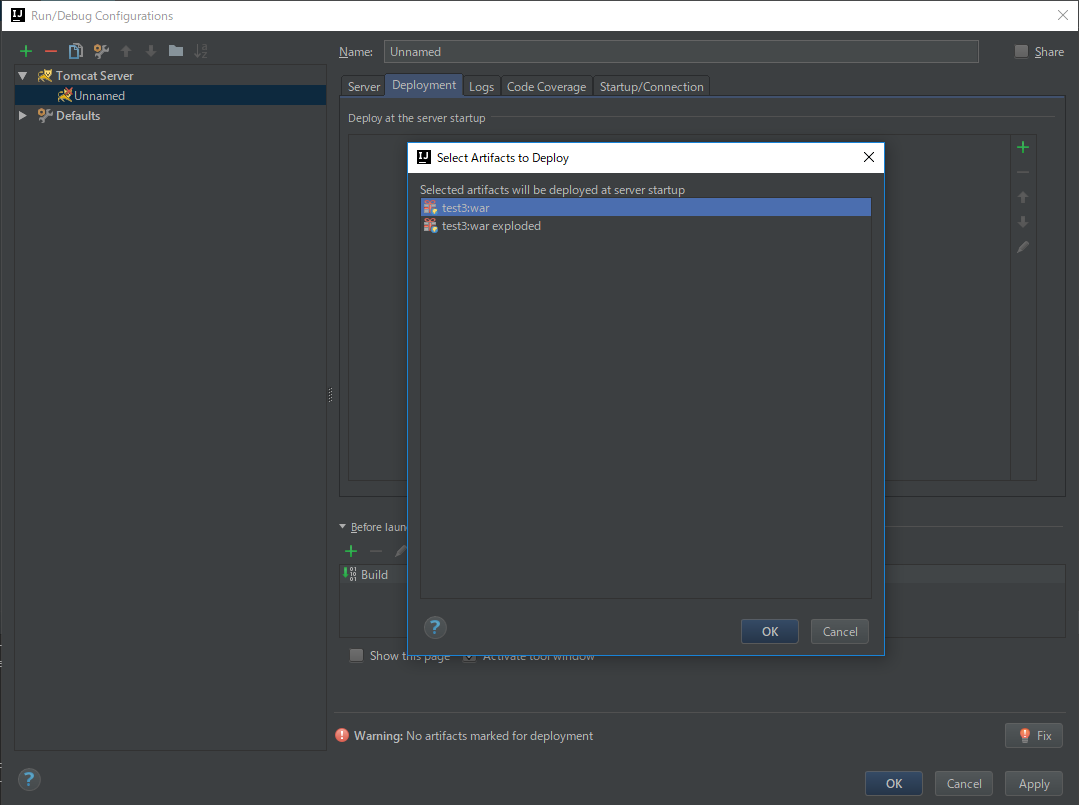
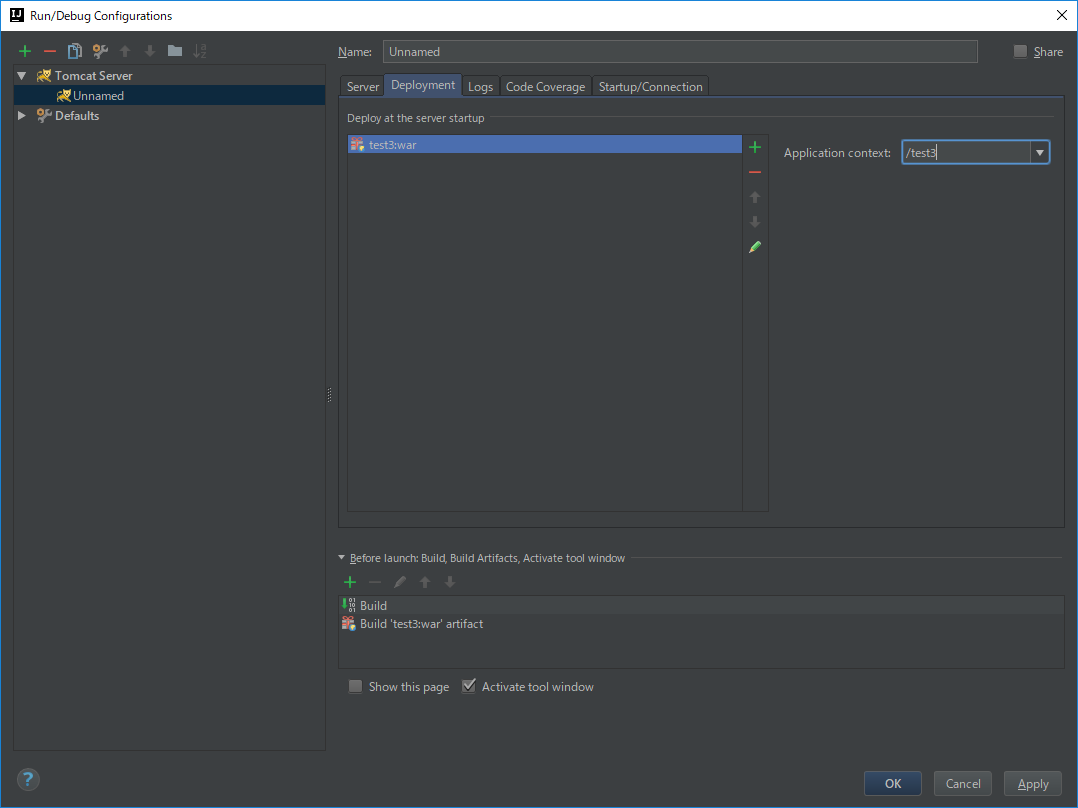
同設定内の Deployment タブで、プロジェクトで生成されるアーティファクト(*.war)を指定
Apptication Context にアプリケーション名を指定。
(TODO: / のままだと Tomcat の初期画面が表示されてしまう)
実行する
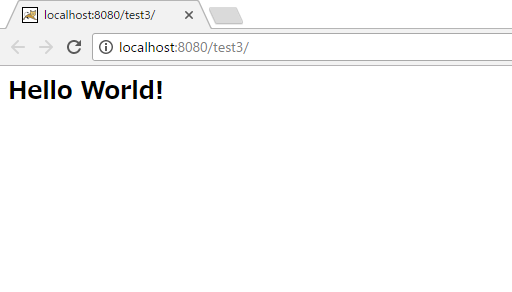
設定が完了した状態でビルドを実行すると、Tomcatにwarファイルがデプロイされた状態で実行されます。
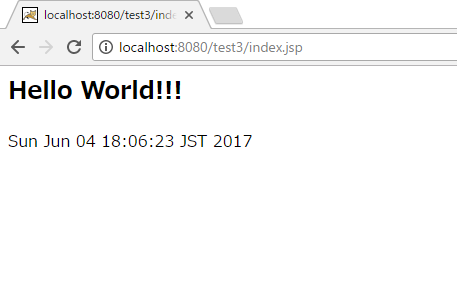
index.jsp を以下のように修正してみます。
<html>
<body>
<h2>Hello World!!!</h2>
<%= new java.util.Date() %>
</body>
</html>
反映されていることを確認できました。
まとめ
初学のため粗があるとは思いますが、ひとまず最低限の環境構築はできました。
参考
Servlet(サーブレット) / JSP入門 : Javaサーバサイドアプリ
IntelliJ IDEA を使って Web アプリケーションを Tomcat へデプロイしてみた - Qiita
5. Maven による実アプリケーション開発 | TECHSCORE(テックスコア)
