はじめに
Eclipse Neon 上で Spring Boot を使った Webアプリケーション環境を構築します。
すこし実用性を意識して、テンプレートエンジンも導入します。
環境
- Windows 10
- Eclipse Neon
- Java 1.8.0_111
プラグインインストール
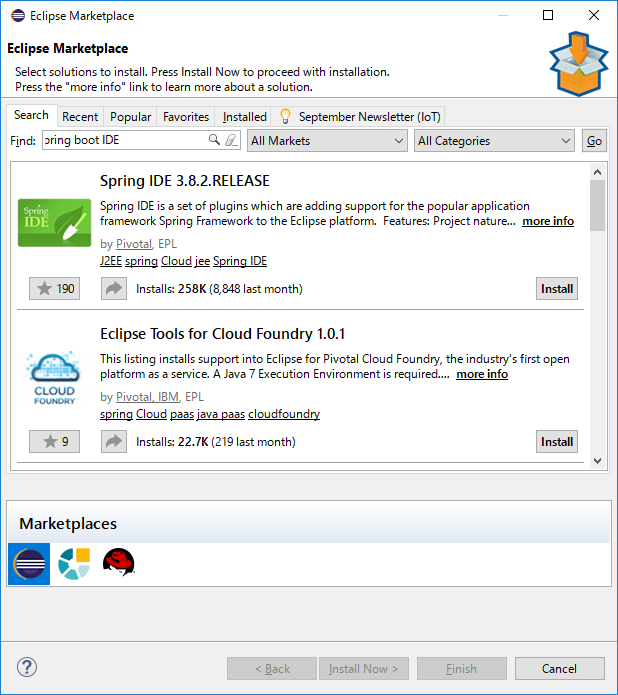
Eclipse Marketplace から "Spring IDE" をインストールします。
プロジェクト作成
File > New > Project でプロジェクトを作成します。
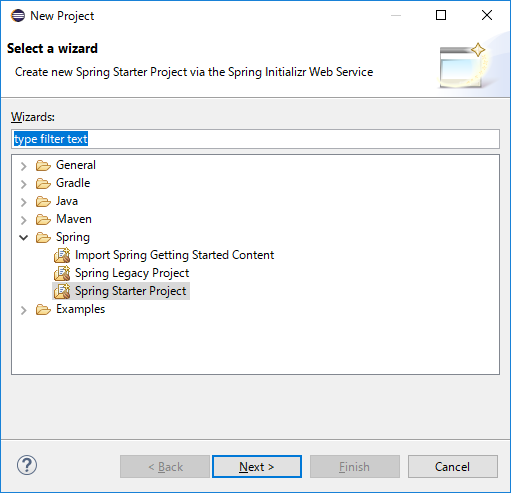
wizard から Spring > Spring Starter Project を選択してください。
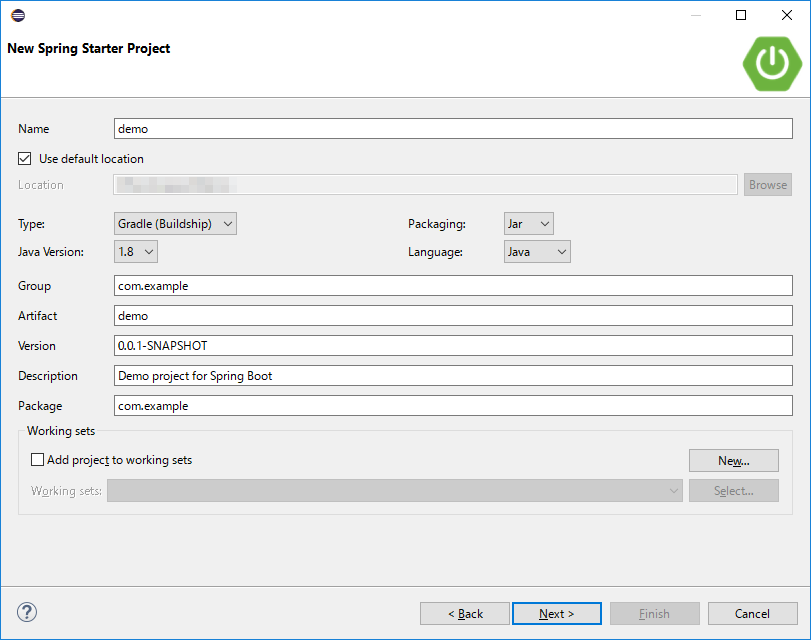
New Spring Starter Project (1画面目) で、Type は Gradle(Buildship) を選択します。そのほかの項目はほど良い感じに変更してください。とりあえず動かしてみたいという場合は、変更しなくても大丈夫です。
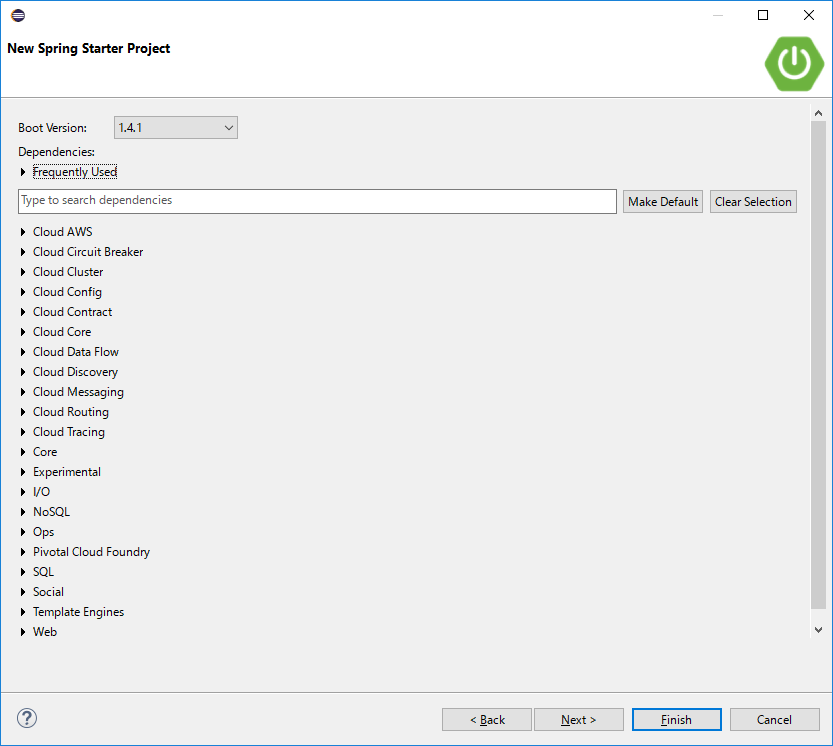
New Spring Starter Project (2画面目) では、以下の項目を選択します。
- Web (Web 以下にあります)
- Thymeleaf (Template Engines 以下にあります)
- DevTools (Core 以下にあります)
実装
今回は、定番の "Hello World!" をブラウザで表示するページを作成します。
コントローラの作成
New Spring Starter Project で初期値のまま変更しなかった場合は、com.example に以下のファイルを作成します。
package com.example;

import org.springframework.boot.autoconfigure.EnableAutoConfiguration;
import org.springframework.stereotype.Controller;
import org.springframework.ui.Model;
import org.springframework.web.bind.annotation.RequestMapping;

@Controller
@EnableAutoConfiguration
public class HelloContoller {
	@RequestMapping("/")
	public String index(Model model) {
		model.addAttribute("value", "Hello World!");
		return "index";
	}
}
テンプレートの作成
src/main/resources/templates に以下のファイルを作成します。
<!DOCTYPE HTML>
<html xmlns:th="http://www.thymeleaf.org">
<head>
</head>
<body>
	<span th:text="${value}" />
</body>
</html>
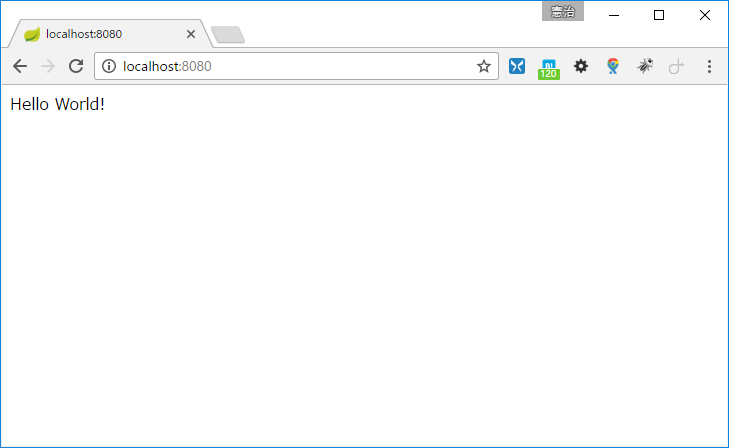
動作確認
Run > Run As > Spring Boot App で起動します。
起動後、ブラウザで以下のURLにアクセスしてください。
いかがでしょうか。無事に表示されましたか?
ちょっと解説
ここまで設定や実装内容について全く説明せずに、手順だけを説明してきました。
簡単にではありますが、ちょっと解説します。
Gradle(Buildship) とは
Gradle とはビルドツールです。make や maven と同じジャンルと考えていただくとわかりやすいでしょうか?Buildship とは、Eclipse 公式の Gradle プラグインです。
Thymeleaf とは
Spring Boot で使えるテンプレートエンジンの1つです。ちなみに "タイムリーフ" と読むそうです。
Spring Boot では他にも様々なテンプレートエンジンが使えます。
DevTools とは
Spring Boot の開発補助ツールです。ファイルを変更すると自動的に更新されるようになります。こちらを適用しないと、ソースを変更するたびに手作業でアプリの再起動を行う必要があります。何の説明もなく導入してしまいましたが、開発効率を考えると是非とも選択しておきたいツールです!
なお、New Spring Starter Project で選択した Dependencies は、build.gradle というファイル内に定義されています。build.gradle を変更した場合は、Gradle > Refresh Gradle Project で更新する必要があります。
HelloController.java
- Controller がついたクラスは、メソッドの戻り値にビューの名前を文字列で返すように指定します。今回は "index" と返しましたが、これはテンプレートファイル "index.html" を示しています。
- EnableAutoConfiguration は Spring Boot 自動設定を有効にするための設定です。
- RequestMapping はアクセスするパスを表してます。
index.html
Thymeleaf テンプレートファイルです。
今回はコントローラで指定した変数(value)を span タグで表示するようにしています。他のテンプレートエンジン同様、条件分岐など様々な実装ができます。
所感
ふいに、未経験の環境で Web アプリを作りたくなり Spring Boot に挑戦してみましたが、実にあっさり環境構築できました。簡単に実装できた半面、仕組みが十分に理解できていない感があるので、仕組みをしっかり調べておきたいです。
