以下の公式ドキュメントを参照し、記事を書きました。
https://devcenter.heroku.com/articles/getting-started-with-django#declare-process-types-with-procfile
作業環境
- Mac OS X 10.10.3
- python 2.7.6
前提条件
- heroku アカウントを持っていること
- heroku toolbelt がインストールされていること
- virtualenvがインストールされていること
PostgreSQL導入
インストール
$ brew install postgresql
パスを通す(~/.bash_profile)
export PATH=/usr/local/Cellar/postgresql/9.4.1/bin:"$PATH"
ターミナルを再起動
Django環境を構築
アプリケーション管理用ディレクトリを作成し、移動
$ mkdir hellodjango && cd hellodjango
venvといる仮想環境を構築し、起動
$ virtualenv venv
$ source venv/bin/activate
Django関連ライブラリ一式をダウンロードする
$ pip install django-toolbelt
※ django-toolbeltに含まれているライブラリ
- Django (the web framework)
- Gunicorn (WSGI server)
- dj-database-url (a Django configuration helper)
- dj-static (a Django static file server)
Djangoプロジェクト作成
$ django-admin.py startproject hellodjango .
Procfile作成し、以下の内容を記述
web: gunicorn hellodjango.wsgi --log-file -
※ Procfileとは、Herokuのプラットフォーム上にあるアプリケーションのdynosにより実行されるコマンドが何であるかを宣言するためのメカニズムです。
ローカルサーバーを起動
$ foreman start
21:21:26 web.1  | started with pid 5513
21:21:26 web.1  | [2015-05-10 21:21:26 +0900] [5513] [INFO] Starting gunicorn 19.3.0
21:21:26 web.1  | [2015-05-10 21:21:26 +0900] [5513] [INFO] Listening at: http://0.0.0.0:5000 (5513)
21:21:26 web.1  | [2015-05-10 21:21:26 +0900] [5513] [INFO] Using worker: sync
21:21:26 web.1  | [2015-05-10 21:21:26 +0900] [5516] [INFO] Booting worker with pid: 5516
http://0.0.0.0:5000 でアクセスできればOK
pipの依存関係を表すrequirements.txtファイルを作成
$ pip freeze > requirements.txt
Django設定
settings.pyの最後尾に以下の内容を追加
# Parse database configuration from $DATABASE_URL
import dj_database_url
DATABASES['default'] =  dj_database_url.config()

# Honor the 'X-Forwarded-Proto' header for request.is_secure()
SECURE_PROXY_SSL_HEADER = ('HTTP_X_FORWARDED_PROTO', 'https')

# Allow all host headers
ALLOWED_HOSTS = ['*']

# Static asset configuration
import os
BASE_DIR = os.path.dirname(os.path.abspath(__file__))
STATIC_ROOT = 'staticfiles'
STATIC_URL = '/static/'

STATICFILES_DIRS = (
    os.path.join(BASE_DIR, 'static'),
)
wsgi.pyを以下の内容で書き換える
import os
from django.core.wsgi import get_wsgi_application
from dj_static import Cling

os.environ.setdefault("DJANGO_SETTINGS_MODULE", "hellodjango.settings")

application = Cling(get_wsgi_application())
gitバージョン管理を行う
.gitignoreファイルを作成し、以下の内容を追加
venv
*.pyc
staticfiles
レポジトリに追加
$ git init
$ git add .
$ git commit -m "my django app"
herokuへデプロイ
herokuにリポジトリを作成
$ heroku create
herokuへアプリケーションをデプロイ
$ git push heroku master
dynoの数を設定
$ heroku ps:scale web=1
ブラウザから確認
$ heroku open
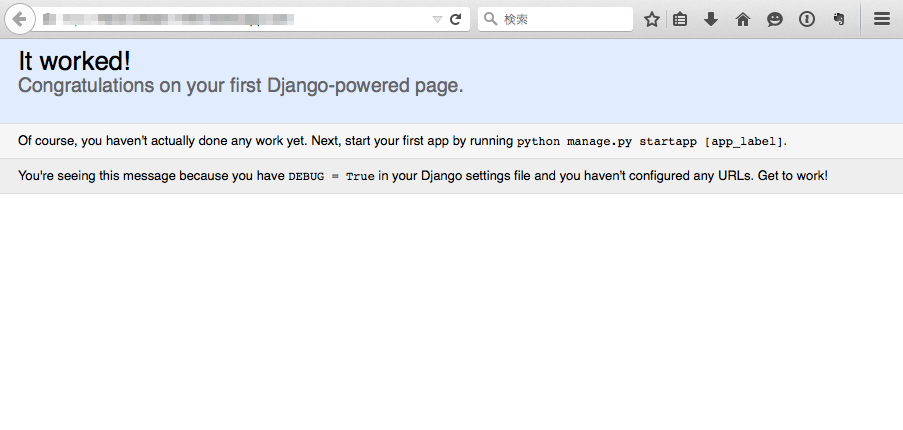
以下の画面が出ればOK!
