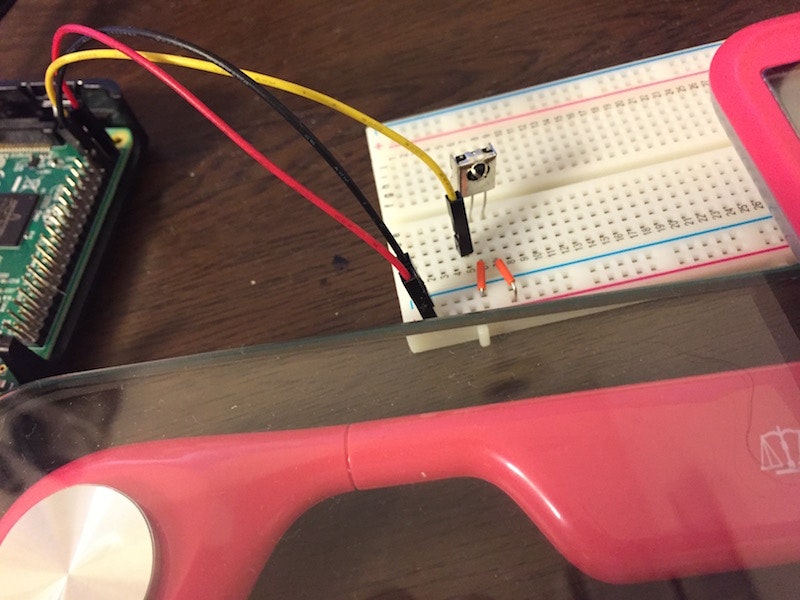
Arduino で全自動体重記録計を作るの記事でやられていた、Saluteていう体重計の赤外線を受信してデータをパースする部分を Raspi + Python でやってみた。ので、ソースだけメモのためにペロッと貼っておきます。
#!/usr/bin/python
# coding: UTF-8

import sys
import time
import RPi.GPIO as GPIO

INPUT_PIN = 2
BIT_LEN = 39


class SaluteConnector:
  def __init__(self):
    GPIO.setmode(GPIO.BCM)
    GPIO.setup(INPUT_PIN, GPIO.IN)
    return

  def getStatus(self):
    bits,count = self.readBits()

    status = 0
    weight = 0
    if count == BIT_LEN:
      status = (bits >> 26) & 0b11
      weight = (bits >> 8) & 0b1111111111111111

    # status 0:さいしょ / 1:とちゅう / 3:決定
    return status,weight

  def readBits(self):
    count = 0
    bits = 0

    while True:
      pulse = self.pulseIn(INPUT_PIN, GPIO.HIGH, 0.07)
      if pulse == 0:
        break

      # 0: 1000ms / 1: 500ms
      bit = 0 if 0.00075 < pulse else 1
      pos = 0 if BIT_LEN < count else (BIT_LEN - count)
      bits = bits | (bit << pos)
      count+=1

    return bits,count

  def pulseIn(self, PIN, value=GPIO.HIGH, timeout=1000000):
    if value==GPIO.HIGH:
      inv_value = GPIO.LOW
    elif value==GPIO.LOW:
      inv_value = GPIO.HIGH

    t_start = time.time()
    t_end1 = t_start
    t_end2 = t_start

    while GPIO.input(PIN) == inv_value:
      t_end1 = time.time()

    if timeout < time.time() - t_start:
      return 0

    while GPIO.input(PIN) == value:
      t_end2 = time.time()

    if timeout < time.time() - t_start:
      return 0

    return t_end2 - t_end1


def setup():
  global _salute;
  _salute = SaluteConnector()
  return

def loop():
  global _salute;
  status,weight =  _salute.getStatus()
  print("status={0}, weight={1}".format(status, weight))
  return


if __name__ == "__main__":

  try:
    setup()

    while True:
      loop()

  except KeyboardInterrupt:
    print("Keyboard Intterupt")

  except Exception as e:
    print("Exception Error", e.message)

  finally:
    print("End")
結果はこんな感じです。
$ python --version
Python 2.7.9
$ python test06.py
status=0, weight=0
status=0, weight=0
status=0, weight=0
status=0, weight=51
status=0, weight=123
status=0, weight=199
status=0, weight=244
status=0, weight=261
status=0, weight=261
status=0, weight=247
status=1, weight=211
status=1, weight=211
status=3, weight=211
status=3, weight=208
status=3, weight=208
status=3, weight=208
status=3, weight=208
status=3, weight=208
配線のメモ。
raspi3 の gpio pin 配置はココで、GPIO2 に vout,5V のところに vcc を繋いでます。

