開発プロセスはアジャイルだけどマネジメントツールはRedmineという方は特に知っておいた方が良さそうです。
TAIGAってなに?
TAIGAと聞いて真っ先にトラどらが思い浮かんだあなたとは友達になれる気がしますが、トラどらではありません。
詳しくは下記にあります。
Public Projectなら無料で上のサイトでも使えます。
TAIGAとはアジャイルに最適化されたマネジメントツールです。
バックログ、スプリント、バーンチャート、かんばんなどの機能がそろっているのですが、
なにより他のツールに比べて圧倒的にデザインがきれい。
ただし、まだベータ版です
AWSに構築する
1, AWSのインスタンスを立ち上げる
ざっくりいうとUbuntuのインスタンスを立ち上げて、Security GroupsにHTTPを追加、Elastic IPを設定まで行います。
2, TAIGAを立ち上げる
sshでログイン後、下記のようにgitをインストールしてスクリプトを落として叩くだけで設定完了です。
# gitのinstall
$ sudo apt-get install git

# Taigaioのセットアップ
$ git clone https://github.com/taigaio/taiga-scripts.git
$ cd taiga-scripts
$ bash setup-server.sh

# httpでいいのか聞かれるのでEnter
Scheme (default http):
# Hostnameを聞かれる
Hostname (default: localhost:8000): (とりあえずElastic IPに設定したIPを入力)
たったこれだけで設定完了です。
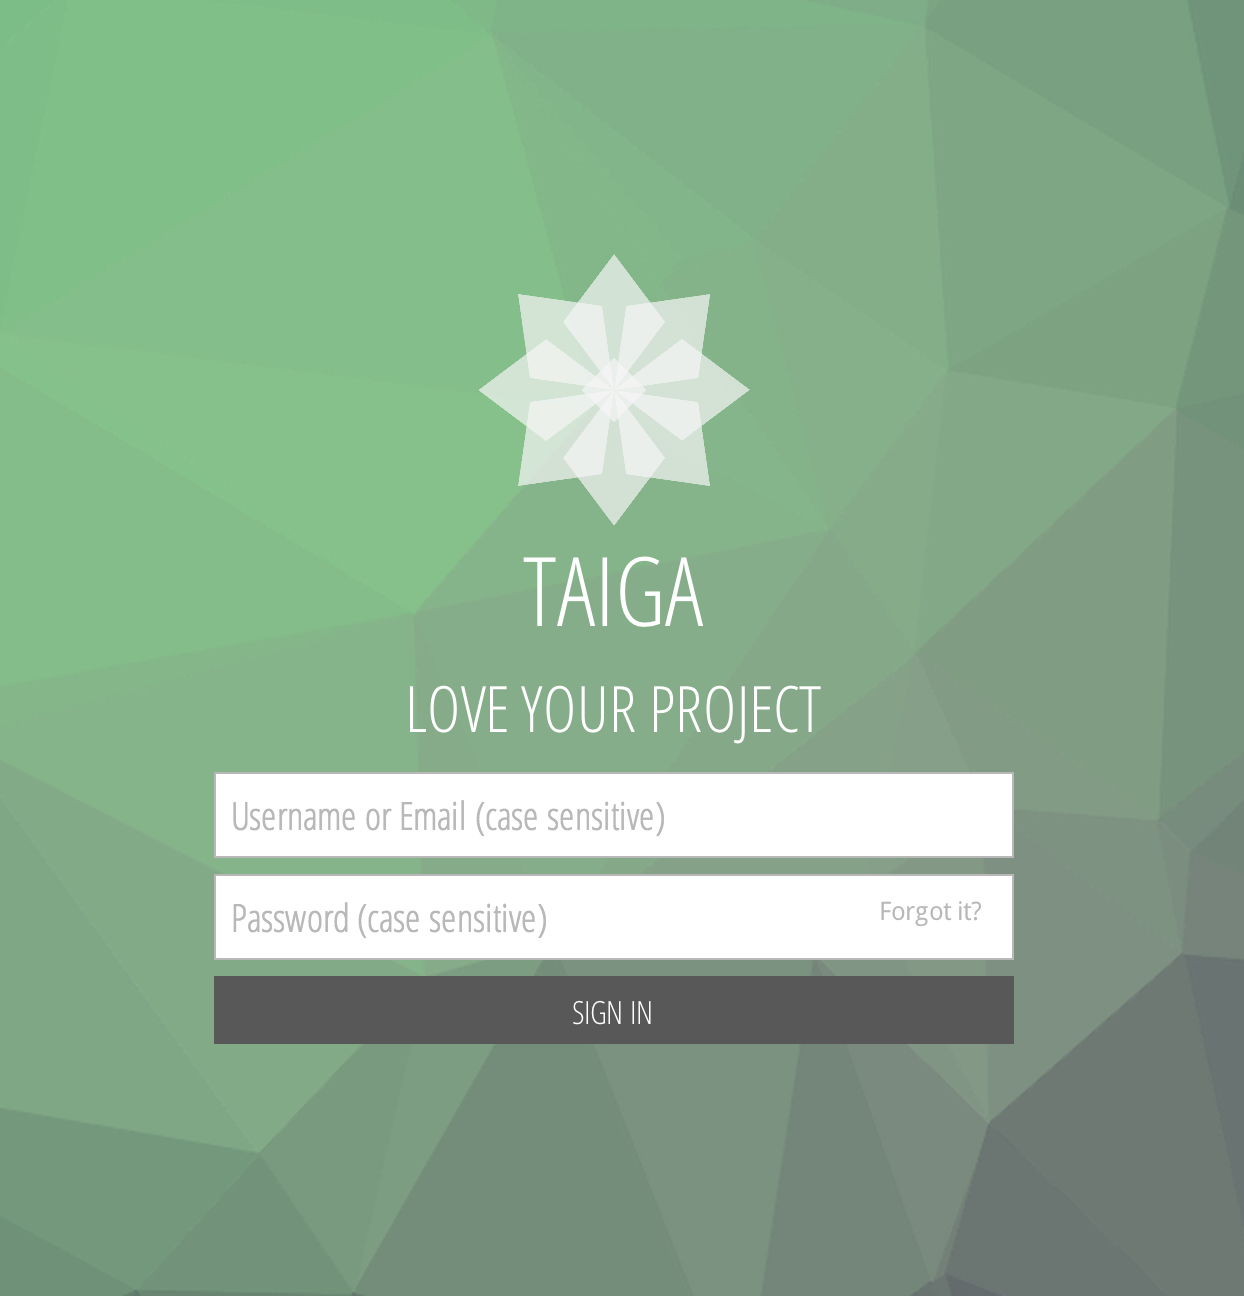
設定したIPにアクセスすると、無事ログイン画面!!!

3, ログインする
初期ユーザ名は admin、パスワードは 123123 となっています。
4, あとは使ってみるだけ!
なんかめっちゃきれい!


以上で構築は完了です!
5, なんだかよくわからないバグ?
・Emailが届かない。
解決次第、追記します!