概要
Serverless Framework のインストールと初期設定のまとめ。
※執筆時のバージョンは1.4.0です。
前提条件
AWS Lambda + Nodeでの開発を想定しています。
環境構築
以下の環境で必要なミドルウェアのインストールを行っていきます。
- HostsOS(MacOS 10.11.6)
- vagrant(1.9.1)
-
VirtualBOX(5.1.12)
※GuestOSはCentOSの7系を利用
Nodeのインストール
AWS LambdaのNode実行環境 に合わせてv4.3.2をインストールします。
今後AWSのNode実行環境のバージョンが上がった時の事も考えnodebrew を利用してNode自体のバージョンも簡単に変更出来るようにしておきます。
$ curl -L git.io/nodebrew | perl - setup
$ export PATH=$HOME/.nodebrew/current/bin:$PATH

$ source ~/.bashrc
$ nodebrew install-binary v4.3.2 --v8-options=--harmony
$ nodebrew use v4.3.2
serverlessのインストール
Serverless Frameworkはserverlessという名前のnpmパッケージとして提供されています。
よってnpmを使ってインストールを行っていきます。
その前にnpmのバージョンがかなり古いので以下のコマンドで新しくしておきます。
$ npm update -g
バージョンアップが終わったらserverlessをインストールしていきます。
$ npm install -g serverless
※serverlessのインストール時に下記のようなエラーが出る事があります。
ServerlessError: ServerlessError: Signature not yet current: 20160316T092850Z is still later than 20160316T092236Z (20160316T091736Z + 5 min.)
これはサーバの時刻が大きくズレている時に起こるようです。
ntpdateをインストールして時刻を合わせましょう。
# yum install -y ntpdate
# ntpdate -b ntp.nict.jp
ここまでで最低限の環境整備はOKです。
環境に関しては作成方法等をAnsibleのplaybookにしてgithubに上げておきました。
※おまけとしてAWS CLIのインストールも行ってあります。
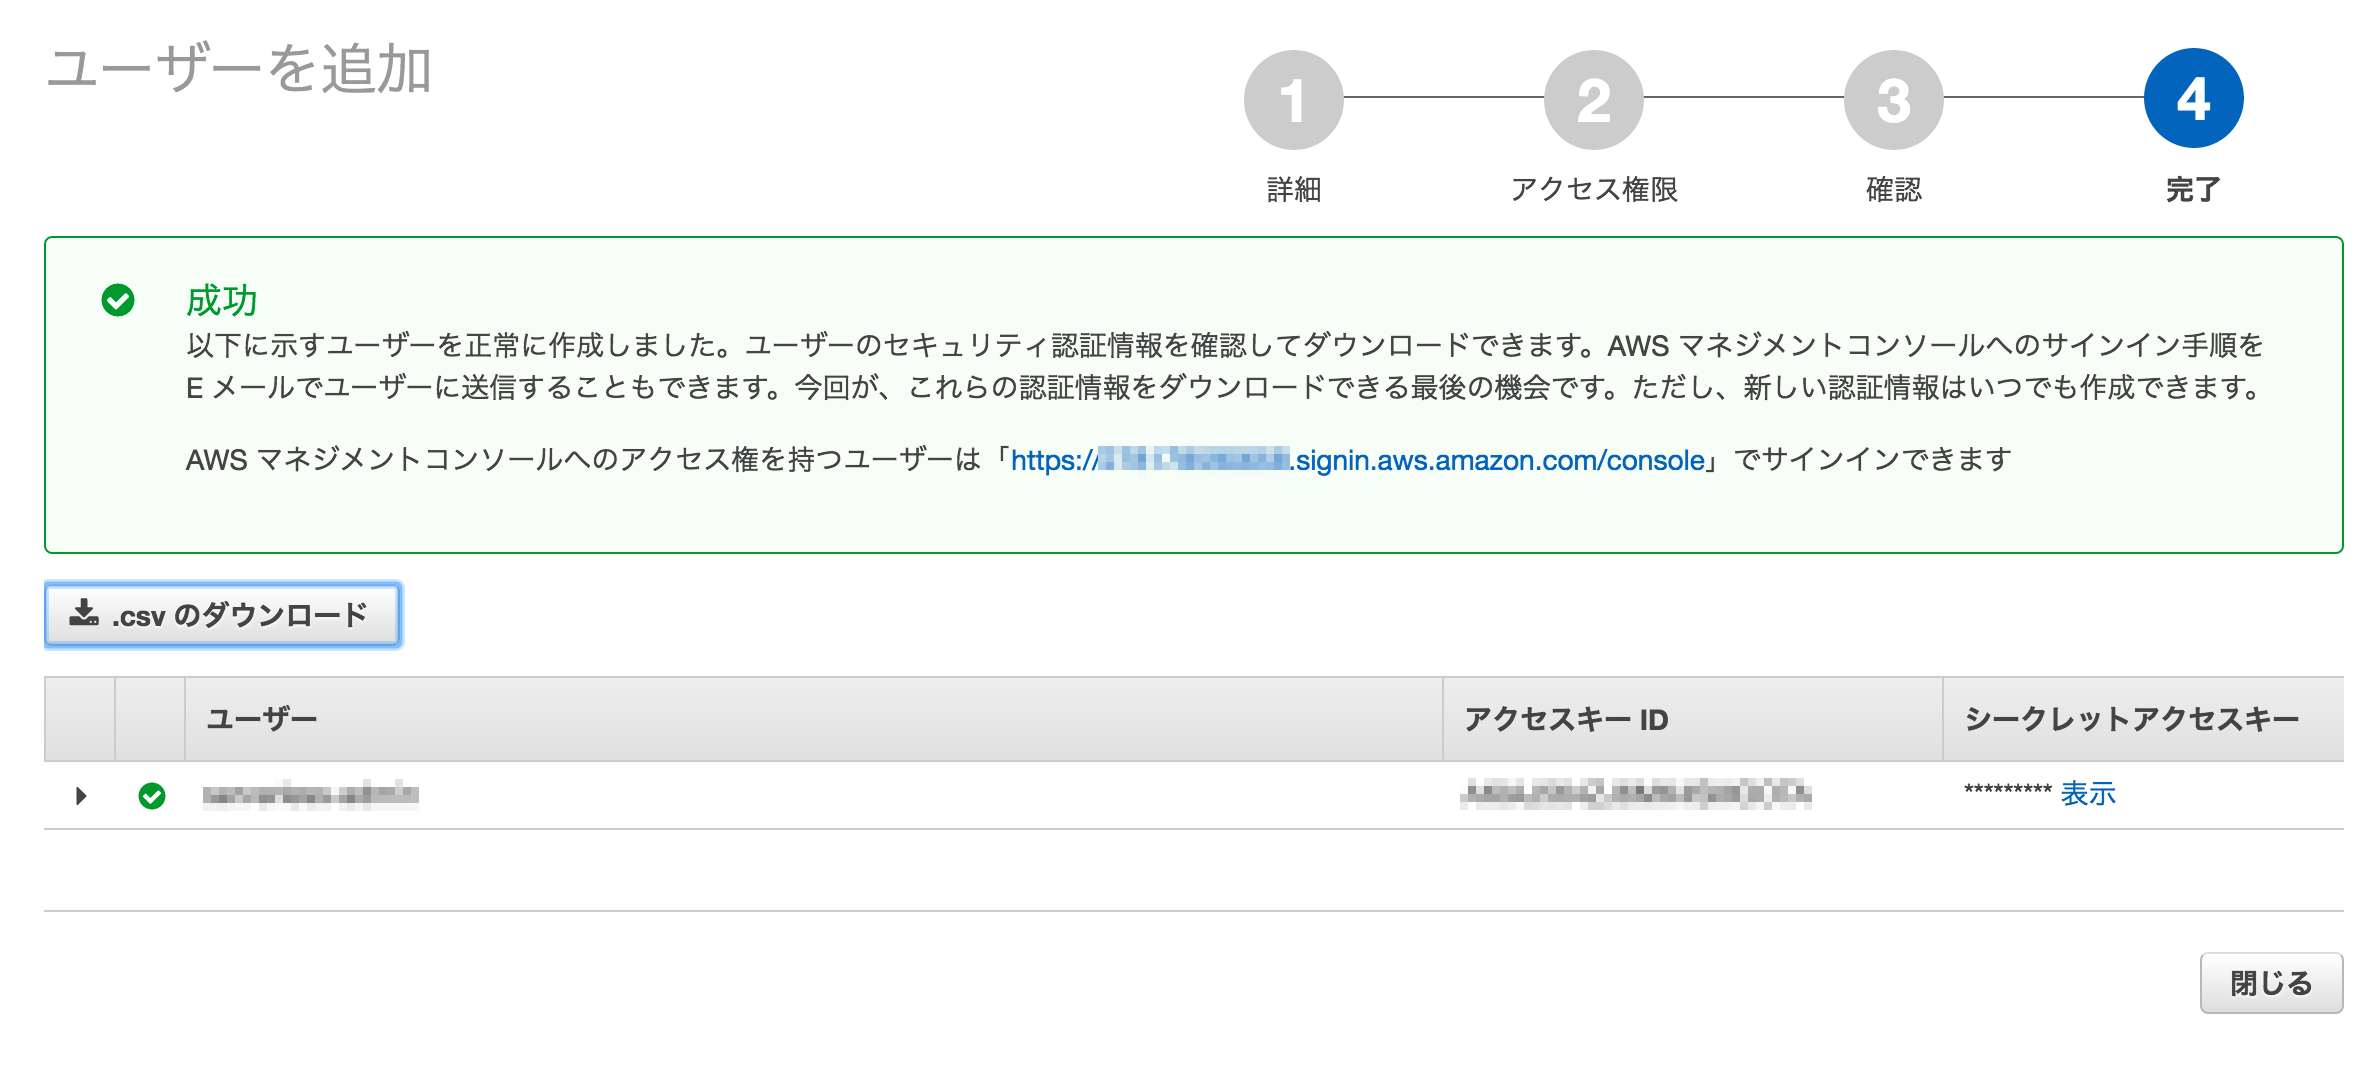
serverlessの管理を行う為のIAMユーザーを作成する
serverlessの管理を行う為にIAMマネジメントコンソールからIAMユーザーを作成します。
公式ドキュメントを見ると、以下の記載が確認出来ます。
Create or login to your Amazon Web Services Account and go to the Identity & Access Management (IAM) page.
Click on Users and then Create New Users. Enter a name in the first field to remind you this User is the Framework, like serverless-admin. Then click Create. Later, you can create different IAM Users for different apps and different stages of those apps. That is, if you don't use separate AWS accounts for stages/apps, which is most common.
View and copy the API Key & Secret to a temporary place. You'll need it in the next step.
In the User record in the AWS IAM Dashboard, look for Managed Policies on the Permissions tab and click Attach Policy.
In the next screen, search for and select AdministratorAccess then click Attach.
どうやら現状だとAdministratorAccessの権限を与える事が推奨されている模様です。
理由としてはserverless自体がまだ開発中で必要な権限が定まっていない為だと思われます。
これはセキュリティ上好ましくないので何とかしたいところです。
公式ドキュメントの情報が変わり適切な権限が分かり次第、修正していきます。
ユーザー作成ですが非常に簡単なので詳細な手順は省略させて頂きます。
アクセスキーやシークレットアクセスキー等の必要な情報を控えておく事だけ忘れないようにしましょう。
プロジェクトの雛形を作成
aws-serverless-prototypeという名前でディレクトリを作成しその中にプロジェクトの雛形を作成します。
$ mkdir aws-serverless-prototype
$ cd aws-serverless-prototype
$ serverless create --template aws-nodejs --name aws-serverless-prototype
下記の3つのファイルが作成されます。
# package directories
node_modules
jspm_packages

# Serverless directories
.serverless
'use strict';

module.exports.hello = (event, context, callback) => {
  const response = {
    statusCode: 200,
    body: JSON.stringify({
      message: 'Go Serverless v1.0! Your function executed successfully!',
      input: event,
    }),
  };

  callback(null, response);

  // Use this code if you don't use the http event with the LAMBDA-PROXY integration
  // callback(null, { message: 'Go Serverless v1.0! Your function executed successfully!', event });
};
# Welcome to Serverless!
#
# This file is the main config file for your service.
# It's very minimal at this point and uses default values.
# You can always add more config options for more control.
# We've included some commented out config examples here.
# Just uncomment any of them to get that config option.
#
# For full config options, check the docs:
#    docs.serverless.com
#
# Happy Coding!

service: aws-serverless-prototype

# You can pin your service to only deploy with a specific Serverless version
# Check out our docs for more details
# frameworkVersion: "=X.X.X"

provider:
  name: aws
  runtime: nodejs4.3

# you can overwrite defaults here
#  stage: dev
#  region: us-east-1

# you can add statements to the Lambda function's IAM Role here
#  iamRoleStatements:
#    - Effect: "Allow"
#      Action:
#        - "s3:ListBucket"
#      Resource: { "Fn::Join" : ["", ["arn:aws:s3:::", { "Ref" : "ServerlessDeploymentBucket" } ] ]  }
#    - Effect: "Allow"
#      Action:
#        - "s3:PutObject"
#      Resource:
#        Fn::Join:
#          - ""
#          - - "arn:aws:s3:::"
#            - "Ref" : "ServerlessDeploymentBucket"

# you can define service wide environment variables here
#  environment:
#    variable1: value1

# you can add packaging information here
# package:
#  include:
#    - include-me.js
#    - include-me-dir/**
#  exclude:
#    - exclude-me.js
#    - exclude-me-dir/**

functions:
  hello:
    handler: handler.hello

#    The following are a few example events you can configure
#    NOTE: Please make sure to change your handler code to work with those events
#    Check the event documentation for details
#    events:
#      - http:
#          path: users/create
#          method: get
#      - s3: ${env:BUCKET}
#      - schedule: rate(10 minutes)
#      - sns: greeter-topic
#      - stream: arn:aws:dynamodb:region:XXXXXX:table/foo/stream/1970-01-01T00:00:00.000
#      - alexaSkill

#    Define function environment variables here
#    environment:
#      variable2: value2

# you can add CloudFormation resource templates here
# resources:
#  Resources:
#    NewResource:
#      Type: AWS::S3::Bucket
#      Properties:
#        BucketName: my-new-bucket
#  Outputs:
#     NewOutput:
#       Description: "Description for the output"
#       Value: "Some output value"
サンプルAPIの構築
今回サンプルで作成するのはClientsという名前のDynamoDBのテーブルを用意して、そこに1件データを登録するAPIと、生成したClientリソースをIDを指定して1件取得する2つのAPIを作成してします。
設定ファイルの準備
serverless.ymlとpackage.jsonを以下のように変更します。
ここでは以下の設定を行っています。
- サービス名の設定
- デフォルトで利用するregionを設定
- stage(環境変数的な物)の設定
- dynamodbに対する必要な権限の設定
- Lambda関数の設定(clientCreate等が関数の名前になります、ここではAPI GatewayからLambda関数を実行出来る設定も行っています。)
- DynamoDbのテーブルの作成(Clientsテーブル)
service: prototype

provider:
  name: aws
  runtime: nodejs4.3
  region: ap-northeast-1
  stage: dev
  iamRoleStatements:
    - Effect: Allow
      Action:
        - dynamodb:DescribeTable
        - dynamodb:Query
        - dynamodb:Scan
        - dynamodb:GetItem
        - dynamodb:PutItem
        - dynamodb:UpdateItem
        - dynamodb:DeleteItem
      Resource: "arn:aws:dynamodb:ap-northeast-1:*:*"

functions:
  clientCreate:
    handler: src/functions/client/handler.create
    events:
      - http:
          path: clients
          method: post
          cors: true
  clientFind:
    handler: src/functions/client/handler.find
    events:
      - http:
          path: clients/{id}
          method: get
          cors: true

resources:
  Resources:
    ClientsDynamoDbTable:
      Type: 'AWS::DynamoDB::Table'
      DeletionPolicy: Retain
      Properties:
        AttributeDefinitions:
          -
            AttributeName: id
            AttributeType: S
        KeySchema:
          -
            AttributeName: id
            KeyType: HASH
        ProvisionedThroughput:
          ReadCapacityUnits: 1
          WriteCapacityUnits: 1
        TableName: 'Clients'
package.jsonです。dependenciesの中身以外は適当で構いません。
{
  "name": "prototype",
  "version": "0.1.0",
  "description": "Serverless CRUD prototype",
  "scripts": {
    "test": "echo \"Error: no test specified\" && exit 1"
  },
  "author": "",
  "license": "MIT",
  "dependencies": {
    "aws-sdk": "^2.7.19",
    "uuid": "^3.0.1"
  }
}
Lambda関数本体のコードの作成
下記のコードを作成します。
'use strict';

const AWS = require('aws-sdk');
const dynamoDb = new AWS.DynamoDB.DocumentClient();
const uuid = require('uuid');

module.exports = (event, callback) => {
  const data = JSON.parse(event.body);
  const nowDate = new Date().getTime();

  const clientCreateParams = {};

  clientCreateParams.id = uuid.v1();
  clientCreateParams.secret = uuid.v4();
  clientCreateParams.name = data.body.name;
  clientCreateParams.redirectUri = data.body.redirectUri;
  clientCreateParams.createdAt = nowDate;
  clientCreateParams.updatedAt = nowDate;

  const params = {
    TableName: 'Clients',
    Item: clientCreateParams
  };

  return dynamoDb.put(params, (error, data) => {
    if (error) {
      callback(error);
    }
    callback(error, params.Item);
  });
};
'use strict';

const AWS = require('aws-sdk');
const dynamoDb = new AWS.DynamoDB.DocumentClient();

module.exports = (event, callback) => {
  const params = {
    TableName: 'Clients',
    Key: {
      id: event.pathParameters.id
    }
  };

  return dynamoDb.get(params, (error, data) => {
    if (error) {
      callback(error);
    }
    callback(error, data.Item);
  });
};
'use strict';

const clientCreate = require('./client-create.js');
const clientFind = require('./client-find.js');

module.exports.create = (event, context, callback) => {
  clientCreate(event, (error, result) => {
    const response = {
      statusCode: 201,
      headers: {
        "Access-Control-Allow-Origin" : "*"
      },
      body: JSON.stringify(result),
    };

    context.succeed(response);
  });
};

module.exports.find = (event, context, callback) => {
  clientFind(event, (error, result) => {
    const response = {
      statusCode: 200,
      headers: {
        "Access-Control-Allow-Origin" : "*"
      },
      body: JSON.stringify(result),
    };

    context.succeed(response);
  });
};
デプロイ&動作確認
プロジェクトルートで以下のコマンドでデプロイを行います。
$ npm install
$ serverless deploy
AWSのコンソールで確認すると、それぞれ下記のような設定が行われている事を確認出来ます。
作成されたDynamoDBのテーブル

作成されたAPI Gatewayの設定

作成されたLambda関数

動作確認
作成されたエンドポイントに対してcurlでリクエストを行い動作確認を行います。
curl -X POST -kv \
-d \
'
{
  "body": {
    "name":"neko",
    "redirectUri":"https://example.com"
  }
}
' \
https://XXXX.execute-api.ap-northeast-1.amazonaws.com/dev/clients
HTTP/1.1 201 Created
Content-Type: application/json
Content-Length: 195
Connection: keep-alive

{
  "id":"f8a403b0-d294-11e6-9e68-8f8adb71c002",
  "secret":"dd812d74-89e0-412f-85f7-6fb53d1b7dbc",
  "name":"neko",
  "redirectUri":"https://example.com",
  "createdAt":1483544794986,
  "updatedAt":1483544794986
}
作成されたClientリソースが返却されました。続いて作成されたリソースをGETリクエストで取得してみます。
curl -kv https://XXXX.execute-api.ap-northeast-1.amazonaws.com/dev/clients/f8a403b0-d294-11e6-9e68-8f8adb71c002
以下のように正常にレスポンスが返却されました。
HTTP/1.1 200 OK
Content-Type: application/json
Content-Length: 195

{
  "id":"f8a403b0-d294-11e6-9e68-8f8adb71c002",
  "createdAt":1483544794986,
  "name":"neko",
  "updatedAt":1483544794986,
  "redirectUri":"https://example.com",
  "secret":"dd812d74-89e0-412f-85f7-6fb53d1b7dbc"
}
先程作成したリソースが返却されているかと思います。
デプロイしたリソースを削除するには?
以下のコマンドを実行します。
serverless remove
ただしDynamoDBのテーブルやCloudWatchのロググループ等は削除されずに残ります。(少なくともこの記事のやり方の場合では)
これらは手動でAWSのコンソール等で削除する必要があります。
まとめ
Serverless Frameworkを利用すると簡単にAWS上にLambda関数をデプロイする事が出来ました。
本格的に利用するには以下の点を習得する必要があると感じました。
- デプロイ時の環境変数を何からの形で置換えられるようにする
- Babelやwebpack等を利用した新しいJavascriptの構文を用いての開発方法
- DynamoDBのテーブル定義を自由に設定出来るように構文を覚える
一応この記事で作成したコードはgithubに上げておきました。
※現状も色々と施行錯誤を行っている段階なのでコードは変化していく予定です。
また新しい発見があったら記事を書こうと思います。
最後まで読んで頂きありがとうございました。