1.1 Scene
Unity3Dで既出の機能なのでUnity2Dのみ興味のある方はとばして..
1.1.1 Sceneの作成
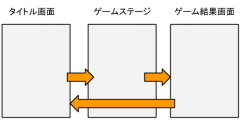
以下の様なタイトル画面->ゲーム画面->ゲーム結果->タイトル画面->..を作ります。
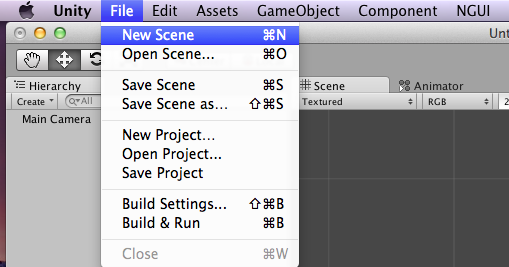
UnityでのScene追加はFile>New Sceneで行います。
今回は「Title」「GameStage」「Result」を作成しました
1.1.2 Sceneの遷移
Unityではアプリケーション全体に関するアクセスはApplicationクラスで行われます。
http://docs.unity3d.com/Documentation/ScriptReference/Application.html
(ApplicationクラスではPathやLocale、Platform判別やFPSも管理している..!)
Sceneの遷移に関するメソッドは以下のとおりです
| メソッド | 概要 |
|---|---|
| LoadLevel | レベルか名前を指定してSceneを遷移する |
| LoadLevelAdditive | レベルか名前を指定して現在のSceneに新しいSceneを追加する |
| LoadLevelAdditiveAsync | Pro専用。非同期で現在のSceneに新しいSceneを追加する |
| LoadLevelAsync | Pro専用。非同期でSceneを読み込む |
というわけで実際に遷移させます。
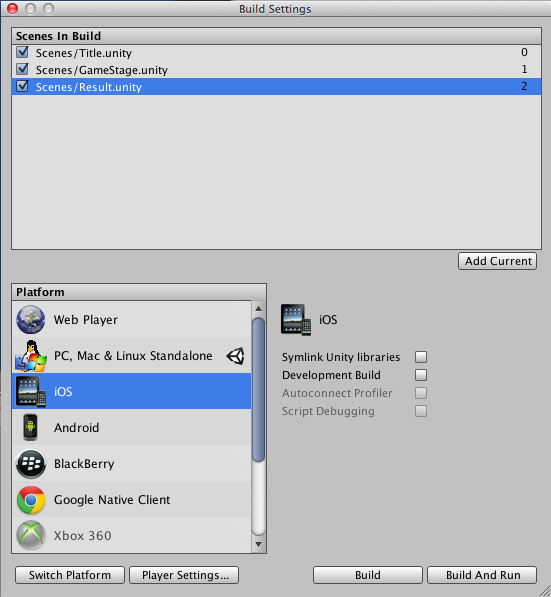
File>Build Settingで使用するSceneをAddCurrentによって追加します。
(右に表示されているのがLevelです)
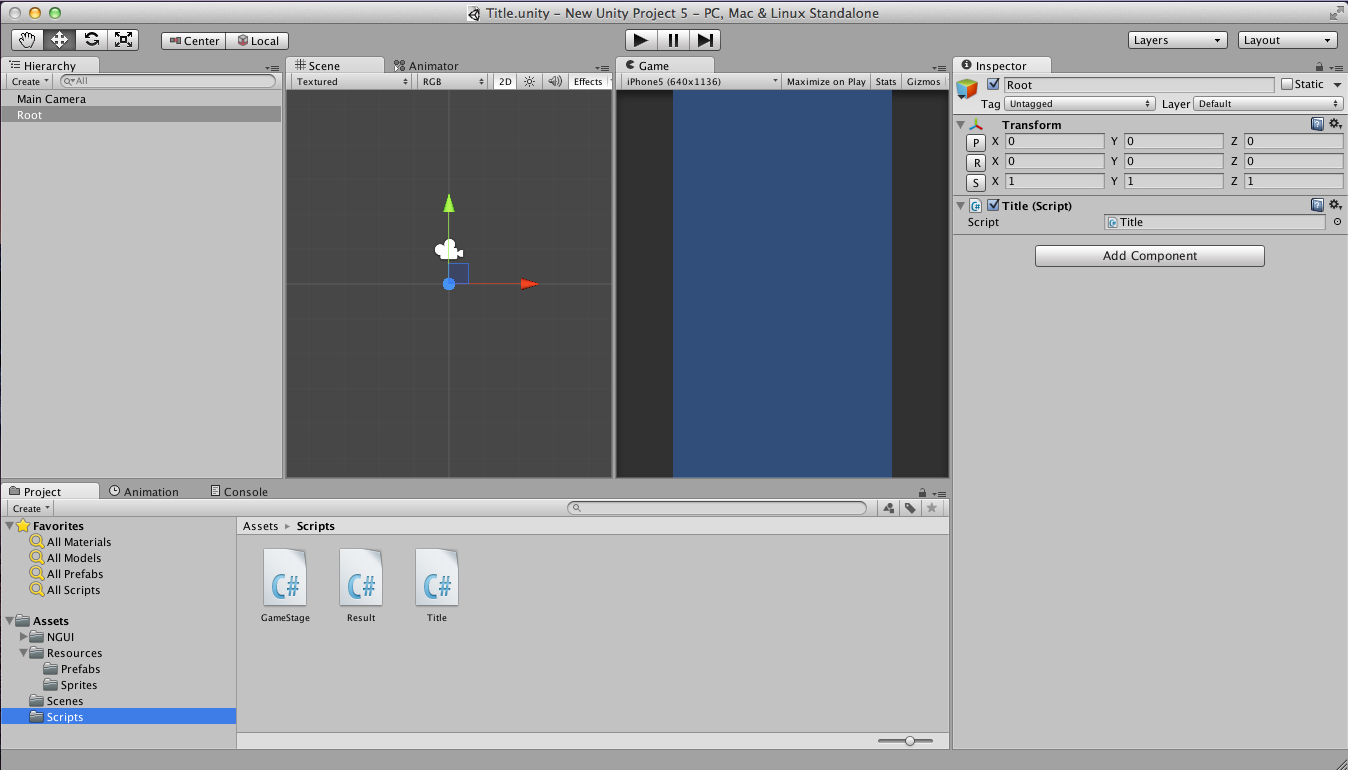
タイトルのSceneに以下のScriptを作成して追加します
using UnityEngine;
using System.Collections;

public class Title : MonoBehaviour
{
	void Start ()
	{
	}

	void Update ()
	{
		//マウスの左ボタンをクリック
		if(Input.GetMouseButtonUp(0)){
			Application.LoadLevel("GameStage");
		}
	}
}
同じ要領でGameStageにResultへの遷移、ResultでTitleへの遷移を書くと、
タイトル画面->ゲーム画面->ゲーム結果->タイトル画面->..のSceneの遷移が実現できます。やった!
次はSprite使ってさっくりキャラ表示..!


