イントロダクション
国内のメディア系サービスでは割とスタンダードとなっているあのUI。もはや何番煎じかわかりませんが、frame計算とかをしない軽量な実装を試してみます。
ニュース系アプリで利用されているUIの実装を調べることがあったのでまとめてみた - MonockLaBlog
あのUIに関する記事やよく見かけるライブラリでは、メニュー要素・コンテンツ要素のframeをずらしながらUIScrollViewへ順に貼り付けていくやり方が多い印象を持っていますが、ここでは違う方法を取ろうと思います。
サードパーティのライブラリに依存することなく、かつViewのリソース管理やframe計算を出来るだけ抑えるため、今回はUICollectionViewControllerとUIPageViewControllerの組み合わせによる実装を選びました。
設計
メニューとして使うViewはUICollectionViewControllerで、コンテンツにあたるViewはUIPageViewControllerで管理します。
そしてコンテナとなるViewControllerへその2つを持たせ、表示位置の同期をとっていきます。
上述の構成をStoryboard上で表現すると以下のようになります。

ContainerViewを使ってレイアウトをしました。UICollectionViewControllerとUIPageViewControllerはコンテナとなるViewControllerのChild ViewControllerとして、ContainerView経由でEmbedされます。
それでは、このレイアウトを基に実装に入っていきます。
実装
実装する単位で問題を小さく分解すると、以下の4つをそれぞれ実現する事になります。
- スクロールするメニューを横一列に表示して、選択するとフォーカスがあたる
- ページングで順に並んだコンテンツを表示する
- メニューをタップすると対応するコンテンツが表示される
- コンテンツをページングすると対応するメニューにフォーカスがあたる
表示するデータの用意
機能実装の前に、まず今回扱うデータを用意します。とりあえずサンプルとして以下のデータを使うことにしました。説明の都合上モデルはViewControllerのライフサイクルへ依存させたくなかったため、シングルトンで作成しました。
class ViewModelManager {
    typealias ViewModel = (menuTitle: String, content: String, themeColor: UIColor)

    static let sharedInstance = ViewModelManager()

    let data: [ViewModel] = [
        (menuTitle: "メニュー1", content: "コンテンツ1",  themeColor: UIColor.redColor()),
        (menuTitle: "メニュー2", content: "コンテンツ2",  themeColor: UIColor.greenColor()),
        (menuTitle: "メニュー3", content: "コンテンツ3",  themeColor: UIColor.purpleColor()),
        (menuTitle: "メニュー4", content: "コンテンツ4",  themeColor: UIColor.yellowColor()),
        (menuTitle: "メニュー5", content: "コンテンツ5",  themeColor: UIColor.cyanColor()),
        (menuTitle: "メニュー6", content: "コンテンツ6",  themeColor: UIColor.orangeColor())
    ]
}
スクロールするメニューの作成
UICollectionViewControllerを継承したクラスを作ります。ここではMenuViewControllerとします。スクロール方向をHorizontalにし、scrollIndicatorを非表示にしましょう。

MenuViewControllerの中身を実装します。通常通りUICollectionViewControllerを実装していけば大丈夫です。
class MenuViewController: UICollectionViewController {

    // 現在選択されている位置を状態として記憶しておくためのプロパティを作る
    var selectedIndex: Int = 0

    override func viewDidLoad() {
        super.viewDidLoad()
    }

    // MARK:- UICollectionViewDataSource
    override func collectionView(collectionView: UICollectionView, numberOfItemsInSection section: Int) -> Int {
        return ModelManager.sharedInstance.data.count
    }

    override func numberOfSectionsInCollectionView(collectionView: UICollectionView) -> Int {
        return 1
    }

    override func collectionView(collectionView: UICollectionView, cellForItemAtIndexPath indexPath: NSIndexPath) -> UICollectionViewCell {
        // セルの設定
        let cell = collectionView.dequeueReusableCellWithReuseIdentifier("MenuViewCell", forIndexPath: indexPath) as! MenuViewCell
        let data = ViewModelManager.sharedInstance.data[indexPath.row]
        let active = (indexPath.row == selectedIndex)
        cell.configure(data.menuTitle, color: data.themeColor, active: active)
        return cell
    }
}
次に、メニューの各項目をUICollectionViewCellとして作ります。ここではラベルのみのセルにしました。

MenuViewCellのコードによる実装部分は以下になります。
class MenuViewCell: UICollectionViewCell {

    @IBOutlet weak var nameLabel: UILabel!

    override func awakeFromNib() {
        super.awakeFromNib()
    }

    // メニューによってテキストと背景色を変える
    func configure(title: String, color: UIColor, active: Bool) {
        nameLabel.text = title
        nameLabel.backgroundColor = color
        focusCell(active)
    }

    func focusCell(active: Bool) {
        let color = active ? UIColor.whiteColor() : UIColor.lightGrayColor()
        nameLabel.textColor = color
    }
}
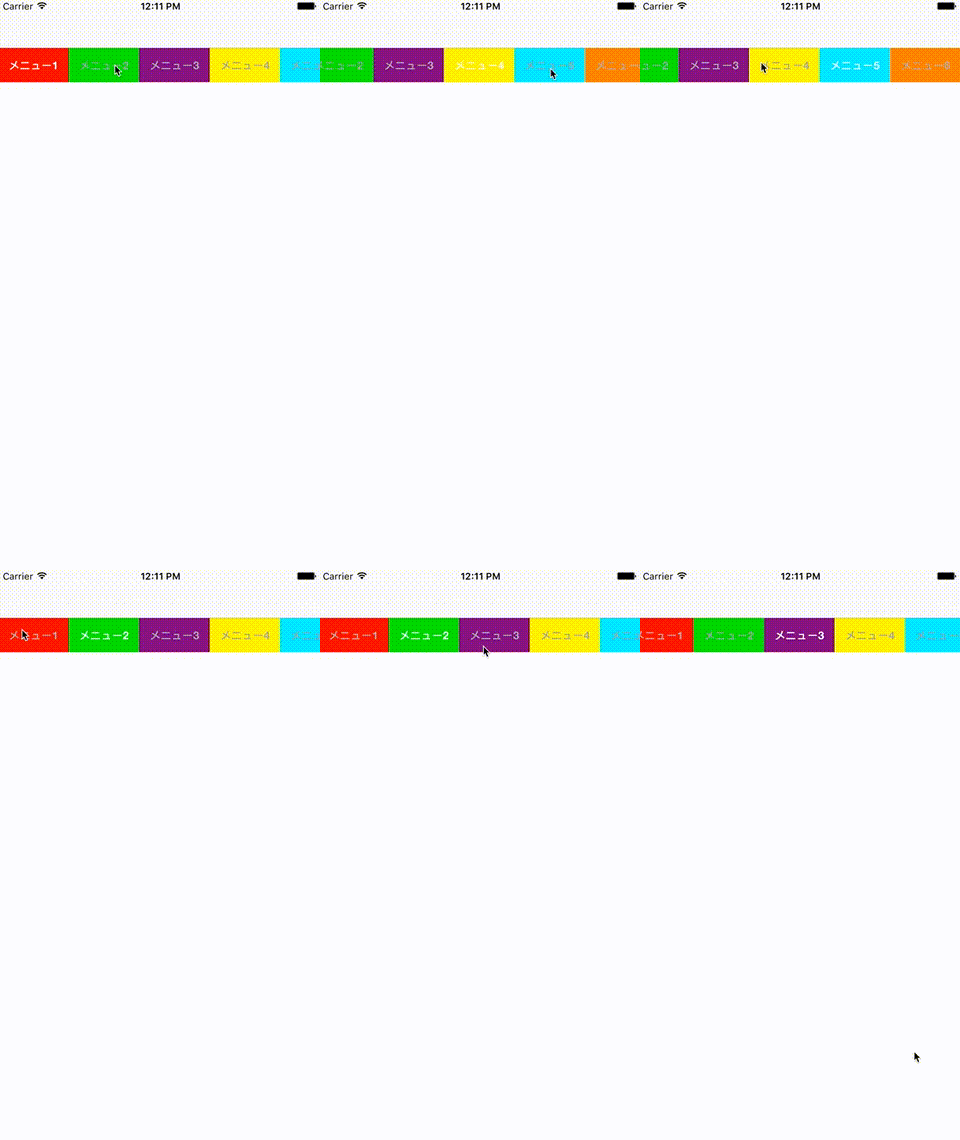
するとそれっぽい形でメニューが並びます。

更にセルをタップすると、そこの位置のメニューにフォーカスがあたり、中央に移動するようにしましょう。セル選択時にscrollToItemAtIndexPathを呼んで、中央に来るよう指定するだけでいけます。
class MenuViewController: UICollectionViewController {
//...
//省略
//...
    override func collectionView(collectionView: UICollectionView, didSelectItemAtIndexPath indexPath: NSIndexPath) {
        focusCell(indexPath)
    }

    // 指定したindexPathのセルを選択状態にして移動させる。(collectionViewなので表示されていないセルは存在しない)
    func focusCell(indexPath: NSIndexPath) {
        // 以前選択されていたセルを非選択状態にする(collectionViewなので表示されていないセルは存在しない)
        if let previousCell = collectionView?.cellForItemAtIndexPath(NSIndexPath(forItem: selectedIndex, inSection: 0)) as? MenuViewCell {
            previousCell.focusCell(false)
        }

        // 新しく選択したセルを選択状態にする(collectionViewなので表示されていないセルは存在しない)
        if let nextCell = collectionView?.cellForItemAtIndexPath(indexPath) as? MenuViewCell {
            nextCell.focusCell(true)
        }

        // 現在選択されている位置を状態としてViewControllerに覚えさせておく
        selectedIndex = indexPath.row

        // .CenteredHorizontallyでを指定して、CollectionViewのboundsの中央にindexPathのセルが来るようにする
        collectionView?.scrollToItemAtIndexPath(indexPath, atScrollPosition: .CenteredHorizontally, animated: true)
    }
//...
//省略
//...
}
これで選択したメニューが(スクロール可能であれば)中央に来るようにできました。
コンテナになるViewControllerの作成
続いてコンテナになるViewControllerを作成し、MenuViewControllerとUIPageViewControllerをプロパティとして持たせます。はじめのstoryboardでContainerViewのembed segueにそれぞれ"embedMenuViewController", "embedPageViewController"と名付けて、prepareForSegue(_:sender:)で対応するプロパティに代入します。
import UIKit

class ContainerViewController: UIViewController {
// ...
// 省略
// ...
    var menuViewController: MenuViewController?
    var pageViewController: UIPageViewController?

    override func prepareForSegue(segue: UIStoryboardSegue, sender: AnyObject?) {
        if let vc = segue.destinationViewController as? MenuViewController where segue.identifier == "embedMenuViewController" {
            menuViewController = vc
        } else if let vc = segue.destinationViewController as? UIPageViewController where segue.identifier == "embedPageViewController" {
            pageViewController = vc
        }
    }
// ...
// 省略
// ...
}
スワイプでコンテンツを表示させる
さらにコンテンツ表示部分を作ります。UIPageViewControllerDataSourceを実装して、ページ送りを実装します。
まず表示させるコンテンツをViewControllerとして作成します。
Storyboardを使ってラベルを中央に持つContentViewControllerを用意しました。

import UIKit

class ContentViewController: UIViewController {

    @IBOutlet weak var contentLabel: UILabel!

    var index: Int?

    override func viewDidLoad() {
        super.viewDidLoad()

        if let index = index {
            contentLabel.text = ViewModelManager.sharedInstance.data[index].content
            view.backgroundColor = ViewModelManager.sharedInstance.data[index].themeColor
        }
    }
}
これを、ContainerViewControllerにembedされているUIPageViewControllerのページ送りで表示されるようにします。
今回はUIPageViewControllerを継承したクラスを作るのは省いて、UIPageViewControllerDataSourceをContainerViewController内へ実装しました。
実装はテンプレ的なやり方しかとっていません。
class ContainerViewController: UIViewController, UIPageViewControllerDataSource {
//...
//省略
//...
    // MARK:- UIPageViewControllerDataSource

    // ひとつ前のページを返すDelegateメソッド
    func pageViewController(pageViewController: UIPageViewController, viewControllerBeforeViewController viewController: UIViewController) -> UIViewController? {
        guard let prevVc = viewController as? ContentViewController else {
            fatalError("not ContentViewController")
        }

        guard let prevPageIndex = prevVc.index.flatMap({ $0 - 1 }) where 0 <= prevPageIndex else {
            return nil
        }

        let vc = storyboard?.instantiateViewControllerWithIdentifier("ContentViewController") as! ContentViewController
        vc.index = prevPageIndex
        return vc
    }

    // ひとつ先のページを返すDelegateメソッド
    func pageViewController(pageViewController: UIPageViewController, viewControllerAfterViewController viewController: UIViewController) -> UIViewController? {
        guard let nextVc = viewController as? ContentViewController else {
            fatalError("not ContentViewController")
        }

        guard let nextPageIndex = nextVc.index.flatMap({ $0 + 1 }) where nextPageIndex < ViewModelManager.sharedInstance.data.count else {
            return nil
        }

        let vc = storyboard?.instantiateViewControllerWithIdentifier("ContentViewController") as! ContentViewController
        vc.index = nextPageIndex
        return vc
    }
//...
//省略
//...
}
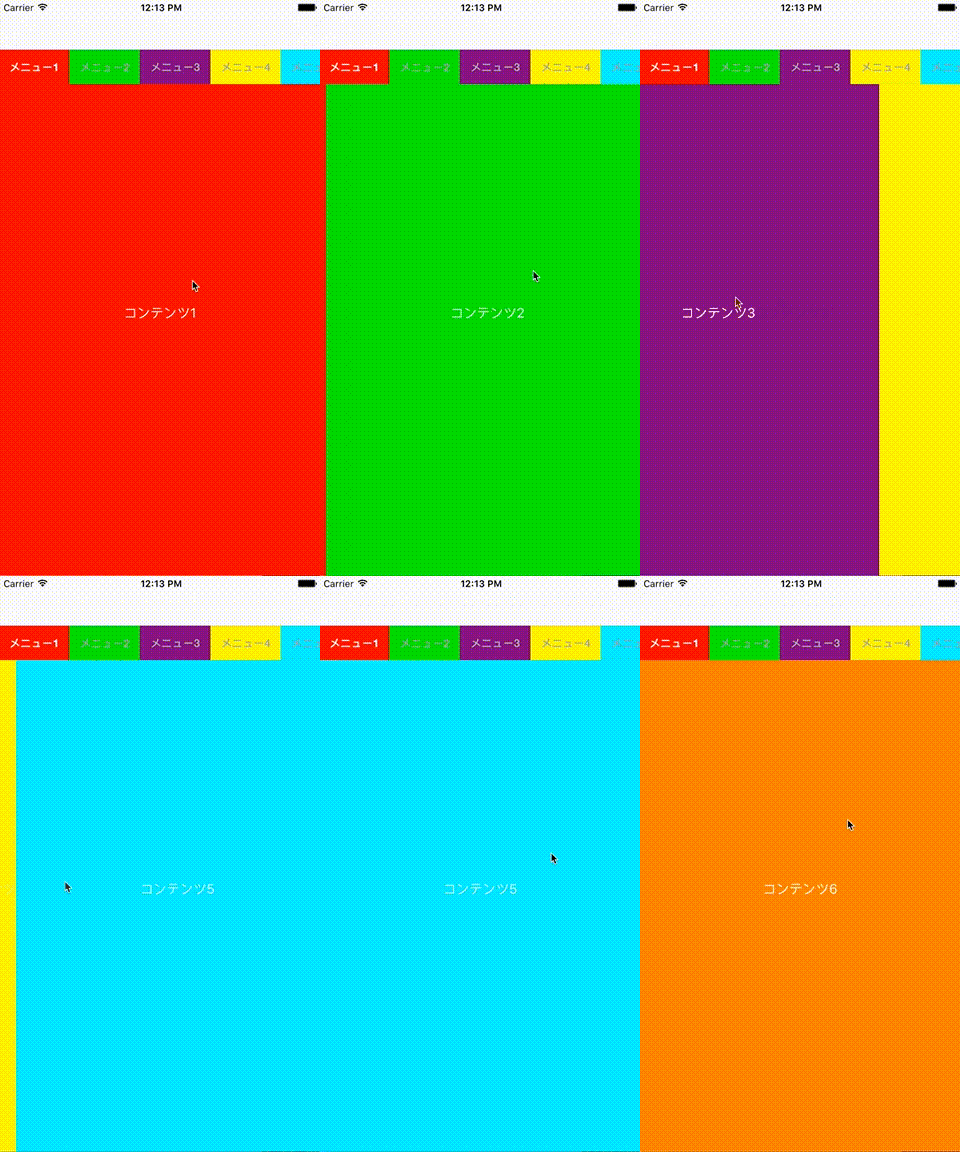
これでコンテンツのスクロールができました。
コンテンツを表示する部分の実装は以上です。ただしスクロールしてもまだメニューの位置が変わっていません。
メニューとコンテンツの表示位置を合わせる
最後に、フォーカスが当たるメニューと表示しているコンテンツを同期させます。それを行うためにUIPageViewControllerDelegateとUICollectionViewDelegateの中身を書いていきましょう。
メニューを選択した時に対応するContentViewControllerを表示させる処理を書いていきます。
そのためにContainerViewControllerへ選択したindex情報を渡す必要があり、MenuViewControllerDelegate
を作成してCellが選択されたタイミングでそいつのメソッドが呼ばれるようにします。
protocol MenuViewControllerDelegate: class {
    func menuViewController(viewController: MenuViewController, at index: Int)
}

class MenuViewController: UICollectionViewController {
    weak var delegate: MenuViewControllerDelegate? // 追加

    // MARK:- UICollectionViewDelegate
    override func collectionView(collectionView: UICollectionView, didSelectItemAtIndexPath indexPath: NSIndexPath) {
        focusCell(indexPath)
        delegate?.menuViewController(self, at: indexPath.row) // 追加
    }
}
ContainerViewControllerのprepareForSegue(_: sender:)のタイミングで作成したdelegateを設定します。
class ContainerViewController: UIViewController, MenuViewControllerDelegate {
// ...
// 省略
// ...
    override func prepareForSegue(segue: UIStoryboardSegue, sender: AnyObject?) {
        if let vc = segue.destinationViewController as? MenuViewController where segue.identifier == "embedMenuViewController" {
            menuViewController = vc
            menuViewController.delegate = self  // 追加
        } else if let vc = segue.destinationViewController as? UIPageViewController where segue.identifier == "embedPageViewController" {
            pageViewController = vc
        }
    }
// ...
// 省略
// ...
}
ContainerViewControllerにmenuViewController(_![]() )を実装します。collectionViewの選択したindexPathからページングを行います。
)を実装します。collectionViewの選択したindexPathからページングを行います。
class ContainerViewController: UIViewController, MenuViewControllerDelegate {
// ...
// 省略
// ...
    //MARK:- MenuViewControllerDelegate
    func menuViewController(viewController: MenuViewController, at index: Int) {

        // 現在表示されているViewControllerを取得する
        guard let currentVc = pageViewController?.viewControllers?.first as? ContentViewController,
            let currentIndex = currentVc.index else {
                fatalError("not ContentViewController")
        }

        // 選択したindexが表示しているコンテンツと同じなら処理を止める
        guard currentIndex != index else { return }

        // 選択したindexと現在表示されているindexを比較して、ページングの方法を決める
        let direction :UIPageViewControllerNavigationDirection = currentIndex < index ? .Forward : .Reverse
        let vc = storyboard?.instantiateViewControllerWithIdentifier("ContentViewController") as! ContentViewController
        vc.index = index
        // 新しくViewControllerを設定する ※ 下のスワイプと組み合わせる時はanimatedはfalseに設定しておいたほうが無難
        pageViewController?.setViewControllers([vc], direction: direction, animated: true) { _ in }
    }
// ...
// 省略
// ...
}
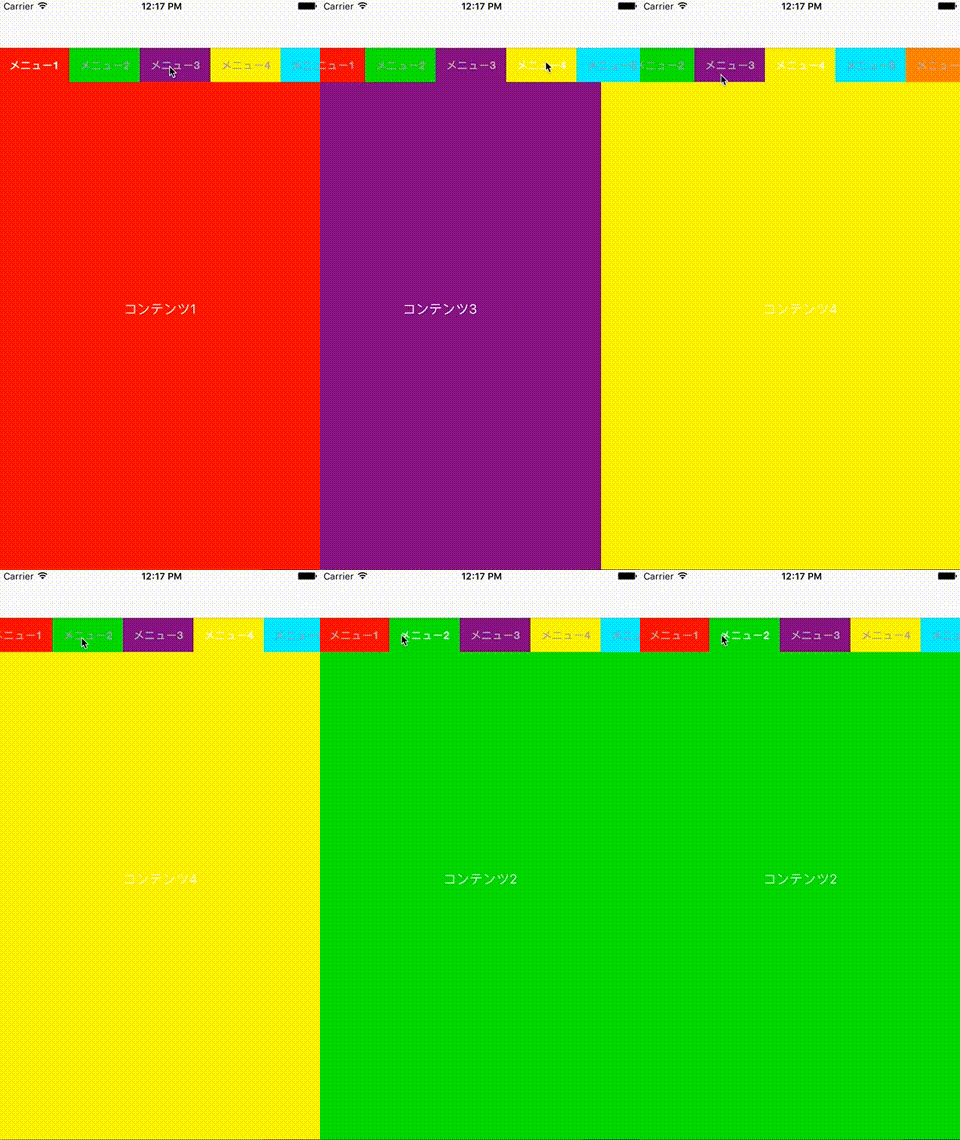
メニューを選択した時にページングが実行されて、対応するContentViewControllerが表示される様になりました。
今度は、PageViewControllerのページングに合わせて対応するCellにフォーカスを当てます。
ContainerViewControllerのprepareForSegue(_:sender:)のタイミングでUIPageViewControllerのdelegateを設定します。
class ContainerViewController: UIViewController, UIPageViewControllerDataSource, UIPageViewControllerDelegate { // UIPageViewControllerDelegateを追加

// ...
// (省略)
// ...
    // MARK: - Segues

    override func prepareForSegue(segue: UIStoryboardSegue, sender: AnyObject?) {
        if segue.identifier == "embedMenuViewController" {
            menuViewController = segue.destinationViewController as? MenuViewController
            menuViewController?.delegate = self
        } else if segue.identifier == "embedPageViewController" {
            pageViewController = segue.destinationViewController as? UIPageViewController
            pageViewController?.dataSource = self
            pageViewController?.delegate = self  // 追加
        }
    }
// ...
// (省略)
// ...
}
ContainerViewController内へUIPageViewControllerDelegateを実装して、スクロールが完了したタイミングでMenuViewControllerの選択を変更する処理を追加します。
class ContainerViewController: UIViewController, UIPageViewControllerDataSource, UIPageViewControllerDelegate {
// ...
// (省略)
// ...
    // MARK:- UIPageViewControllerDelegate
    func pageViewController(pageViewController: UIPageViewController, didFinishAnimating finished: Bool, previousViewControllers: [UIViewController], transitionCompleted completed: Bool) {
        //現在表示しているContentViewControllerを取得
        guard let currentVc = pageViewController.viewControllers?.first as? ContentViewController else {
            fatalError("not ContentViewController")
        }

        guard let index = currentVc.index else {
            fatalError("fail to get ContentViewController.index")
        }

        // MenuViewControllerの特定のセルにフォーカスをあてる
        let indexPath = NSIndexPath(forItem: index, inSection: 0)
        menuViewController?.focusCell(indexPath)
    }
// ...
// (省略)
// ...
}
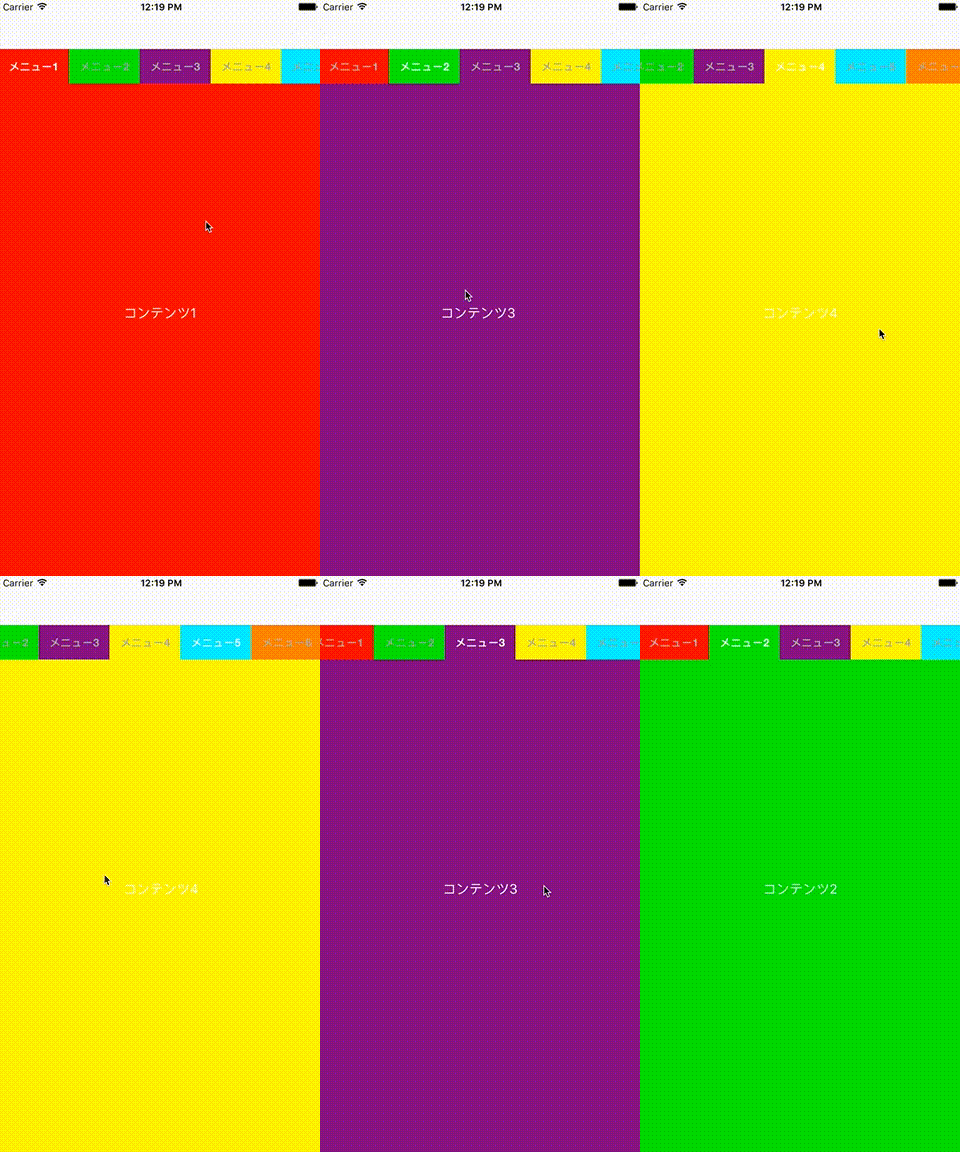
これでスクロールに応じてフォーカスされるメニューが変わるようになりました。
以上で実装は完了です。
まとめ
この実装では、UICollectionViewControllerとUIPageViewControllerをそれぞれを作ったあと、お互いのdelegate処理で動きを合わせることによってそれっぽいUIを実現しました。動きを合わせる部分以外はテンプレート通りの実装をしており、特別なことはやっていません。UIPageViewControllerとUICollectionViewControllerの基本的な使い方がある程度わかっていれば大した話ではないでしょう。そのため、「メニューはUICollectioNViewControllerで、コンテンツはUIPageViewControllerを使っている」と言えばどのように実装されているのか読まなくても大体想像がつくというよさがあります。
なんかそれっぽいUIを手間かけずに作る時の参考になれば幸いです。
この設計のメリット・デメリット
今回の実装には次のメリットがあるかと思います。
- サードパーティーライブラリへ併存せず、軽量でレイアウトの自由度が高い
- UIKitが提供している機能にそのまま乗っかれるため、作りこまずにそこそこのものできる・frame計算がいらない
一方でいくつかの問題点もあります。
- 細かくこだわって作り込みたい時には面倒な実装が必要
- ページングの度にViewControllerを生成する作りの場合、UIPageViewControllerのページングで一瞬カクつく
例えばUIPageViewControllerのスクロールとUICollectionViewControllerのスクロールを完全に同期させたい時などはUIPageViewControllerのscrollViewに対してscrollViewDidScroll(_:)を実装する必要があるかと思います。
UIPageViewControllerのページングで一瞬カクつく問題に関しては、UITableViewをコンテンツとして利用する際に発生します。その原因と対策について次の節で説明します。
※ コンテンツとしてUITableViewControllerを利用する時の注意点
UIPageViewControllerでUITableViewControllerの表示をする場合は、2点注意が必要です。
ページングの開始がカクつく
Storyboardからのインスタンス化直後など、TableViewがまだ一度も表示されていない状態でviewWillAppear(_:)が呼ばれると、それらのreloaData()が呼ばれてviewに対する処理が実行されます。
スクロールごとに必要なViewControllerをインスタンス化する場合、スクロール開始時点(コンテンツ表示時点)でreloadData()が呼ばれ、動きが一瞬カクついてしまいます。
この現象を防ぐために、自分はContentViewControllerをインスタンス化したらNSCacheまたはArrayに突っ込んで、次回以降そこからオブジェクトを取るようにしています。
scrollToTopが効かない
UINavigationControllerに1つのUIPageViewControllerと複数のContentViewControllerが乗っかっている形になるため、そのままだとステータスバーをタップした時のスクロールが効きません。
ここに関しては面倒ですが表示されているTableView以外のScrollViewのscrollToTopをfalseにする必要があります。
UIPageViewControllerはプロパティとしてscrollViewを持っていないので、subviewsをforEach(_:)で探索してscrollViewがあればscrollToTopへfalseを入れるという処理を書く必要があります。


