こんにちは。
今日はJuniperが公開しているオープンソースな仮想ネットワークラボ支援ツールのWistarを使って、仮想ネットワーク機器(NFV)を使った仮想ラボを作ってみようと思います。やったー!
ちなみに、今のところ以下のような仮想ルータやアプライアンスに対応しているようです。
- Juniper vMX 15.1
- Juniper vSRX 15.1X49
- Juniper vQFX 15.1X53
- Juniper Junos Space
- Ubuntu 14.04 cloud-image
- Ubuntu 16.04 cloud-image
vMX, vSRX, vQFXはJuniperのサイトから試用版がダウンロードできるので、誰でも自宅に仮想ラボを作ることができます。すごーい!
vMX Free Trial
vSRX Free Trial
vQFX Free Trial
ここからは真面目に書きます。
環境
今回は自宅に転がっていた以下のサーバを使用します。
- サーバ: DELL PowerEdge R320
- CPU: Intel Xeon E5-2403v2
- RAM: 48GB
- Disk: 200GB
- OS: Ubuntu 14.04 LTS
- 仮想ルータ:
- Juniper vMX 16.1R3.10(実は未サポートみたいですが)
- Juniper vSRX 15.1X49-D50.3
初期セットアップ
WistarのGithubリポジトリ上のREADMEを参考に環境を構築していきます。
まず、必要なパッケージをUbuntuにインストールします。
$ sudo apt-get install python-pip python-dev build-essential qemu-kvm libz-dev libvirt-bin socat python-pexpect python-libvirt libxml2-dev libxslt1-dev unzip bridge-utils genisoimage python-netaddr libffi-dev libssl-dev python-markupsafe libxml2-dev libxslt1-dev git mtools
続いて、必要なPythonライブラリをインストールします。
$ sudo pip install pyvbox junos-eznc pyYAML Django==1.9.9 cryptography==1.2.1 websocket-client
READMEでは、外部の環境と仮想ルータを接続したい場合には、Linux上でBridgeを作成する必要があるという記載がありましたが、今回はひとまず1つのサーバ内で完結させる方向で進めていきたいと思います。
続いて、必要なディレクトリを作成し、Wistarのリポジトリをクローンします。
$ sudo mkdir -p /opt/wistar/user_images/instances
$ sudo mkdir -p /opt/wistar/seeds
$ sudo mkdir -p /opt/wistar/media
$ cd /opt/wistar
$ sudo git clone https://github.com/Juniper/wistar.git
データベースの初期化を行い、試しにHTTPサービスを立ち上げ、Webブラウザでアクセスしてみます。
$ cd /opt/wistar/wistar
$ sudo ./manage.py migrate
Operations to perform:
  Apply all migrations: sessions, admin, topologies, auth, contenttypes, scripts, images
Running migrations:
  Rendering model states... DONE
  Applying contenttypes.0001_initial... OK
  Applying auth.0001_initial... OK
  Applying admin.0001_initial... OK
  Applying admin.0002_logentry_remove_auto_add... OK
  Applying contenttypes.0002_remove_content_type_name... OK
  Applying auth.0002_alter_permission_name_max_length... OK
  Applying auth.0003_alter_user_email_max_length... OK
  Applying auth.0004_alter_user_username_opts... OK
  Applying auth.0005_alter_user_last_login_null... OK
  Applying auth.0006_require_contenttypes_0002... OK
  Applying auth.0007_alter_validators_add_error_messages... OK
  Applying images.0001_initial... OK
  Applying scripts.0001_initial... OK
  Applying sessions.0001_initial... OK
  Applying topologies.0001_initial... OK
$ sudo ./manage.py runserver 0.0.0.0:8080
Performing system checks...

System check identified no issues (0 silenced).
February 13, 2017 - 13:24:59
Django version 1.9.9, using settings 'wistar.settings'
Starting development server at http://0.0.0.0:8080/
Quit the server with CONTROL-C.
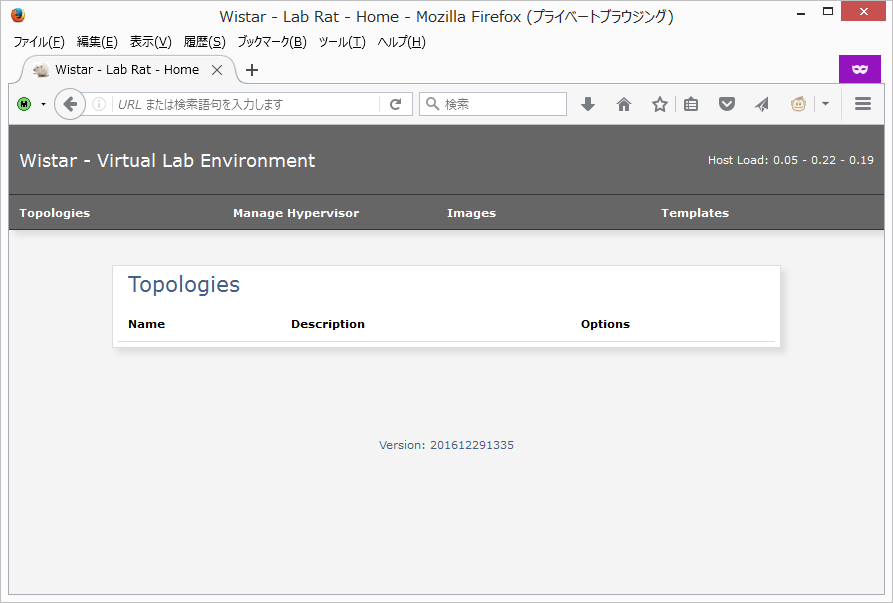
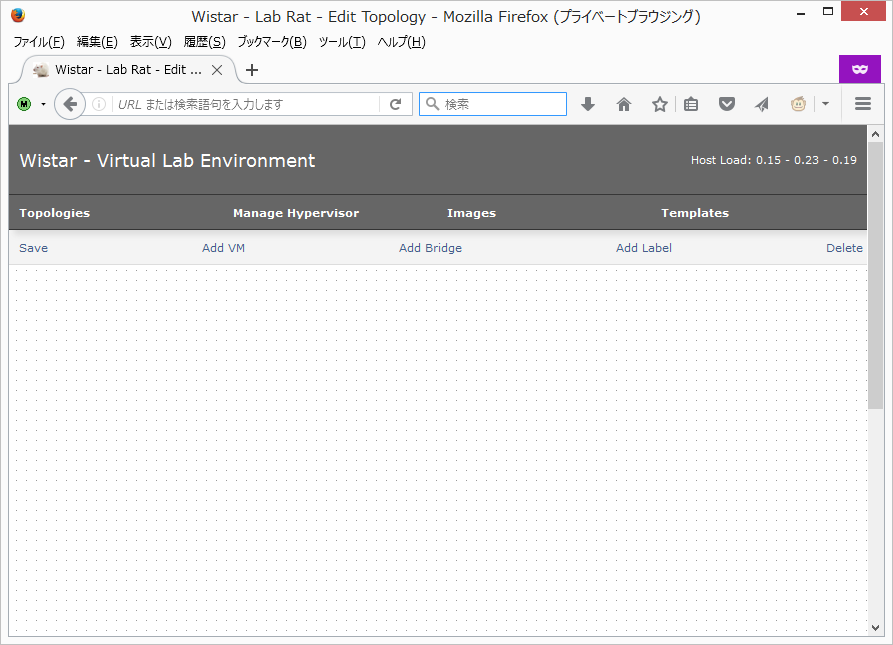
以下のような画面が出てくれば、Wistarの初期セットアップが完了しています。確認できたらCtrl+Cでサーバを終了しておきます。
以下の手順でApache+mod_wsgi上で動作するようにしておきます。
$ sudo apt-get install apache2 libapache2-mod-wsgi
$ sudo sh -c 'cat > /etc/apache2/sites-enabled/999-wistar.conf'
Define wistar_path /opt/wistar/wistar
Listen 8080
<VirtualHost *:8080>
    WSGIScriptAlias / ${wistar_path}/wistar/wsgi.py
    WSGIDaemonProcess wistar python-path=${wistar_path}
    WSGIProcessGroup wistar
    ErrorLog /var/log/apache2/wistar.log
    CustomLog /var/log/apache2/wistar_access.log combined
    Alias /static/ ${wistar_path}/common/static/

    <Directory "${wistar_path}/common/static">
        Require all granted
    </Directory>
    <Directory ${wistar_path}>
        <Files wsgi.py>
            Require all granted
        </Files>
    </Directory>
</VirtualHost>
^D
$ sudo chown -R www-data /opt/wistar
$ sudo chown www-data /var/log/wistar.log
$ sudo usermod -a -G libvirtd www-data
$ sudo service apache2 restart
仮想ルータイメージのアップロード
ここまでで、Wistarのインストールは完了しているはずです。続いて、仮想ルータのイメージをアップロードしてみます。
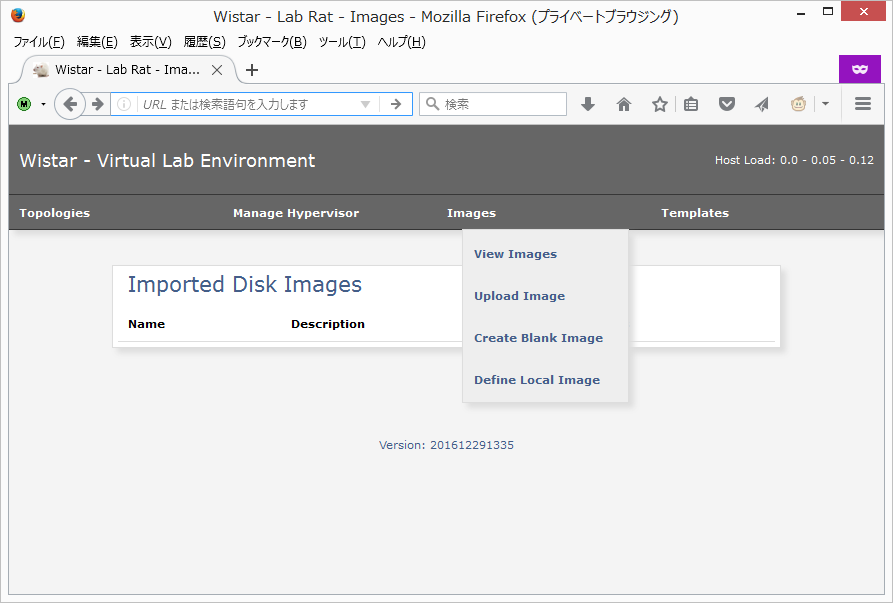
上部メニューからImages -> Upload Imageを選択します。
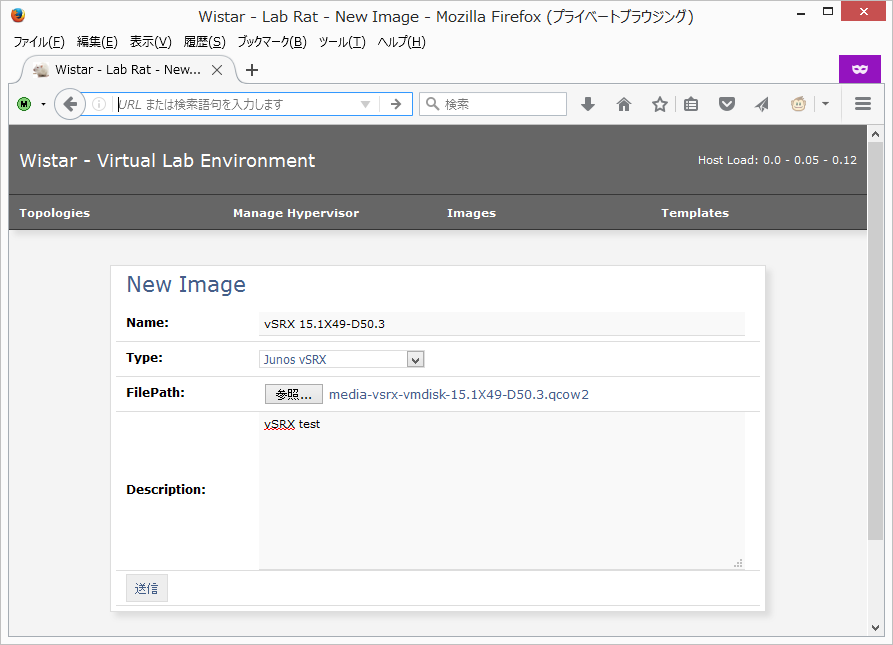
イメージの追加画面が出るので、各種イメージをアップロードしていきます。たとえばvSRXだと以下のような形です。
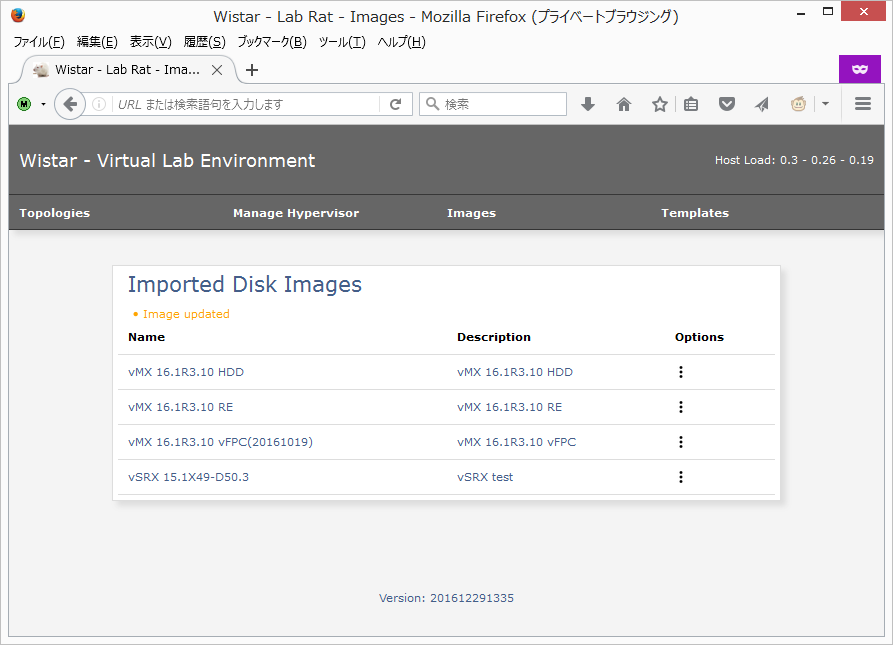
アップロードが完了すると、イメージ一覧に追加されます。追加に失敗する場合は、/var/log/wistar.logや、/var/log/apache2/wistar.log を参照してエラーの原因を調べてください。
同じ要領でvMX等をアップロードしていきます。
トポロジの作成
イメージのアップロードが完了したら、次は仮想ネットワークを実際に作っていきます。
上部のTopologiesからCreate Topologyを選ぶと、次のような画面が開きます。
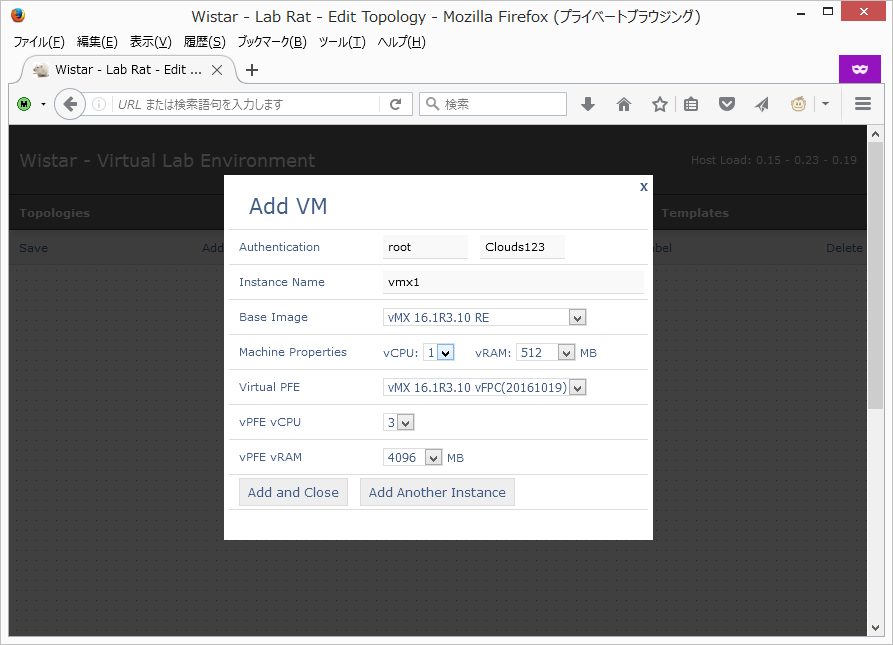
Add VMを選択し、追加したい仮想ルータのイメージを選びます。たとえばvMXだと以下のような形で選択できます。
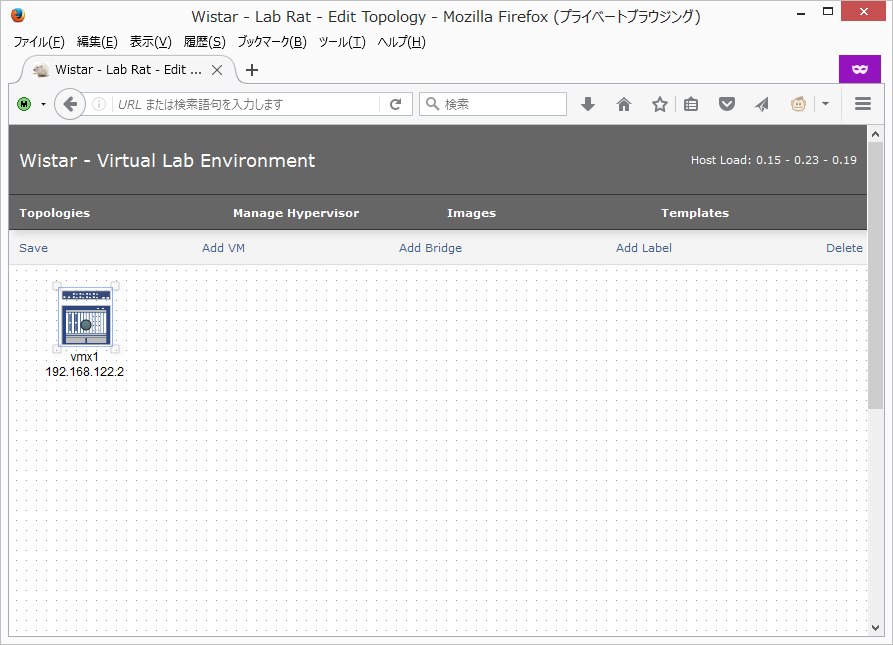
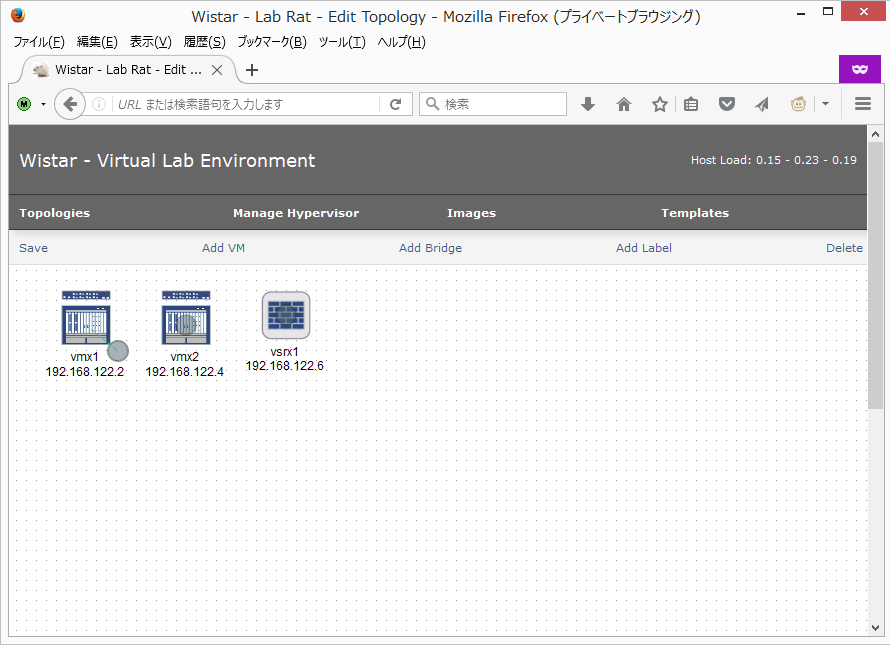
追加すると、トポロジ図の上に仮想ルータが現れます。
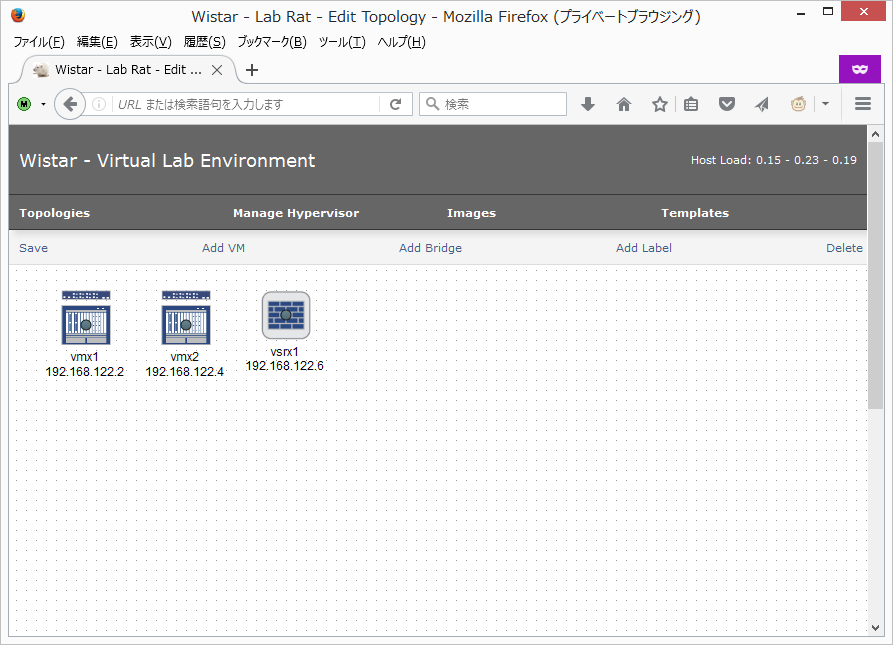
同じように、いくつかの仮想ルータをデプロイしてみると、以下のように複数の仮想ルータがトポロジ上に存在する形になります。
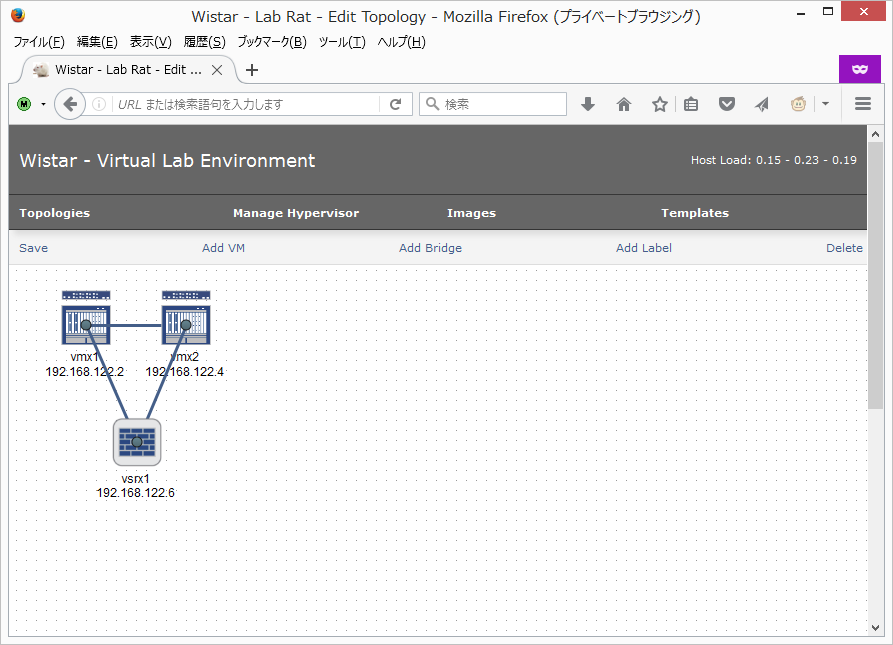
仮想ルータの中央にある丸をドラッグアンドドロップすることにより、ルータ間を接続することが可能です。また、仮想ルータはドラッグアンドドロップによって任意の場所に移動することが可能です。
適当に接続し、以下のようなトポロジを作成しました。
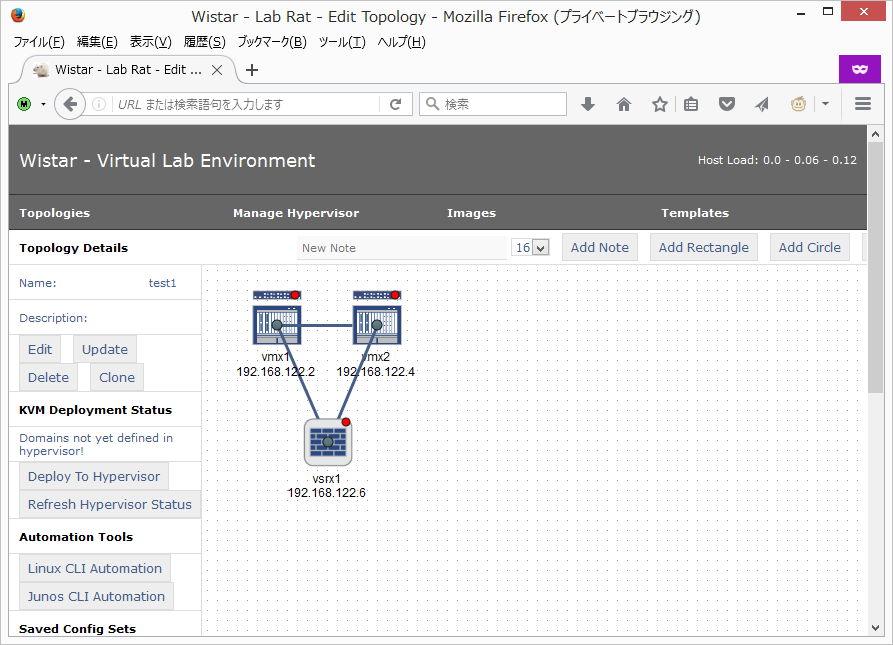
それでは、早速起動してみましょう。左上のSaveを押すと名前を聞かれるので、適当な名前を付けて保存します。すると左にコントロールパネルが表示されるので、Deploy To Hypervisorを選択します。
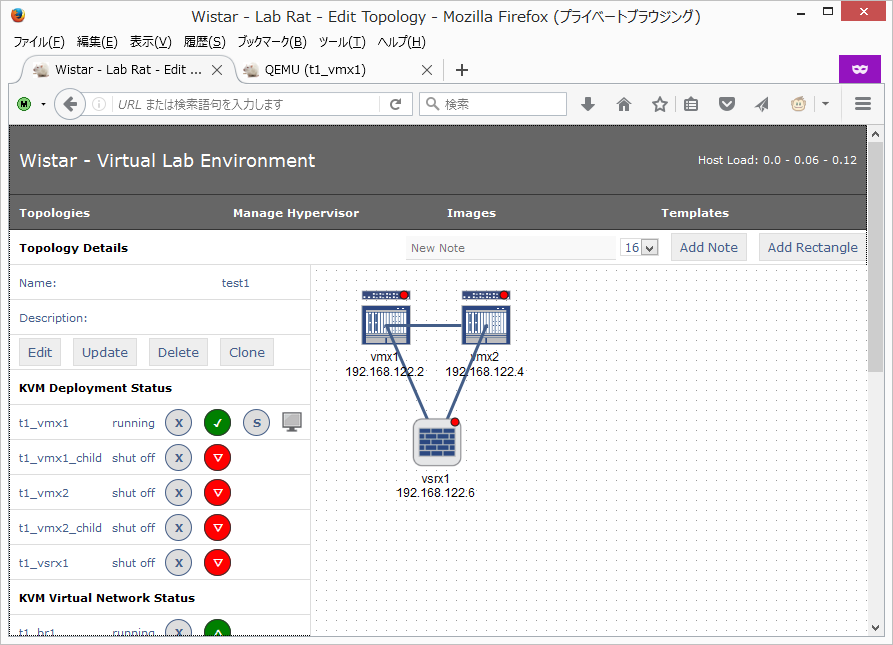
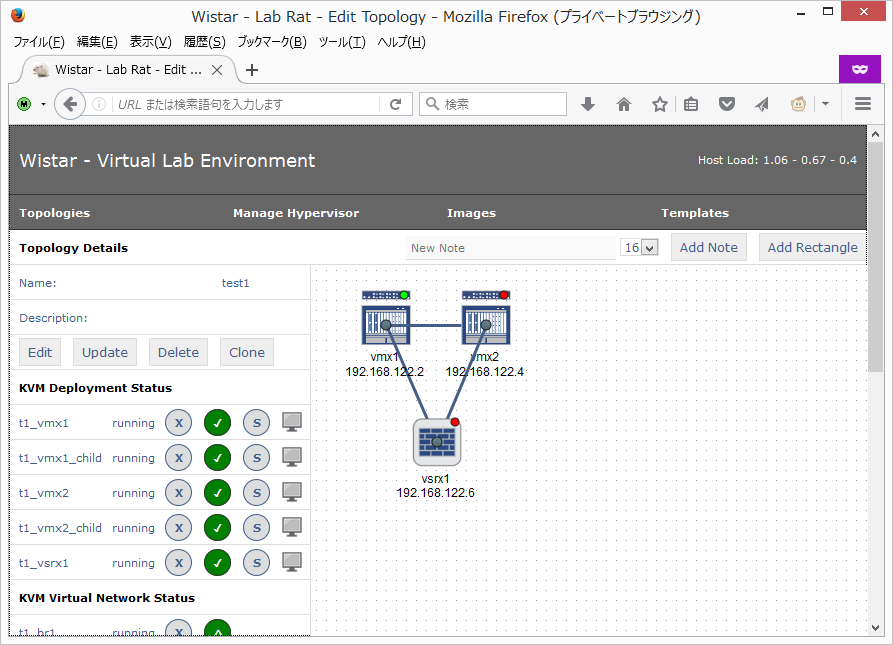
少しすると、仮想マシンの作成が完了し、仮想マシンと仮想ネットワークの一覧が表示されます。その下のStart Topologyを選択し、仮想ルータを起動していきます。

仮想マシンの起動が開始します。全ての仮想マシンが完了するまで少し待つ必要があります。
起動の様子は左側のコントロールパネルで確認することができます。また、起動が開始されているVMについては、画面のマークをクリックすることで、VGAコンソールに接続することも可能です。
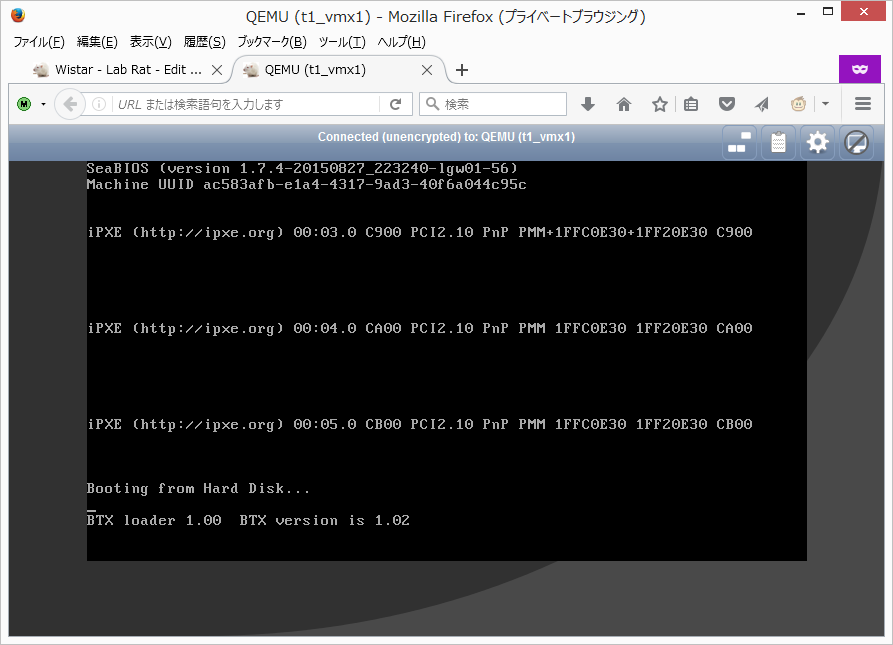
仮想ルータが完全に起動すると、トポロジ図上のルータアイコンに緑の丸が点灯します。この状態になっていれば、その仮想ルータにログインすることが可能です。
仮想ルータへのログイン
仮想ルータが起動すると、Wistarが自動的にIPアドレスとユーザの設定までを行ってくれます。すごー(ry
というわけで、仮想ルータを作成する際に入力したユーザ名とパスワードを使って、ルータに対してSSHすると、ログインできるはずです。
$ ssh root@192.168.122.2
The authenticity of host '192.168.122.2 (192.168.122.2)' can't be established.
ECDSA key fingerprint is b8:a4:39:38:eb:cc:24:db:21:61:19:70:b0:3b:17:9f.
Are you sure you want to continue connecting (yes/no)? yes
Warning: Permanently added '192.168.122.2' (ECDSA) to the list of known hosts.
Password:
--- JUNOS 16.1R3.10 Kernel 64-bit  JNPR-10.3-20160927.337663_build
root@vmx1:~ # cli
root@vmx1> show configuration | display set
set version 16.1R3.10
set system host-name vmx1
set system root-authentication encrypted-password "$5$IDGbcJyt$AH14ibQ5DG.h4E.D2oYptRgonaZMchNvxhQfsjrRfqD"
set system login user wistar uid 2000
set system login user wistar class super-user
set system login user wistar authentication encrypted-password "$5$Sit1BRV5$q5KeDJVYmAY5WxpOm7pKtuLAkpcZKL4TM/oE2mXub0A"
set system login user wistar authentication ssh-rsa "ssh-rsa AAAAB3NzaC1yc2EAAAADAQABAAABAQDgjgNd0Lej/1Rpcc9GEEoVV0RVbNW8TPvUzJzOTNZ76aoe83QZnUI5jXJLLg44j/J/vlUyFKEoPQokpezAUBtIyiglhPC0XN3Yxox82vtQxHItQenc8GAYvo6s8kvbDW0FX4xSfo9p3/nUlGrrCPYGrRCUaji76Xk4TQNW6aUVJYp3ReboZhy+3HO/BoljopMoKZF5OxAWhgJZ/+h+ADeoMw68V+sW/t/10yt84GEQ3TBNtSM5wSUh8u+YoPG13Kz36HsMa7gZbp8AABMSrvUys494IOyeQEJUV96bn1V1vyaVMxv/hI0/ektz56R4rwcIVw3V0NXholEPmBXDhWW3 wistar@dummykey"
set system services ssh
set system services netconf ssh
set system syslog user * any emergency
set system syslog file messages any notice
set system syslog file messages authorization info
set system syslog file interactive-commands interactive-commands any
set interfaces fxp0 unit 0 family inet address 192.168.122.2/24
set routing-options static route 0.0.0.0/0 next-hop 192.168.122.1

root@vmx1> show interfaces terse
Interface               Admin Link Proto    Local                 Remote
ge-0/0/0                up    up
lc-0/0/0                up    up
lc-0/0/0.32769          up    up   vpls
pfe-0/0/0               up    up
pfe-0/0/0.16383         up    up   inet
                                   inet6
pfh-0/0/0               up    up
pfh-0/0/0.16383         up    up   inet
pfh-0/0/0.16384         up    up   inet
ge-0/0/1                up    up
ge-0/0/2                up    down
ge-0/0/3                up    down
ge-0/0/4                up    down
ge-0/0/5                up    down
ge-0/0/6                up    down
ge-0/0/7                up    down
ge-0/0/8                up    down
ge-0/0/9                up    down
cbp0                    up    up
demux0                  up    up
dsc                     up    up
em1                     up    up
em1.0                   up    up   inet     10.0.0.4/8
                                            128.0.0.1/2
                                            128.0.0.4/2
                                   inet6    fe80::5254:ff:fe00:105/64
                                            fec0::a:0:0:4/64
                                   tnp      0x4
em2                     up    up
esi                     up    up
fxp0                    up    up
fxp0.0                  up    up   inet     192.168.122.2/24
gre                     up    up
ipip                    up    up
irb                     up    up
jsrv                    up    up
jsrv.1                  up    up   inet     128.0.0.127/2
lo0                     up    up
lo0.16384               up    up   inet     127.0.0.1           --> 0/0
lo0.16385               up    up   inet
lsi                     up    up
mtun                    up    up
pimd                    up    up
pime                    up    up
pip0                    up    up
pp0                     up    up
rbeb                    up    up
tap                     up    up
vtep                    up    up

root@vmx1>
良い感じですね!
動作確認
それぞれのルータに以下のような設定を入れて、適当にOSPFを回してみます。
vmx1
set interfaces ge-0/0/0 unit 0 family inet address 10.0.0.0/31
set interfaces ge-0/0/1 unit 0 family inet address 10.0.1.0/31
set interfaces lo0 unit 0 family inet address 10.255.255.1/32
set protocols ospf area 0.0.0.0 interface ge-0/0/0.0
set protocols ospf area 0.0.0.0 interface ge-0/0/1.0
set protocols ospf area 0.0.0.0 interface lo0.0
vmx2
set interfaces ge-0/0/0 unit 0 family inet address 10.0.0.1/31
set interfaces ge-0/0/1 unit 0 family inet address 10.0.2.0/31
set interfaces lo0 unit 0 family inet address 10.255.255.2/32
set protocols ospf area 0.0.0.0 interface ge-0/0/0.0
set protocols ospf area 0.0.0.0 interface ge-0/0/1.0
set protocols ospf area 0.0.0.0 interface lo0.0
vsrx1
set interfaces ge-0/0/0 unit 0 family inet address 10.0.2.1/31
set interfaces ge-0/0/1 unit 0 family inet address 10.0.1.1/31
set interfaces lo0 unit 0 family inet address 10.255.255.3/32
set security policies default-policy permit-all
set security zones security-zone z1 interfaces ge-0/0/0.0 host-inbound-traffic system-services ping
set security zones security-zone z1 interfaces ge-0/0/0.0 host-inbound-traffic protocols all
set security zones security-zone z2 interfaces ge-0/0/1.0 host-inbound-traffic system-services ping
set security zones security-zone z2 interfaces ge-0/0/1.0 host-inbound-traffic protocols all
set protocols ospf area 0.0.0.0 interface ge-0/0/0.0
set protocols ospf area 0.0.0.0 interface ge-0/0/1.0
set protocols ospf area 0.0.0.0 interface lo0.0
状態確認
Wistarの左下に、Junos CLI Automationというボタンがあります。これはトポロジ上の全てのJunosルータに対して同一のコマンドを送信し、結果を一覧で確認できるものです。
試しにshow ospf neighborの状態を取得してみましょう。
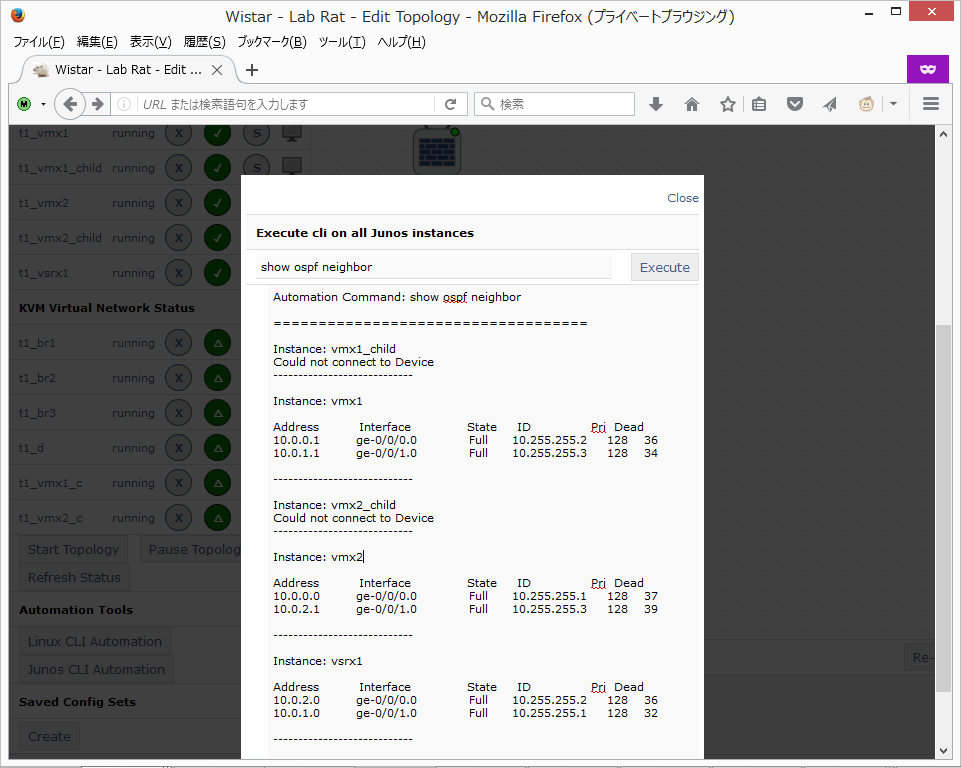
どうやら、無事OSPFが張れているようです。たーのしー!
雑ですが以上です。Wistarにはコンフィグの自動流し込みやらテンプレートからの自動生成やらいろいろな機能があるようなので、ちまちま弄ってみようと思います。